How To Change A Ceiling Light: Step-by-Step Tutorial

A ceiling light replacement is very simple and, let’s be honest, most builder-grade ceiling lights are pretty hideous light fixtures that need updating! Especially if it is a boob light like we were dealing with!
Now usually we like to renovate a room at a time, but honestly guys, with how ugly boob lights are and how easy they are to replace there’s no reason to wait for whole room remodels. Just go ahead and take 10-15 minutes and replace these flush mount lights.
Now, this is an electrical DIY so always be super careful and take the time to find the breaker and turn it off before starting! That way there’s nothing to worry about and no reason to be intimidated by simple electrical home improvements like this, as long as you follow the tutorial.
However, if any time you get stuck or confused, keep the power off and call in a professional electrician. (Please also read the safety disclosure at the bottom of this post).
Before pictures
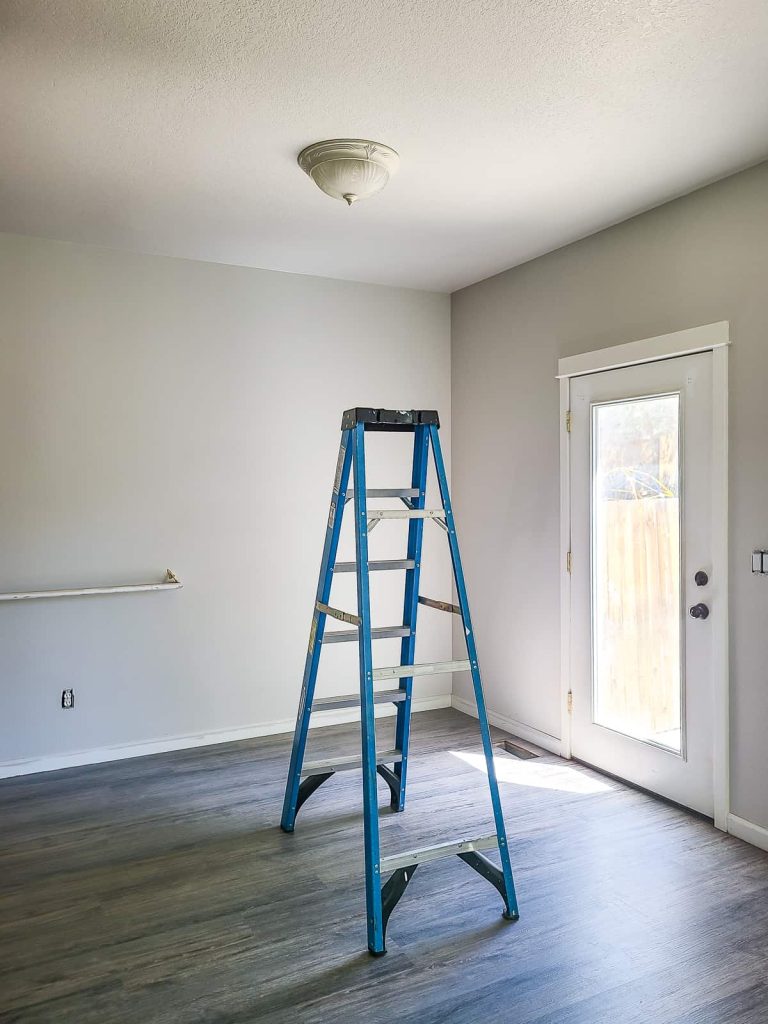
Last year, we renovated this rental property and one thing that we did throughout the home was replaced all of the outdated light fixtures, like these ugly boob lights!
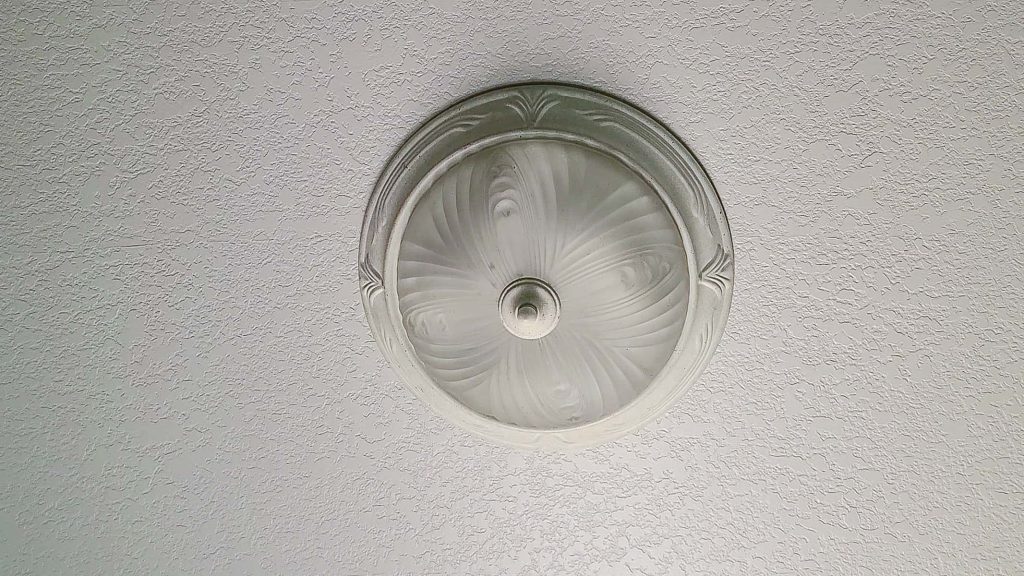
Today we’re walking you through the process of replacing the dining room light. Follow along with our step-by-step guide to learn how to replace ceiling lights yourself.

If your light is still in good working condition, be sure to save all of the pieces and donate them to your local Habitat for Humanity ReStore to be used again!
How to change a ceiling light: video tutorial
If you love DIY videos, don’t forget to subscribe to our YouTube channel!
How to change a ceiling light: step-by-step tutorial
This how to replace ceiling light tutorial contains affiliate links, but nothing that I wouldn’t recommend wholeheartedly. Read my full disclosure here.
Supplies for a ceiling light replacement:
- Ladder
- New light fixture
- Pair of wire strippers or electrical pliers (may need)
- Screwdriver
- Wire nuts
- Voltage tester
Step 1. Turn off the power
The first order of business is always to turn off the power when you are going to be working with electrical outlets or lights. I know there isn’t much to this step, but this is one of the most important when working with electrical.
Most circuit breakers are labeled so you can turn off the specific circuit. You can check them one by one with the light on and stop checking once it’s off.
You can also use one of these handy voltage detectors to test it to make sure no power is running through the wires after you’ve turned it off at the breaker box.
Out of an abundance of caution, you can also just turn off the entire circuit breaker for the house if that makes you feel more comfortable. This is your best bet to eliminate any anxiety when taking on this DIY.
Step 2. Remove the cover on the old light
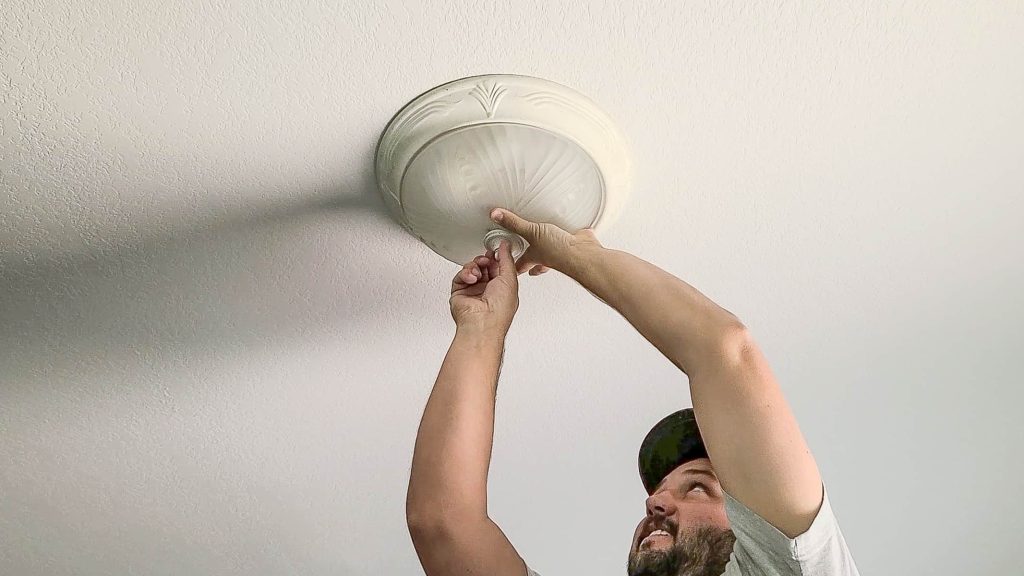
There are many different designs for ceiling lights. If you’re replacing an old “boob” light, like we were, they are always removed in the same way. There is a decorative nut on the very tip that needs to be loosened first or the entire glass shell spins off.
With the shell removed, you’ll remove the light bulbs if you are going to reuse them in your new light fixture.
Note: In our case when we removed the cover the entire ceiling light fixture came off, which may happen.
Step 3. Reveal the wires behind the light
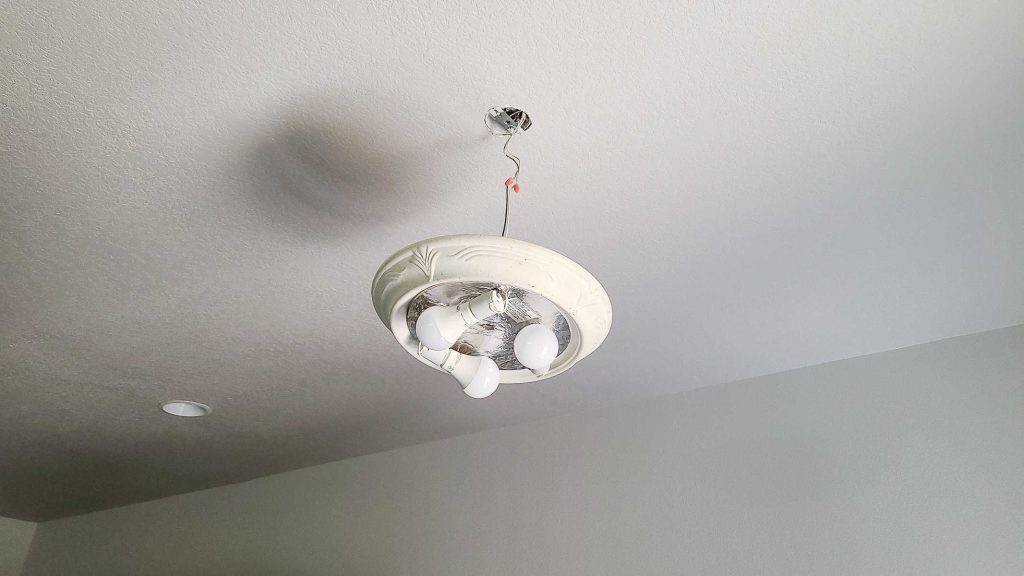
Next, look for two screw heads. The heads will be coming through near the center of the boob light.
Once you locate the screw heads loosen them until you can slightly turn the entire ceiling light in order to move the screw heads to the larger opening in the keyhole. Gently pull down on the light fixture until it is slightly detached from the ceiling and the wires are revealed.
These now-exposed electrical wires will be connected with wire nuts, which look kind of like little plastic ice cream cones. We had just two wires exposed at this point on our old light, a white wire (neutral) and a black wire (live).
You may also see a third wire, a grounding wire – which will either be a bare copper wire (with no plastic coating) or it will be green. Our grounding wire was up in the box, so we couldn’t see it yet.
If you’re dealing with older wiring, there’s a chance you may not have a ground wire at all.
At this point, you should act like the fixture is still hot (“hot” is another way of saying power is still running through the wires), which means that you should avoid letting the wires touch each other if possible.
Now, I know what you’re thinking….”I just turned the power off to the light in Step 1!” In a perfect world, everything is wired correctly behind your old flush mount light, but just in case there’s something wonky going on, it is safest to act like the power is still on and not let the wires touch each other.
At this point, if you’re a beginner and/or unsure about installing a new ceiling, it is a good idea to take a quick picture of how the wires are connected to your old light fixture. This may come in handy if you get confused when you go to hook up the new ceiling light.
Step 4. Separate the light fixture from the wires in the ceiling & remove the old bracket.
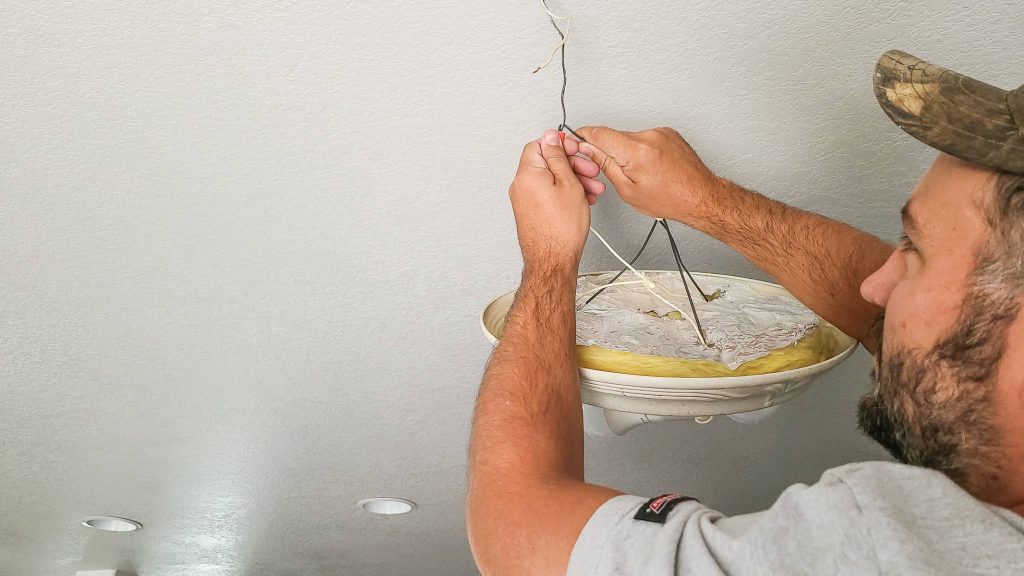
Next start removing the wire nuts that are connecting the old fixture to the house power wires. The wire nuts are the little plastic cones that twist over the ends of two wires to connect them.
When working with electrical and removing wires always remove the grounding wire first (which is the bare one or the green one) if you see it. If you don’t see a grounding wire, you can remove the neutral (white) wire and then the live (black) wire.
Once the light is separated from the wires, you can reapply the wire nuts back onto the exposed wire. Again, it is best to treat your ceiling wires like they are hot wires simply because you just don’t know if your house was wired properly.
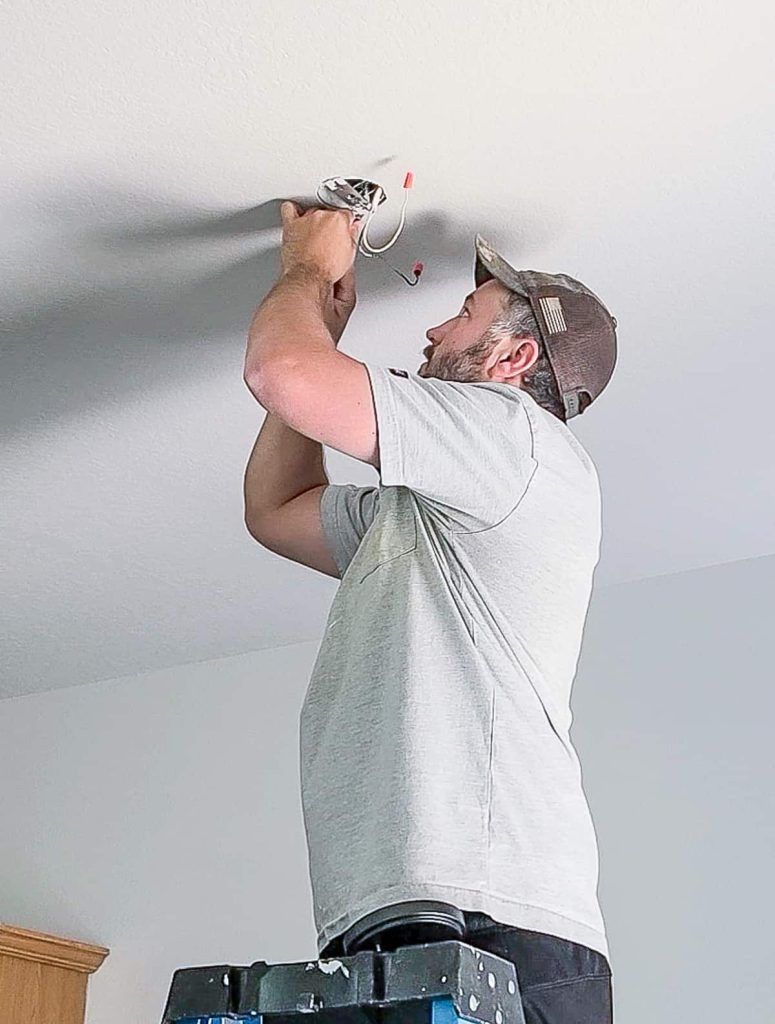
Next, go ahead and remove the old bracket that is attached to the box in the ceiling. Once the bracket is pulled out, you may or may not see the grounding wire now. If you do see the grounding wire, you’ll need to loosen the green screw that the bare copper ground wire is wrapped around in order to remove the bracket.
Step 5. Prepare the box for the new light fixture
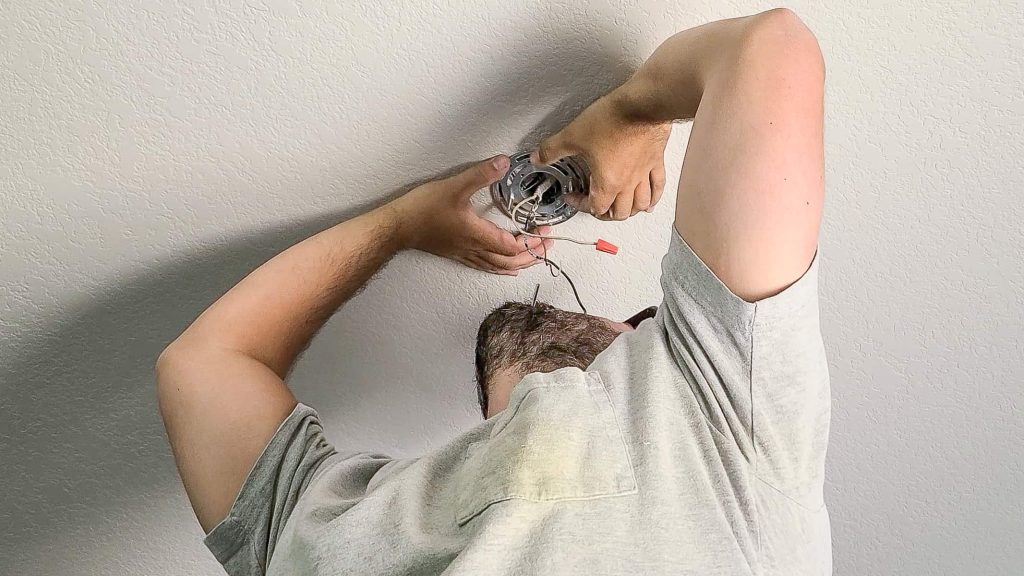
Depending on your light fixture there may be a special bracket that needs to be installed for your new fixture. Install your new bracket according to the light fixture instructions.
After the new bracket is on, attach the grounding wire (which is bare or green wire). There will be a little green screw on the bracket for this. Simply loop the grounding wire around the grounding screw at least one time and tighten it back up.
Be sure to leave enough ground wire at the end to connect it to the light fixture as well, which you’ll do in the next step. Check out the video tutorial above for a close-up of exactly how this is done.
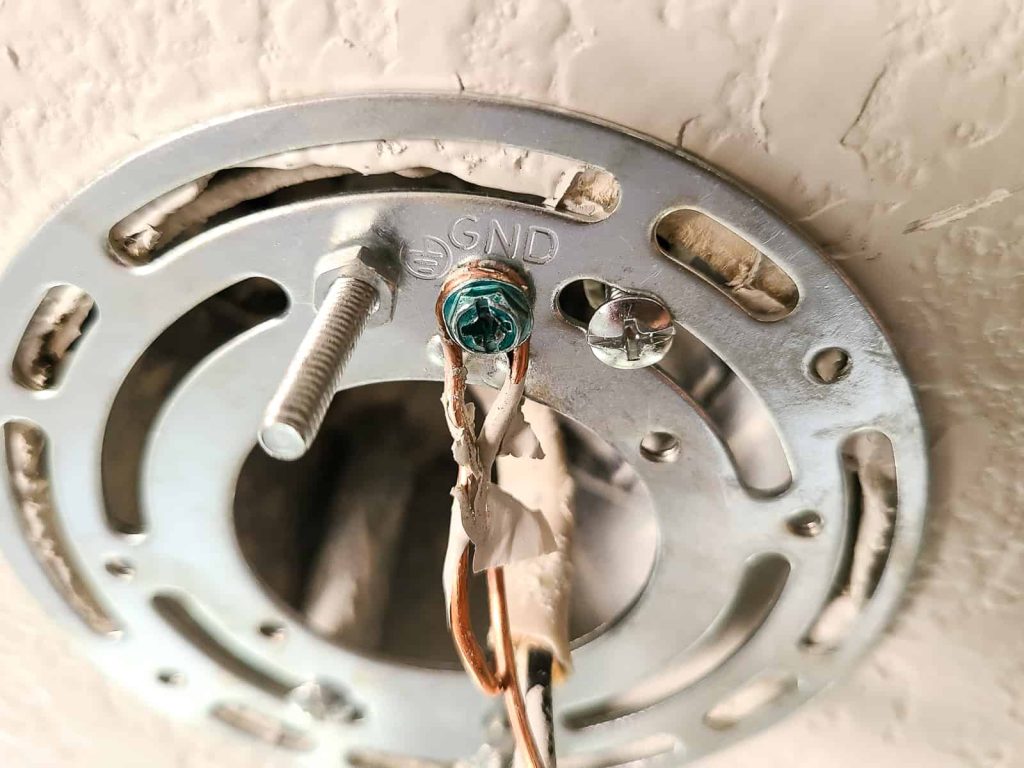
Grounding is a safety feature used in home electrical wiring. In the event a live electrical wire comes in contact with metal, power will go back to the electrical panel in the garage (and then down into the ground via the “grounding rod”) as an important safety measure.
Important note: If you are trying to put a heavy light fixture or even a ceiling fan. The junction box that was used for your old flush mount light fixture is not going to be rated for the weight and movement of a fan. If you are looking to install a heavy fixture or fan, check out this guide about installing a ceiling fan box.
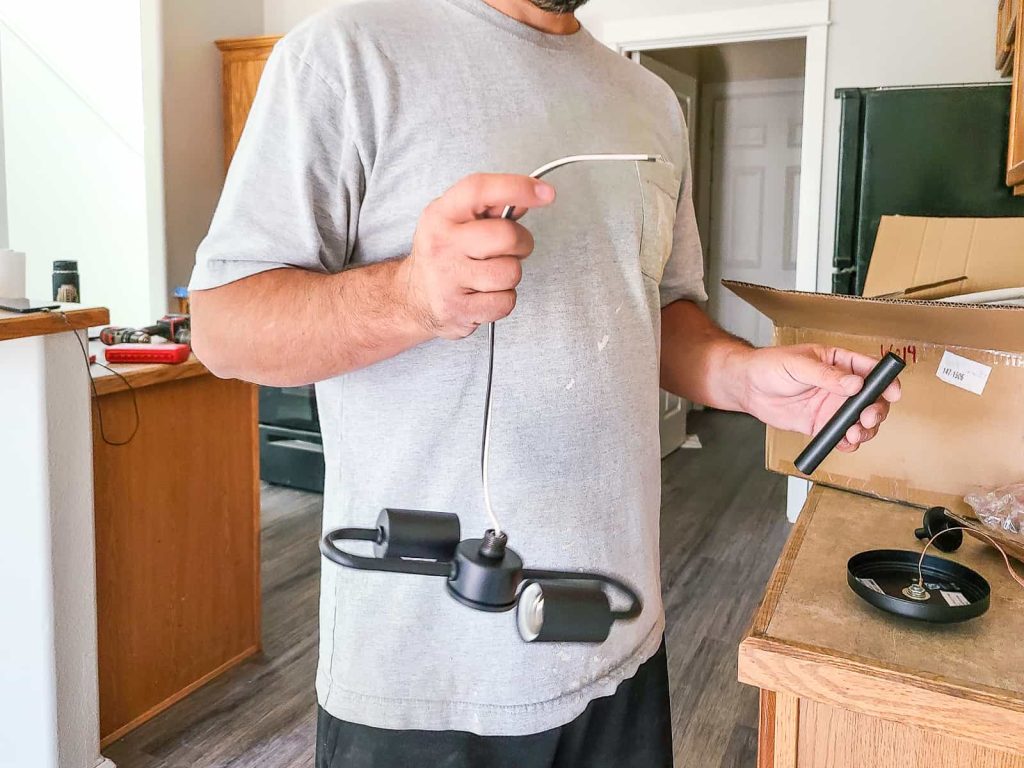
Step 6. Wire and secure the new light fixture to the box
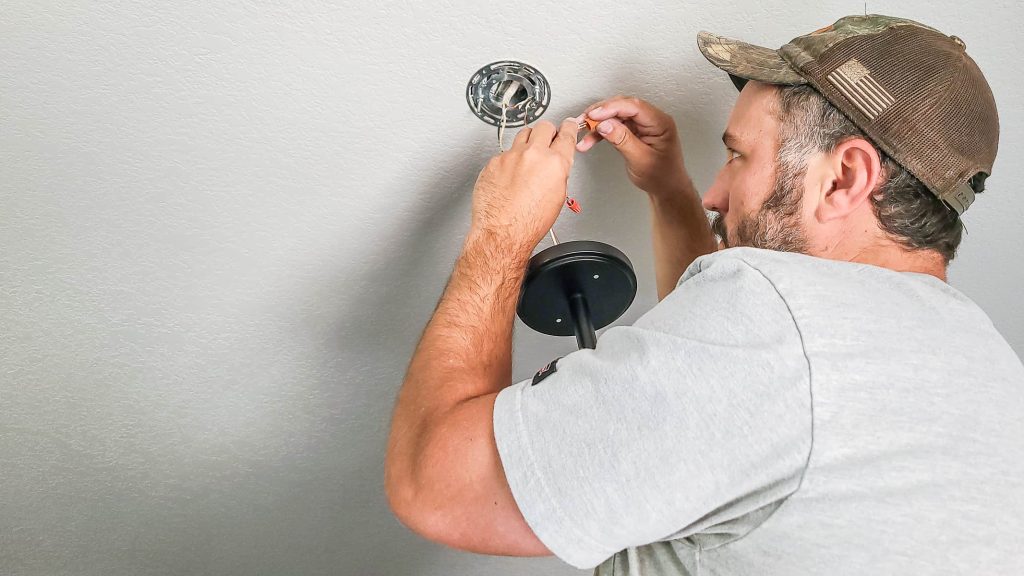
Now it is finally time to install your new flush mount ceiling light! When attaching the new fixture, attach the green wire first, then the white, then the black to make sure you are always working with a grounded fixture.
Gently twist the ends of the wires together and cover the wire connection with a wire nut. To use a wire nut, all you have to do is insert the ends of both wires in the cone and turn the wire nut clockwise until it is tight.
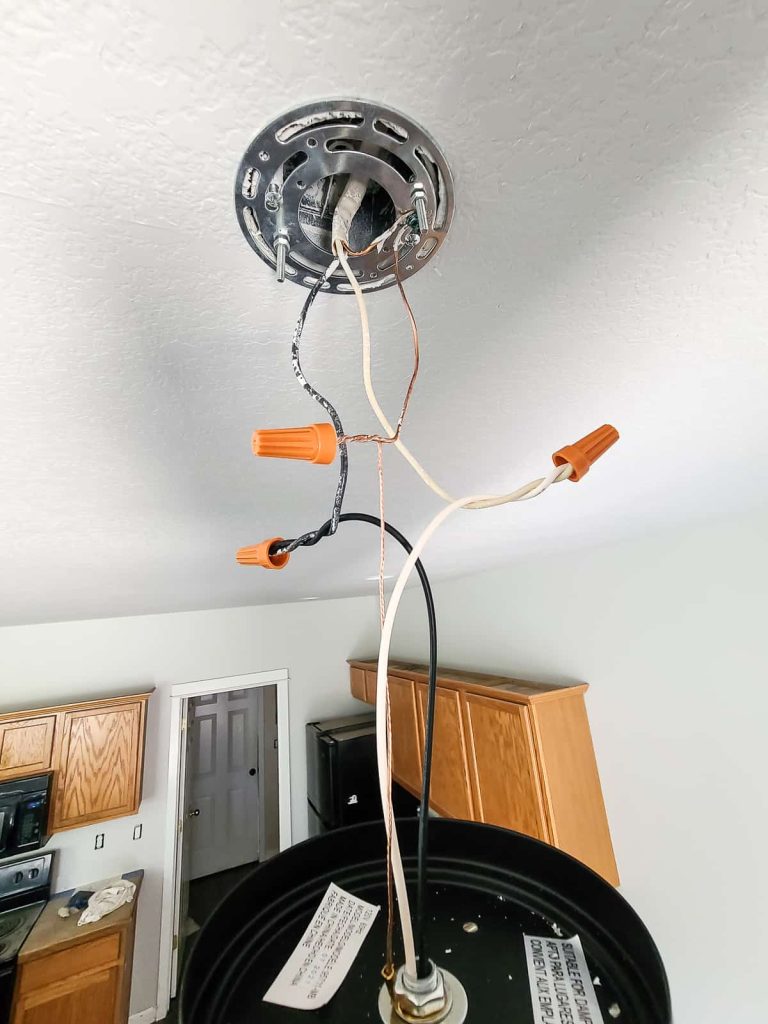
You can take a moment here to paint underneath your new light fixture if you have a boob light ring on your ceiling. Paint your ceiling now to leave a cleaner look once you are finished, especially if the bases of the flush-mount fixtures are different sizes.
Depending on your chosen new light fixture, your manufacturer may have special instructions and just make extra sure you are following whatever those specifics might be.
Attach the fixture to the electrical box before adding too much weight (like the light bulbs and shades) so it’s easier to work with.
Step 7. Finish installing new light fixture trim
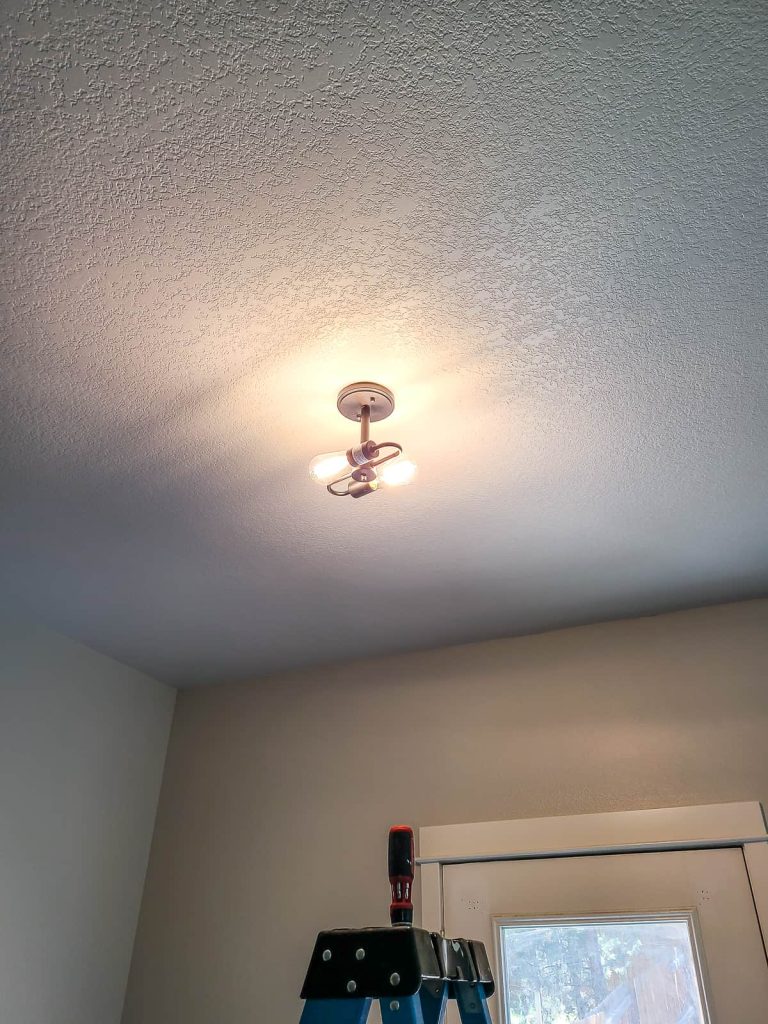
Wire and secure the fixture base to the electrical box. Don’t immediately add the decorative trim that came with your new light fixture. First, grab a light bulb screw it in, and check to see if the light fixture works by turning on the breaker and then the light switch.
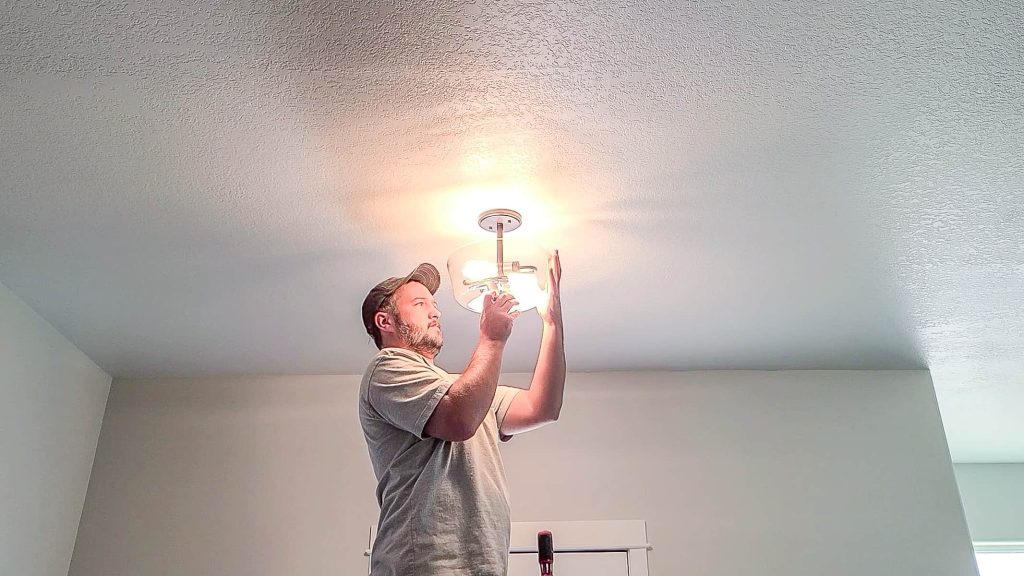
If your light doesn’t work you’ll have to troubleshoot what went wrong but there’s no reason it shouldn’t.
With the light fixture working, add the remaining trim (in our case, this was the glass shade) found in the box according to your instructions. Make sure everything is secured before finishing and nothing else needs tightening.
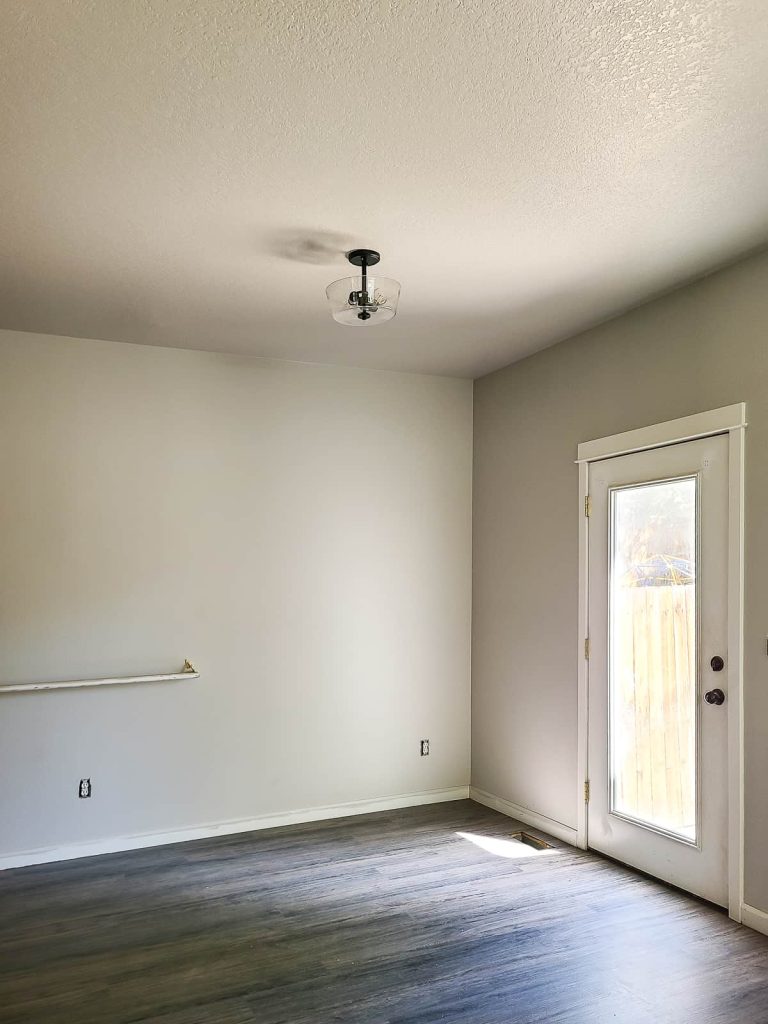
Now with the new lighting fixture, your room should have a much better focal point. Talk about near-instant gratification! So much better than the budget boob light that was there before, right?
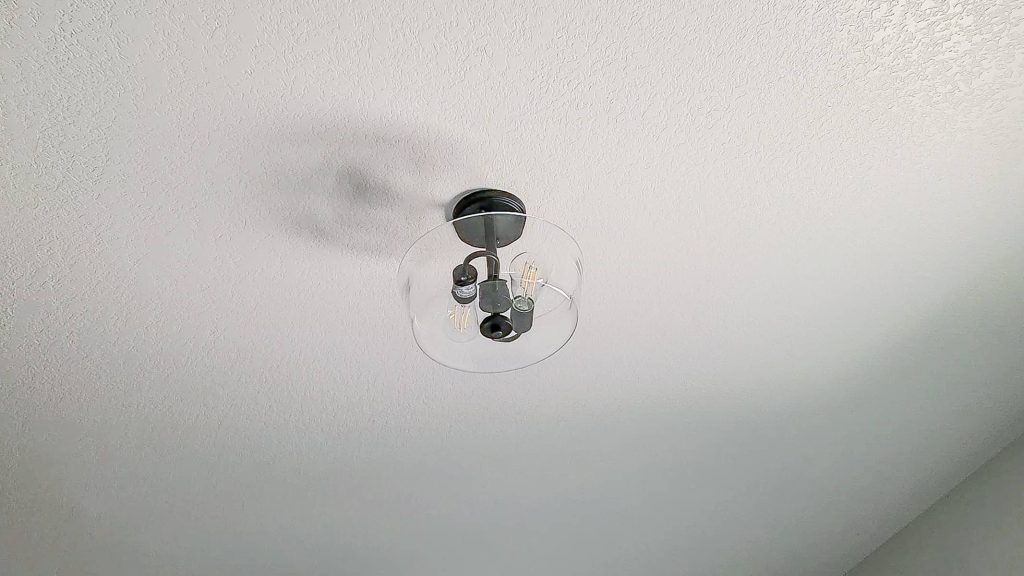
At the end of the day, there’s no reason why you should hold off on switching out the ceiling light fixtures in your room. Updating the light fixtures really changes the look of any room for the better.
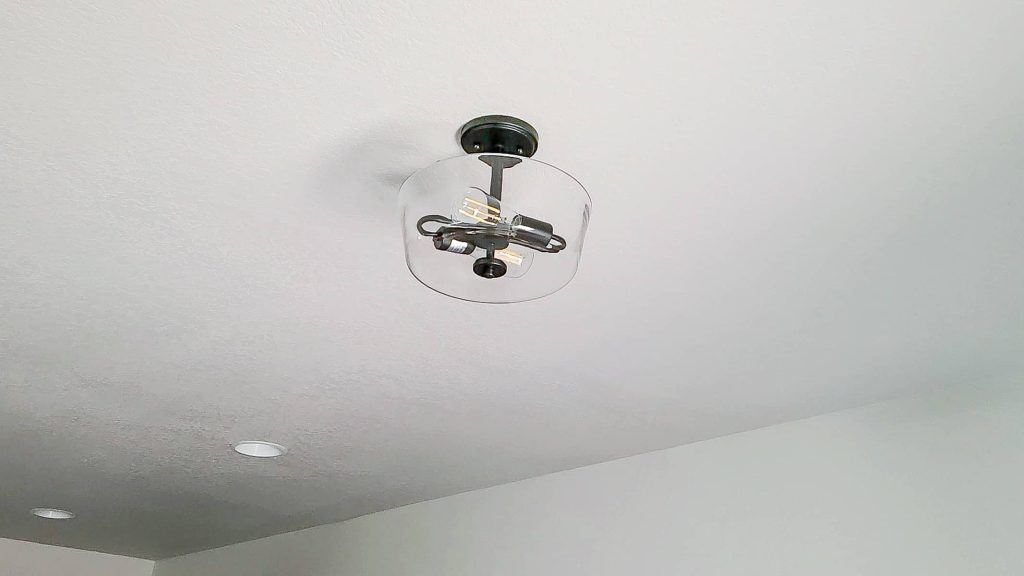
It’s a great way to update a room on a budget. There are so many beautiful light fixtures out there! Don’t put off this quick DIY in your own home. Use this tutorial to learn how to change a ceiling light in your home.
Do you have any other questions about how to change a ceiling light?
Important Safety Disclosure:
Be sure to read your light’s manufacturer’s instructions thoroughly before beginning to replace your ceiling light because they may differ from our tutorial if they have different wires or connections.
This video and blog post is for informational, educational & entertainment purposes only. Electrical work can be a tricky DIY, so please be smart and safe. We will not be responsible for any injury or damage incurred. Please consult a licensed electrician professional when needed, read all safety and instruction manuals, and take all safety precautions. All projects performed following instructions found on this site are done at your own risk. Read our full disclaimer here.
How To Change A Ceiling Light
Learn how to replace a ceiling light in your home with this simple step-by-step tutorial.
Materials
- Light Fixture
Tools
- Wire stripper
- Screwdriver
- Wire nuts
- Voltage tester
Instructions
- Turn off the power
- Remove the cover on old light fixture
- Reveal the wires behind the ceiling light
- Separate light fixture from wires and remove old bracket
- Add new bracket
- Wire and secure new light fixture to the ceiling
- Finish install light fixture trim




This guide was super helpful! I always felt intimidated by changing ceiling lights, but your step-by-step instructions made it so much easier. Can’t wait to tackle my outdated fixtures! Thanks for sharing!