How To Cover Holes in Wall Quickly with DAP Eclipse Rapid Wall Repair Patch

Need to patch holes in your drywall quickly and don't want to mess with spackle or sanding? No problem! Learn how to cover holes in wall quickly with a DAP Eclipse Rapid Wall Repair Patch!
Thank you to DAP for sponsoring this guide on how to cover holes in wall! All opinions are entirely my own. This post also contains affiliate links, but nothing that I wouldn’t recommend wholeheartedly. Read my full disclosure here.
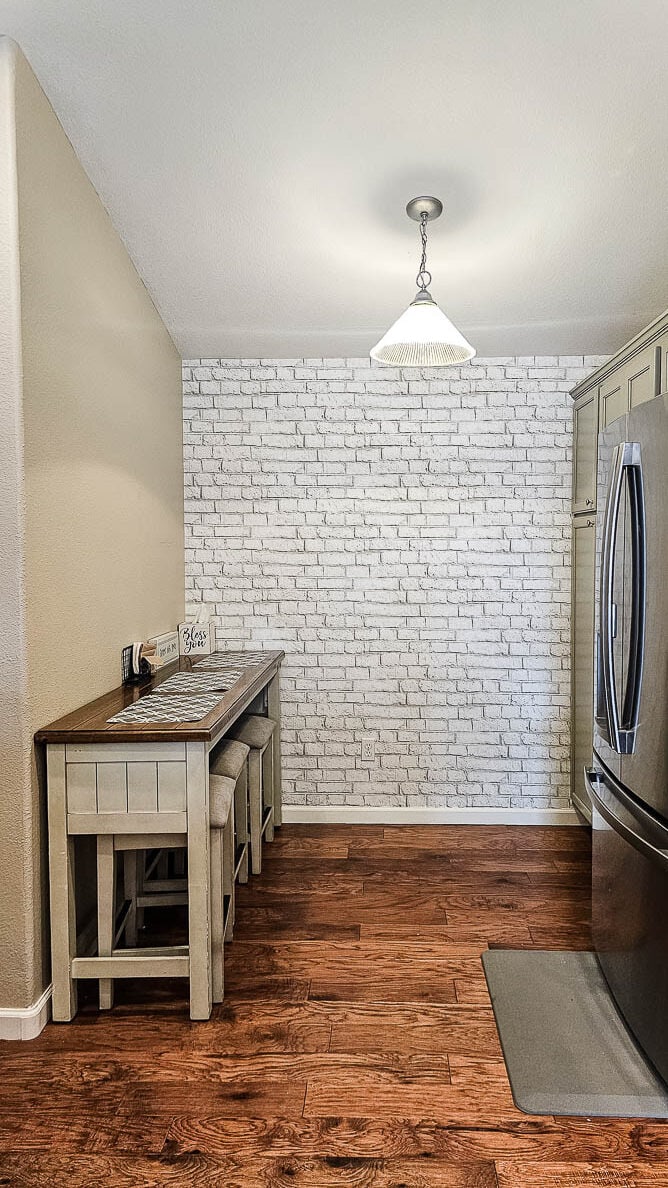
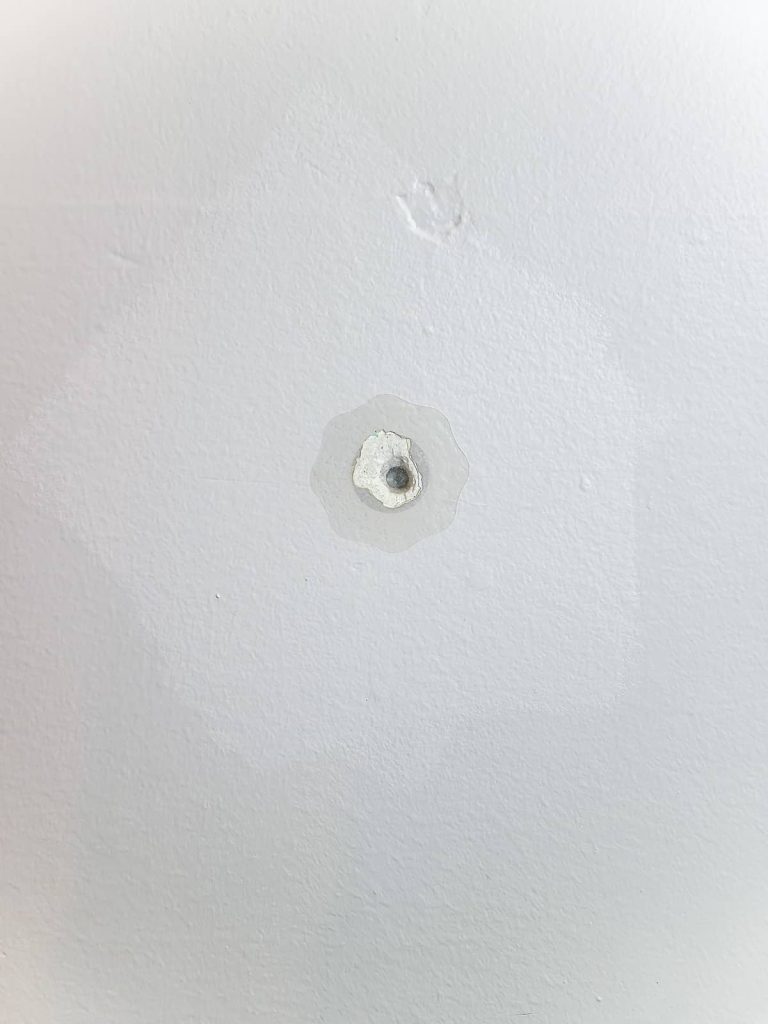
We’ve had this small hole in the wall of our kitchen for a couple of years now.
You know how it goes… You mean to fix it. You have good intentions.
But then life happens and well, you just get used to the little unfinished things around your house.
I’m sure you have a handful of things that need to be fixed around your house. Chances are one of them is probably a hole here or there that needs to be patched.
What if I were to tell you that you don’t even need to reach for the spackle to cover small holes in drywall?!
Table of Contents

Today we’re going to blow your mind with these wall repair patches. No sanding. No spackle. Just apply it over the hole in your wall and paint!
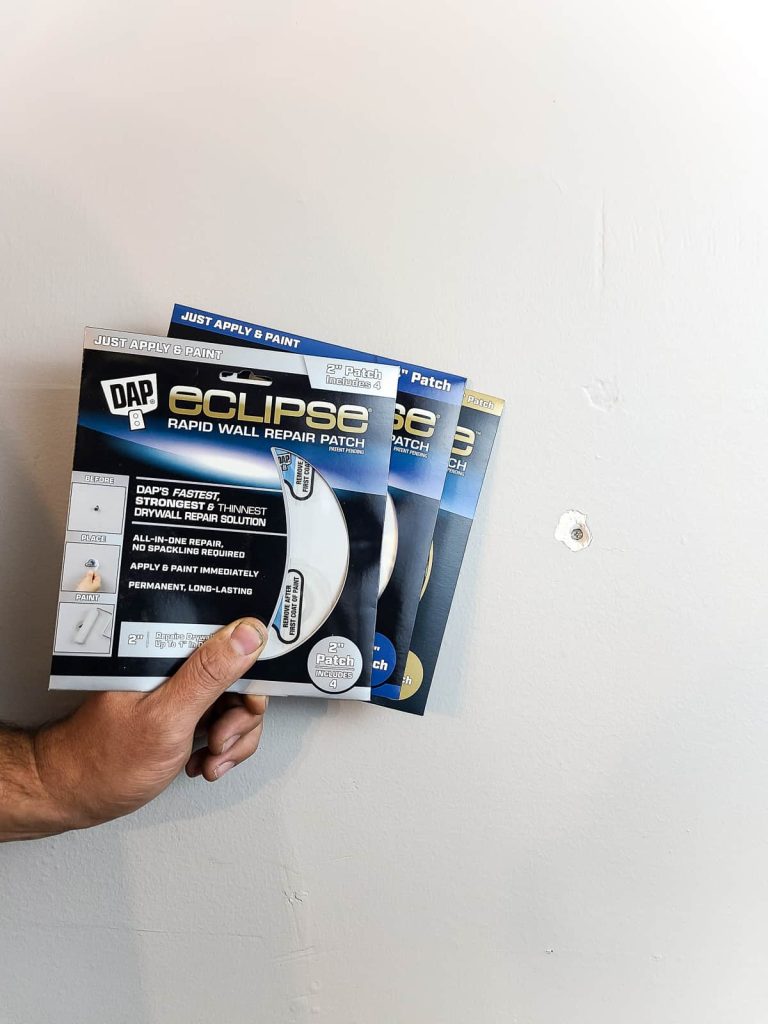
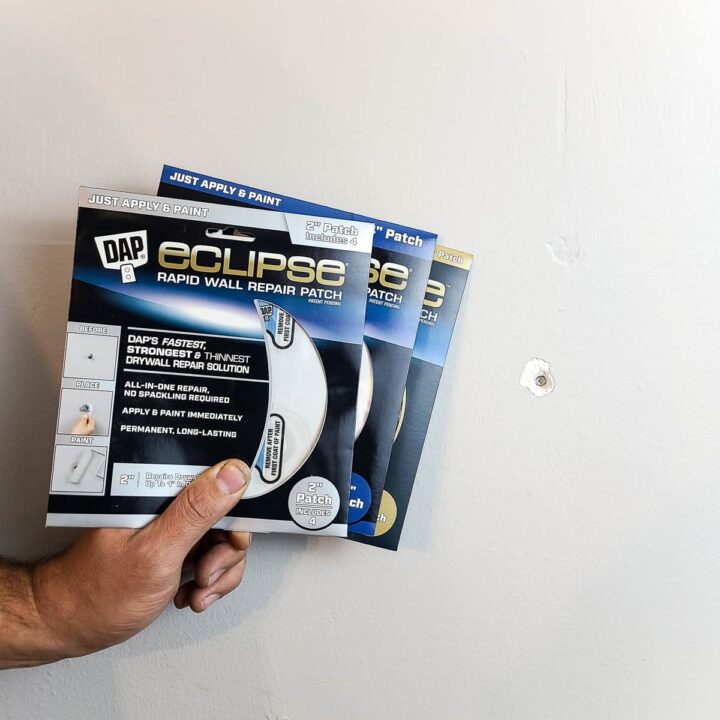
What is the DAP Eclipse Rapid Wall Repair Patch?
Here’s a quick summary of the product description from the makers of the wall patches, DAP:
DAP® ECLIPSE™ Rapid Wall Repair Patch is a unique and innovative drywall repair solution that is perfect for completing permanent repairs on damaged walls and ceilings. This specially formulated, self adhesive patch allows you to finish your project faster. It is easy to apply and mess-free allowing you to patch and paint immediately without the need for spackling or sanding. This all-in-one, mess free solution not only provides a permanent, long-lasting repair but is also stronger than drywall itself making it perfect for areas that may see the reoccurring impact, such as behind a door. It is as simple as patch, paint, and finish. For interior use only.
DAP
What size wall repair patch should you use?
DAP Rapid Wall Repair Patches come in 2″, 4″, and 6″ sizes. You need to make sure there is ample room around the hole in the wall where the patch overlaps on the wall.
- For the 2″ patches, your damaged area should be no more than 1″ in diameter. This smaller patch is great for larger nail holes, screw holes, or areas of drywall that have been damaged with anchors or other things.
- For the 4″ patches, the damaged area should be no more than 2″ in diameter. The medium-sized patches are great for slightly larger holes in your drywall, like where you’ve bumped furniture against the wall.
- For the 6″ patches, the damaged area should be no more than 3″ in diameter. The largest wall repair patch is ideal for larger holes in the wall, like ones left from doorknobs.
When holding the patch up to place over the hole in the wall, you just want to make sure the gray center circle of the patch fits over the damage. This is a great guide!
If your damage exceeds 3” in diameter, you may want to utilize a different repair method.
Supplies Needed for Covering Holes in Walls:
- DAP Eclipse Rapid Wall Repair Patch (comes in 2″, 4″, and 6″ sizes)
- Wall Paint – we were using Behr Chic Gray (you can use either latex or oil-based)
- Paint Roller
- Paint Roller Cover
- Sanding Block
Step 1. Prep the surface
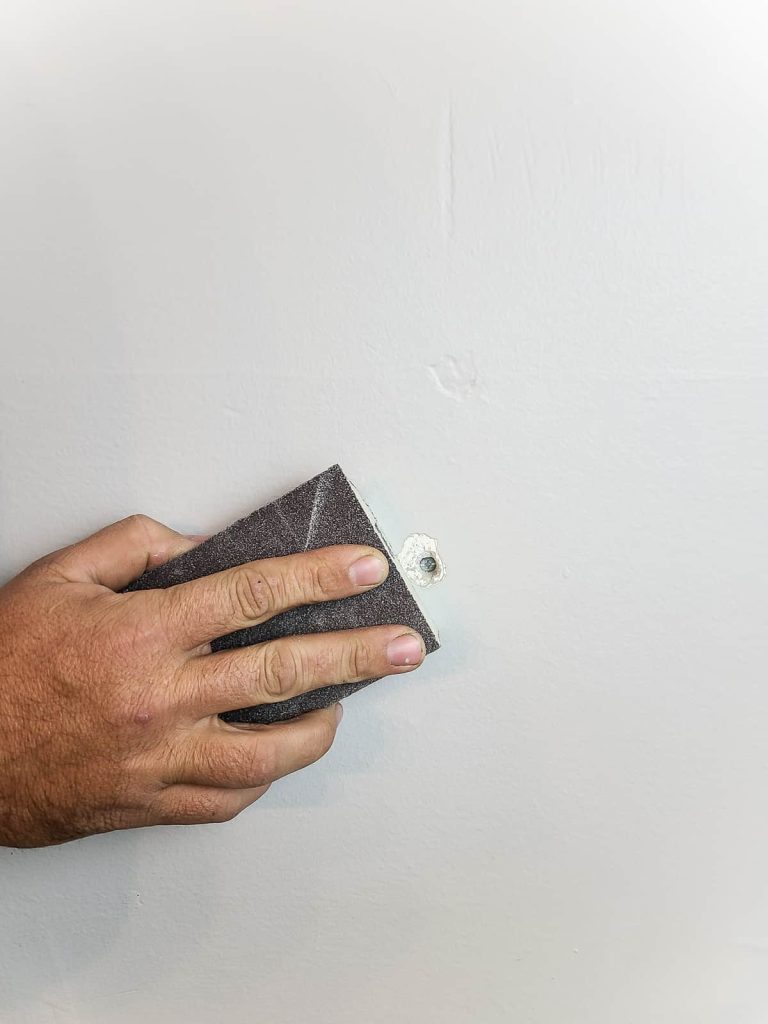
Before you attach the patch, you want to make sure to get rid of any rough edges around the damage with a sanding block.
To help get a great adhesion between the surrounding drywall and the Eclipse Rapid Wall Repair Patch, it’s recommended to lightly sand the surface with a sanding block to de-gloss it a bit.
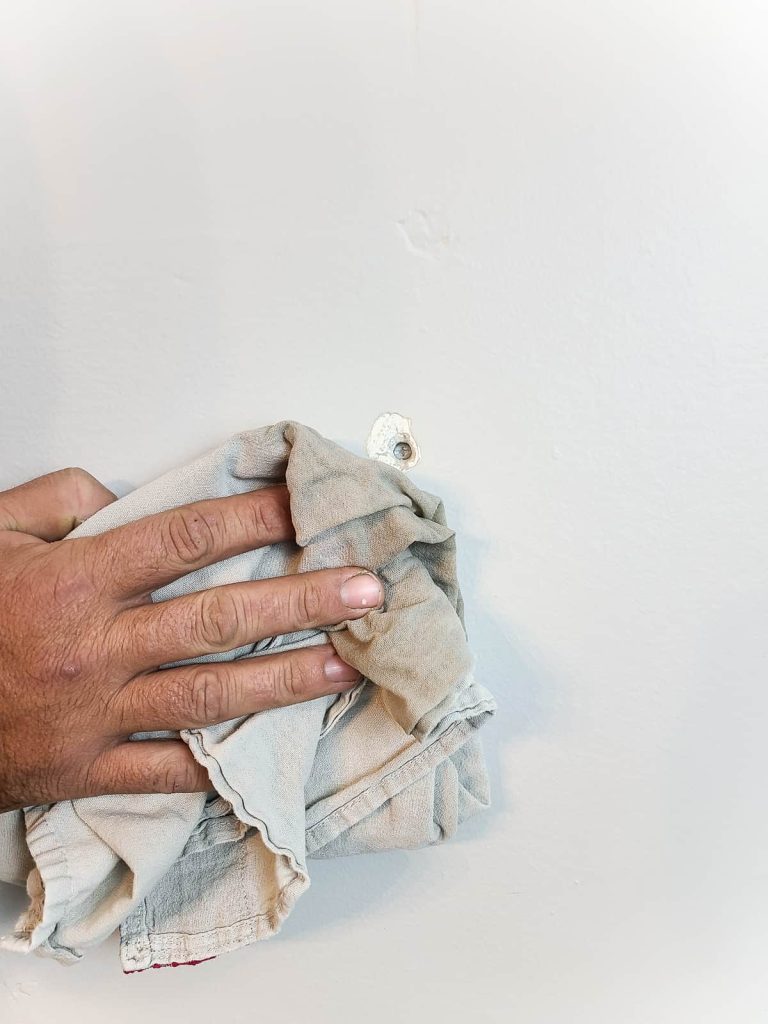
Then follow up by wiping away any sanding dust and any other grim or dirt on the wall.
The smoother your drywall surface is prior to putting on the wall repair paint, the smoother your finished repair will be!
Step 2. Apply wall repair patch
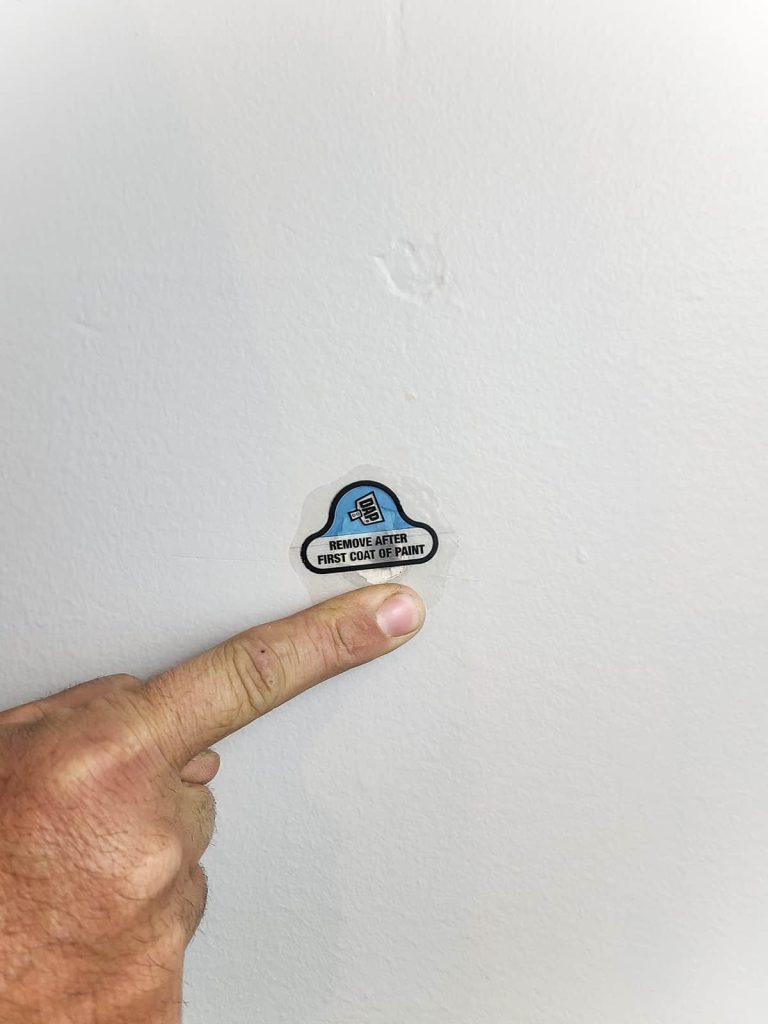
Remove the patch from the package and use the easy-to-remove slit to pull the patch off of the white paper. This will expose the sticky side of the patch.
Press the patch into place over the hole in the wall. Be sure to position the gray center circle of the patch over the center of the damaged area.
Apply the patch to the wall by pressing down firmly around the surrounding drywall with your hand. Only press on the edge, where the patch overlaps with the drywall. Don’t press in the middle of the repair patch that goes over the damaged area, of course.
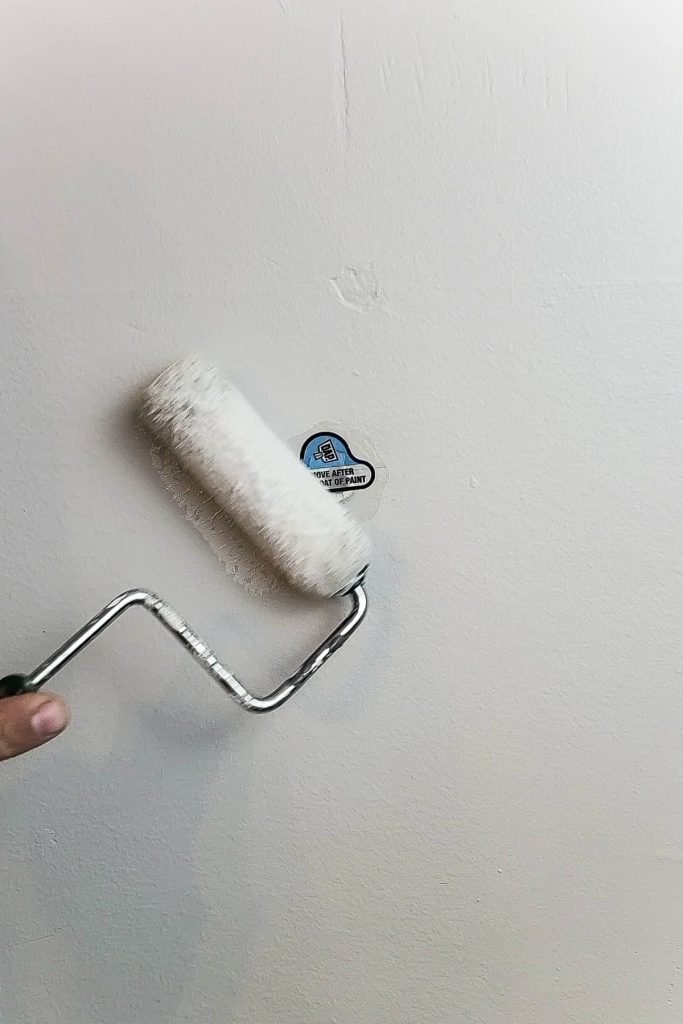
Step 3. Paint over the patch (if walls aren’t textured)
If your walls have texture, like orange peel…skip ahead to Step 4 and Step 4b for an alternative method.
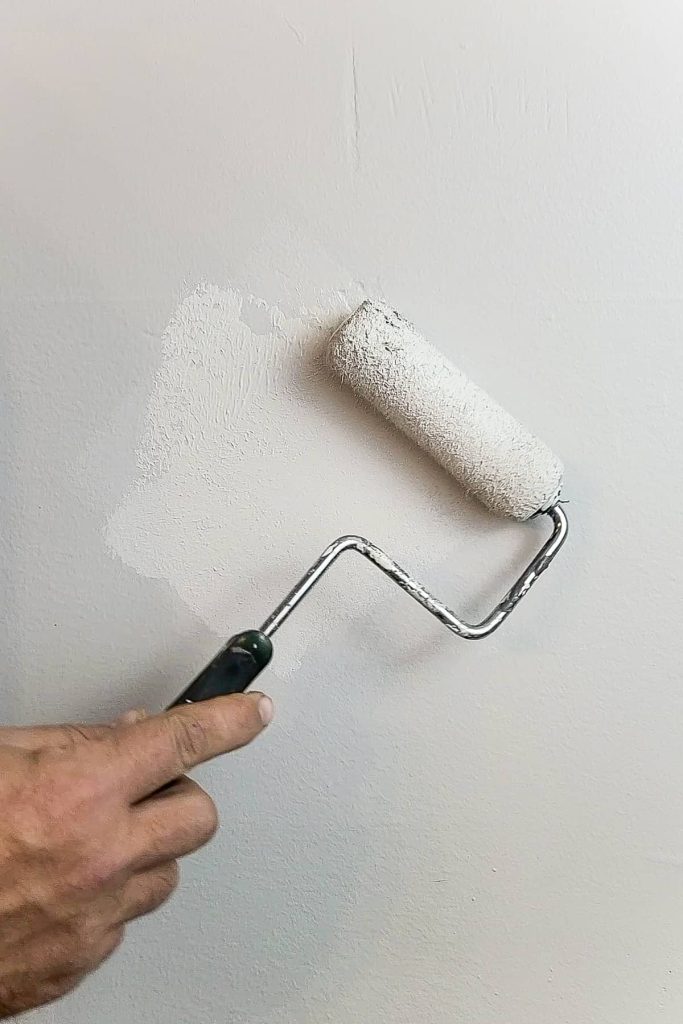
After the patch is in place on the wall, you can paint over it immediately with your wall paint using a good quality paint roller & roller cover using light pressure.
You can use either latex or oil-based paint over the top of the DAP Eclipse wall repair patches!
Yes, that is right! You DO NOT need to use any spackling or sanding over the patch. The paint goes directly over it.
Feel free to use a generous amount of paint when rolling over the patch, but not so much that it will drip down the wall.
You’ll still be able to see the outline of the patch after this first coat of paint, don’t worry.
Step 4. Remove the top clear protective layer of the patch
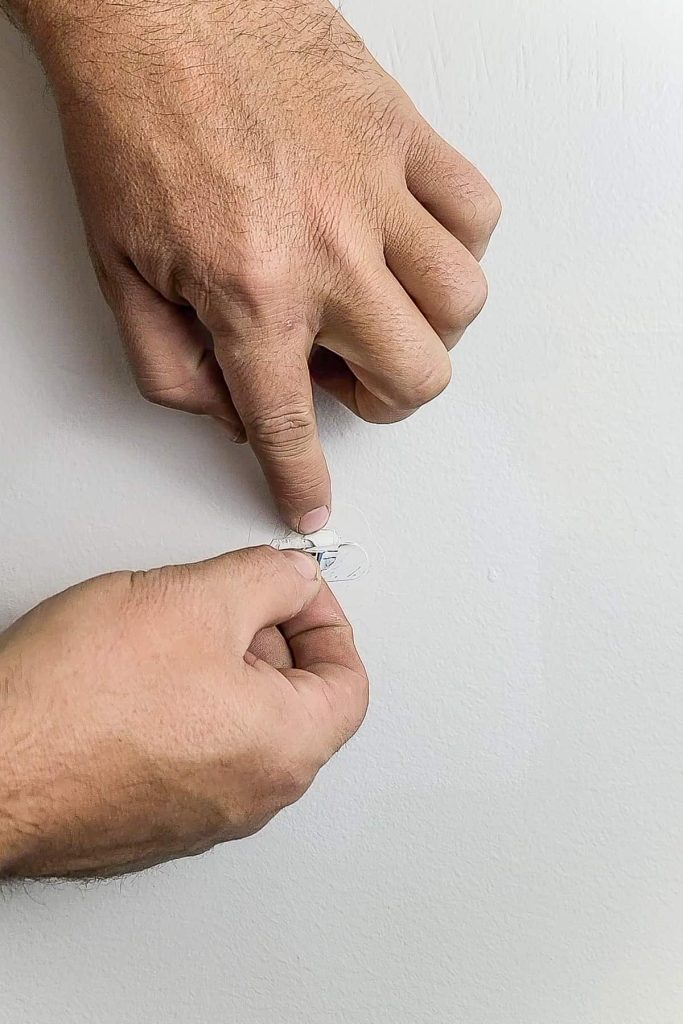
Once the first coat of wall paint is dry to the touch, you can remove the top clear protective layer from the patch using the pop-up tab. This usually takes about 15 to 30 minutes, depending on the temperature and humidity level of your space.
The pop-up tab should easily pull up and away from the drywall towards yourself. However, if the protective layer does not completely come off in one piece, you can simply use your fingernail to remove the rest of the protective layer.
Note: If you’re not going to paint the walls right away (or the same day), wait to remove the clear protective layer until just before you paint.
Step 4b: An alternative method for covering holes in textured walls.
If you’re using the Eclipse wall repair patch on heavily textured walls, you can skip the painting over the patch step entirely (Step 3).
Instead, do this…
After pressing it into place on the wall, you’ll immediately remove the first protective layer, which is explained further in Step 4 above.
Then you can apply the wall texture over the patch with an aerosol spray texture or a textured paint roller that matches your wall texture.
Once the texture dries, you can continue with Step 5.
Step 5. Paint over the patch with 2 coats of wall paint
Next, you can immediately paint over the patch with your wall paint and a paint roller.
Wait until the first coat of paint is ready for a 2nd coat (check the paint can for time to recoat). Then follow up with a 2nd coat of wall paint.
Take extra care around the edges of the painted area. You can feather out the edges so the patched areas aren’t visible.
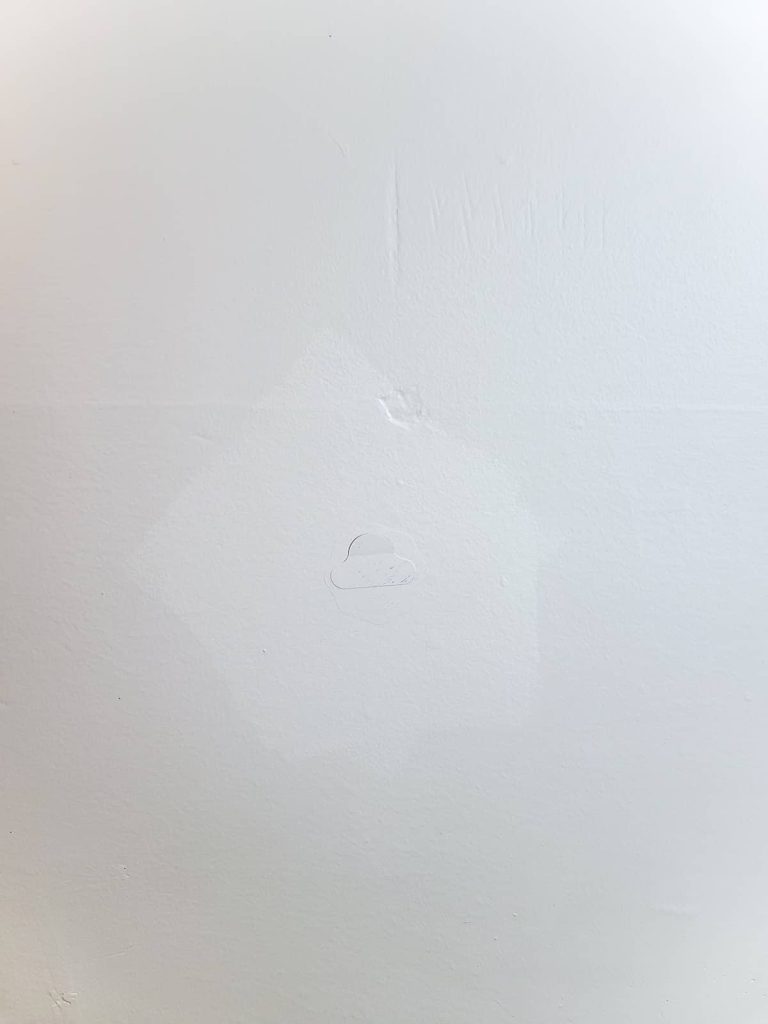
As the painted area dries and cures (which can take up to 4 weeks, check your paint can), the patched area will get more and more invisible!
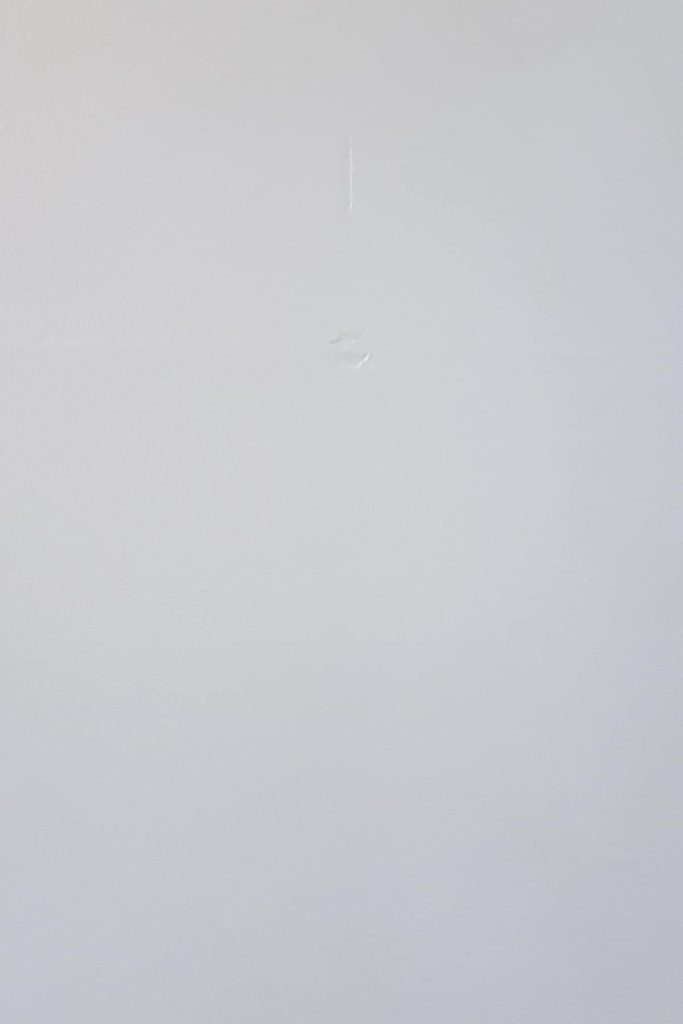
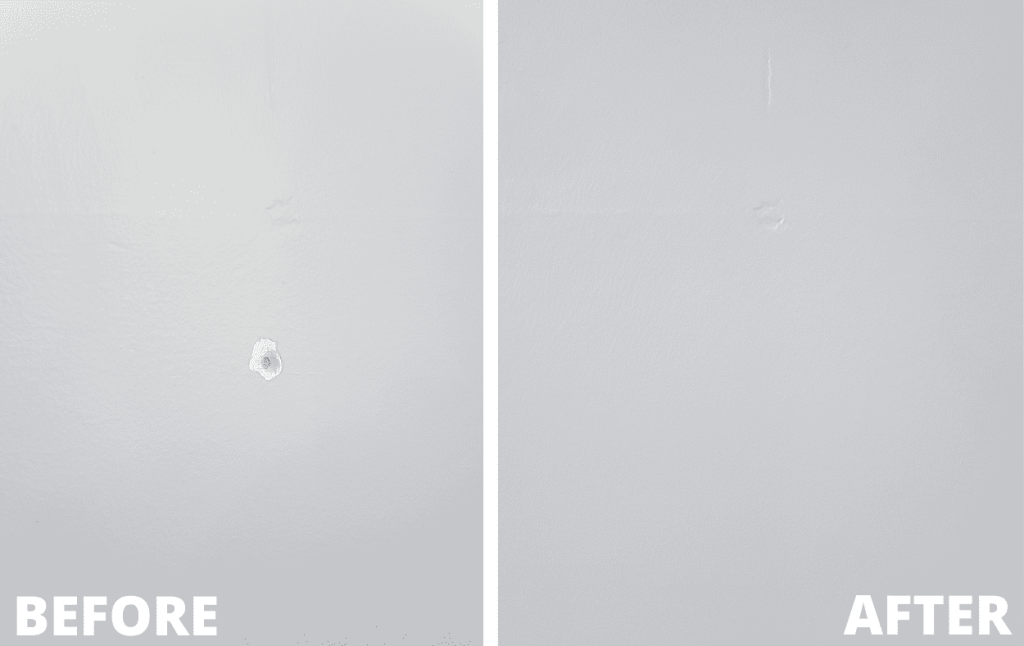
I was totally shocked that the patch just disappears after you get the top 2 layers of paint on and let them dry!
Just look at this before and after if you don’t believe me.
The DAP Eclipse Rapid Wall Repair Patches are a great option if you need to cover small holes in your walls and you don’t want to mess with spackle or sanding!
Where would you use a wall repair patch in your home?
Let us know in the comments below!
How to Quickly Cover Holes in Walls
Want to know how to quickly cover holes in walls without much effort? DAP rapid wall repair patches make it possible!
Materials
- DAP Eclipse Rapid Wall Repair Patch
- Wall Paint
- Paint Roller
- Paint Roller Cover
- Sanding Block
Instructions
- Prep the wall surface.
- Apply the DAP repair patch.
- Paint over the patch.
- Remove the top protective layer.
- Add 2 coats of paint over the transparent patch.