Clipboards On Wall For Hanging Kid’s Art
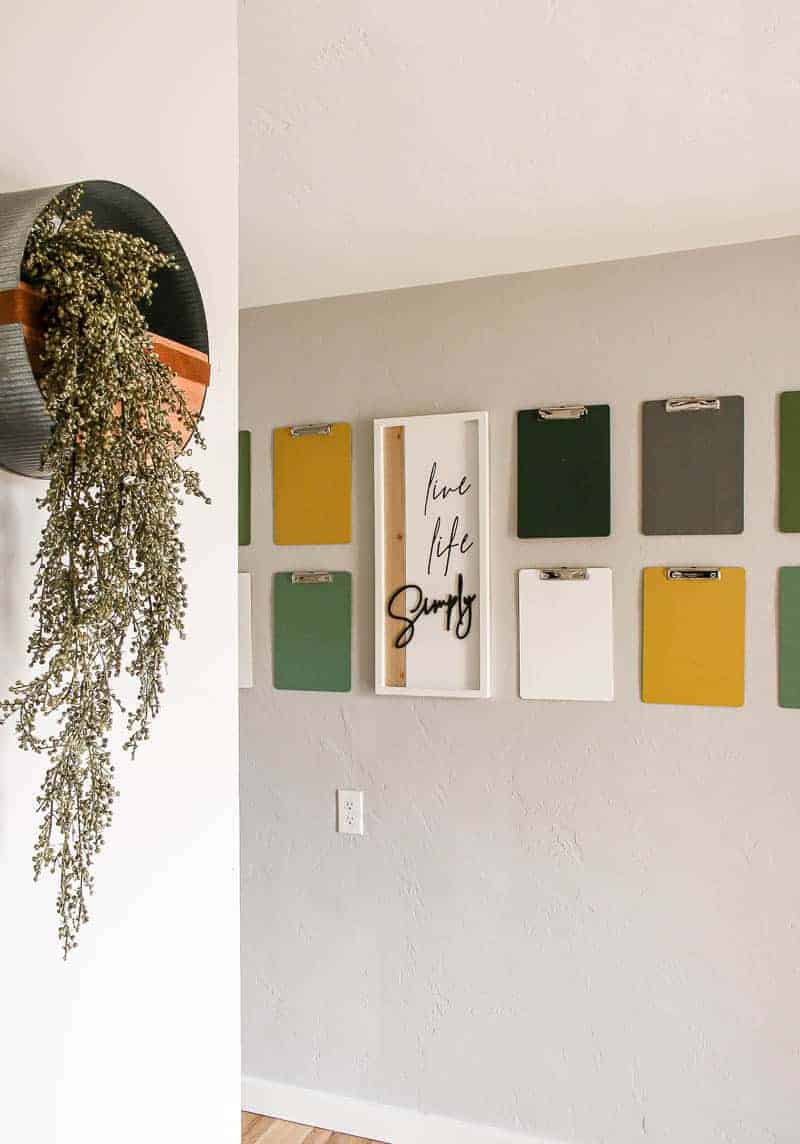
Looking for a creative way to start hanging kid's art up around your house? Why not try hanging clipboards on wall so you can easily change out your kid's artwork. Check out this creative and colorful clipboard wall!
If you love DIY videos, be sure to subscribe to our YouTube channel!
As soon as our little one started going to preschool, I was inundated with the amount of cute artwork and crafts that he would bring home every week. Even on the weekends, he loves coloring and working on art at home.
Instead of piling it up on a shelf or in a closet, why not display your children’s artwork and make them feel proud?
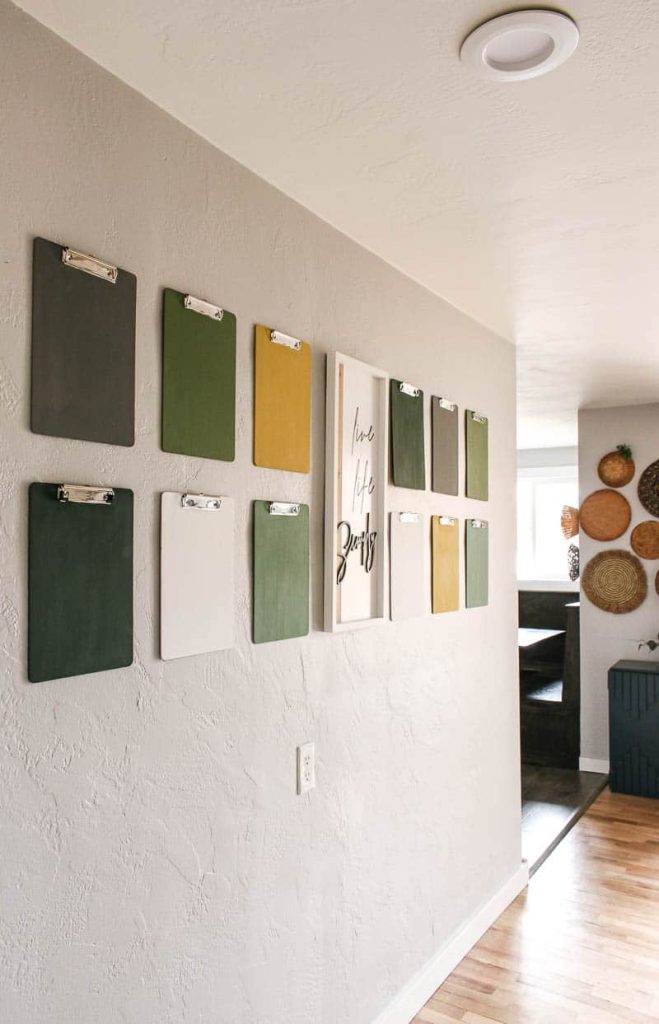
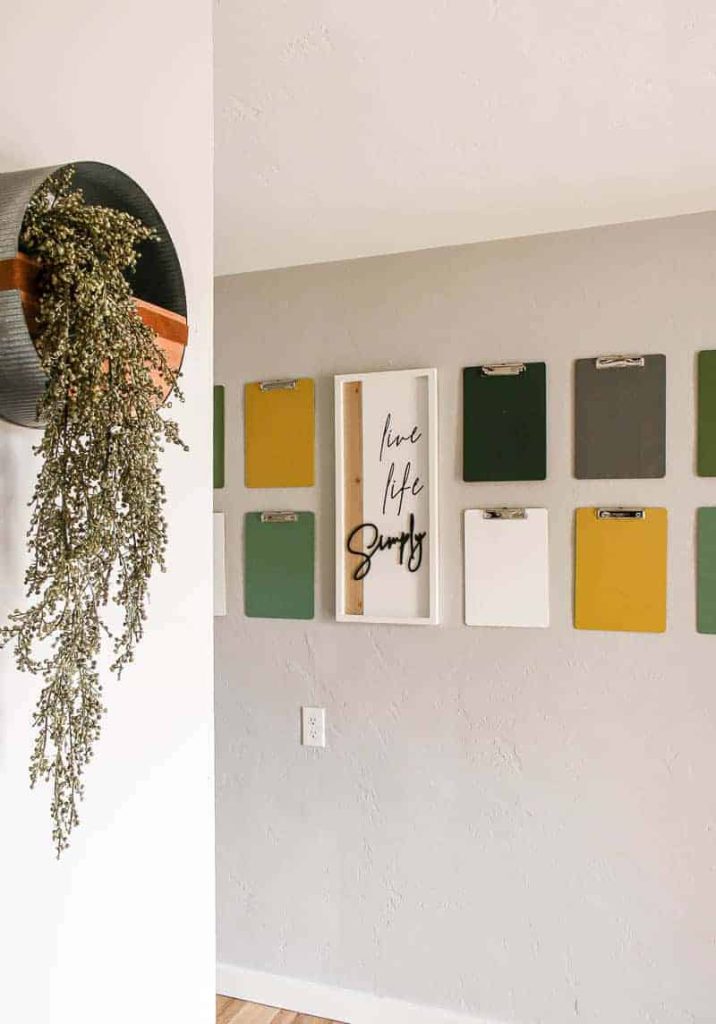
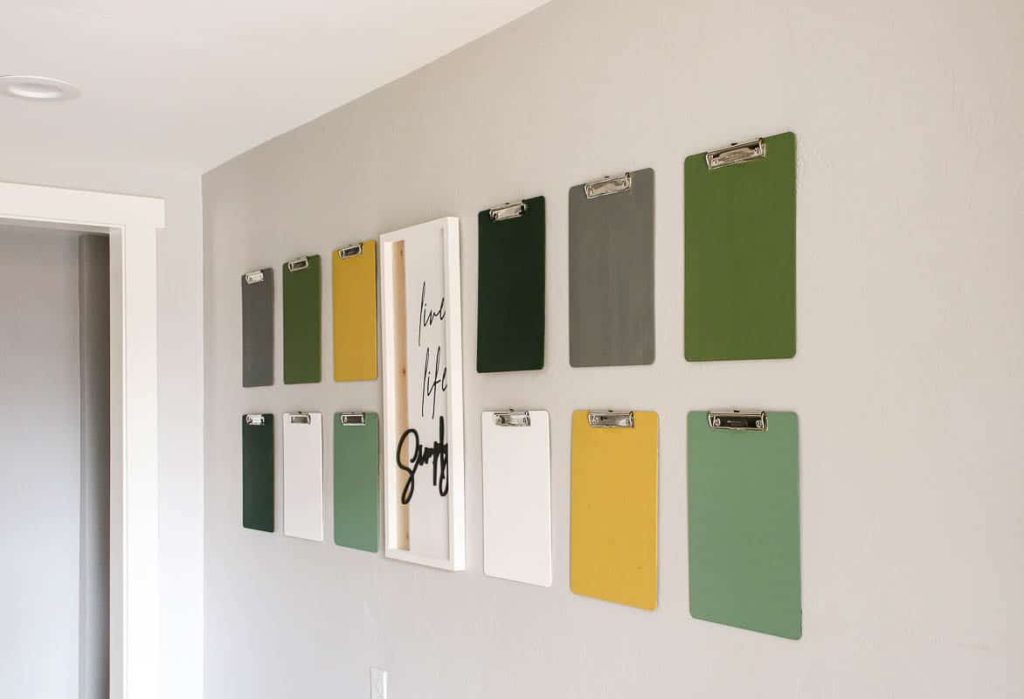
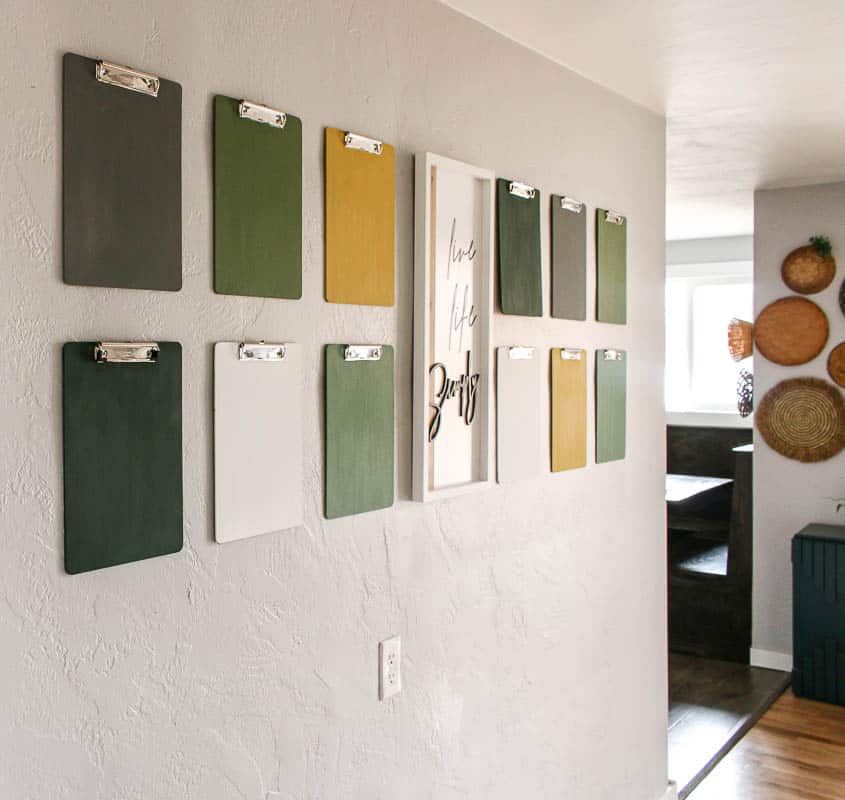
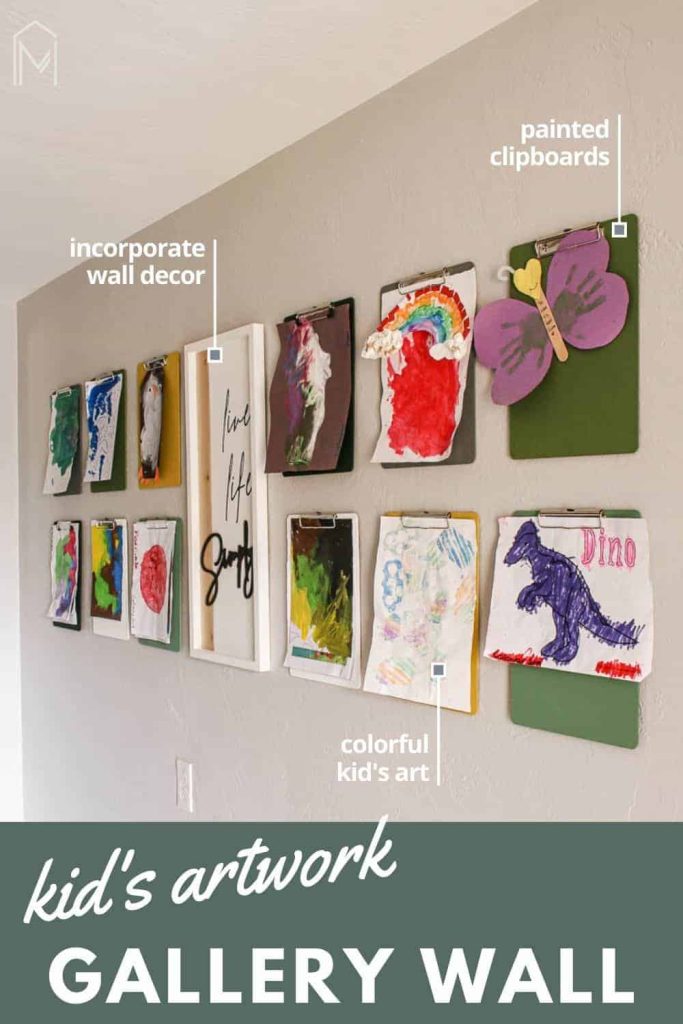
That’s why we created this kid’s art gallery wall in our hallway. With 12 colorful clipboards hanging on the wall, there are lots of spots to display children’s artwork on this wall!
Maybe you’re wondering how do you hang a clipboard on the wall or how do you paint a clipboard? Don’t worry – we’re going to answer ALL of that in this step-by-step tutorial.
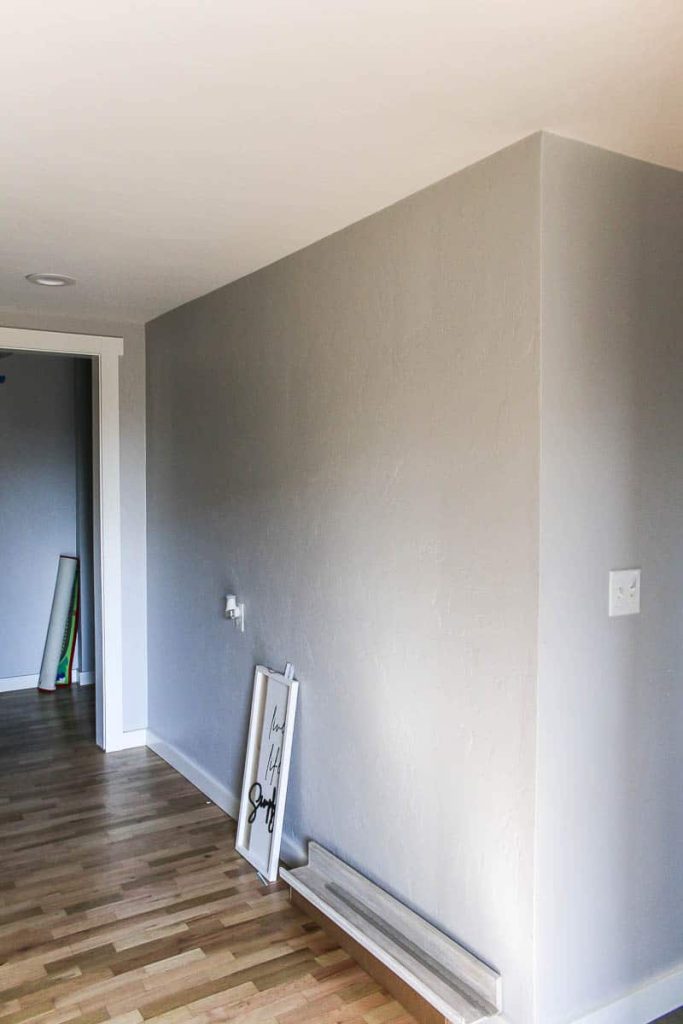
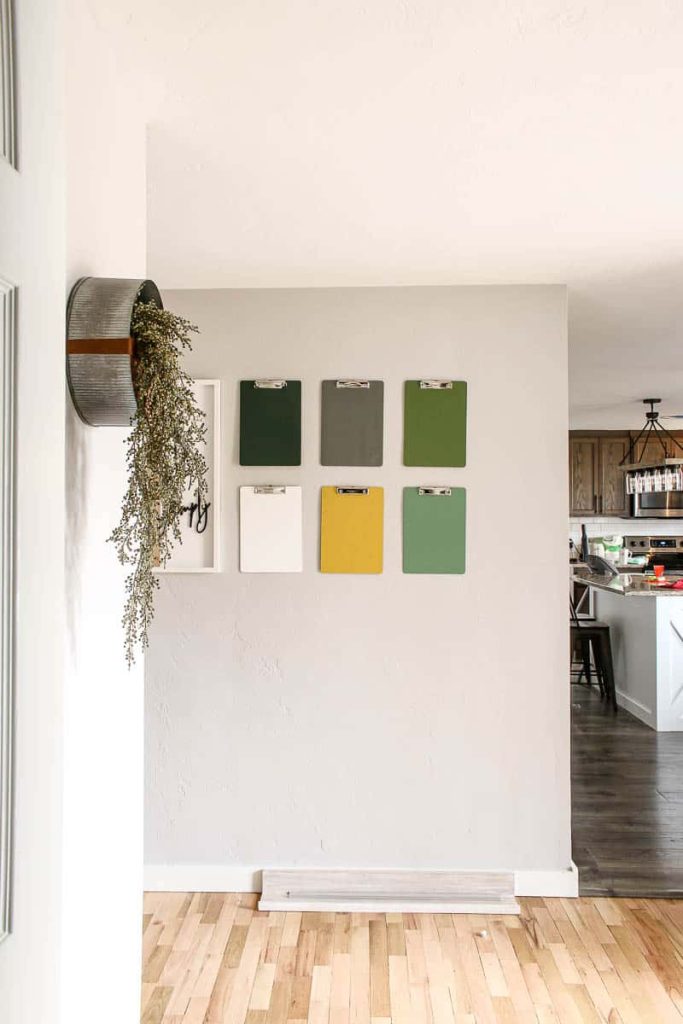
Before we jump into the clipboard wall tutorial, let’s take a look at this wall before we hung up the clipboards. It was pretty boring!!
Clipboard Wall – Before Picture
Related – Other gallery wall posts:
- How To Plan Your Gallery Wall Layout
- 5 Gallery Wall Styling Tips
- How To Hang A Gallery Wall With Family Photos
- How To Hang a Picture (the easy way)
- 14+ Family Photo Wall Ideas
This article contains affiliate links, but nothing that I wouldn’t wholeheartedly recommend anyway! Read my full disclosure here.
Materials needed for hanging clipboards on wall:
- Clipboards
- Acrylic craft paint in white , gray, dark green, medium green, light green, mustard yellow (I added a few drops of black paint to make it less bright)
- Command picture hanging strips
- Foam paint brush
- Tape measure
- Level
Step 1. Plan your clipboard wall design & colors.
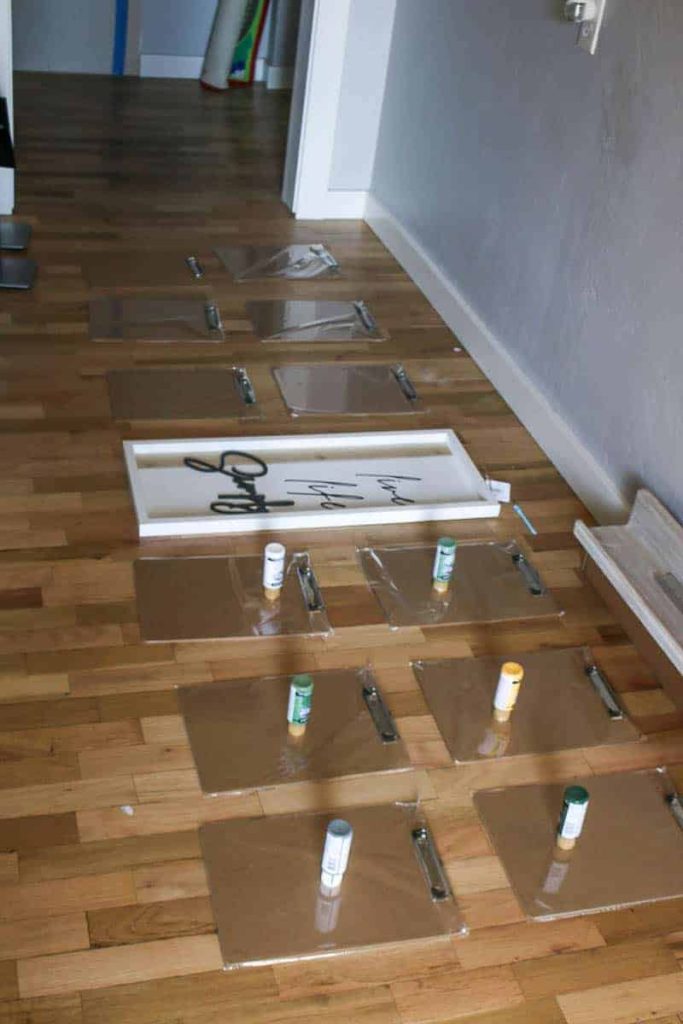
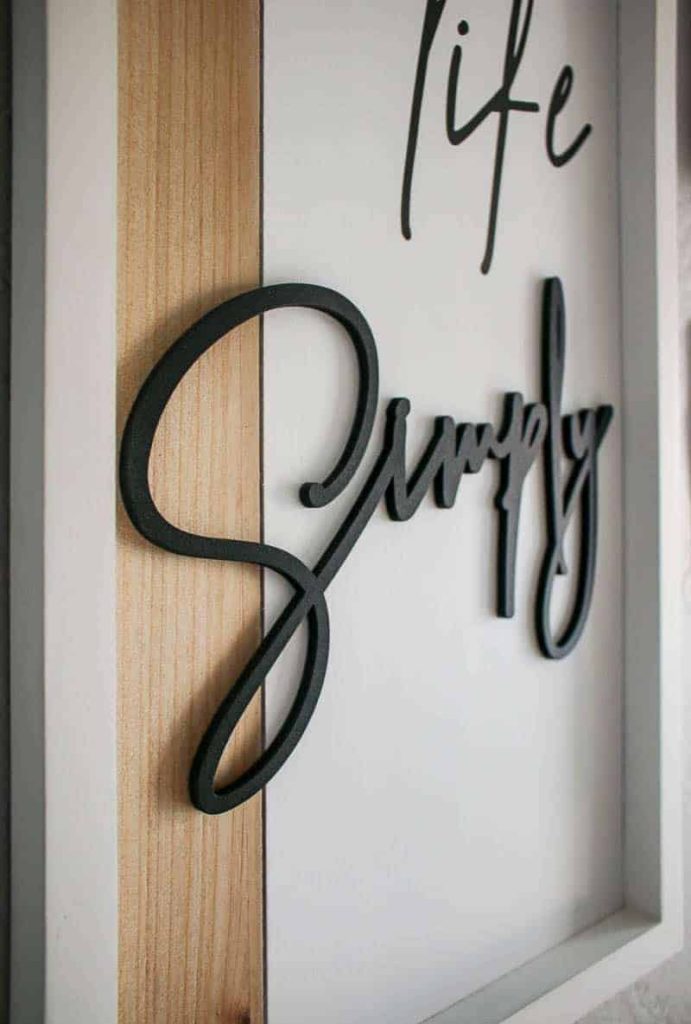
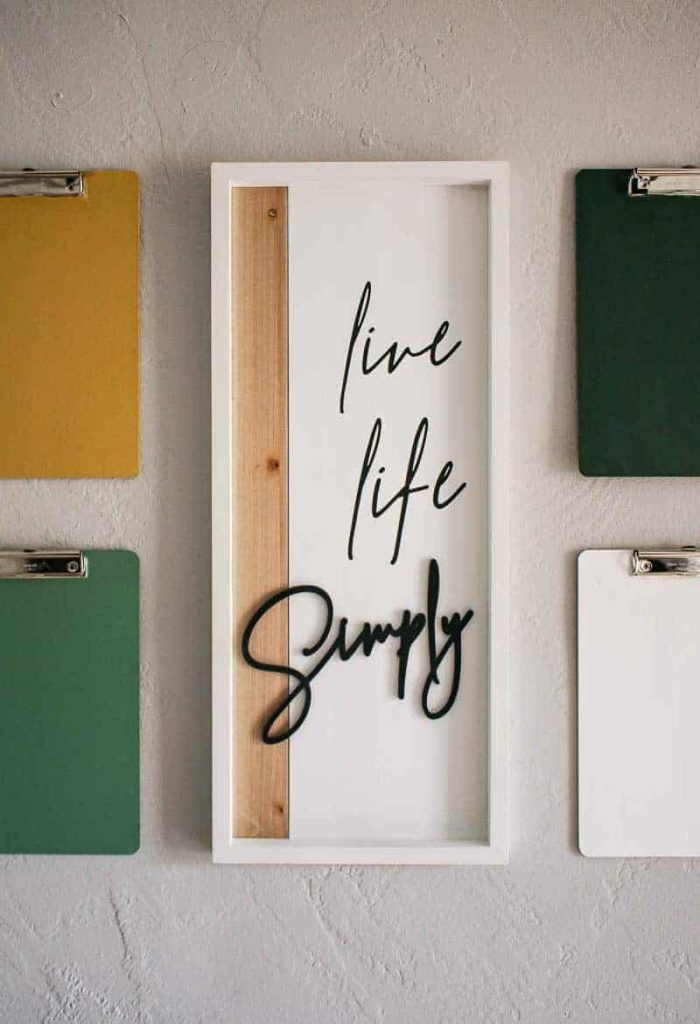
I wanted to incorporate that cute Live Life Simply sign into the clipboard wall, so I put that in the center and added a grid of 6 clipboards on each side.
If you have a smaller clipboard wall, you may want to use fewer clipboards.
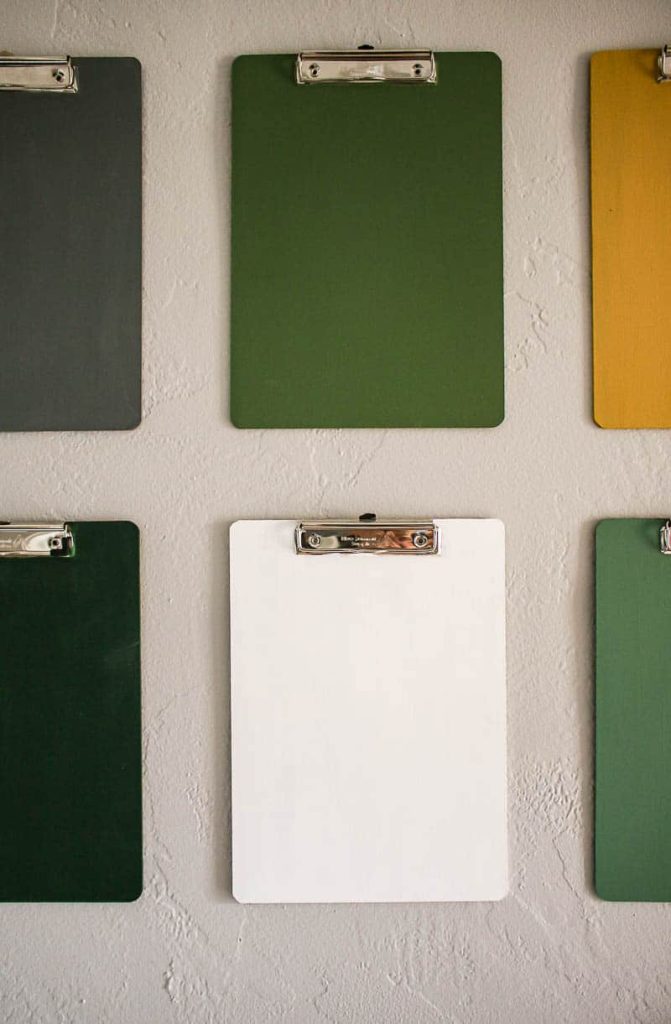
Since we were doing 6 hanging clipboards on each side of the sign, I chose 6 colors that work well with our home decor (white, gray, mustard yellow for a little pop of something bright, and 3 shades of green).
Step 2. Paint clipboards.
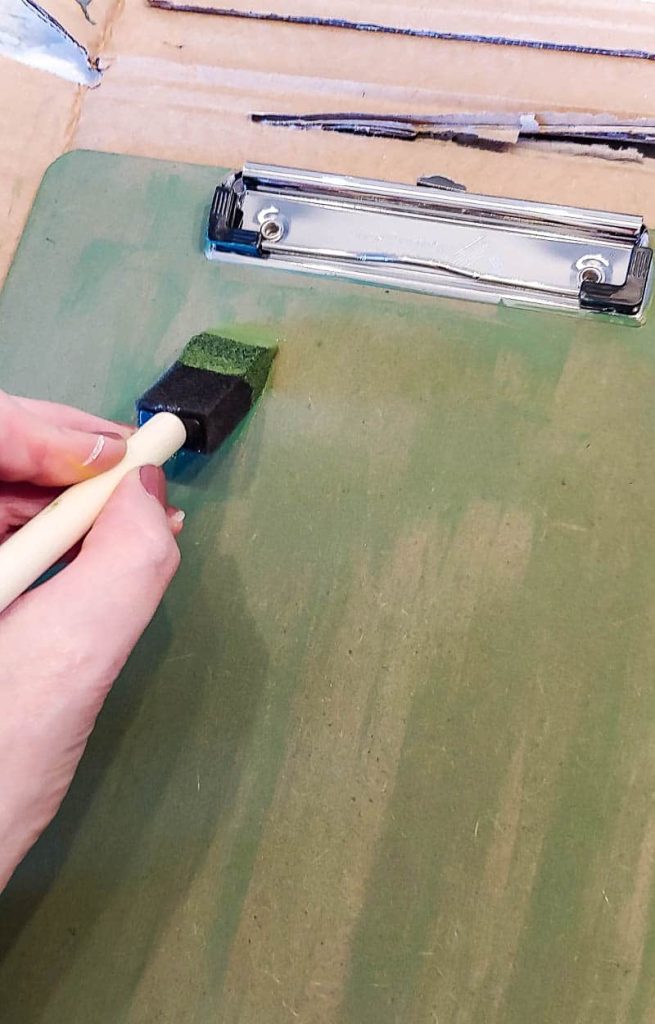
I used a foam paintbrush to paint the acrylic craft paint on the clipboards. I did find that I had to do between 3 – 5 coats of paint, which really seemed to soak into the clipboards on the first couple of coats.
The white paint definitely needed the most coats to get good coverage – 5 coats total.
Yes, there are some brush strokes visible and it’s not perfect, but the real star of the show here is going to be hanging kid’s art!
They don’t bother me, but if you didn’t want them, you could use spray paint instead and just tape off the clips (or paint them).
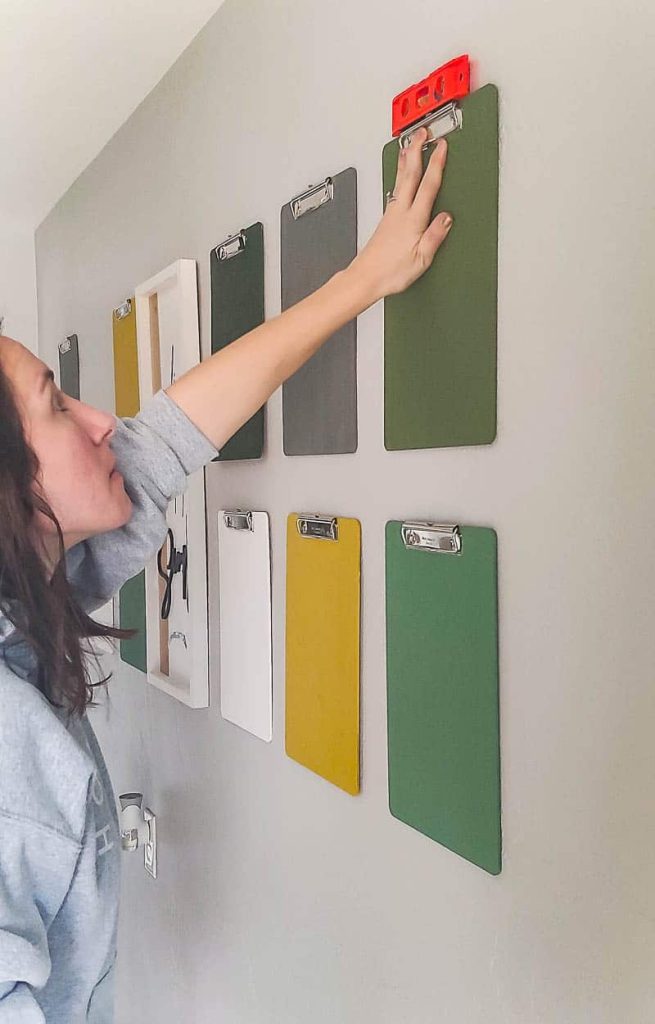
Step 3. Hang clipboards on wall.
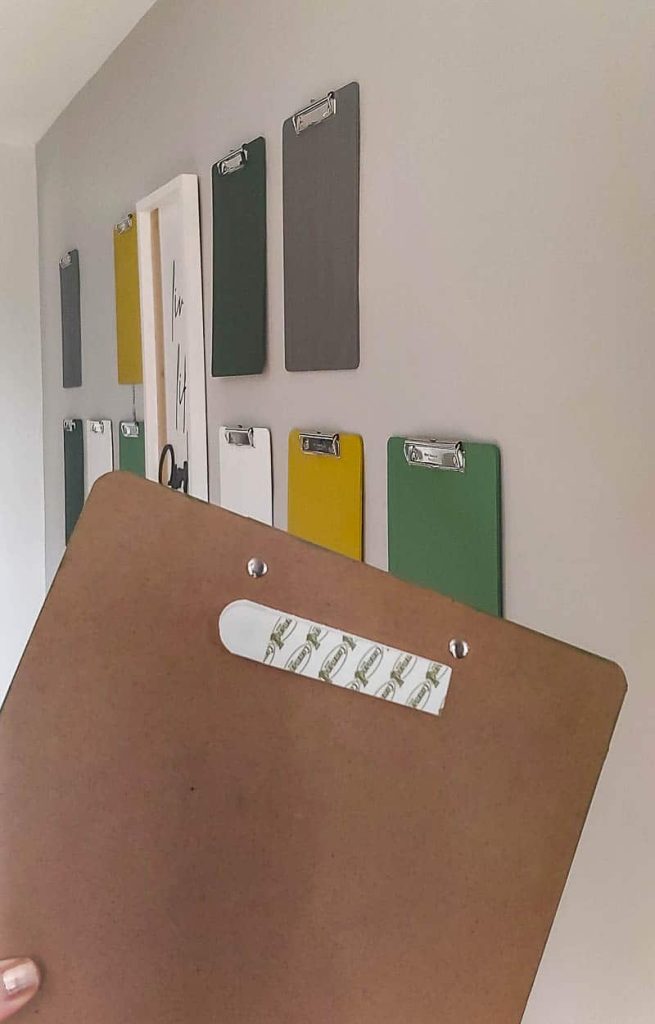
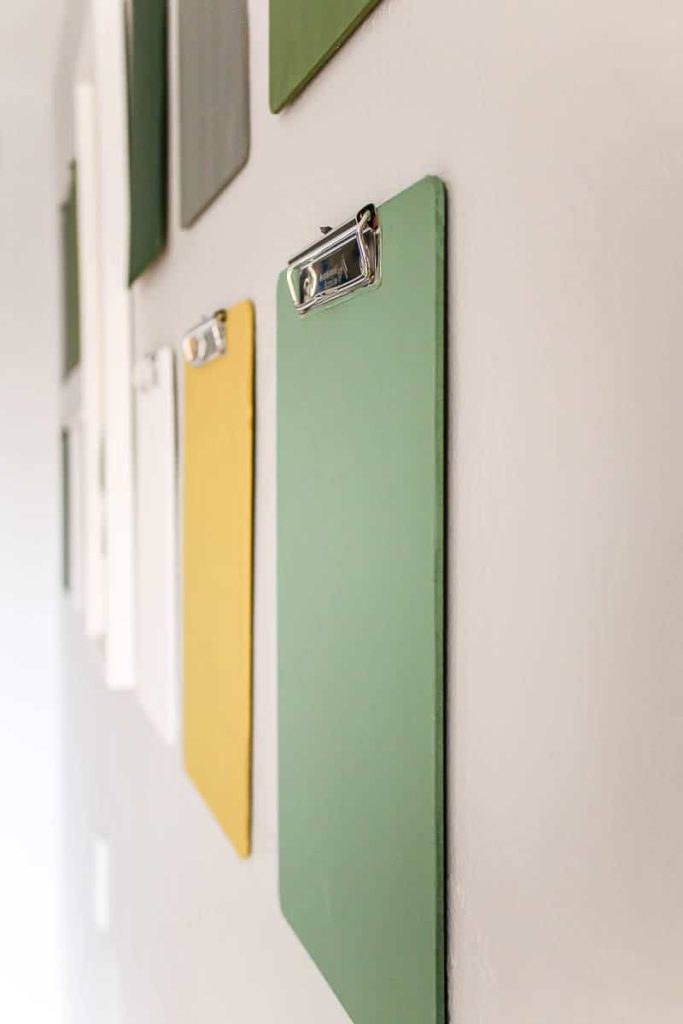
No need to use nails, hanging clipboards on the wall is simple with Command picture hanging strips. I love them because they can be removed without damaging the wall.
I just used one large strip in the middle at the top of the clipboard. The clipboards are pretty light so that held perfectly.
Step 4. Display kid’s artwork.
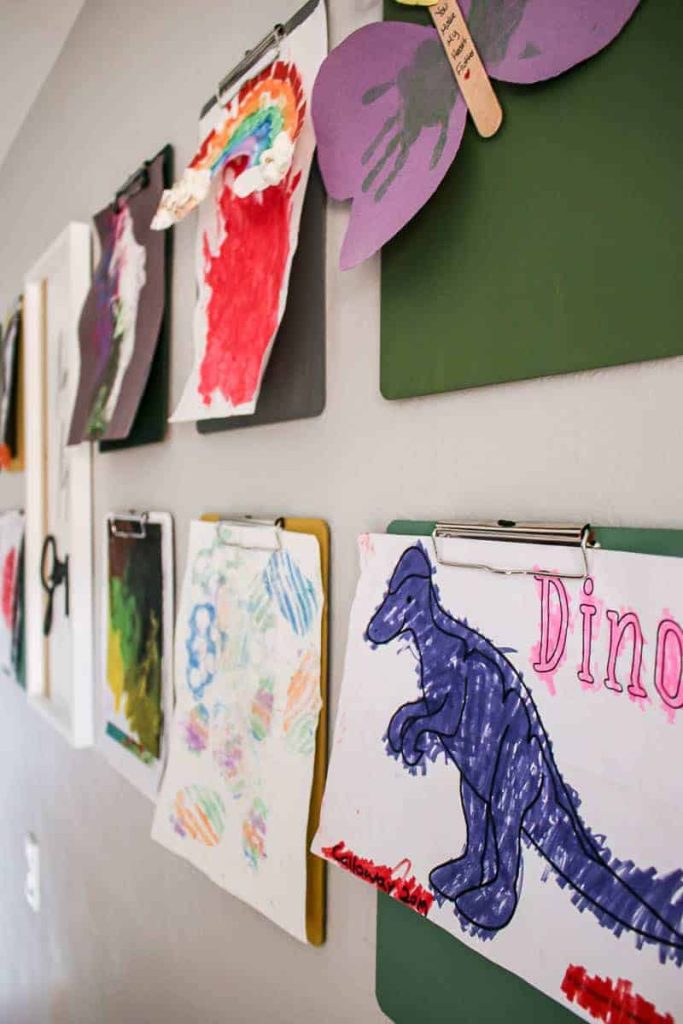
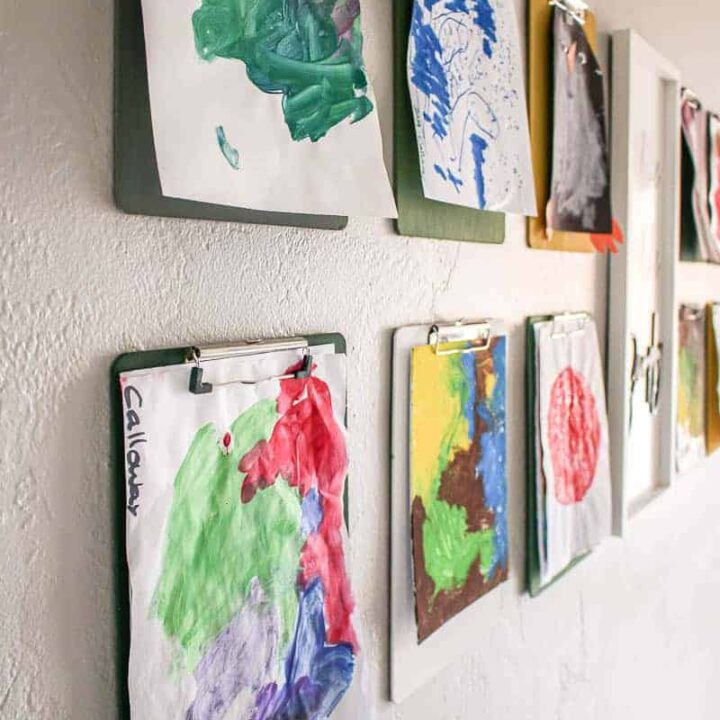
Last but not least, hang up your kid’s artwork! I let Cal go through his stack of artwork and chose his favorites to hang up on the clipboard wall.
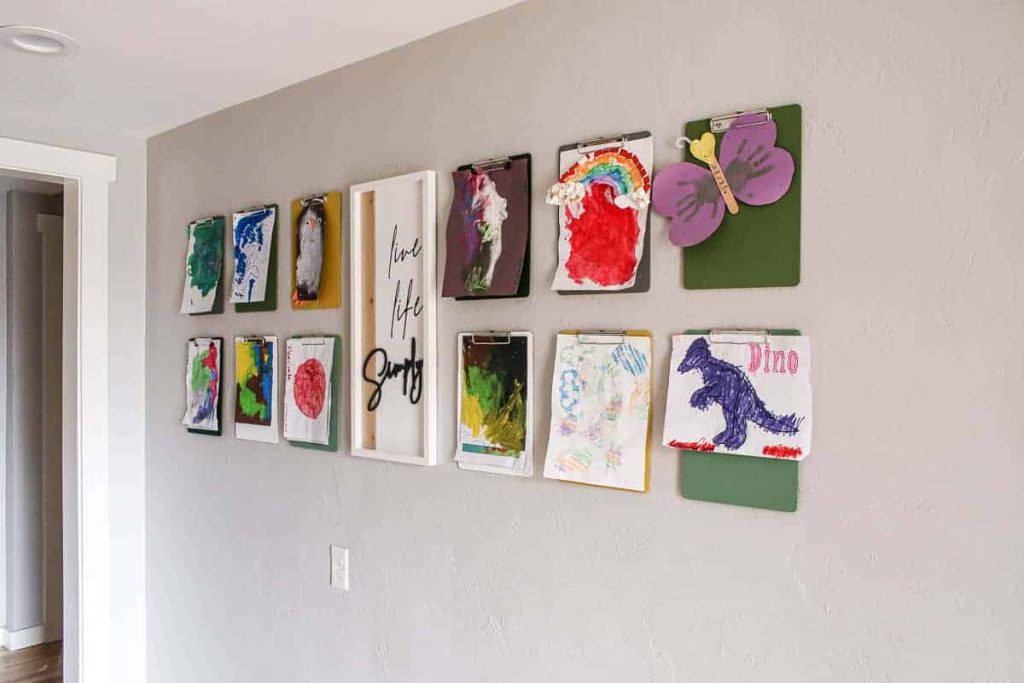
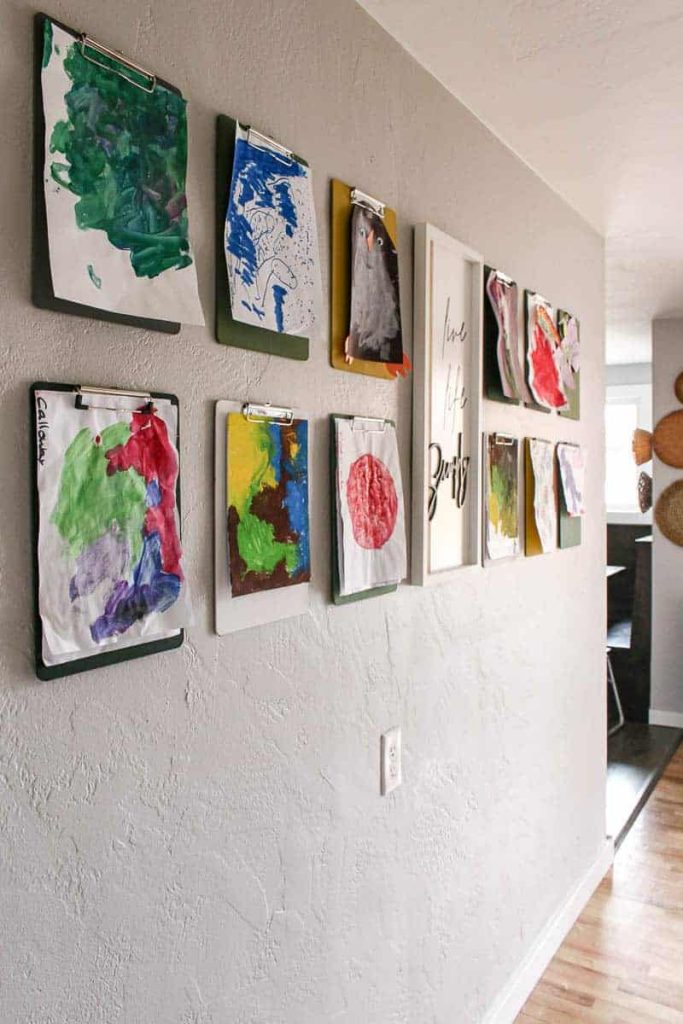
He had so much fun choosing the artwork to hang up on the wall and he’s so proud of it!
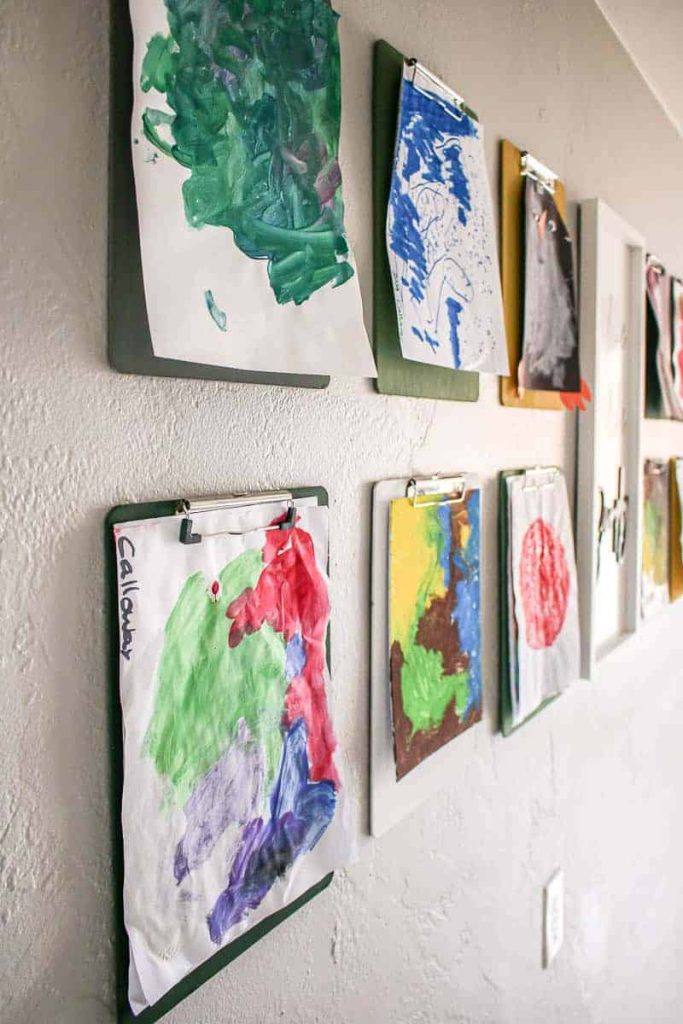
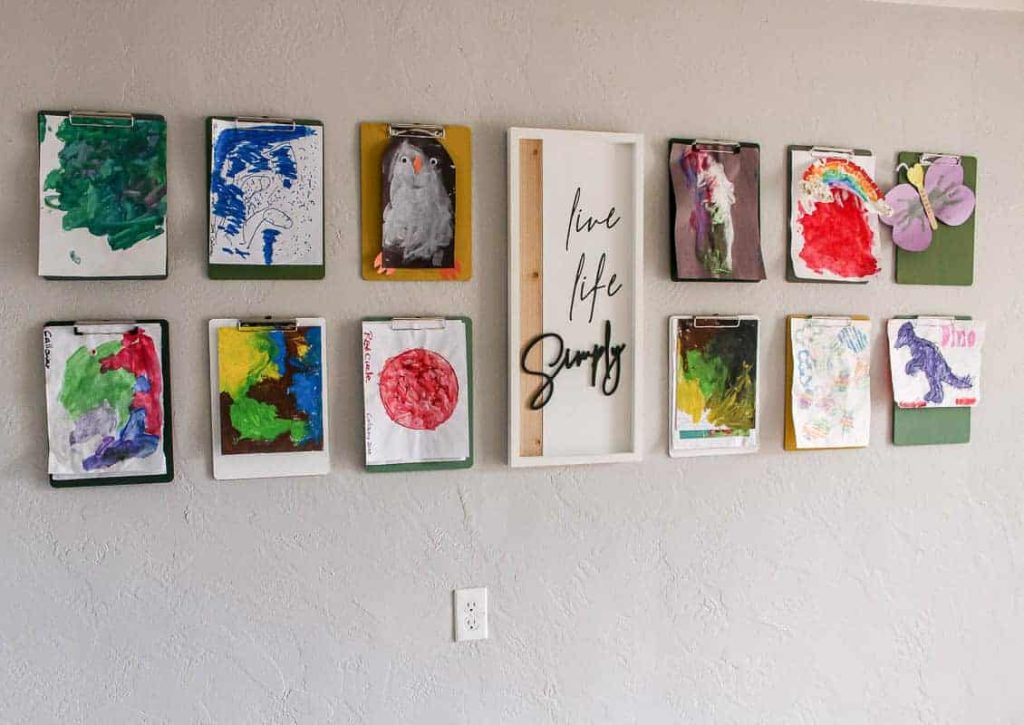
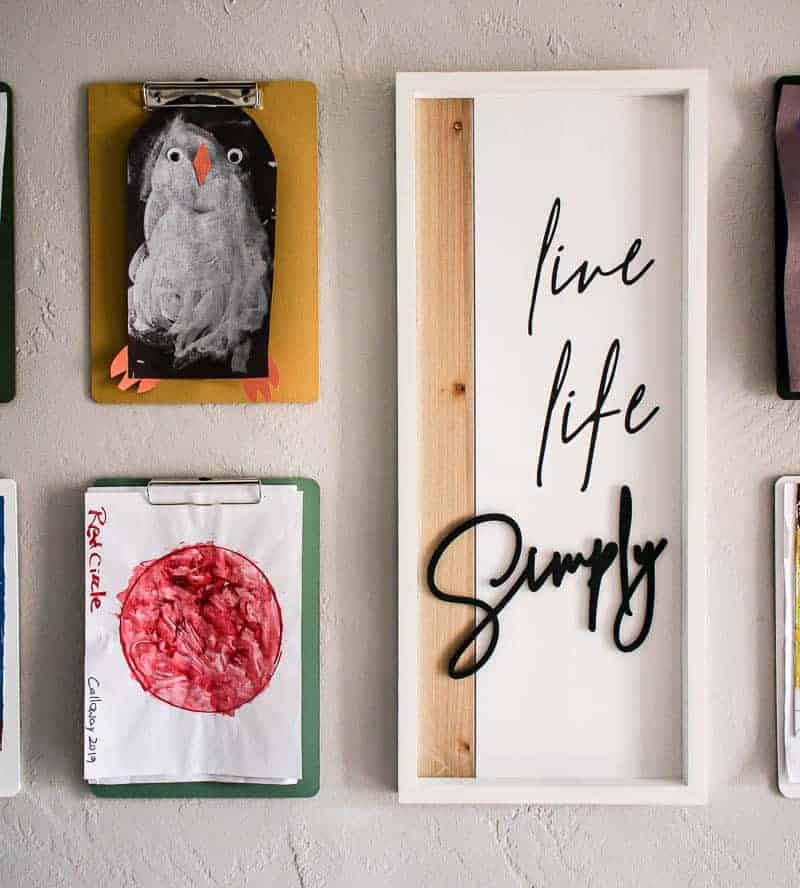
Hanging the clipboards on the wall was so easy! The hardest part, honestly, was painting them and it wasn’t hard… just time-consuming.
I love that my kids can walk by this wall and feel proud of their creativity on display!
Would you put up clipboards on wall in your house? How do you display children’s artwork?
Let us know in the comments below!
How To Make a Kid's Art Gallery Wall With Clipboards
Materials
- Clipboards
- Acrylic craft paint (in 6 different colors)
- Command picture hanging strips
Tools
- Foam paint brush
- Tape measure
- Level
Instructions
- Plan your clipboard wall & colors.
- Paint clipboards with acrylic craft paint and foam paint brush.
- Hang clipboards on wall with Command Picture Hanging Strips.
- Display kid's artwork.

