Easy DIY Natural Christmas Ornaments with Faux Greenery
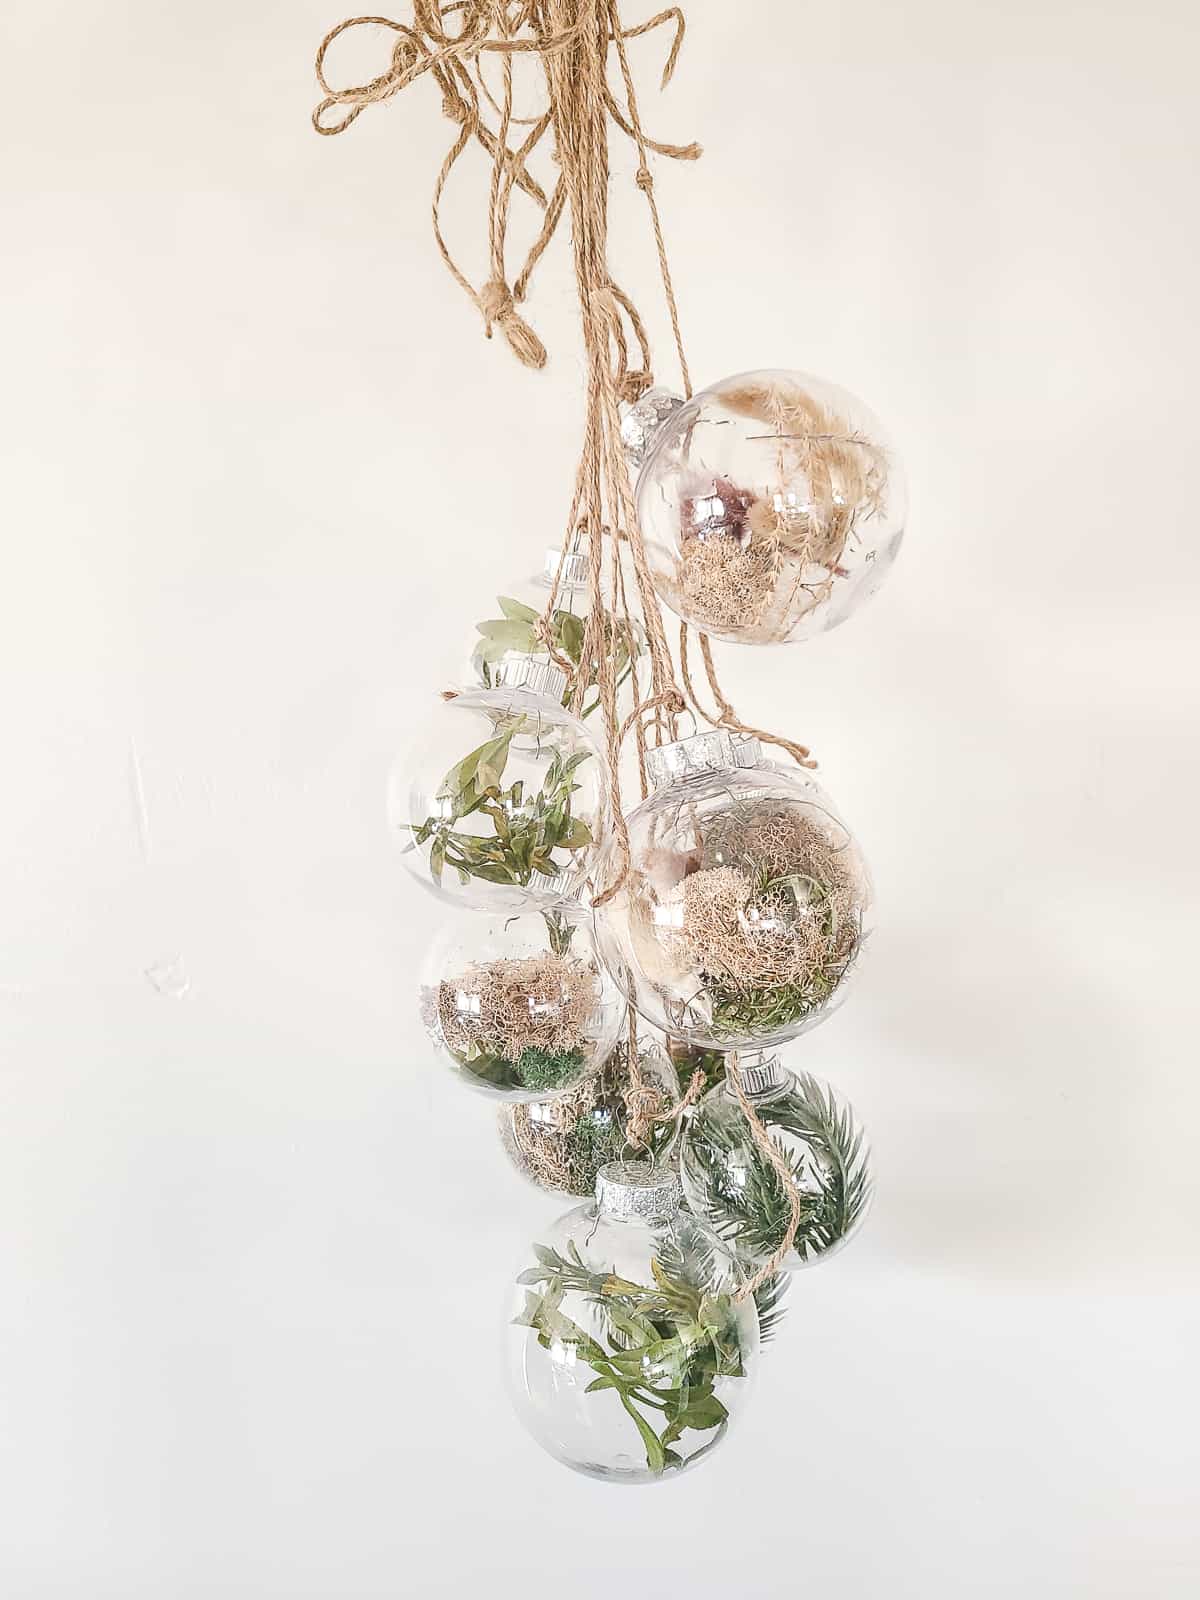
Who doesn’t love homemade Christmas ornaments? These natural Christmas tree ornaments are a simple way to showcase your unique style this holiday season and would look beautiful alongside a farmhouse-style Christmas tree and decor.
I love using natural elements in my Christmas decor this time of year. This craft is easy, simple, and an excellent way for the whole family to participate in creating homemade Christmas decorations.
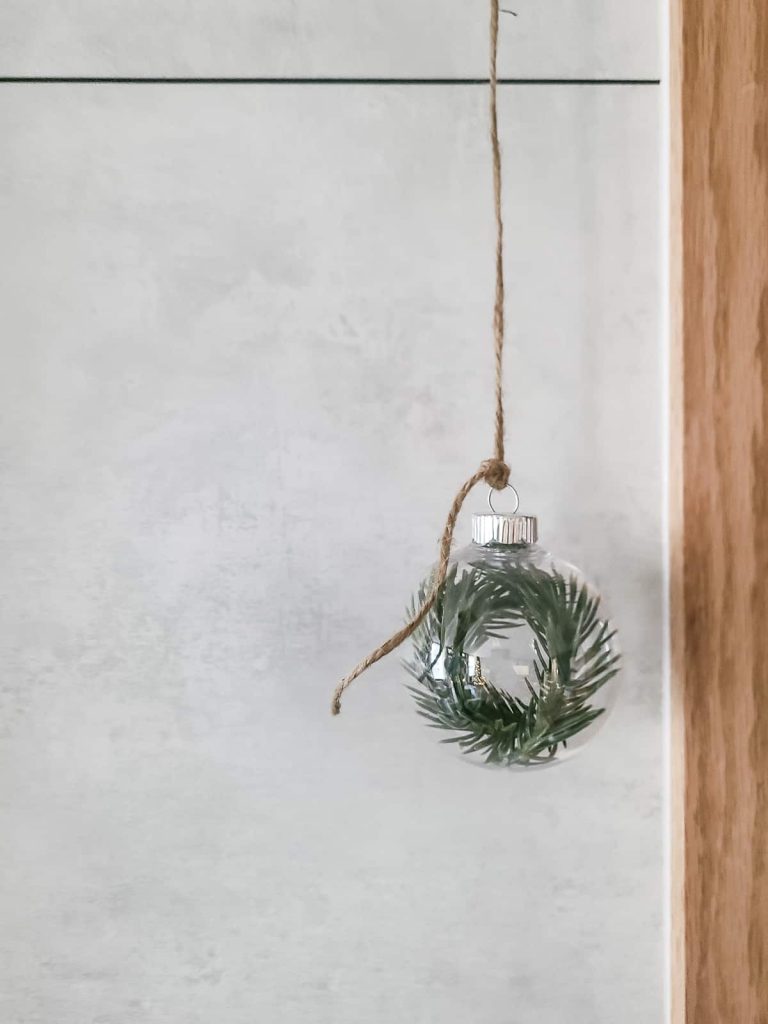
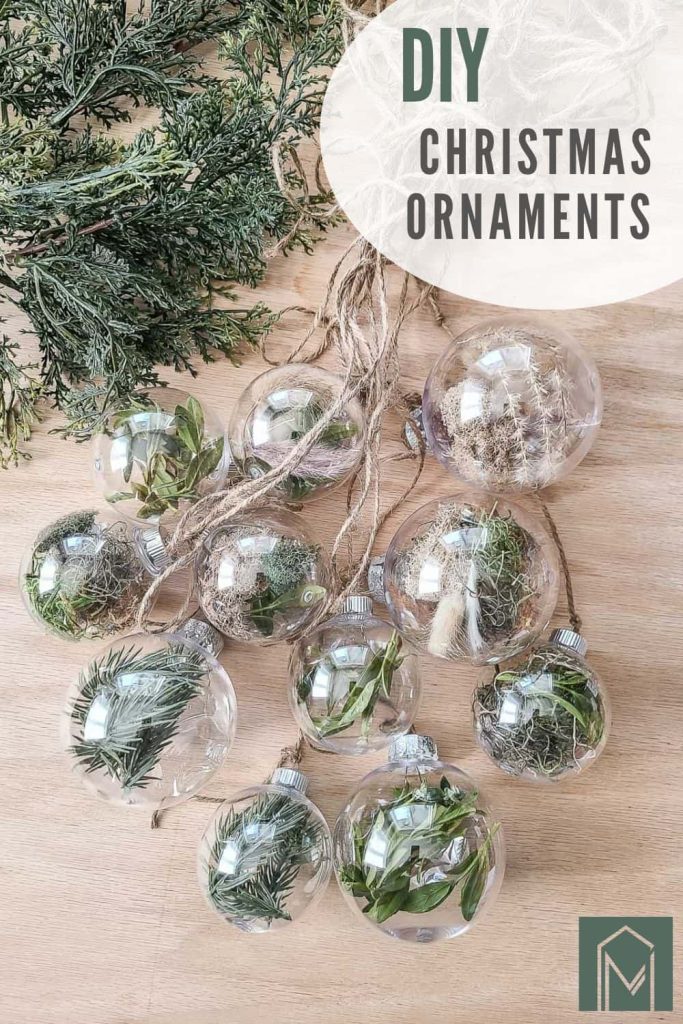
This craft uses faux greenery gently stuffed into transparent plastic ornament balls. I love using greenery to decorate my home all year round as it gives a natural look with a little bit of interest.
Related: Want to see more Christmas decor??
- Our Boho Christmas Tree In The Bedroom
- How To Decorate Your Bedroom for Christmas
- 37+ Cozy Christmas Bedding Ideas from Amazon For Your Bedroom
- Mini Wreaths On Kitchen Cabinets for Easy Christmas Decor
- 18 Christmas Stocking Display Ideas
- 10 Things You Need From the Studio McGee Christmas Collection at Target
- DIY Boho Advent Calendar with Yarn Tassel Wall Hanging
- 100+ Gorgeous Boho Christmas Decor & DIY Ideas
- Farmhouse Christmas Tree & Living Room Christmas Decor
- DIY Christmas Village Makeover For Less Than $10
- 10 Things You Need From Hearth and Hand Christmas Collection
- Mini Fabric Christmas Tree
- DIY Wrapping Paper For Christmas Gift Wrap
- Farmhouse Christmas Decor On A Budget
- Believe Christmas Sign with Farmhouse Style
- Farmhouse Advent Calendar
- Farmhouse Winter Tablescape
I had a lot of leftover greenery and moss in my craft supplies from this farmhouse wreath, and faux succulent wall decor, so this was the perfect way to use it.
There were also some small pieces that inevitably always fall out of my Christmas garlands when I’m unpacking them and setting them up while decorating for the holidays, so it is a great way to use up that small piece that otherwise would be going into the trash.
The process is super simple for these ornaments. All you do is take off the top of the ornaments and stuff them with the faux greenery, then replace the top and hang them!
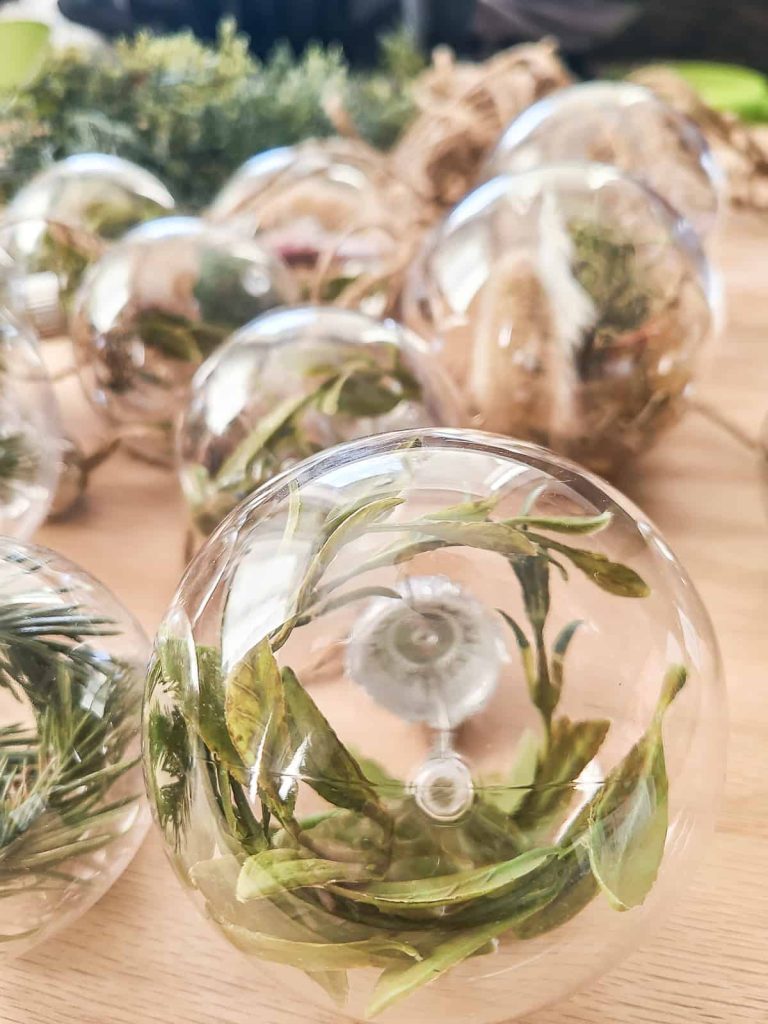
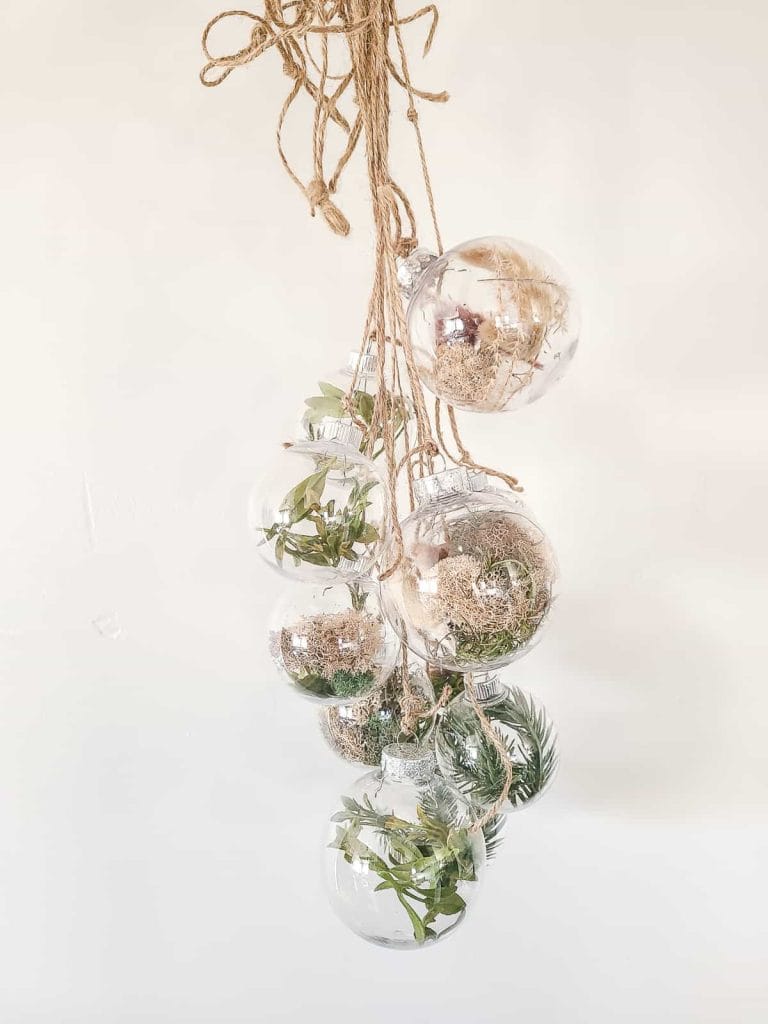
I love how versatile this craft is. You could easily add other elements to the inside of the ornament to make this your very own.
Try faux snow as filler, opaque ornaments, wooden beads, cinnamon sticks, dried orange slices, pine needles, and other natural elements.
Whether you are going for a simple pop of greenery or a more intricate wintertime display, this craft is the perfect way to add a splash of modern-rustic charm to your holiday decor. Plus, this craft makes a great gift, too!
Let’s turn up the Christmas music and make these beautiful ornaments to get into the holiday spirit.
Greenery Christmas Ornaments Video Tutorial
If you love DIY videos, be sure to subscribe to our YouTube channel so you don’t miss the next one!
As mentioned above, this craft is super simple and uses clear ornament balls with faux greenery, but feel free to use fresh greenery if you prefer. If the kids are helping, take a nature walk to collect your materials to add to the ornament.
If you are looking for more Christmas crafts try these farmhouse-style handmade ornaments, leather Christmas trees, or even fabric ornaments to add vintage flair.
This DIY natural Christmas ornament tutorial also contains affiliate links, but nothing that I wouldn’t recommend wholeheartedly. Read my full disclosure here.
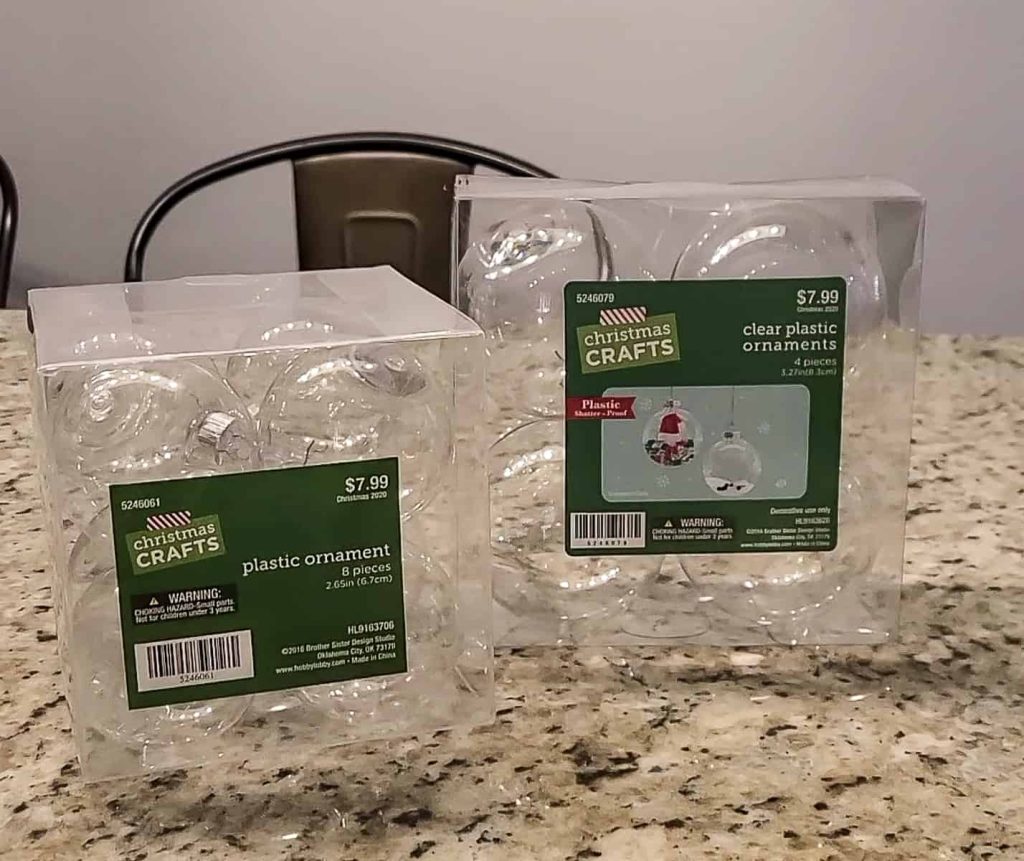
Supplies & tools needed for DIY natural Christmas ornaments:
- Plastic Christmas ornament balls with removable tops
- Faux moss, greenery, pampas grass, or other flowers of your choice
- Jute twine
- Command Hooks
Other supplies ideas:
Since this craft is super versatile, you can add anything you like to make these your very own.
Here are a few ideas:
- Faux snowflakes
- Small twinkle lights
- Mini Christmas bells
- Ribbon
- Pom poms
- Faux berries
- Fresh greenery
- Small twigs
- Pine needles
- Pine cones (small and large)
- Wooden beads (colored and plain)
Step 1. Remove the tops from the ornaments.
As mentioned before, the process for this project is super simple. You’ll need to remove the tops to add the greenery and other decorations to the inside of the balls.
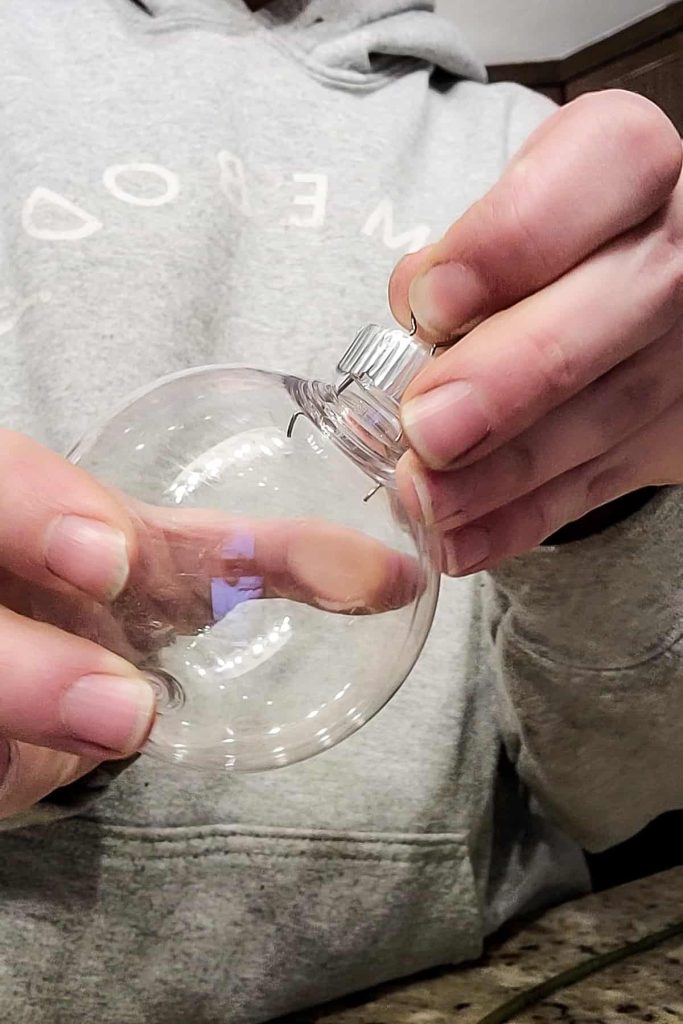
A friendly warning: the prongs and tops are rather flimsy and have sharp edges, so use caution if you are including the kids in this project. I recommend removing the lids and keeping them out of reach from little hands.
Remove the tops from each ornament and set them aside. If you are painting the inside of the ornaments or the tops, you can do that at this point.
Step 2. Stuff the ornaments.
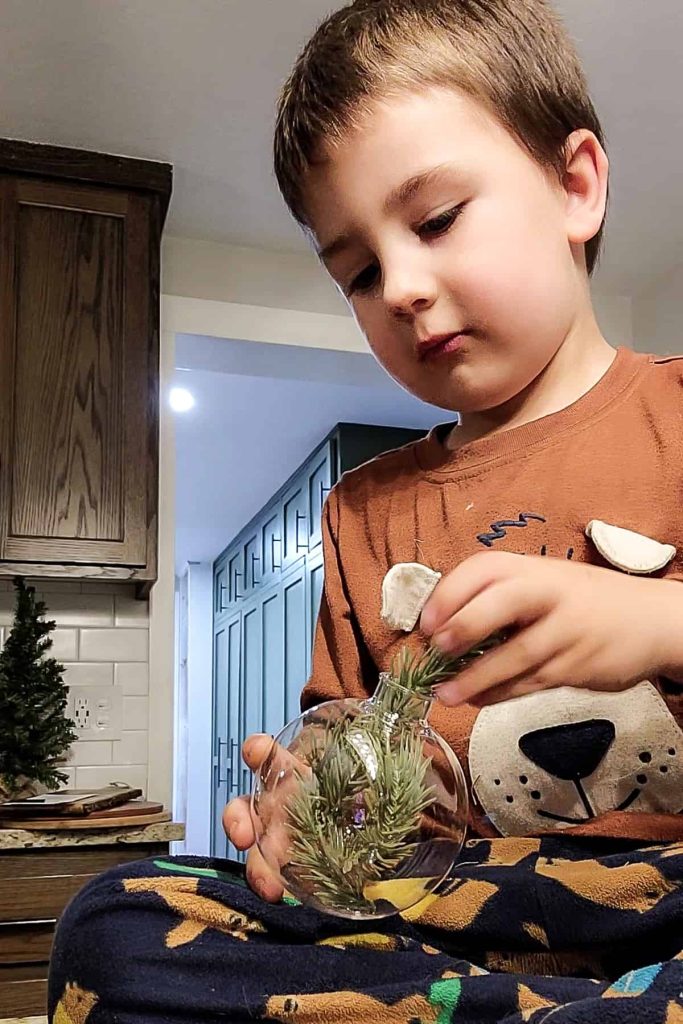
This is the fun part! Now, all you need to do is drop in the sprigs or leaves of the faux greenery. You can stuff these as full or as empty as you choose.
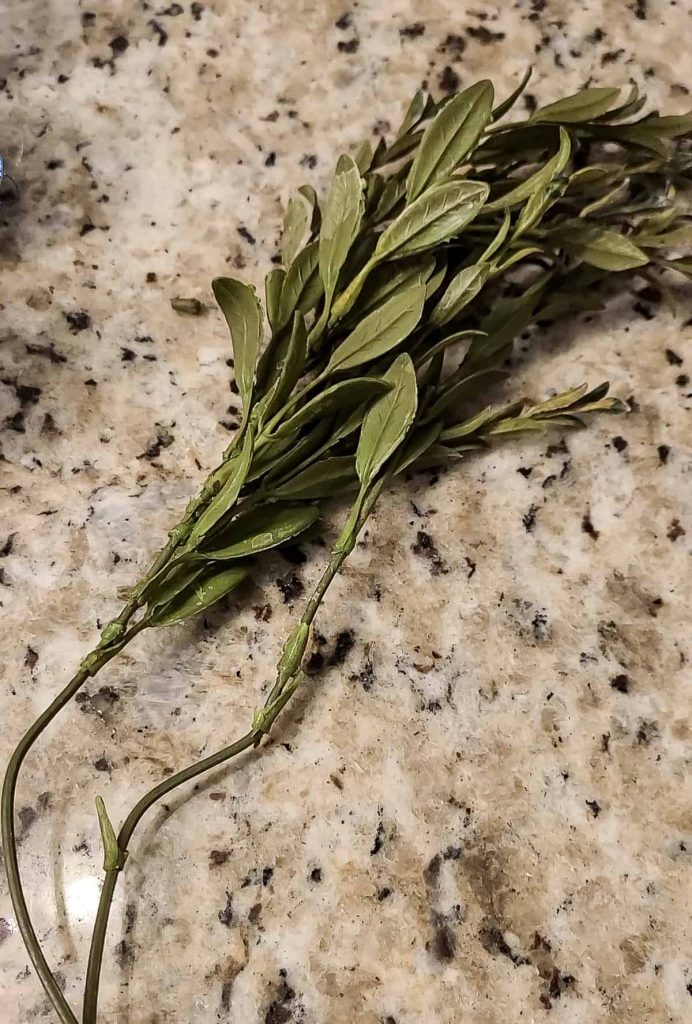
The kids love to get involved in this part. If you watch the video above, you will see my little guy stuffing his ornament full! This craft is great for kids of all ages.
The plastic fillable ornaments are great because you don’t have to worry about them breaking or the sharp edges at the top.
Depending on the ornament, some ornaments, like these ones, open like a clamshell instead of just the top. In this case, you can use larger items to fill the ornaments. Pine cones, cinnamon sticks, and small holly or mistletoe twigs would be beautiful inside a clamshell!
You could even paint one of the inner halves to add a little color to the backdrop.
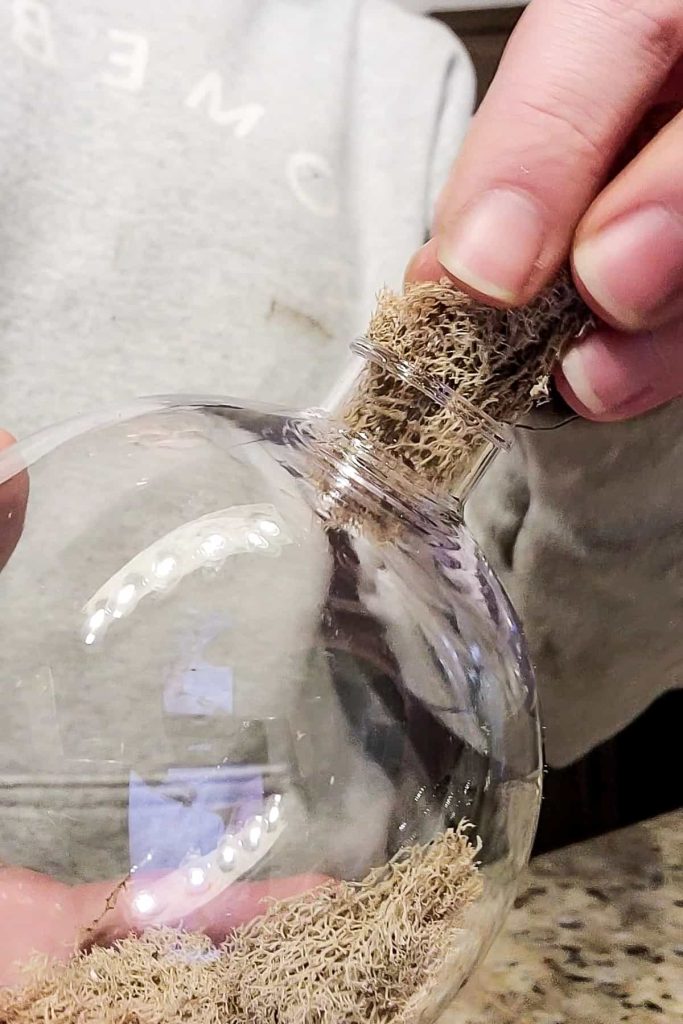
Some craft stores have mini pine cones or dried faux fruit slices that would fit perfectly. Alternatively, spices like cinnamon sticks or star anise would add a little interest, too. There are so many different things you could do with these ornaments, so get creative!
Step 3. Display the natural ornaments.
After the ornaments are stuffed and the tops have been returned, it’s time to display your beautiful ornaments.
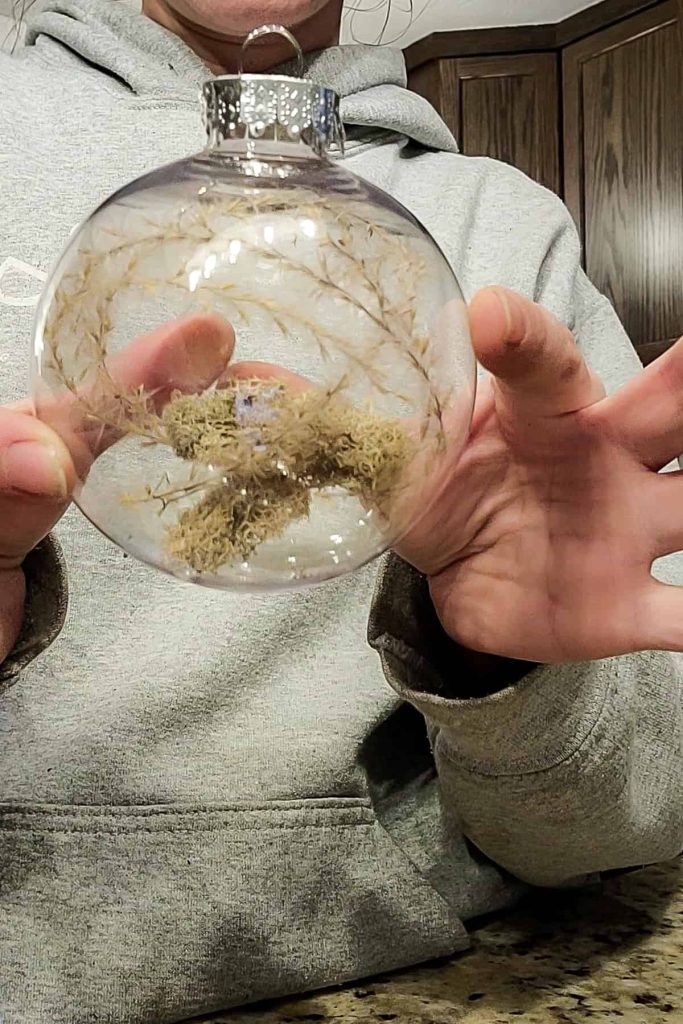
You can loop a little ribbon for easier hanging on the tree or tie different lengths of jute twine to hang them from the ceiling or in front of a picture window.
We displayed these using jute twine and hung them from the ceiling.
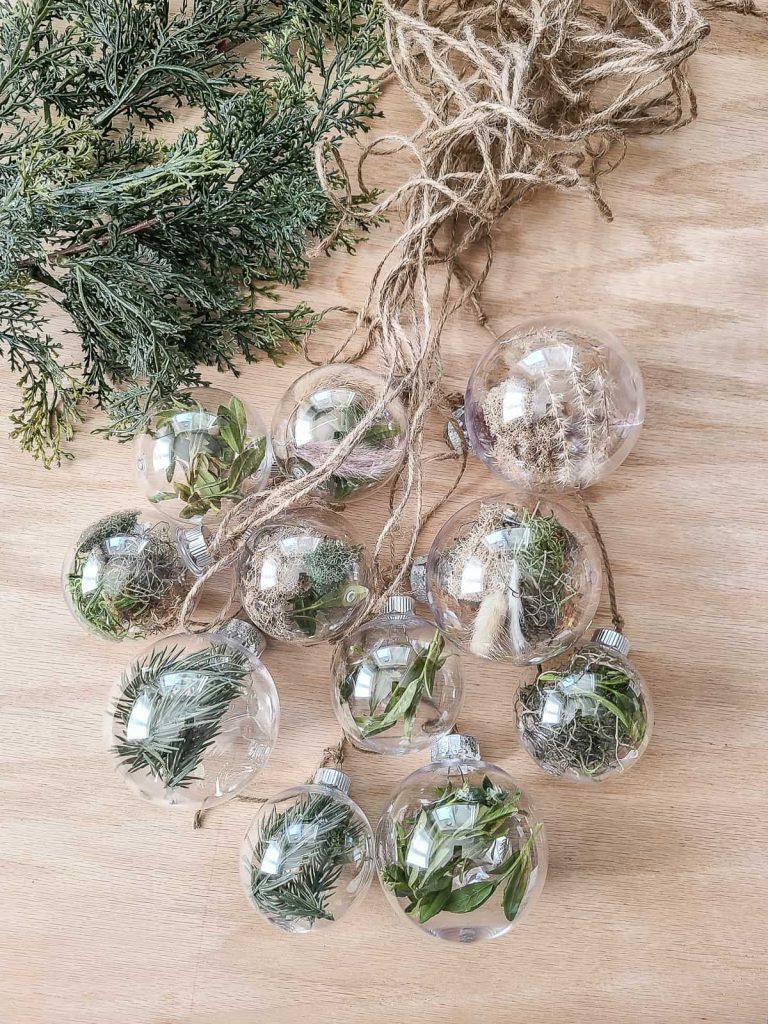
The first year we had them, we put them up in the large windows in our living room, which was such a fun way to display them.
They looked beautiful hanging in the windows and were a special way to greet guests as they came to our front door.
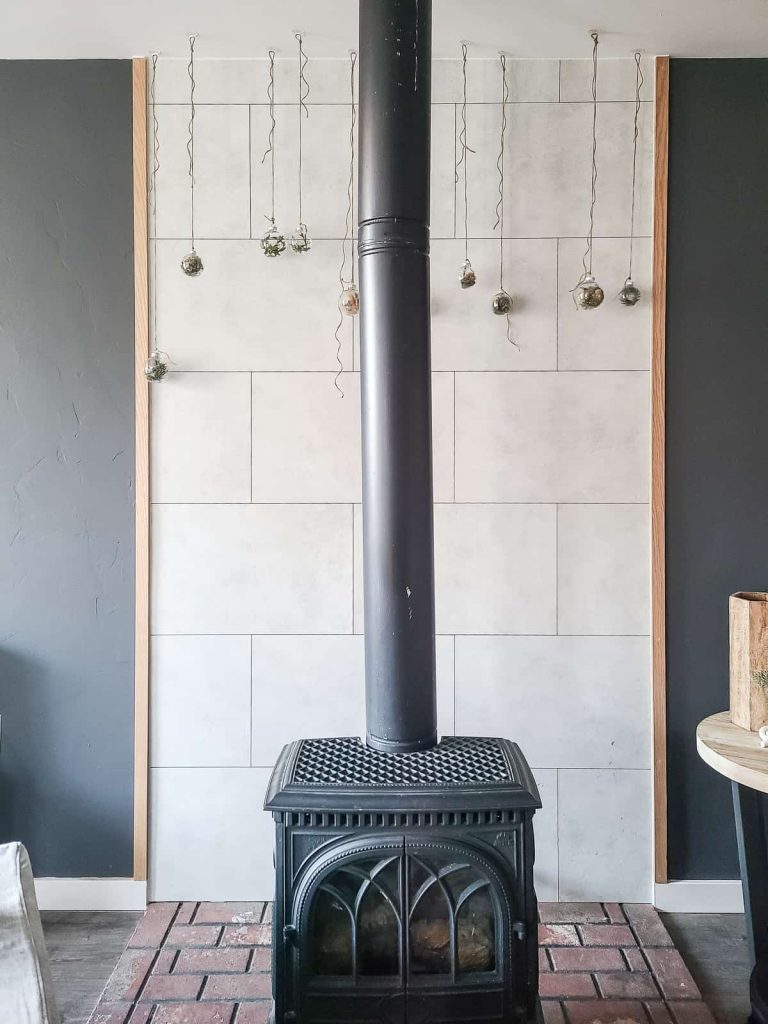
After we renovated our living room and added this faux concrete wall behind the fireplace, we put them there.
To hang from the ceiling, I placed mini clear Command hooks on the ceiling, then used the jute twine to string them up.
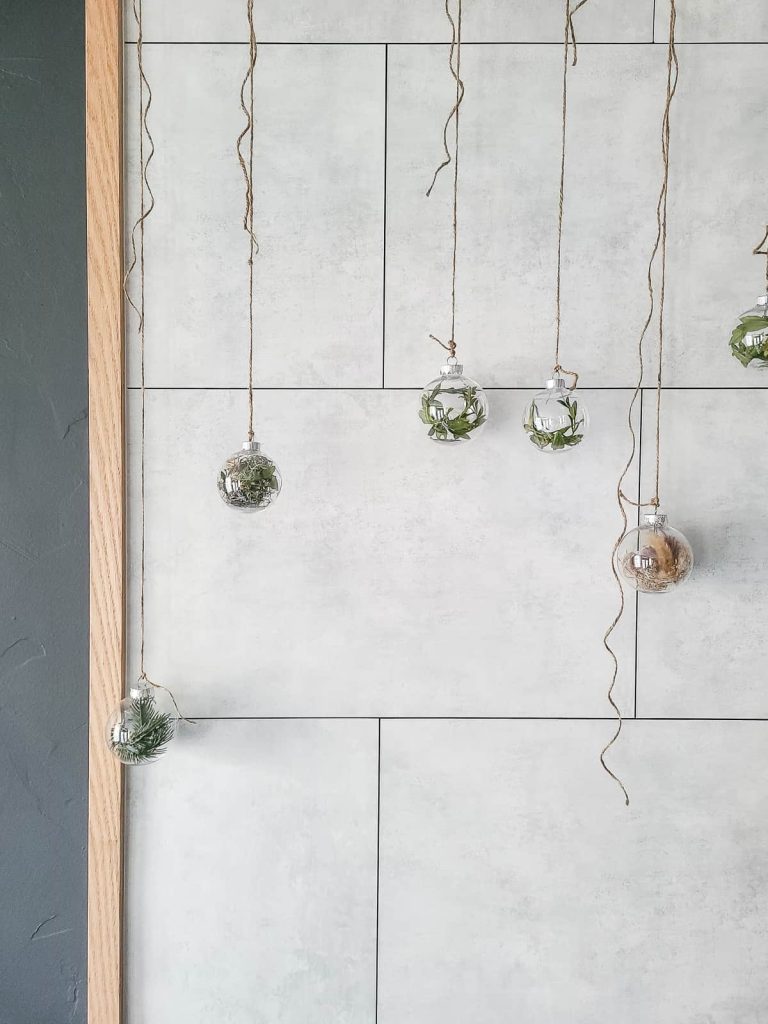
All you have to do to hang the DIY natural Christmas ornaments from the ceiling, like this, is grab your step stool and push a mini clear Command hook in each place that you want to hang an ornament.
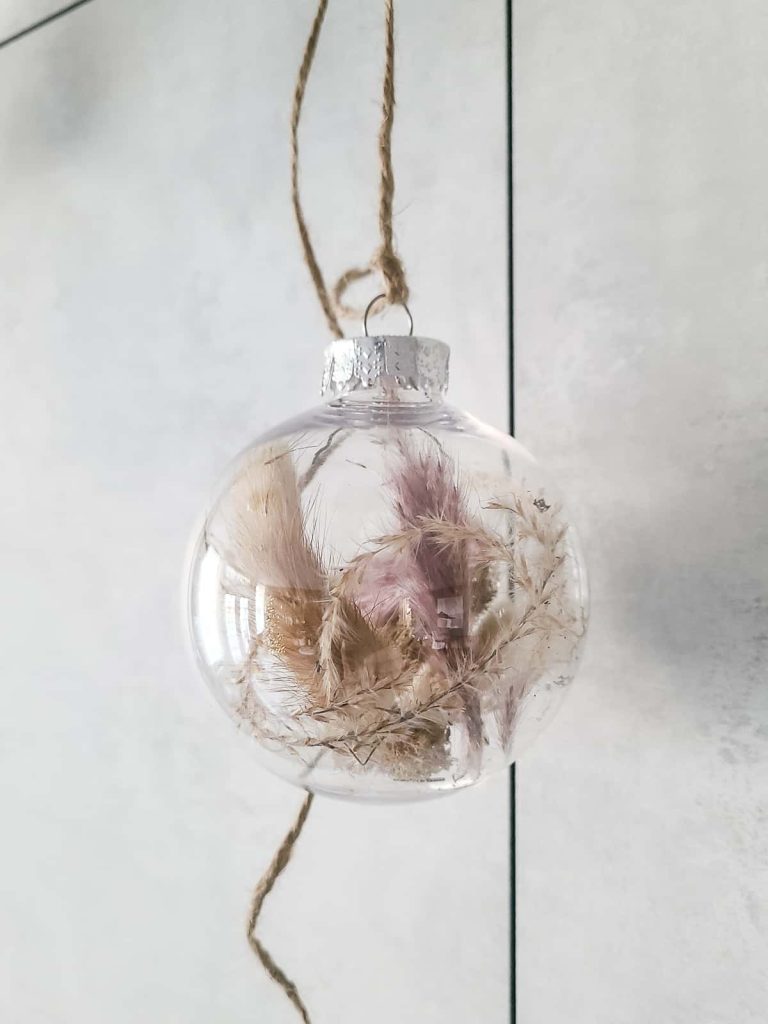
In our space, we have 11 hanging at various lengths. I kept extra jute twine hanging with each ornament and it is nice and curly, which gives it a little extra charm.
You can also hang the DIY natural Christmas ornaments up on your Christmas tree, of course. However, since they are green, they tend to get kind of “lost” with the backdrop of a green tree.
That’s why I usually end up hanging them up somewhere with a little more contrast, so they can stand out.
We loved making these with our kiddos, and I know your family will enjoy this craft, too. So, where will you hang these farmhouse-style DIY natural Christmas ornaments?
Want to see more Christmas craft projects? Check out these posts!
- Fake Gingerbread House with Dollar Tree Dollhouse
- DIY Wood Nativity Scene
- How To Make A Christmas Tree Star with Yarn and Cardboard
- Wood Bead Ornaments: 3 Easy Tutorials
- Macrame Christmas Ornaments: 3 Easy Versions
- How To Make Easy Faux DIY Mercury Glass Christmas Ornaments
- DIY Matte Textured Ornaments with Dollar Tree Ornaments
- Homemade Mulling Spices for Christmas Gifts with Free Printable Tag
- Easy DIY Stovetop Potpourri Gift Idea with Free Printable Tags
- How To Make Cheap and Easy Paper Bag Snowflakes with Lunch Bags
- How To Make Cotton Ball Garland for Less Than $5
- DIY Stocking Tags | Cheap & Easy Idea Anyone Can Do
- Easy DIY Gnome for Christmas Decor Using Dollar Store Materials
- Easy Boho DIY Yarn Christmas Trees
- DIY Christmas Village Makeover For Less Than $10
- Handmade Christmas Ornament with Farmhouse Style
- DIY Wrapping Paper For Christmas Gift Wrap
- How To Make Christmas Gift Tags With The Silhouette Mint
- DIY Dreamcatcher Ornament for Boho Christmas Tree
- Easy Leather Christmas Ornaments – Circles with Wood Beads
- DIY Leather Ornaments – Mini Christmas Tree with Wood Beads
- How To Make A Fabric Christmas Tree
- Rustic Christmas Advent Calendar
- Fabric Christmas Ornaments Made With Homespun Fabric – 4 Different Tutorials
- Cozy Sweater Covered Vases
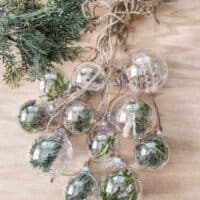
How To Make DIY Natural Christmas Ornaments
These natural Christmas tree ornaments are a simple way to showcase your unique style this holiday season and would look beautiful alongside your Christmas decor.
Materials
- Plastic Christmas ornament balls with removable tops
- Faux moss, greenery, pampas grass, or other flowers of your choice
- Jute twine
- Command Hooks
Instructions
- Remove the tops from the ornaments.
- Stuff the ornaments with faux greenery. Add tops back on.
- Display the natural ornaments. You can loop a little ribbon for easier hanging on the tree or tie different lengths of jute twine to hang them from the ceiling or in front of a picture window.

