
How To Make A Router Sled For Planing Wood
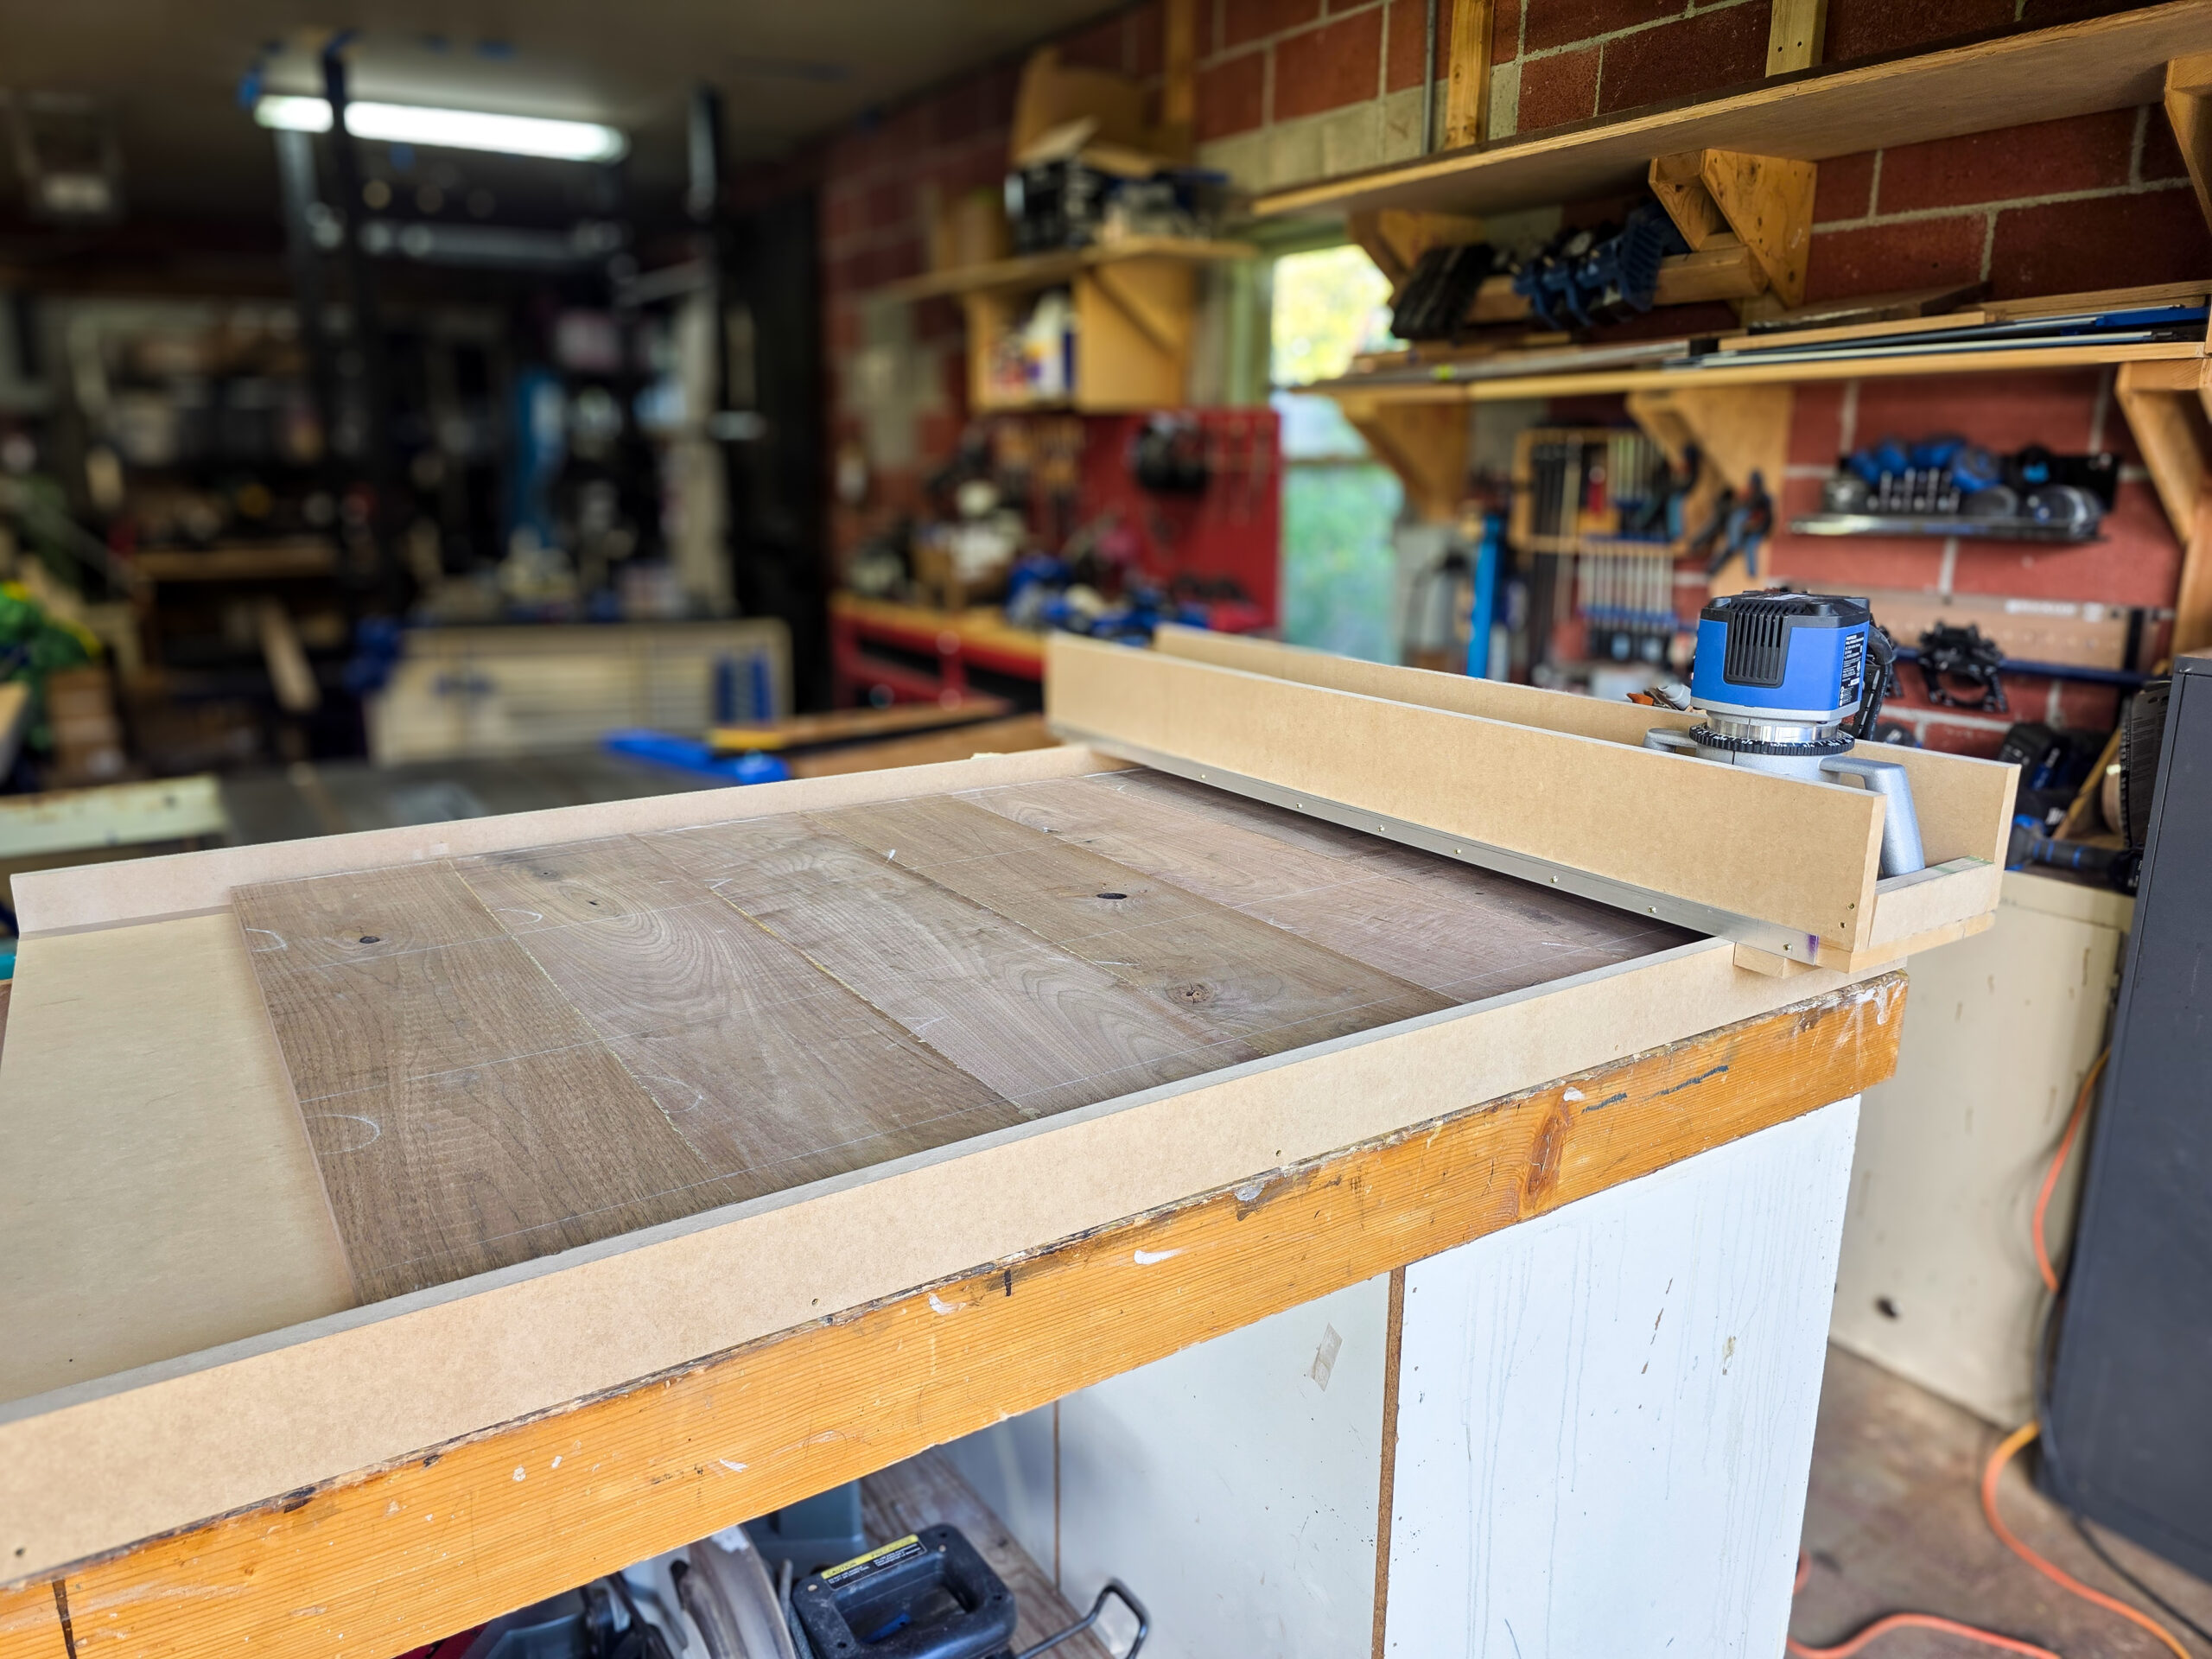
Learn how to make a router sled to flatten large glued-up panels and tabletops without an expensive planer. A simple MDF build for any DIY workshop.
Thank you to Kreg for sponsoring this router sled project! All opinions are entirely my own. This post also contains affiliate links, but nothing that I wouldn’t recommend wholeheartedly. Read my full disclosure here.
When you’re building something big like a coffee table or dining room table, you hit a wall pretty fast. Once the top is glued up, it’s way too wide to run through a benchtop planer. And the large planers that can handle panels that size can cost upwards of $100k, which isn’t realistic for most home workshops.
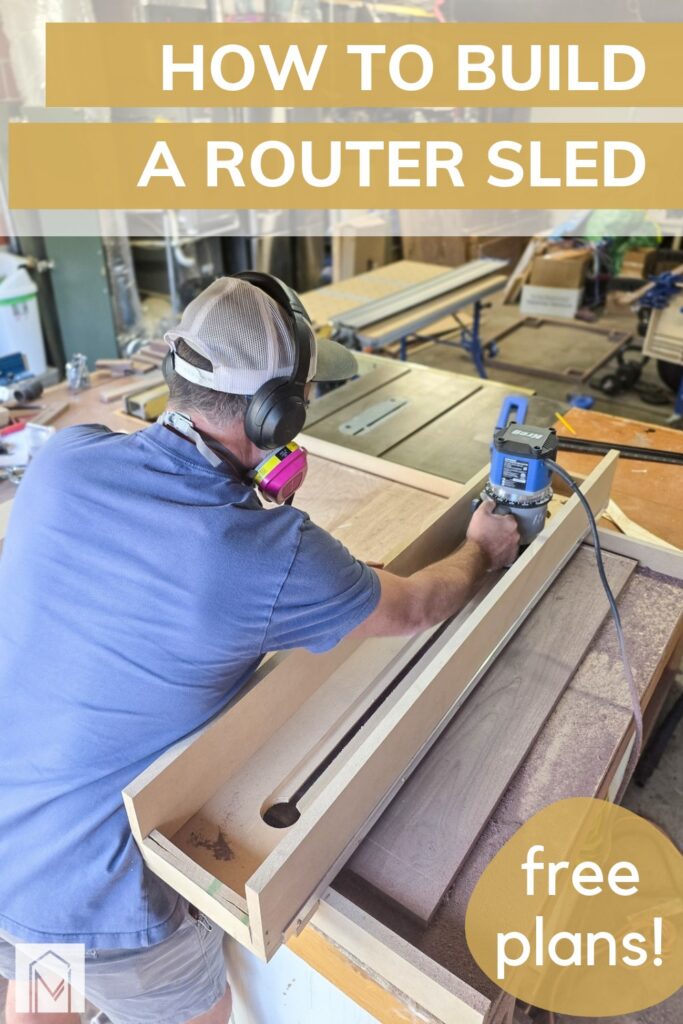
That’s exactly why we built this router sled for planing wood. It lets you flatten large glued-up panels using a router.
It’s built almost entirely from MDF, comes together in an afternoon, and gives you a smooth, even surface without the industrial price tag.
Kreg 3 1/4 HP SureSpeed Fixed Base Router
For this project, we used the 3 1/4 HP SureSpeed Fixed-Base Router, and it’s the one we’d recommend.
Planing a large panel is a lot of work for a router. You’re running a wide flattening bit across the whole surface, pass after pass.
Smaller routers tend to bog down, slow down, or chatter under that kind of load, which leaves you with an uneven finish. The Kreg 3 1/4 HP one has the power to hold its speed through every pass, so you get a smoother, flatter surface with less cleanup afterward.
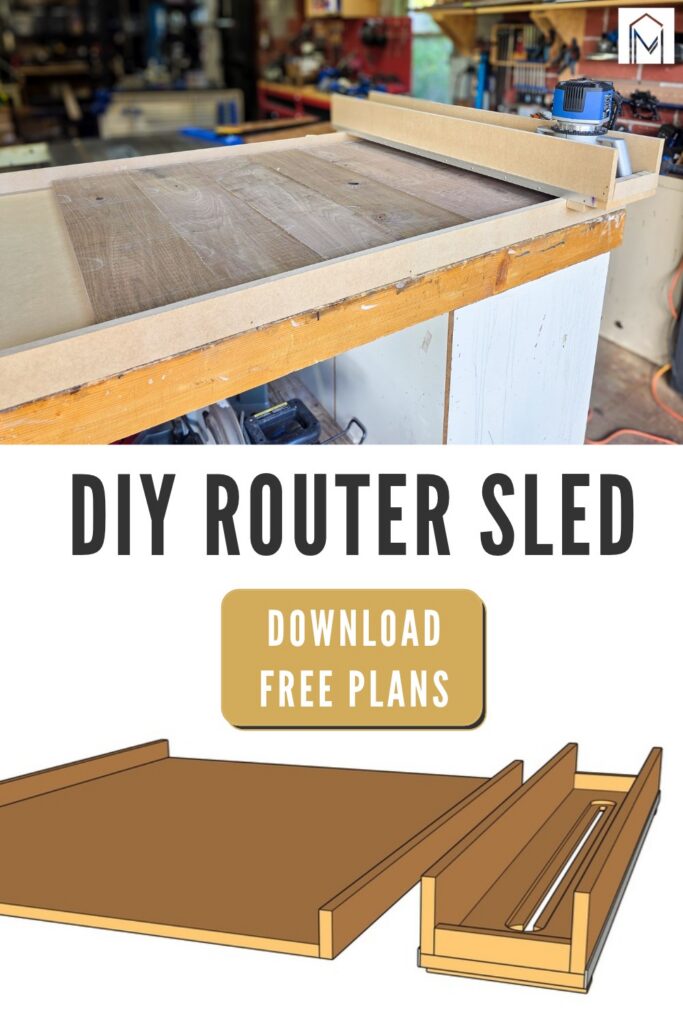
How To Make A Router Sled For Planing: Step-by-Step Tutorial
Follow along with our step-by-step tutorial, and don’t forget to get the free woodworking plans so you can have a full cut list with all of the dimensions and details you’ll need to build one for yourself!
Tools and materials you’ll need
Step 1: Cut the wood
Cut the MDF sheet down into the pieces shown in the cut list, which can be downloaded here.
Step 2: Assemble the platform
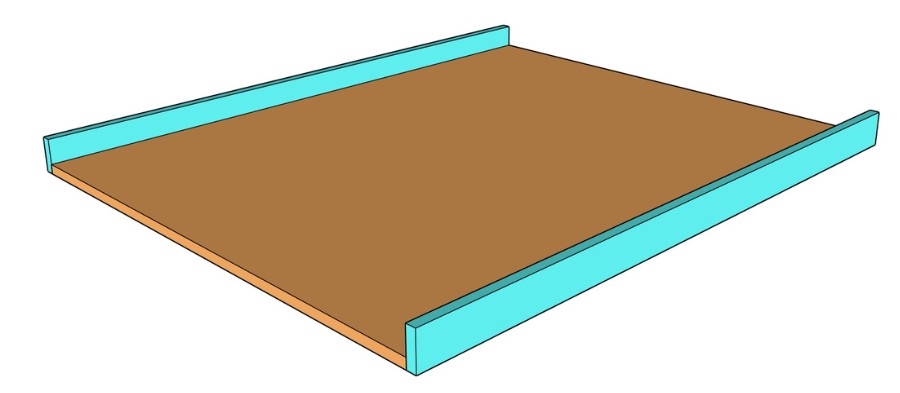
Attach the platform sides to the platform bottom with trim screws, about one every 6″. Predrill each pilot hole first with the compact drill and a ⅛” bit so the MDF doesn’t split.
As you go, make sure the rails sit an even 2″ above the bottom of the platform.
Tip: This sled is designed to take 1″ boards down to ¾” or ½” stock. If your boards are thicker or thinner, or you want a different final thickness, adjust the height of the platform sides to match.
Step 3: Attach sled bottom and sides
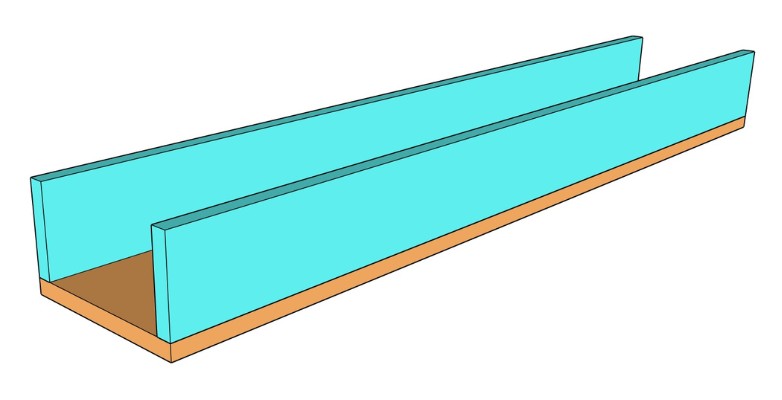
Set the sled sides on top of the sled bottom. Predrill pilot holes from underneath and attach with trim screws, spaced about every 6″.
Don’t skip the pilot holes. MDF splits easily.
Step 4: Add the bar
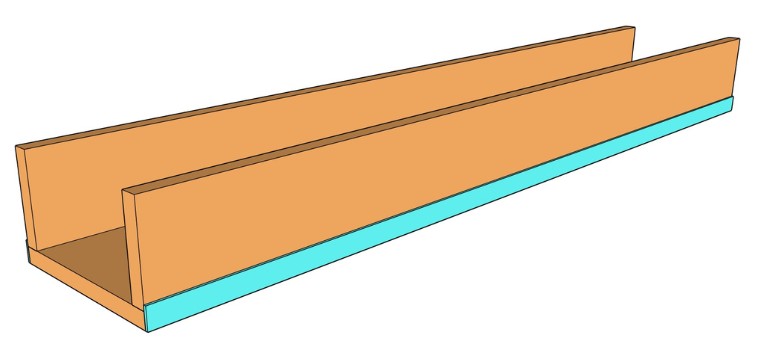
Cut the aluminum flat bar to length with a Dremel.
Predrill it with the same ⅛” bit and attach it to the sled with trim screws.
Step 5: Add the stops
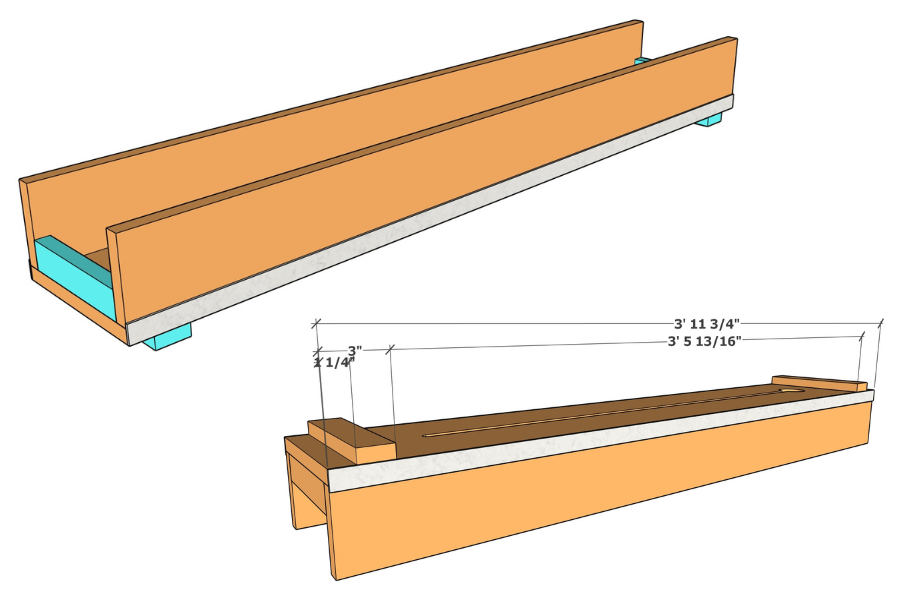
Attach the router stops and sled stops with trim screws, following the plans for placement.
Step 6: Drill the bit hole
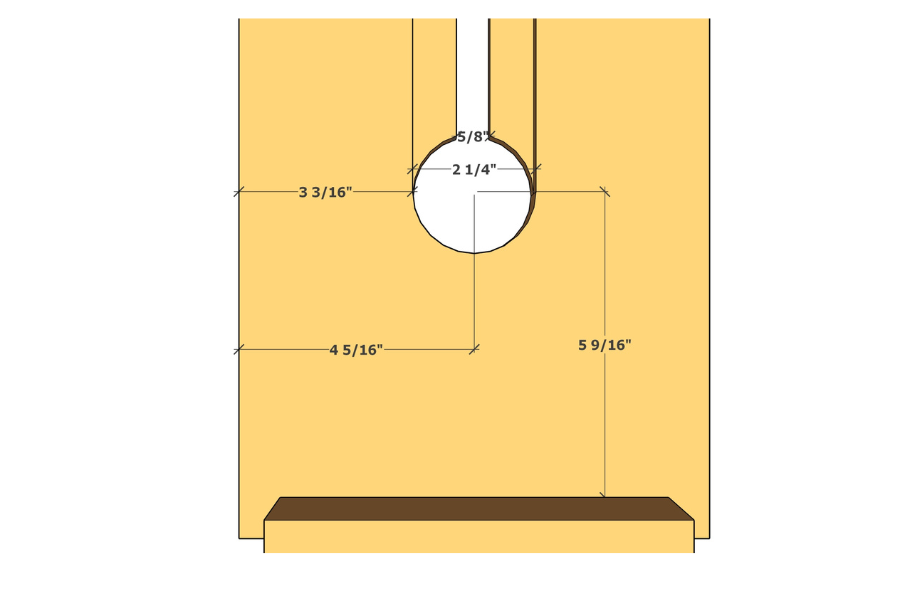
Use a 2¼” hole saw to drill the hole for the flattening bit in the sled bottom, following the plans for placement.
Tip: Hole placement matters here, so double check your measurements before you drill. Once it’s marked, put the bit in the router and set the router in place to make sure everything lines up.
Step 7: Router the collet and nut relief
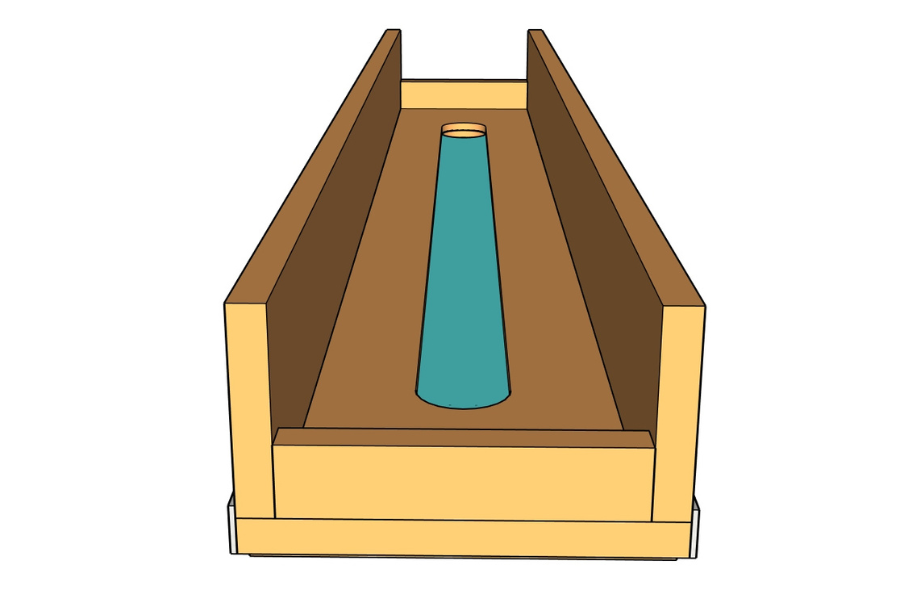
Put the 3 flute flattening bit in the 3¼ HP router and set the speed to 10K RPM to cut down on chatter. Set the router into the hole and route out ⅜” of the MDF, running all the way across the sled until you hit the stops on each side. This gives the collet and nut extra clearance so you get more depth when flattening later.
Step 8: Cut the bit channel
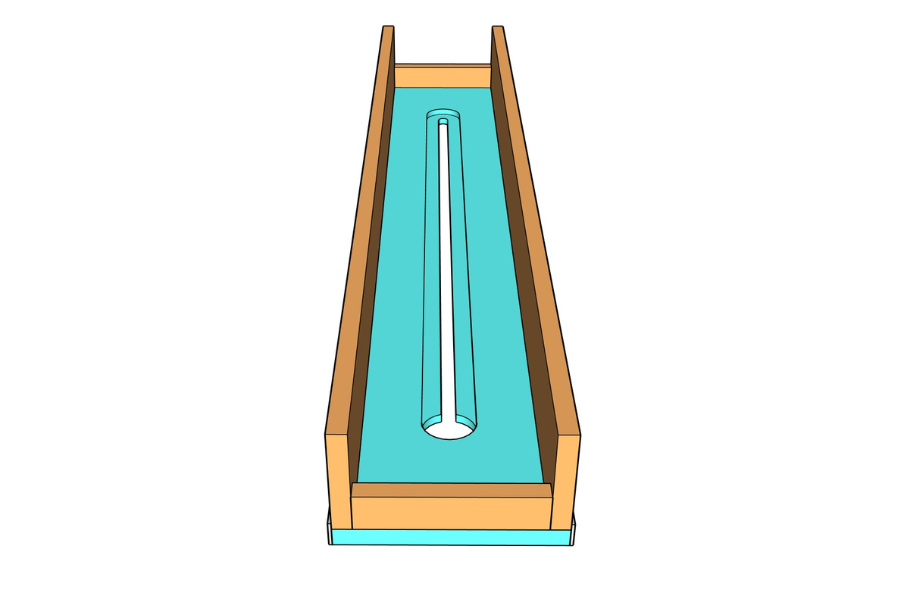
Switch to a ⅝” straight bit. Set the router into the hole and cut a channel down the center of the sled, with the router base gliding on the rails. This leaves room for a ½” shank. Keep the material you’re cutting on your left as you go.
Using the router sled:
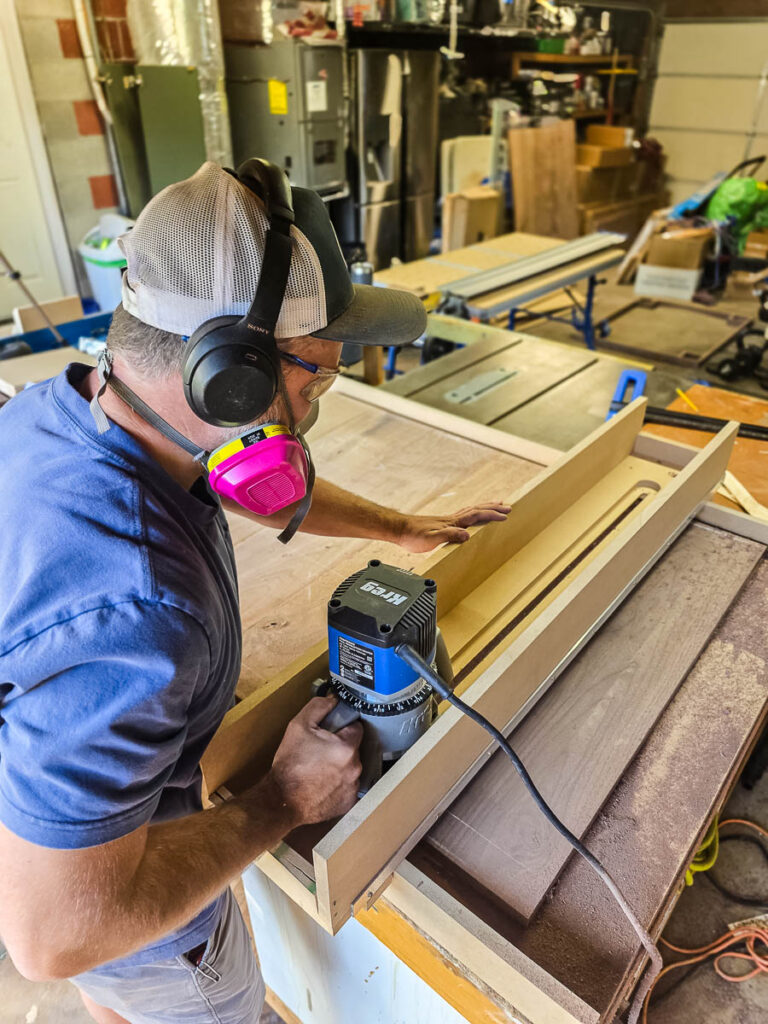
- Clamp your workpiece down before you start.
- Take no more than ⅛” per pass.
- Go slow to reduce chatter.
- Keep moving to avoid burn marks.
- Keep the material on your left.
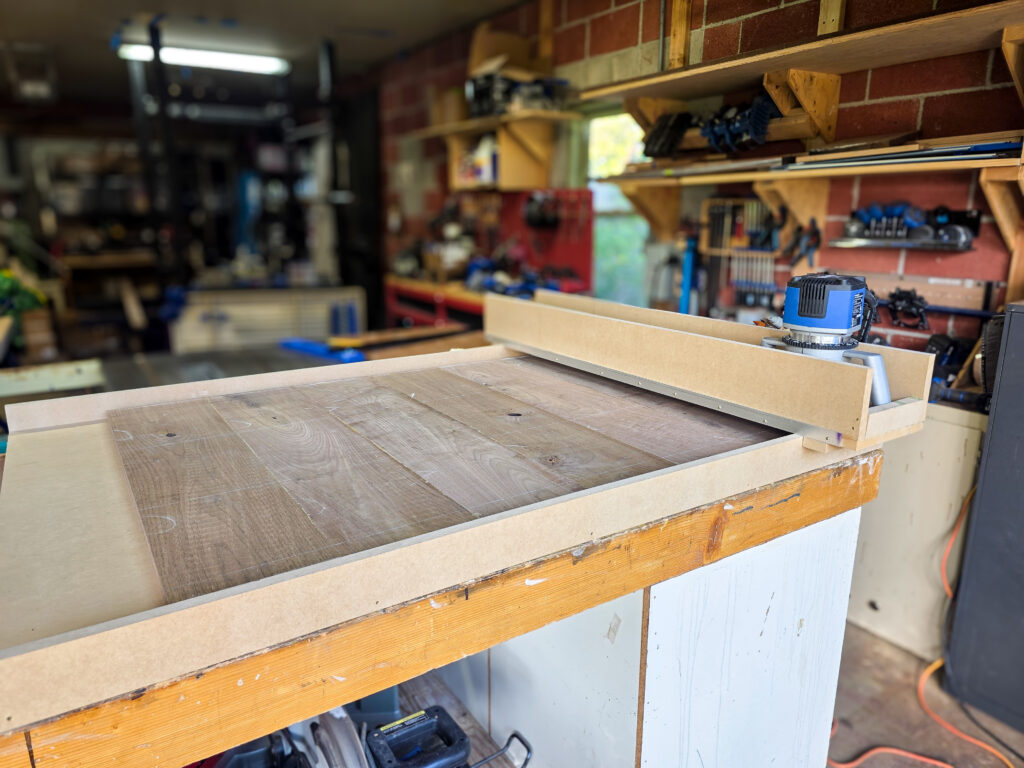
If you want to build this router sled (or customize it for your project), we’ve done all the hard stuff for you! All you need to do is hop over to Kreg’s website! On the tutorial there, you’ll see a link to download the free plans to get all of the detailed measurements and a cut list!
Once router sled is built, big projects like coffee tables, dining tables, and wide slabs are suddenly within reach in a DIY shop.