DIY Wooden Riser Tutorial
Learn how to make this easy DIY wood riser using a rustic wood round and wooden wheels! Use it as a serving tray, plant stand, or riser to hold a table lamp or candle.
Doesn’t it feel so good to make something with your own two hands? There’s something so therapeutic about crafting.
Today we’re going to make something that is easy, fun, and functional!
This tutorial for a DIY wooden riser contains affiliate links, but nothing that I wouldn’t recommend wholeheartedly. Read my full disclosure here.
How To Make A DIY Wooden Riser: Step-by-step tutorial
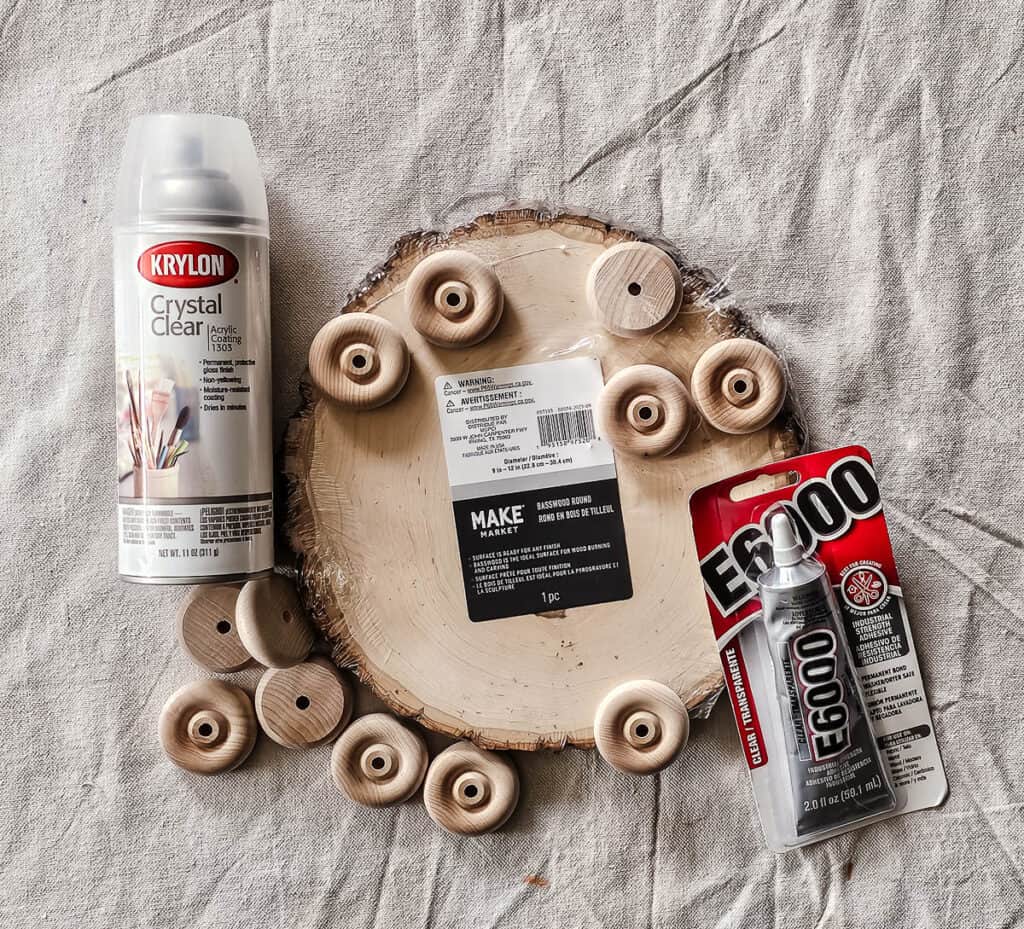
Supplies & materials you’ll need:
Step 1. Remove the bark from the wooden round
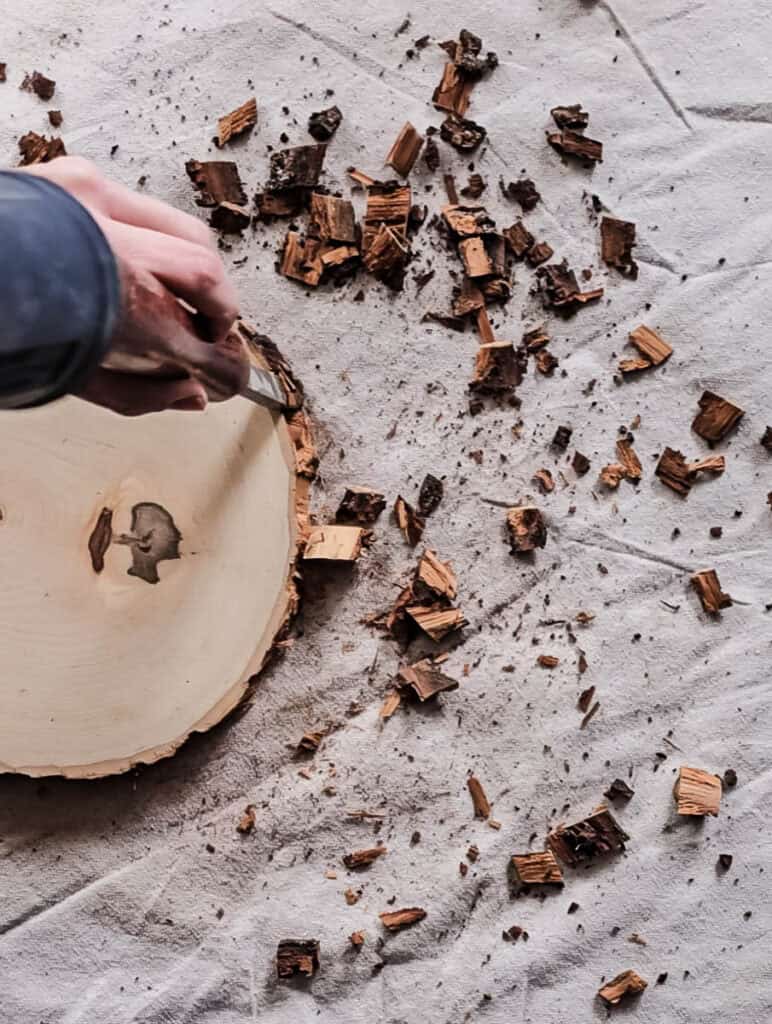
I wanted my wooden riser to have a smooth edge for a modern look, which meant I needed to manually remove the live edge bark from the edges of my rustic wood round. If you don’t mind the bark, you can move on to the next step.
A warning here… removing the bark took a long time. And there wasn’t a super easy way to do it.
Here’s the method that worked for me. I found that I could break off large chunks of the bark with a sharp chisel and then sand it smooth.
Step 2. Sand edges of the wood round
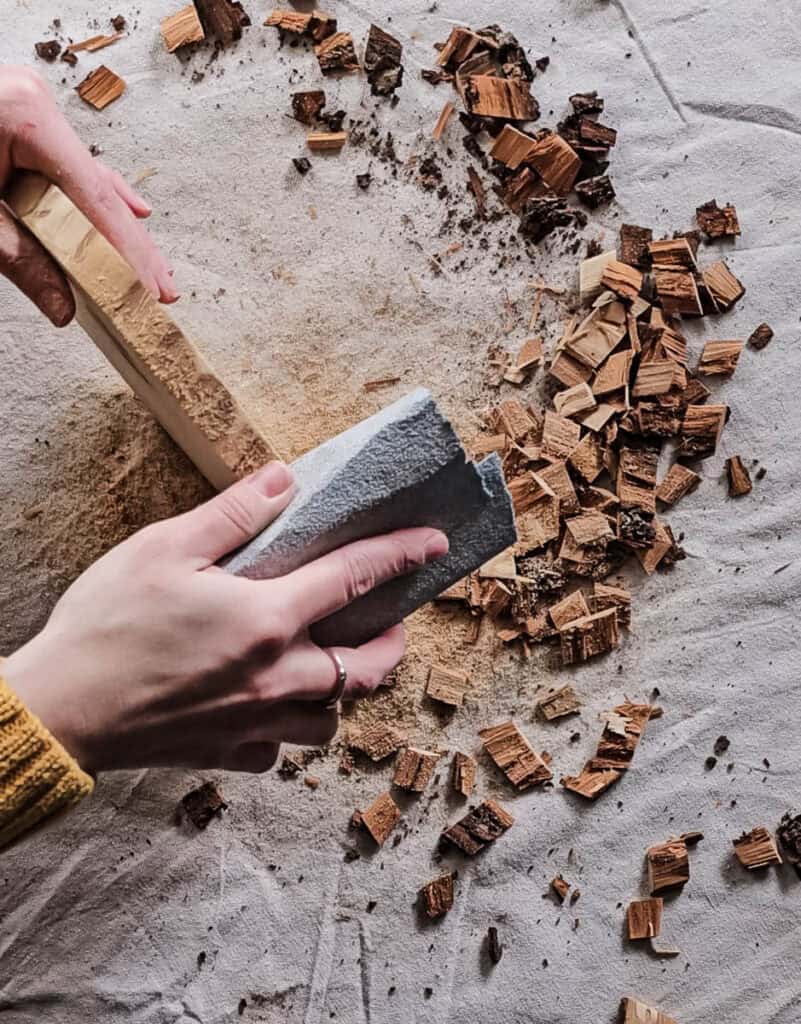
Using 80-grit sandpaper wrapped around a sanding block, sand the edges of the wood round smooth. This will give you a nice and modern look to your wood plant stand.
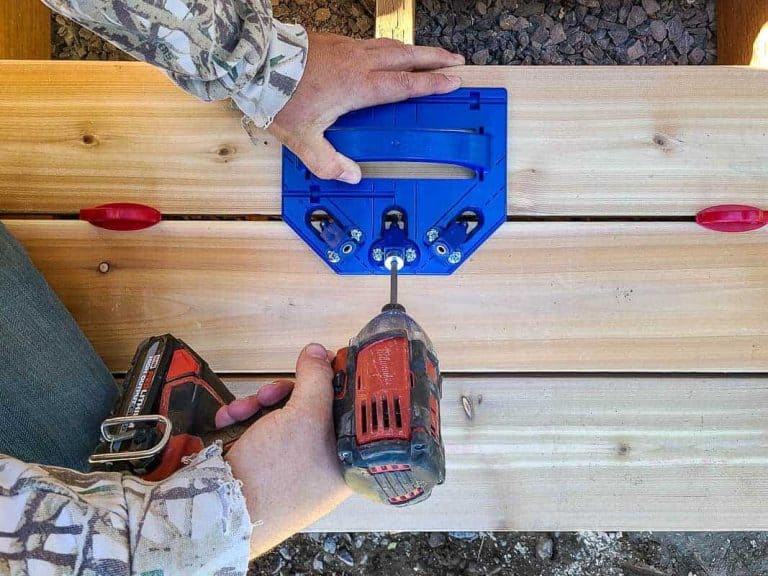
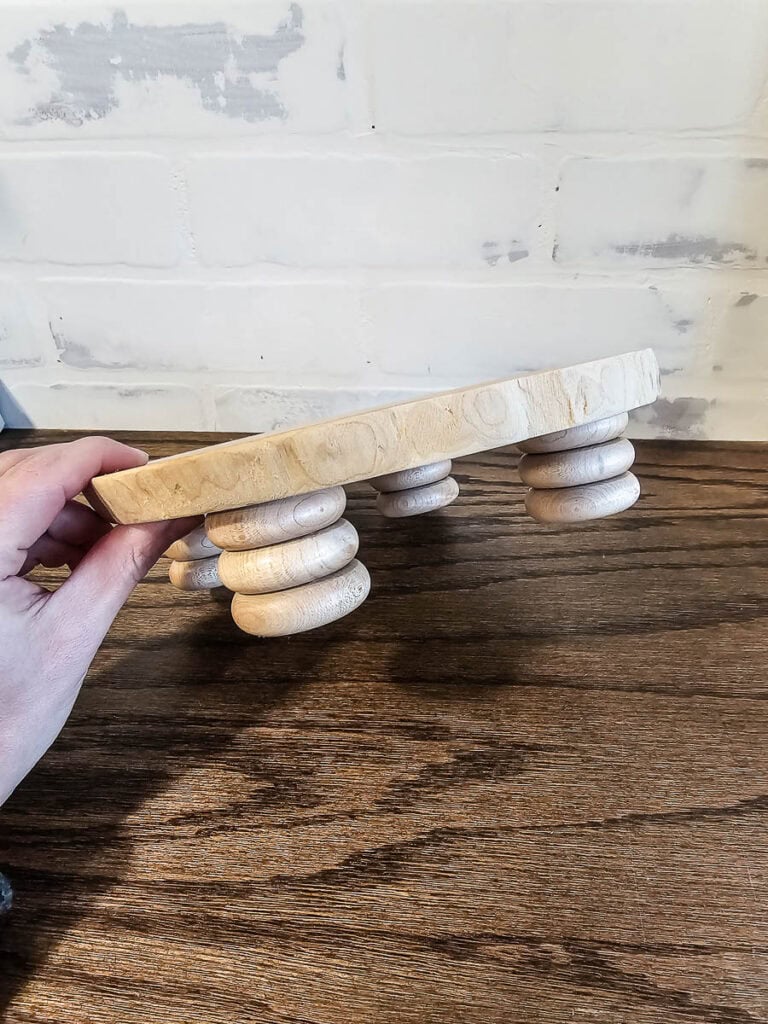
Step 3. Glue on the legs of your wood riser
For the legs of your tray, there are a lot of different options – feel free to use whatever you want for your own riser! You could use wood blocks, large wood knobs (like I did on this footed tray), or another type of wood scraps.
For the feet of my riser, I found that these little wooden wheels were the perfect size to stack three high for each leg of the tray.
Attach your legs to the bottom of the riser with a glue that will work with wood. I used E6000 glue, but you could also use wood glue, hot glue, or a wood instant adhesive.
Next, leave the tray alone and let the glue dry thoroughly according to the type of glue you used.
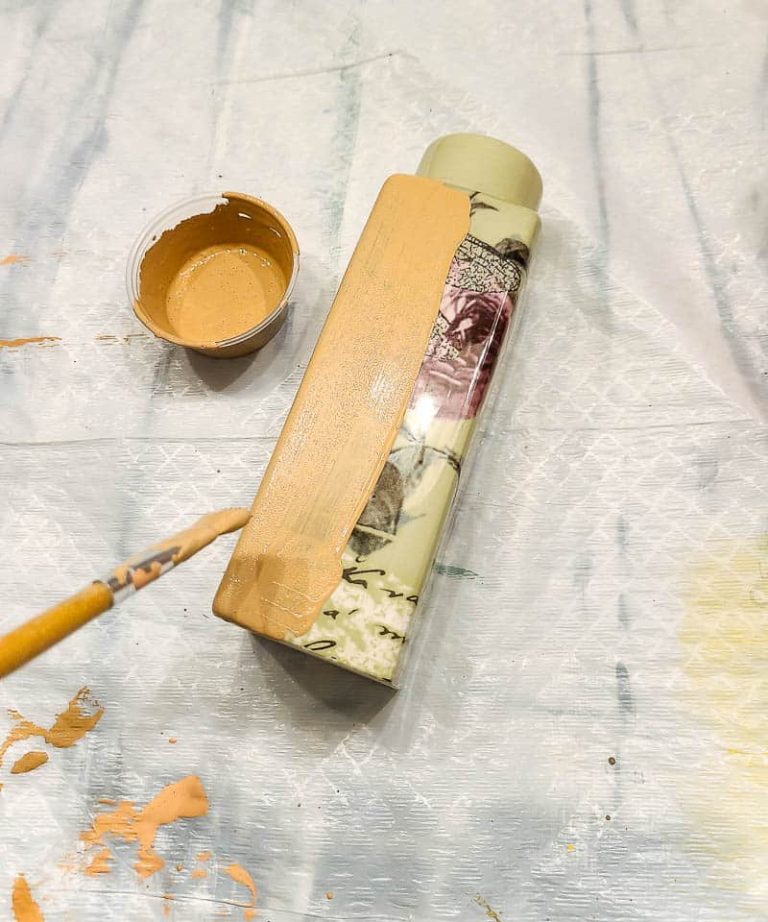
Step 4. Seal the wood
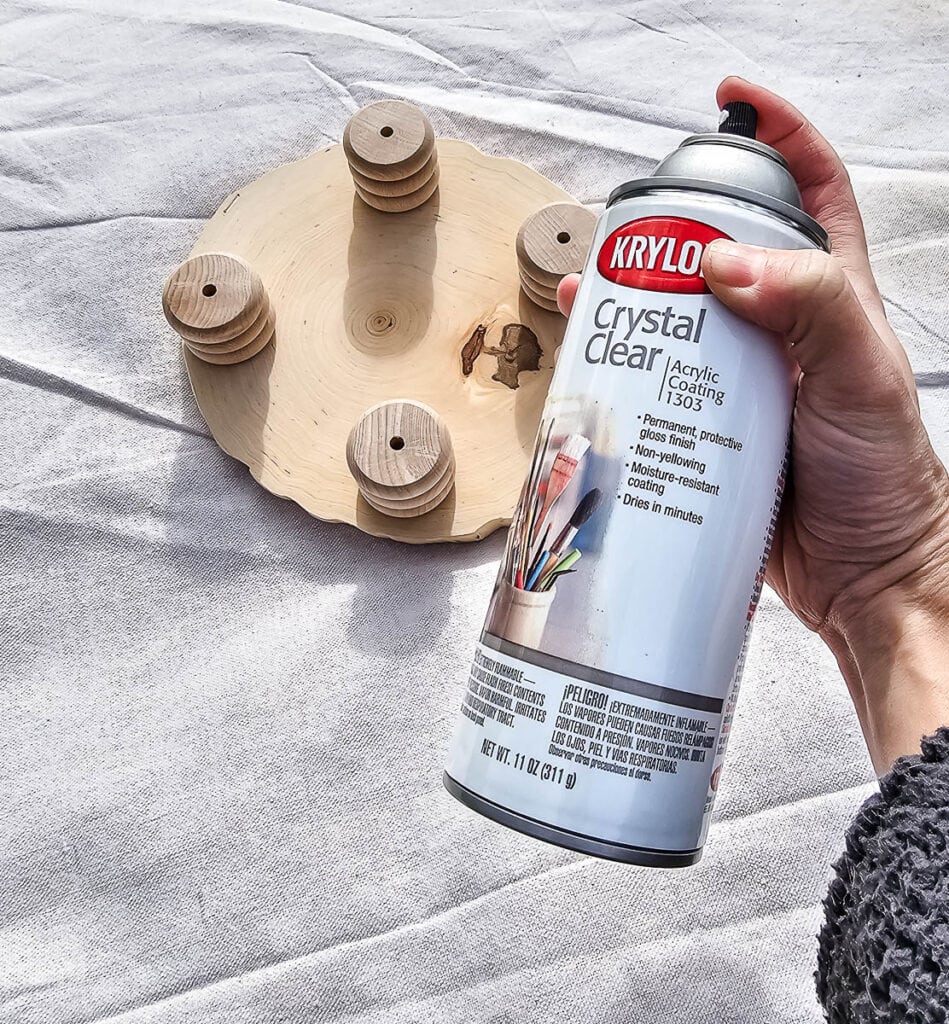
You definitely want to seal the wood of your DIY wooden riser tray before using it – especially if you’re using it for holding plants.
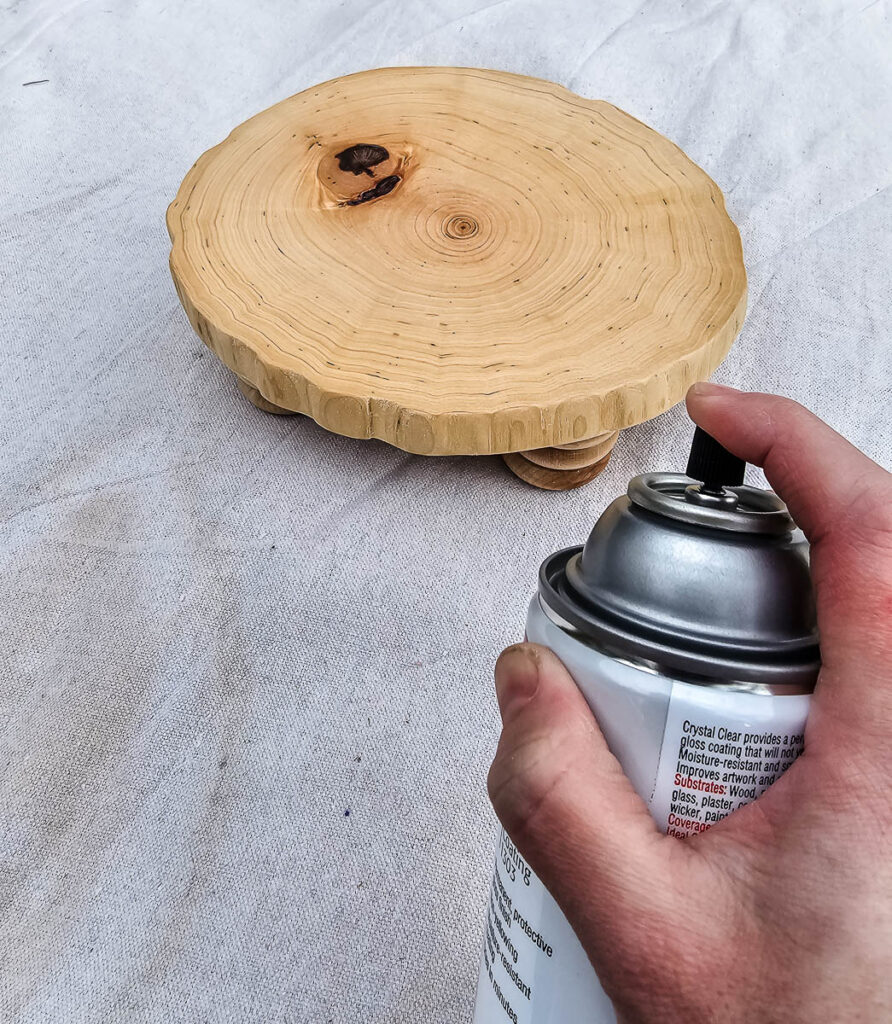
The easiest way to do this is to use a spray sealer. I used this clear acrylic spray sealer. Be sure you apply it not only to the top of the riser, but also to the underside of your tray and the legs of your tray.
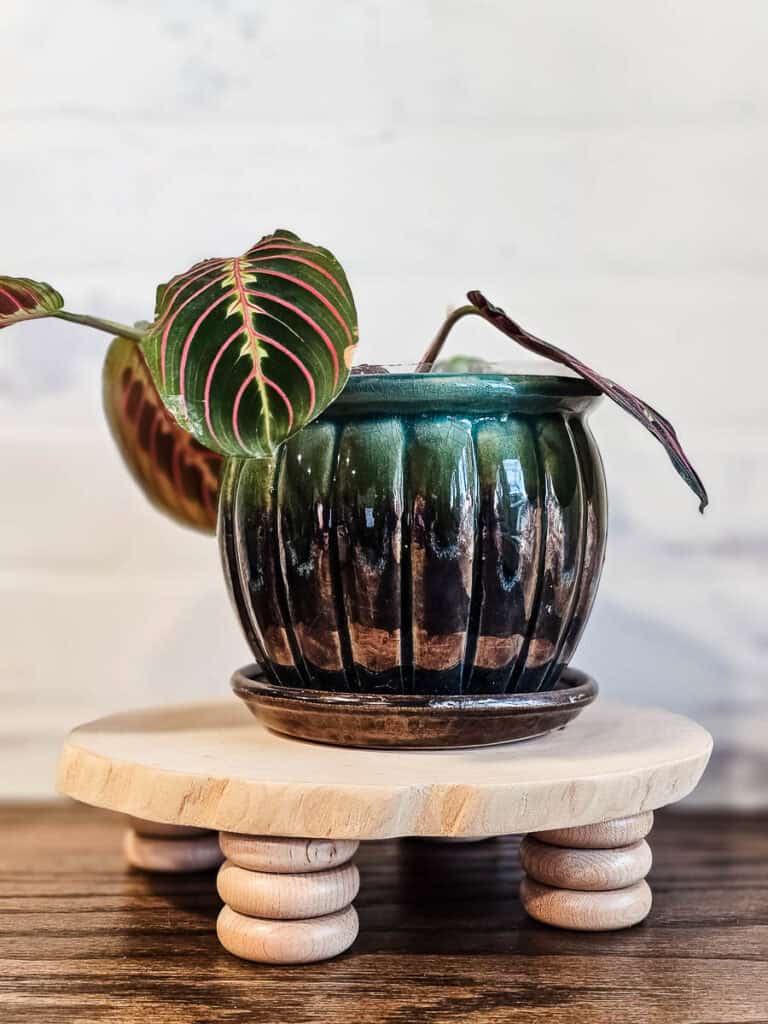
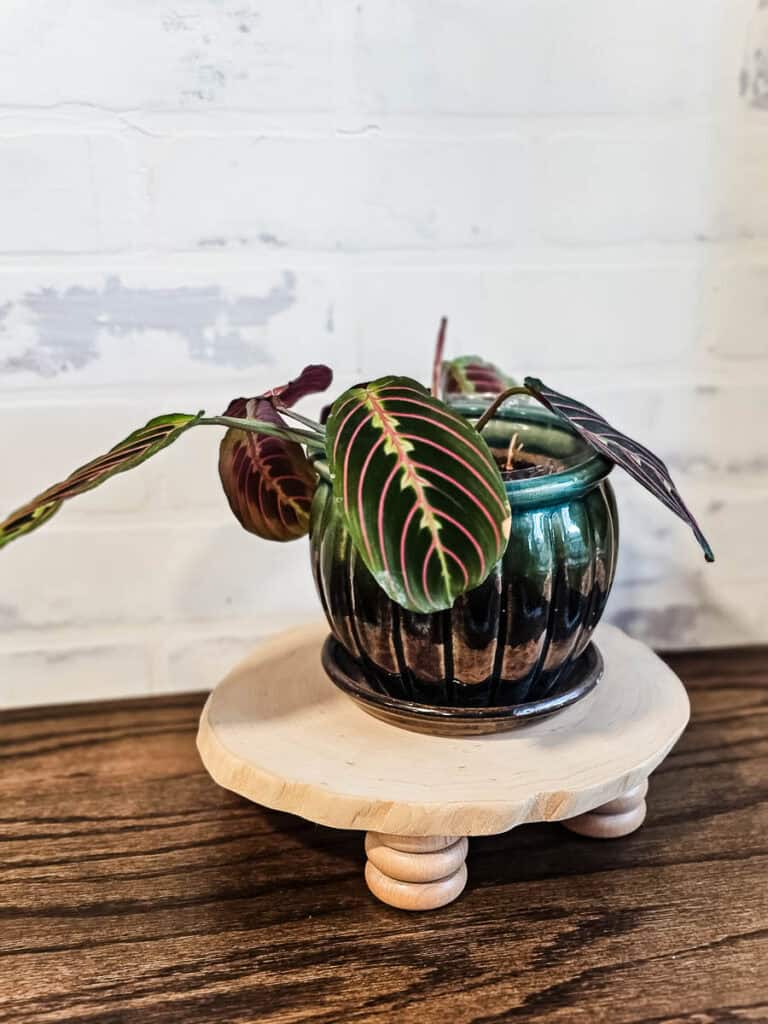
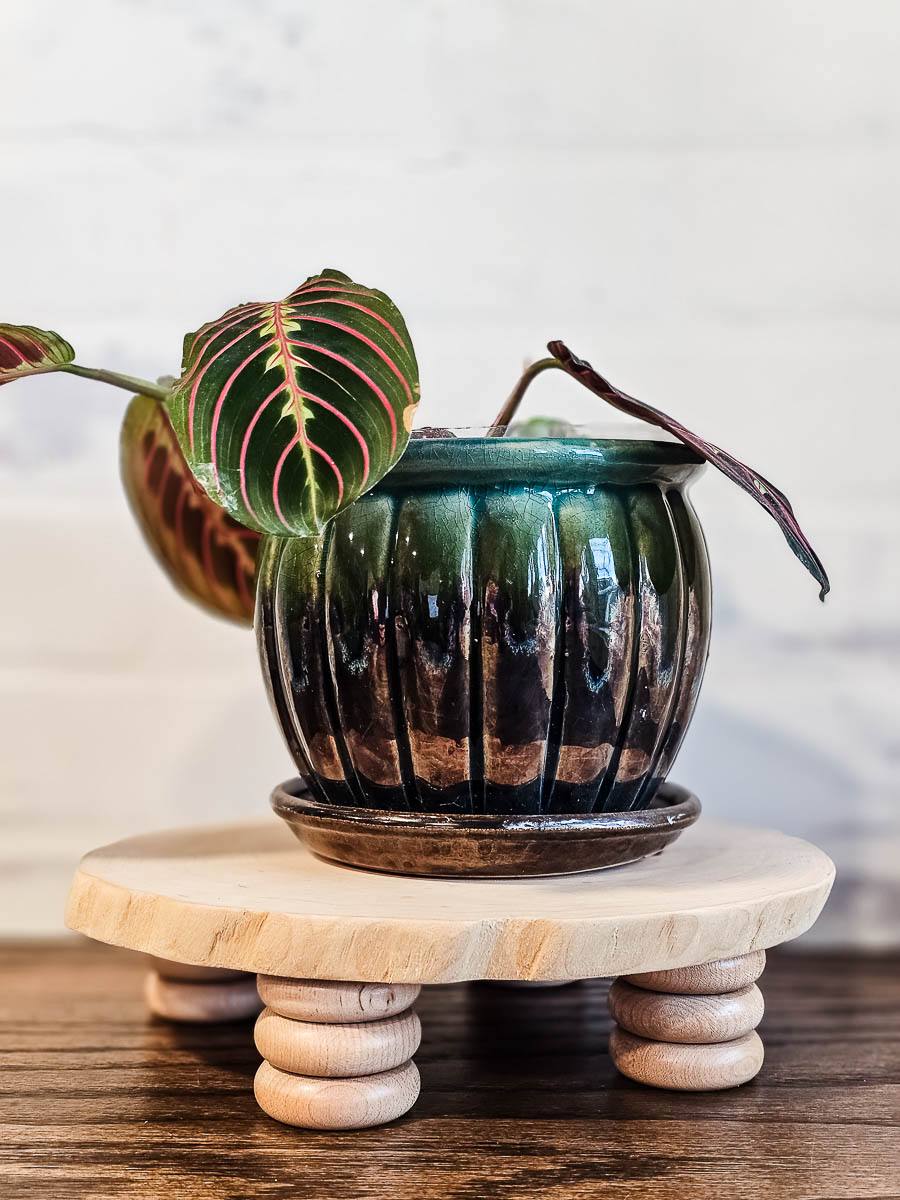
I’ve used this little tray in so many places in my home, holding plants as shown here. I eventually found a permanent (for now) spot for it in our dining room to hold the small tabletop lamp we have on the countertop.
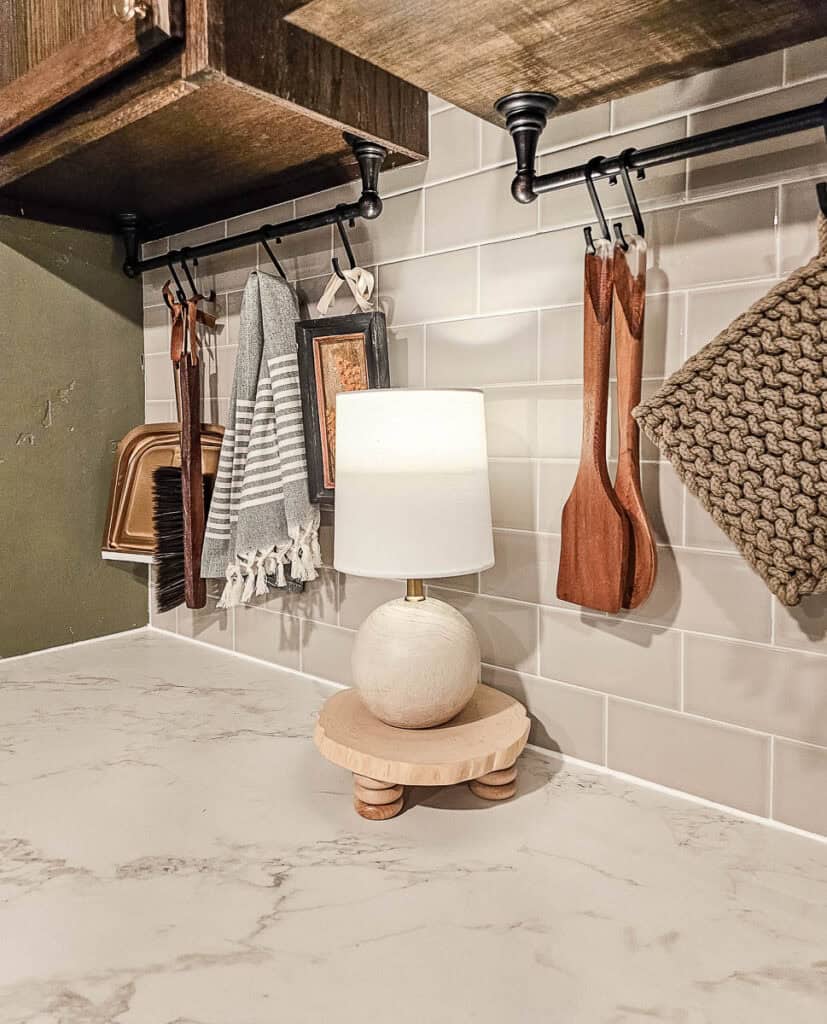
This cute DIY wooden riser would also work perfectly on a coffee table or even in the kitchen or the bathroom as a raised platform for candles, plants, book stacks, utensils, or other decorations.