

DIY Hidden Picture Frame Storage For Your Bathroom

Are you tired of clutter all over your bathroom countertops, and don't have a medicine cabinet? Grab some picture frames from the thrift store and make these easy DIY hidden picture frame storage shelves!
Thank you to DAP for sponsoring this hidden picture frame storage project! All opinions are entirely my own. This post also contains affiliate links, but nothing that I wouldn’t recommend wholeheartedly. Read my full disclosure here.
A few years ago, I made this pedestal bowl for our bathroom countertop to hold some everyday items. It was so easy to make. Seriously, it took me less than 5 minutes, and it came in under $5. I loved it, well… I still love it.
But it was getting a little full, and the clutter was making my eyes hurt a bit every time I walked into the bathroom. If there’s anything I’m craving more of these days, it is calm and cozy when it comes to my home.
I knew I needed to come up with a creative solution for some hidden storage in our bathroom because I didn’t have any more room in the drawers of my vanity cabinet, and I don’t have room to add medicine cabinets in this bathroom.
With a little brainstorming, we came up with these picture frame storage shelves that act as a hidden door, hiding all of my bathroom essentials. Follow along with our step-by-step tutorial so you can build your own.


Supplies and materials you’ll need
Hidden picture frame storage shelves: video tutorial
YouTube video coming soon!
If you love DIY videos, be sure to subscribe to our YouTube channel!
How to make hidden shelves with picture frames: Step-by-step tutorial
Step 1. Cut wood

Start by cutting your wood to the correct lengths with a miter saw. We designed our storage shelves to fit behind our picture frames with a little bit of an overhang from the frame. You may need to adjust these measurements for your picture frame.
Once everything is cut down to the correct sizes, sand smooth with an orbital sander and 220 grit sandpaper.
Cut list:
- ¾” x 2½” x 8” (Qty 3 per frame)
- ¾” x 2½” x 11½” (Qty 2 per frame)
Step 2. Assemble

We used pocket hole joinery for this project because it is easy. But feel free to customize this tutorial so it matches the tools you have on hand. There are so many different ways to join wood…To keep it real simple, you could even just apply wood glue and nail the pieces together.
The pocket holes were drilled on the ends of the horizontal boards (2 on each end).
Assemble the shelves as shown.
We wanted our frames to sit flush to the shelves, so Logan chiseled out the area where the hinge goes on the shelves. This step isn’t necessary, but makes it look a little more professional.
All you need to do is trace the hinge plate on the front edge of the shelf where it will sit and carefully chisel out the area.
Step 3. Fill pocket holes

If you used pocket holes, fill the pocket holes using a generous amount of wood glue and push in a plug. Wipe off excess glue and let it dry.
Step 4. Sand

Sand the entire structure with an orbital sander and 220-grit sandpaper, focusing on making all joints flush.
Step 5. Add wood filler

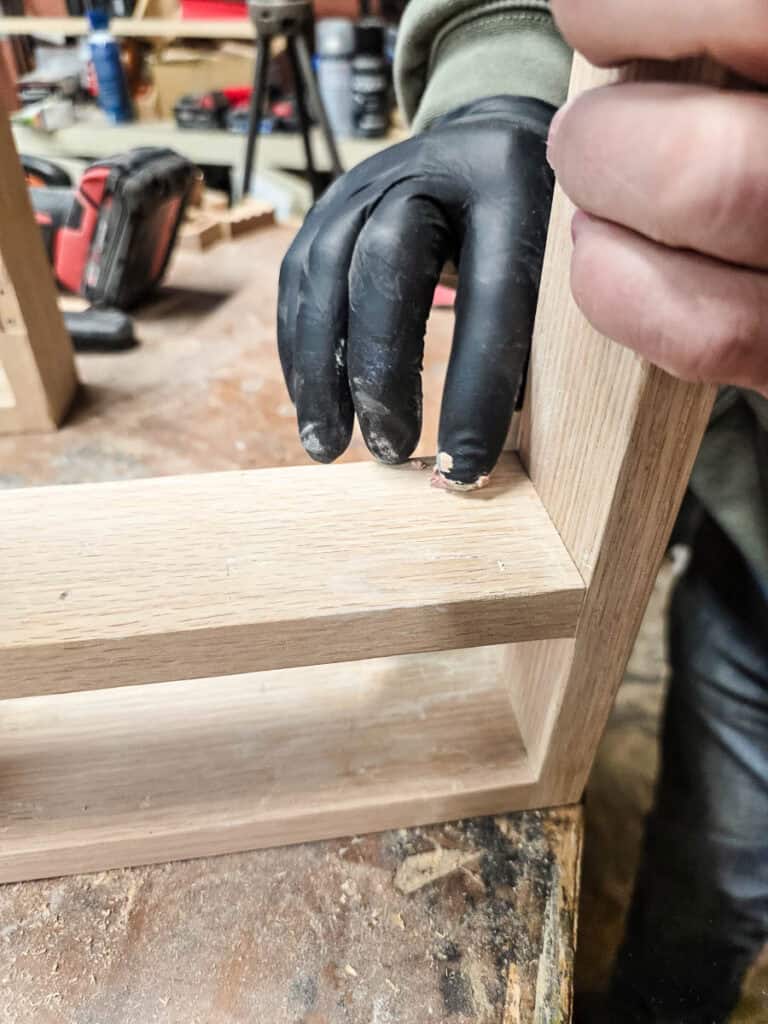
On all joints and over the pocket hole plugs, add DAP Plastic Wood X wood filler. You can put on gloves and apply with your hands or use a putty knife. We love that it goes on pink, so you know when it is ready to sand.
Once dry, sand smooth again.
Step 6. Stain

We didn’t want to have to sand the thrift store picture frames down to bare wood because that just wouldn’t have been very fun, so we opted for a gel stain that can be applied over a previous finish. We used the same gel stain on the newly built shelves and the picture frames.
After letting the stain dry, the colors were not very consistent because the stain had been applied over previous colors on the picture frames.
To even this out, we added a bit of this red stain over the top of the wood shelves and the lighter color frame. This helped pull in some of those red tones that were showing up in the darker picture frame. Things were looking much more consistent after this.
Step 7. Seal

After the stain was dry, it was time to seal! We used a spray lacquer that worked great. It is really good at getting into all the nooks and crannies on small woodworking projects, like this.
Step 8. Add hinges and frames
Next, add the hinges and the frames. Be careful with the mini screws for the hinges, they are pretty fragile. We broke one when putting them in. You’ll definitely need to use a hand screwdriver for this, not a drill.
Step 10. Hang on the wall
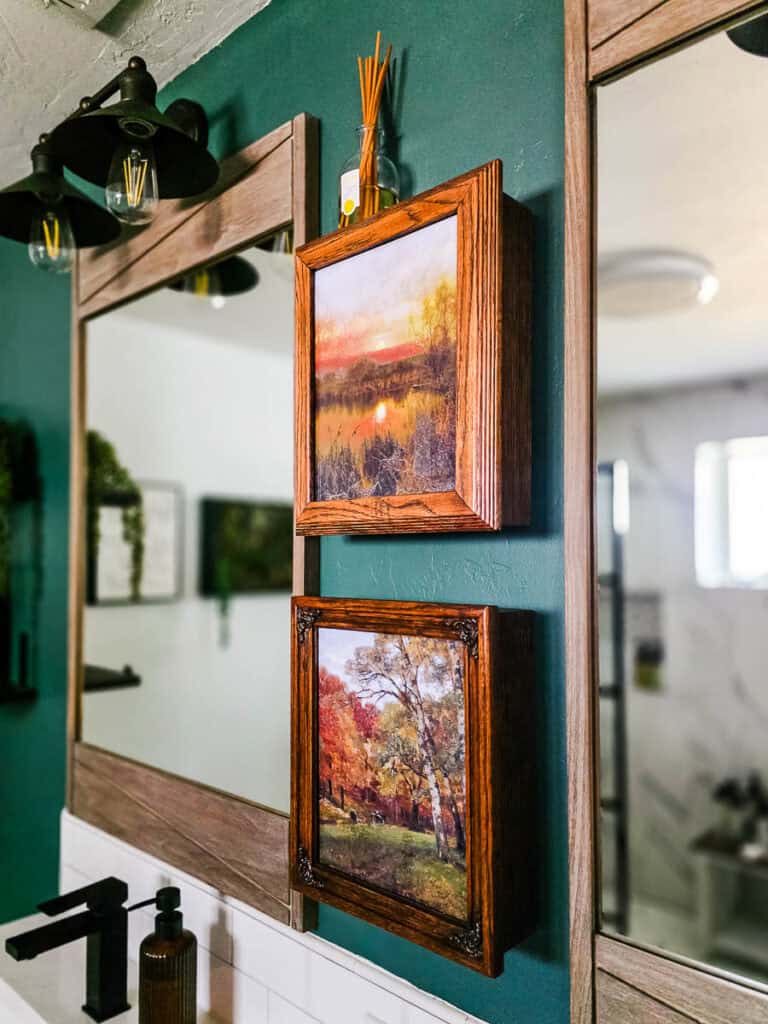
To hang it on the wall, we used 4 of these picture hanging strips, and they worked great for keeping the shelf on the wall (without making any holes in the wall).
We went back and forth on whether or not to add magnetic catches to hold the picture frames tight. Ultimately, we decided not to because, I think, it would’ve required us to secure them to the wall with more than just picture hanging strips to take the weight of the pull when opening the frame door.
It doesn’t bother me one bit that the frames aren’t pushed all the way into the shelves, but you could totally add magnetic catches if you wanted to.

We were in desperate need of wall storage in our bathroom, but I wanted it to add character and charm to the space. Mission accomplished, right?

The framed photo with the shelves hides all the clutter of my bathroom essentials, but they are still super easy to access. Win-win.

You can totally take this concept and make it your own! Bigger…smaller…with shelves…without shelves… hide the ugly thermostat and more!

Don’t need bathroom storage but want to hide all of your small spice jars in your kitchen? Need extra storage for things like mail, sunglasses, sunscreen, and more in your entryway?