
DIY Coffee Table Plans
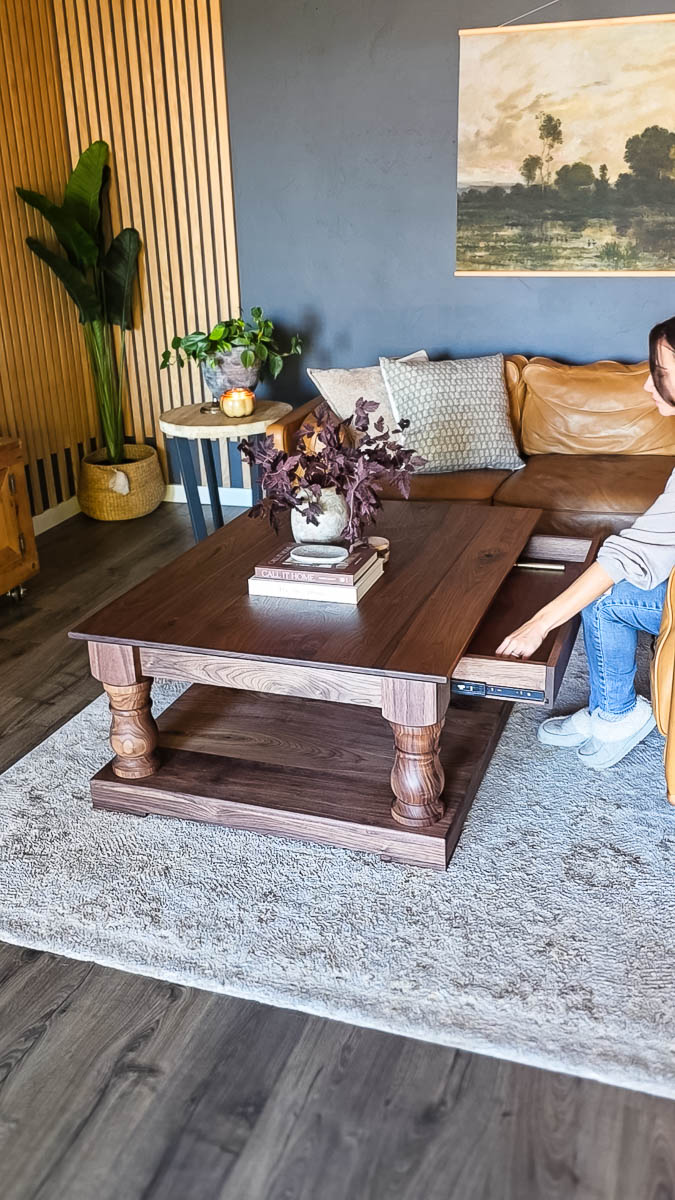
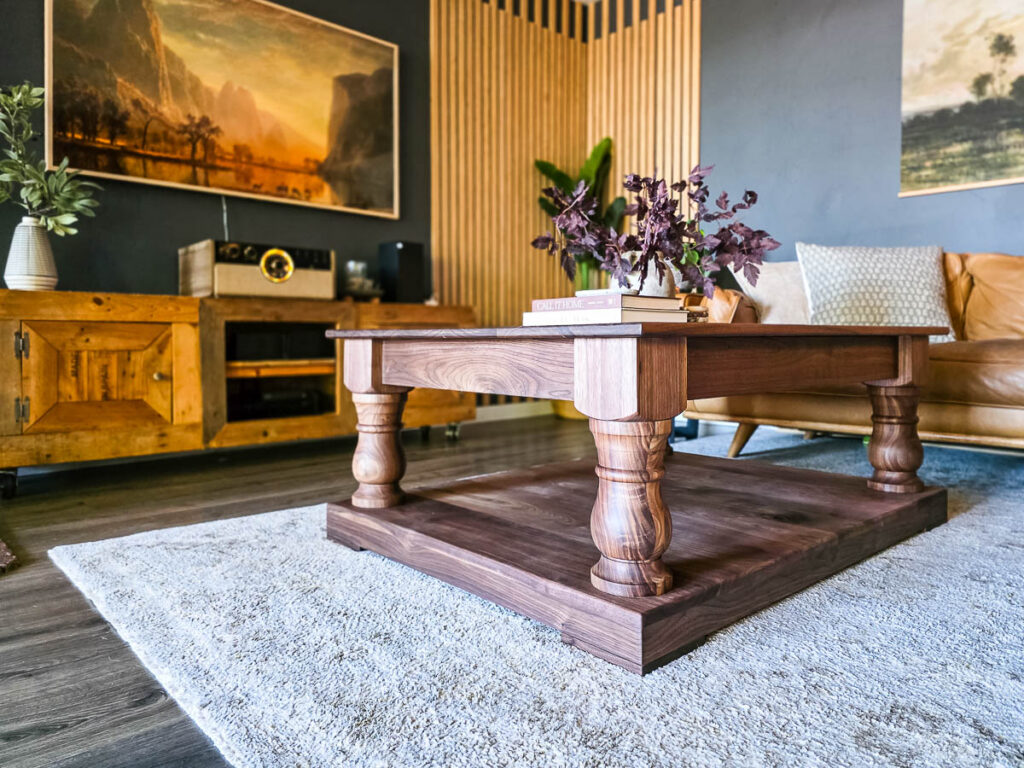
Learn how to build a solid walnut coffee table with these free coffee table plans and step-by-step tutorial. It includes gorgeous balustrade legs, hidden storage drawers, and joinery with no metal made to last for generations.
Thank you to Kreg for sponsoring this coffee table project! All opinions are entirely my own. This post also contains affiliate links, but nothing that I wouldn’t recommend wholeheartedly. Read my full disclosure here.
Our old coffee table has seen some things through the toddler and small child season of life that we’ve been in and it was definitely time for a new one.
So when I found a new one I loved, I showed Logan. He saw the crazy price tag and said, “No, no, no. I can make that.”
Kreg Edge Loose Tenon Joiner
The timing was perfect. Kreg had just released the Kreg Edge, their new loose tenon joiner, and Logan was dying to try it. It makes loose tenon joinery doable without spending a fortune on a tool.
It is cordless and runs on Kreg’s 20V battery system, with a brushless motor and an oscillating carbide cutter that cuts clean mortises fast.
A few features Logan loved:
- Auto-centering narrow stock guide. It centers the cut on narrow boards, so there’s no measuring or marking. That’s a big deal when you’re cutting 130 mortises.
- Edge stops. They keep mortise placement consistent on mating pieces, so everything lines up at glue-up.
- Stability base. It gives you a wide, steady footprint for cutting mortises into the face of panels.
Before this, loose tenon joinery meant buying a very expensive tool, so we never made the leap. The Kreg Edge runs about less then $500, which puts it within reach for a lot more woodworkers. If you’ve wanted to build heirloom-quality furniture with strong, hidden joints and no screws, this is a great place to start.
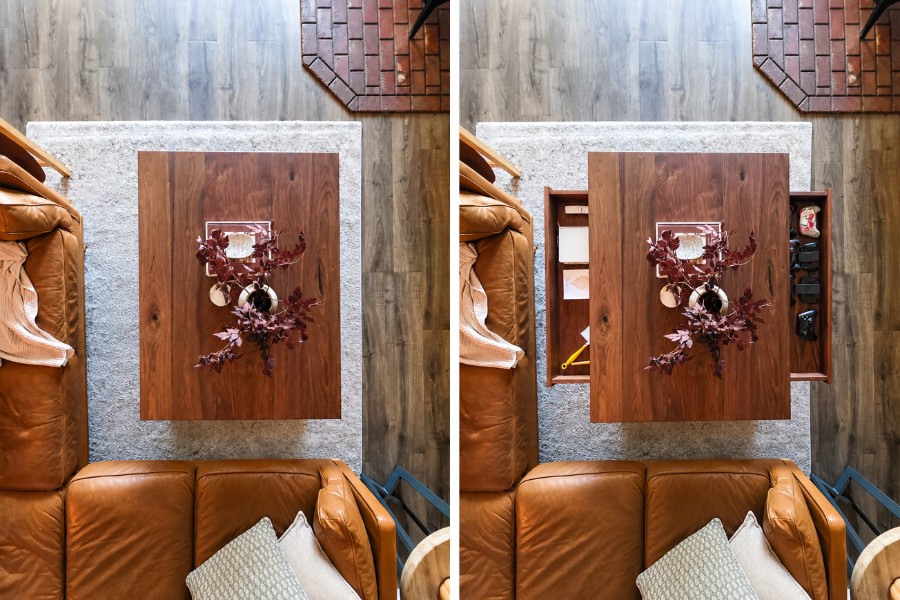
So he went all in. This coffee table is solid walnut with zero screws or metal in the joinery. It’s all dowels, lock miters, and mortise and tenon joints. And it has a secret: hidden drawers for the game controllers, remotes, and books that always end up scattered around our living room.
DIY Coffee Table: Step-by-Step Tutorial
Follow along with our step-by-step tutorial, and don’t forget to get the free woodworking plans so you can have a full cut list with all of the dimensions and details you’ll need to build one for yourself!
Tools and materials you’ll need
Step 1: Cut the wood
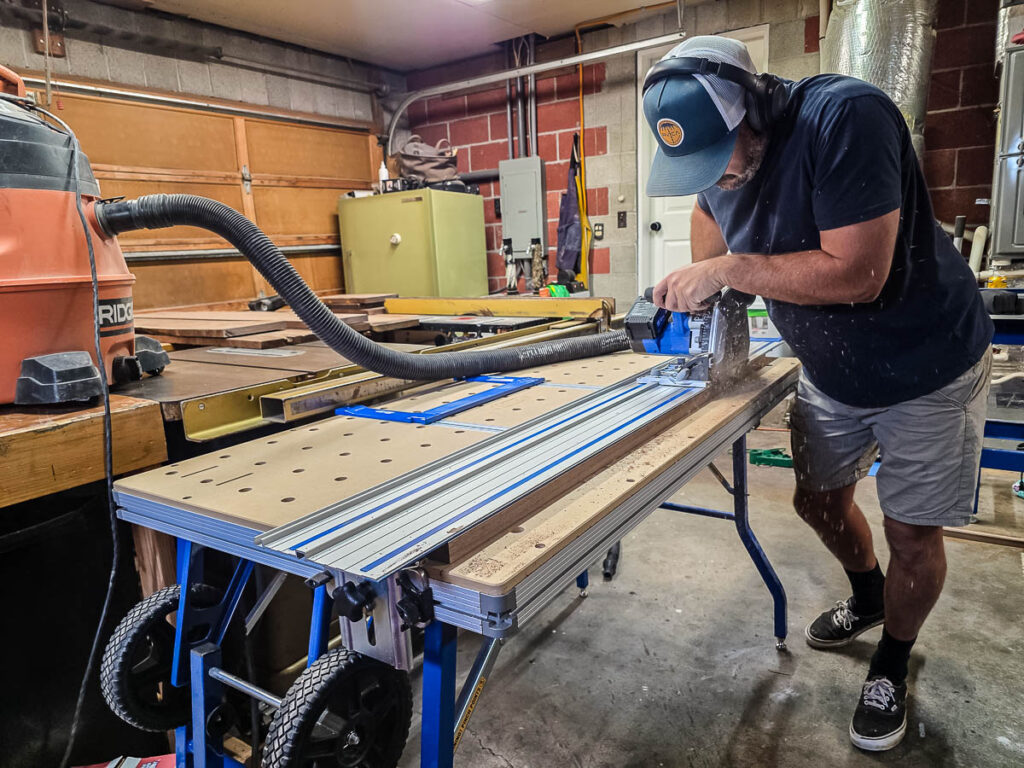
Cut all your boards to size using the cut list in the plans, which you can download for free here.
If your boards need it, run them through the benchtop planer too.
Step 2: Make the panels
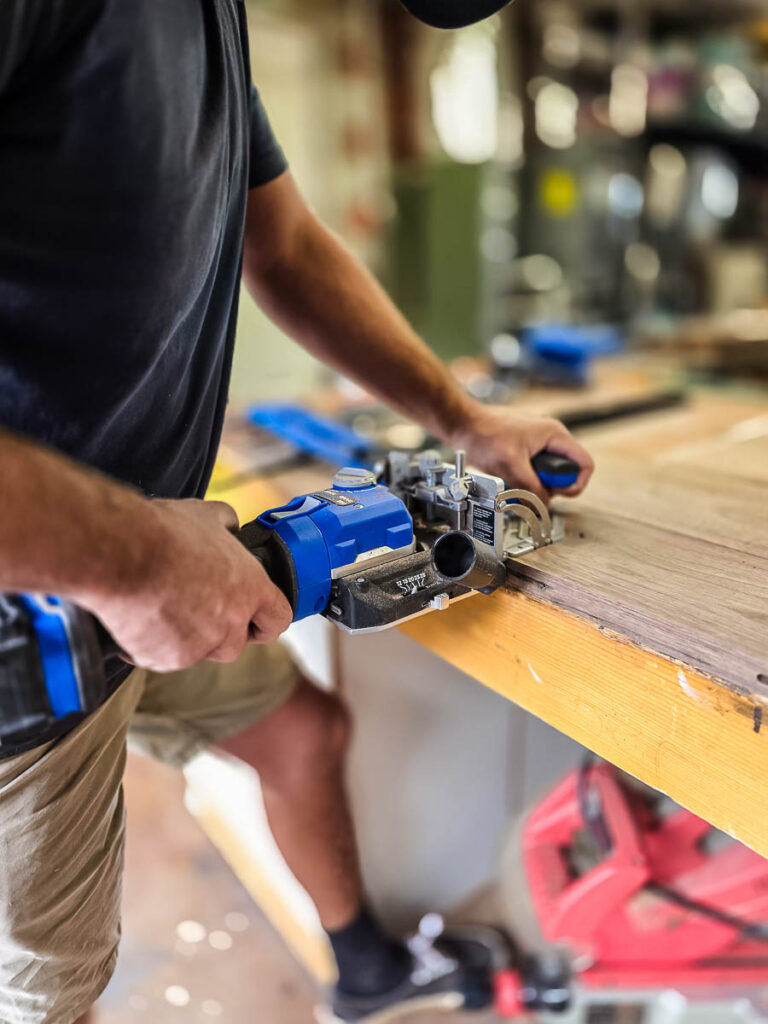
Use the Kreg Edge to cut mortises along the board edges. Add glue and tenons, then glue up the panels.
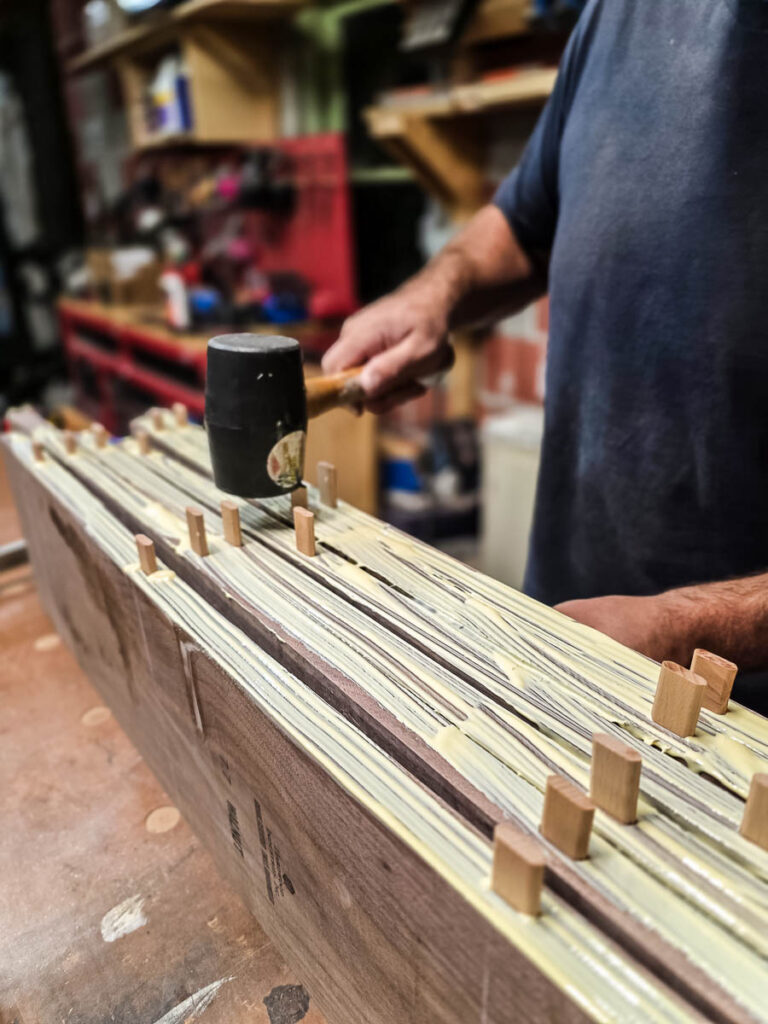
Clamp on both the top and bottom so the panels stay flat and level. Let them dry.
Step 3: Build the base frame
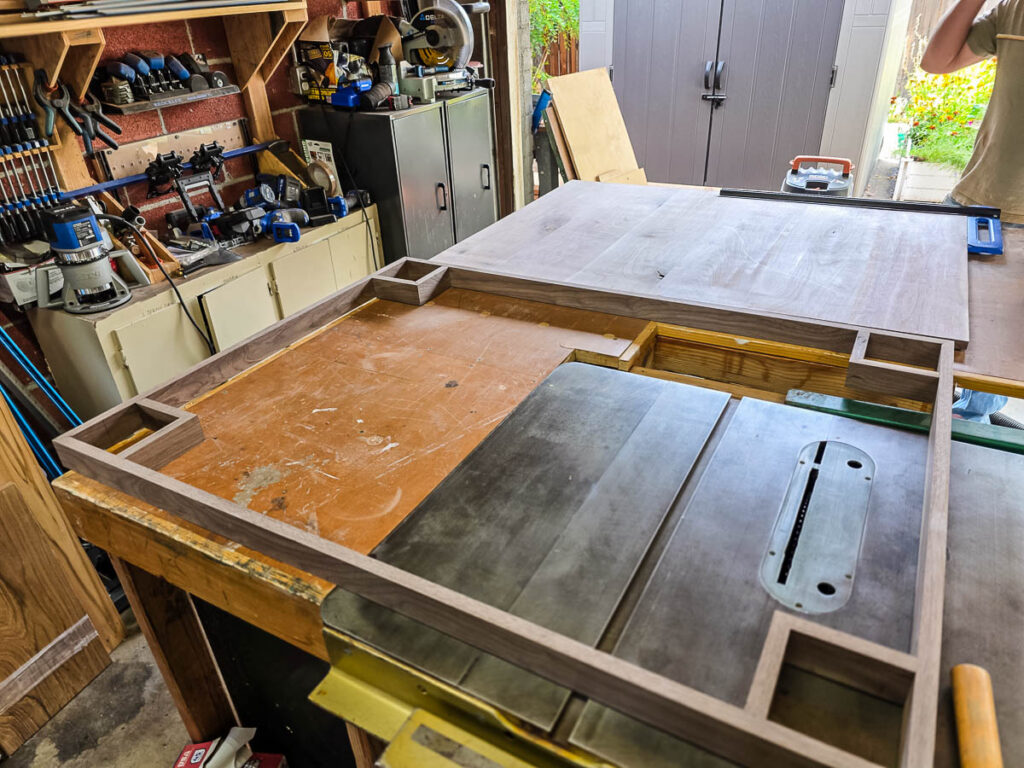
Cut lock miter joints on the frame pieces. Standard miters work too.
Use the Kreg Edge to cut mortises where needed according to the plans. Add glue to the tenons and clamp the frame together. Check for square and adjust before the glue sets.
Step 4: Plane the base panel
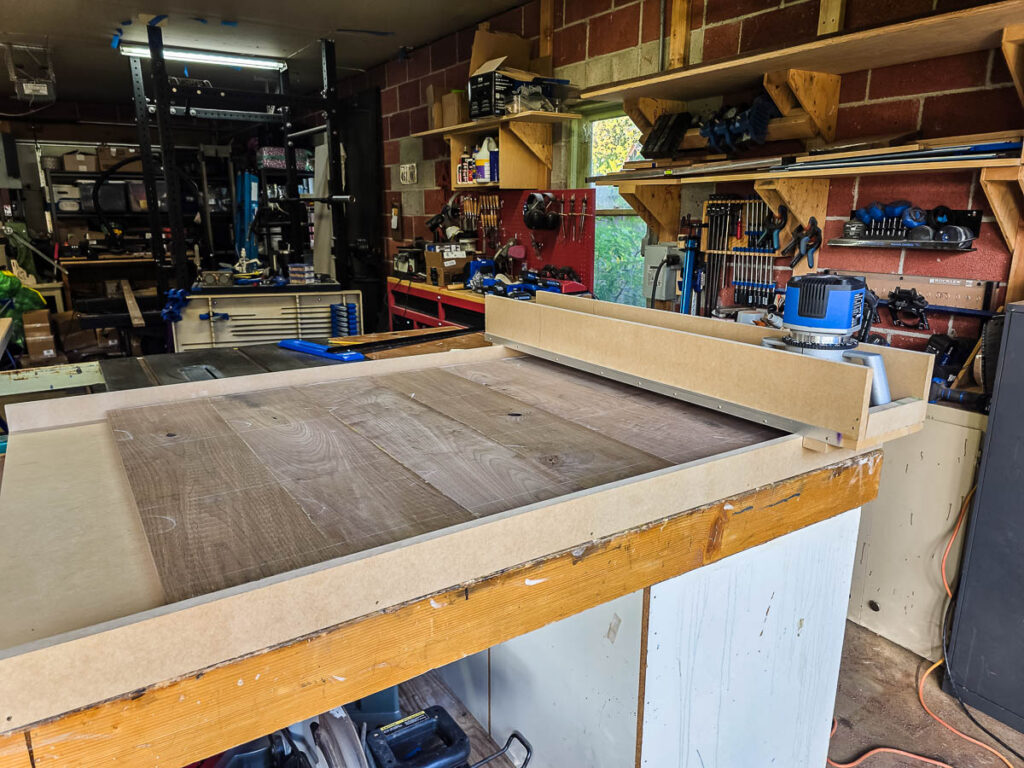
Flatten the base panel with a router sled, a 3 ¼ HP fixed base router, and a surfacing bit.
Tip: Only plane a panel right before you install it. Panels can shift after planing.
Step 5: Attach the base panel to the frame
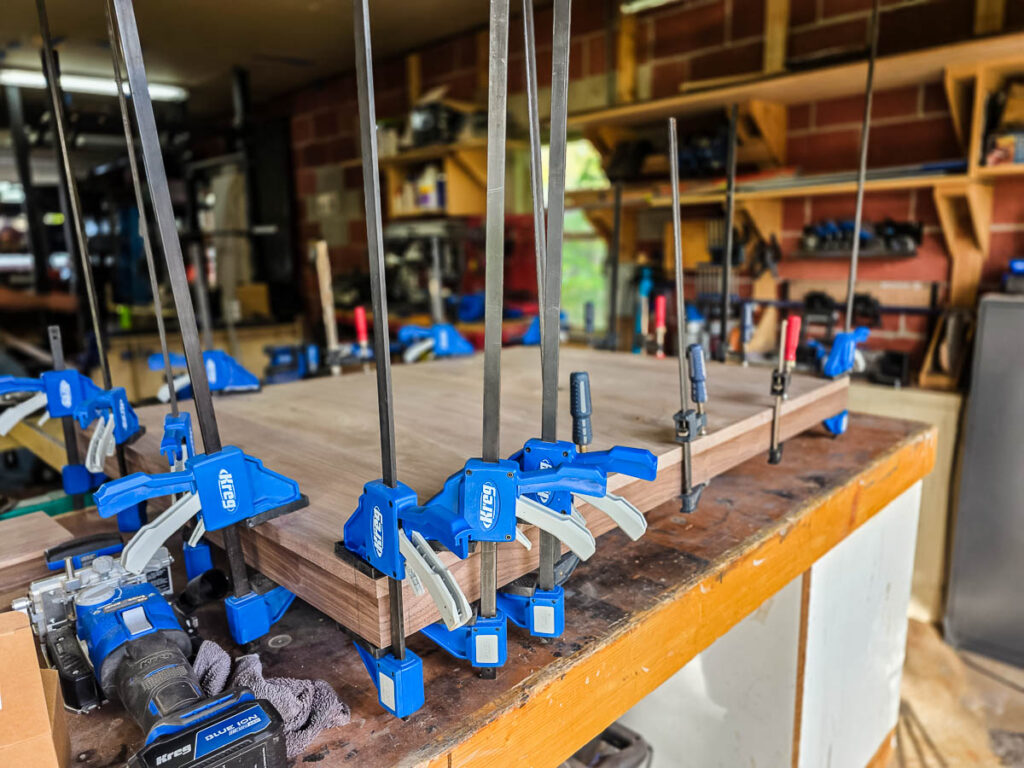
Set the base frame on the underside of the base panel and mark your mortise locations. Cut the mortises with the Kreg Edge, add glue and tenons, and attach. Clamp and let dry.
If the edges aren’t perfectly flush, clean them up with a trim router and flush trim bit.
We also added a roundover to the top edge of the base panel. That part is optional.
Step 6: Attach the legs and blocks
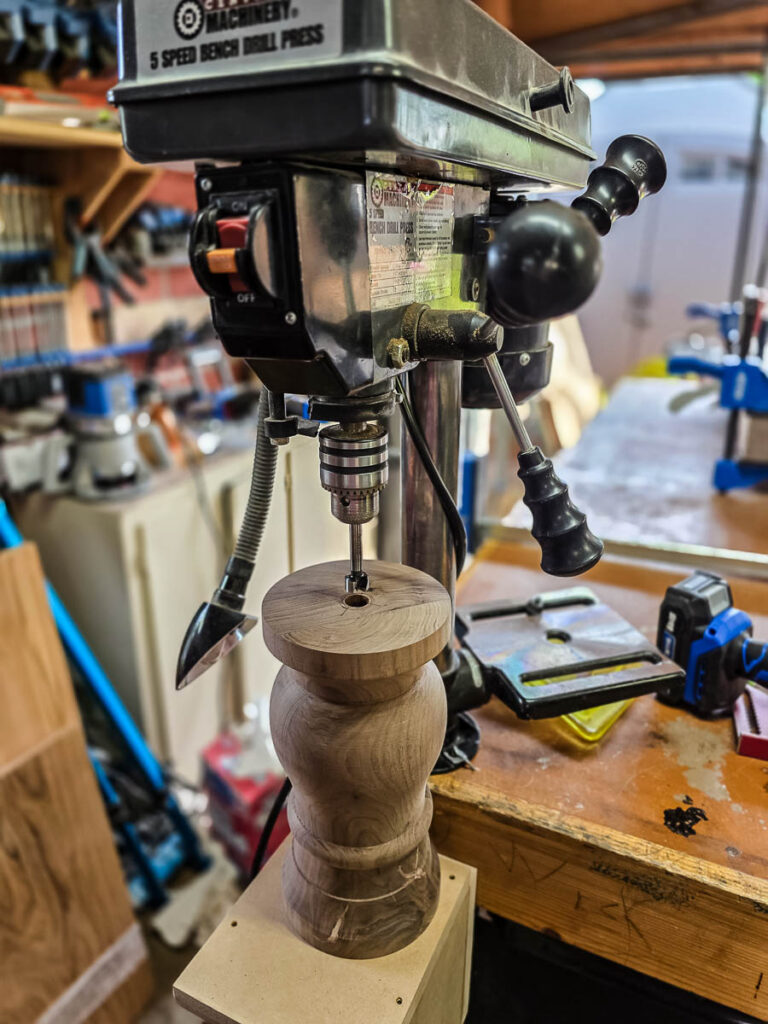
Find the center of each 5″ x 5″ x 5″ block with a center finder. Then use a drill press to bore a ⅝” hole through each block and balustrade leg for the dowels. Start with a Forstner bit and finish with a spade bit.
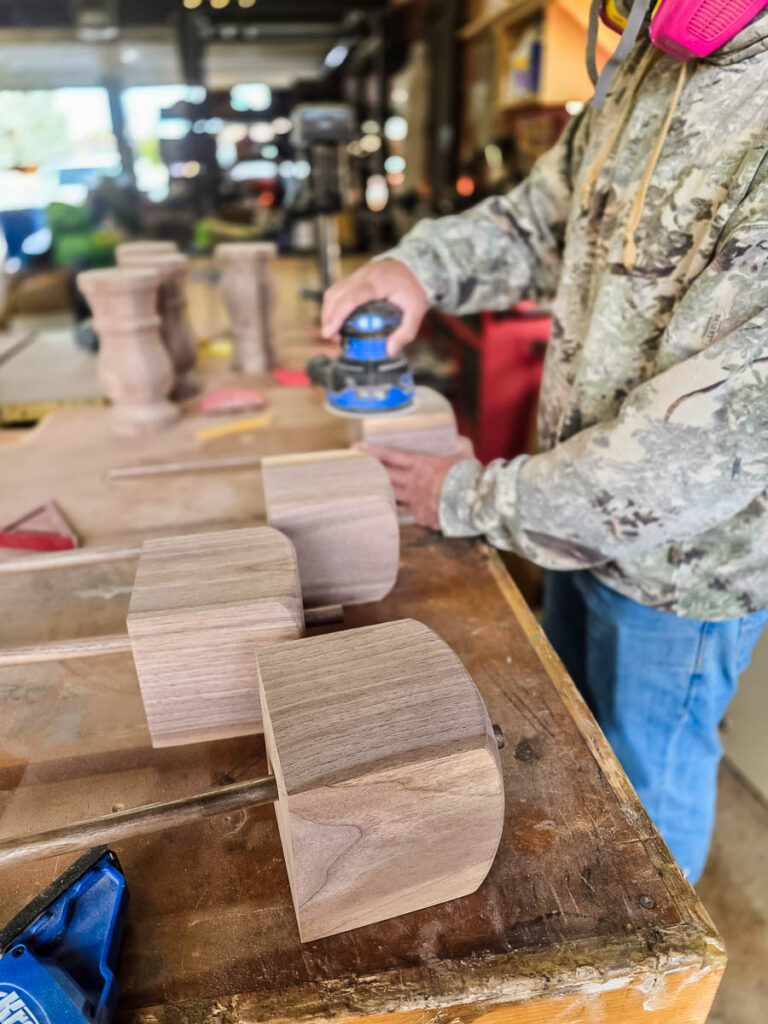
Before attaching the blocks, we sanded the corners round so they match the legs better. Glue and clamp the blocks to the legs and let them dry overnight.
Once dry, tap the dowels in with a rubber mallet or press them in with clamps. Leave about ½” of dowel sticking out the bottom. This makes attaching to the base easier later.
Want to skip this step? Make or buy legs in the right size and style instead.
Step 7: Build the top frame and attach it to the legs
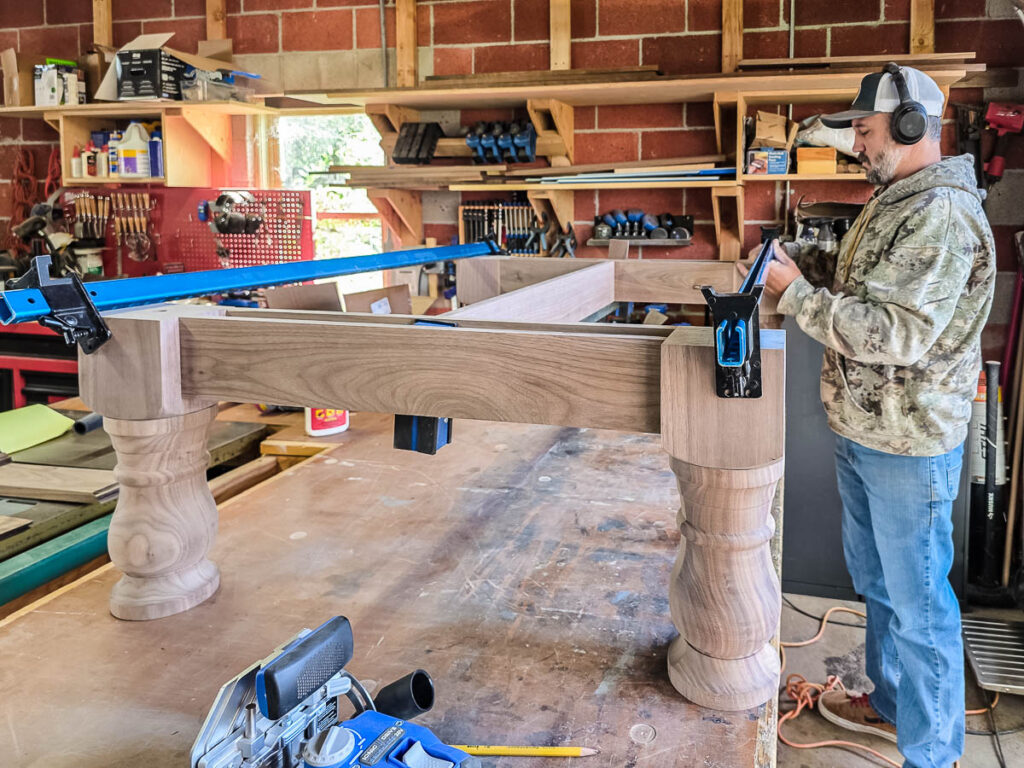
Cut mortises in the legs and top frame pieces. Glue and assemble following the plans. Check for square as you clamp, then let dry.
Step 8: Attach the legs to the base
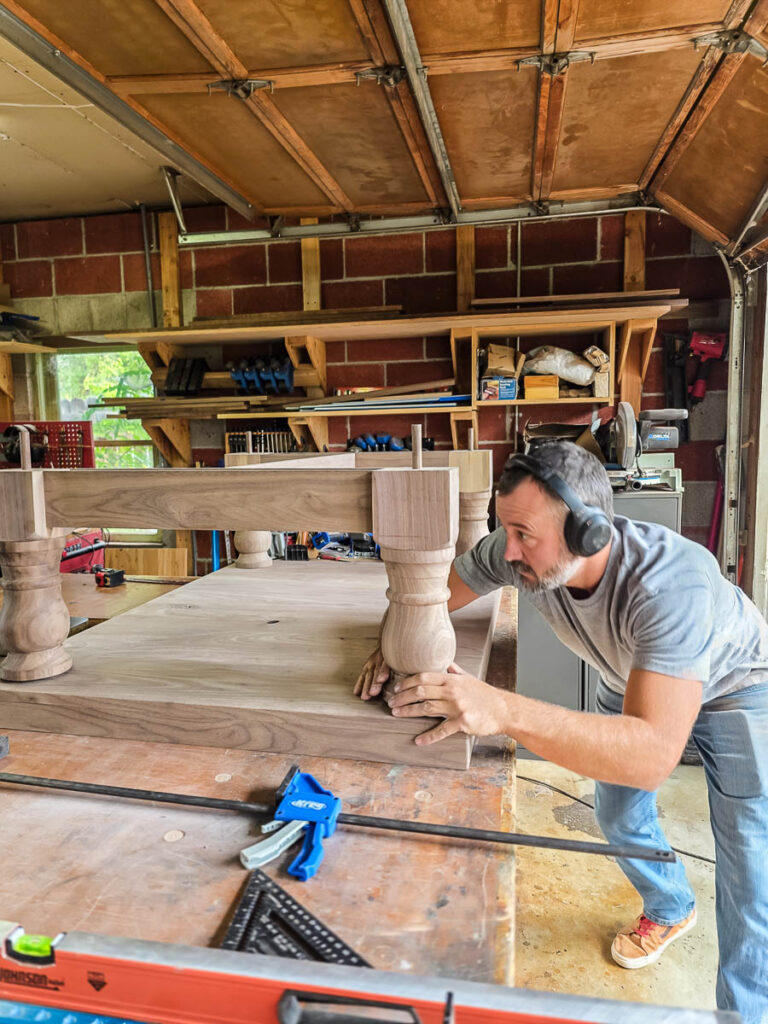
Drill ⅝” holes in the base with a Forstner bit where the legs will sit. Add glue at the connection points. Then tap the dowel down through the base from the top of the leg. Drive it at least ¾” past the bottom of the base frame so there’s enough to go into the feet.
Step 9: Attach the feet
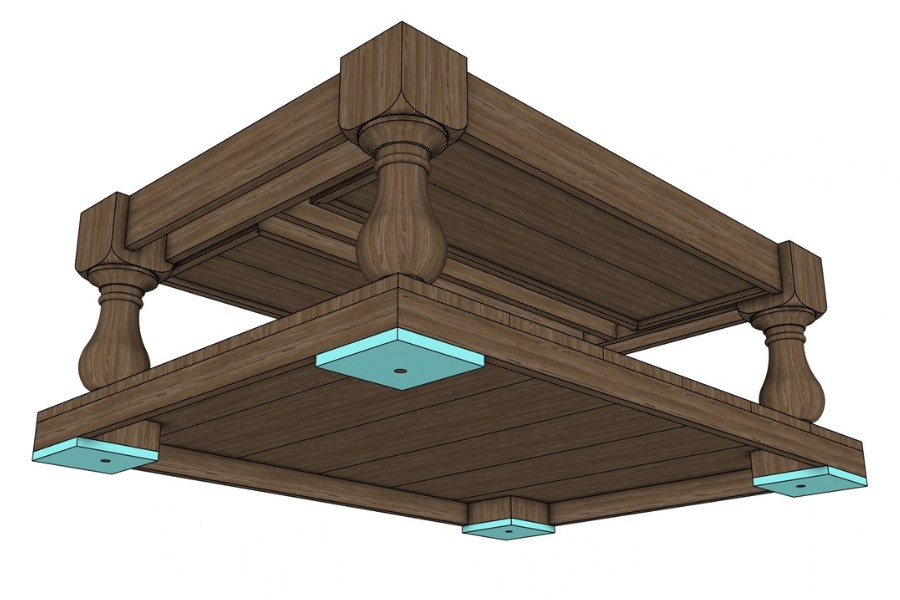
Flip the table over and mark where each dowel lands on the feet. Drill with a Forstner bit, add glue, clamp, and let dry. The dowel should poke through the bottom of each foot by about ⅛”.
Step 10: Wedge the dowel joints
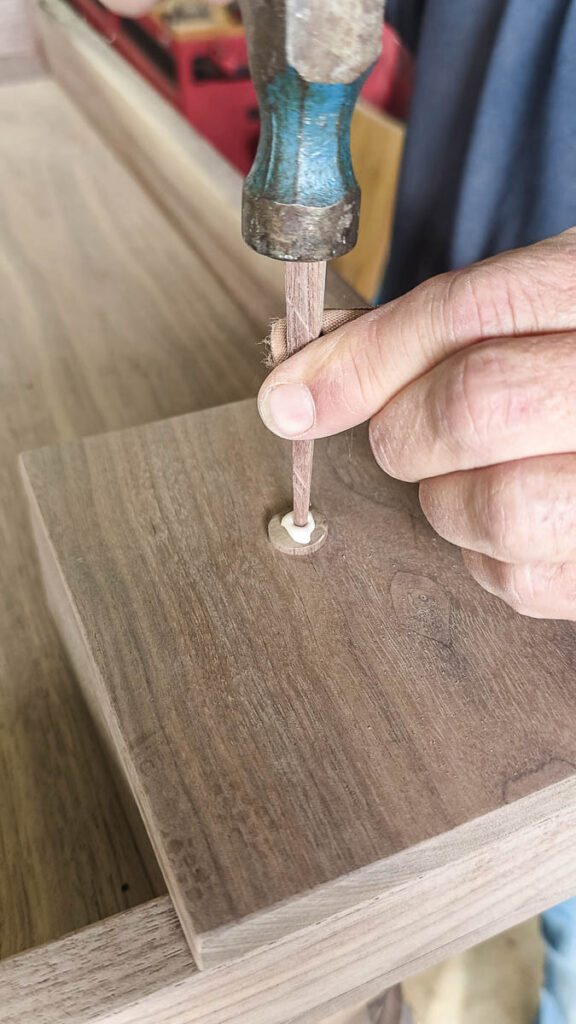
Drill a ⅛” hole in both ends of each dowel. Cut small wedges from scrap wood. Add glue and tap the wedges in. Once the glue dries, trim off any extra dowel with a multi-tool.
Step 11: Build the drawers
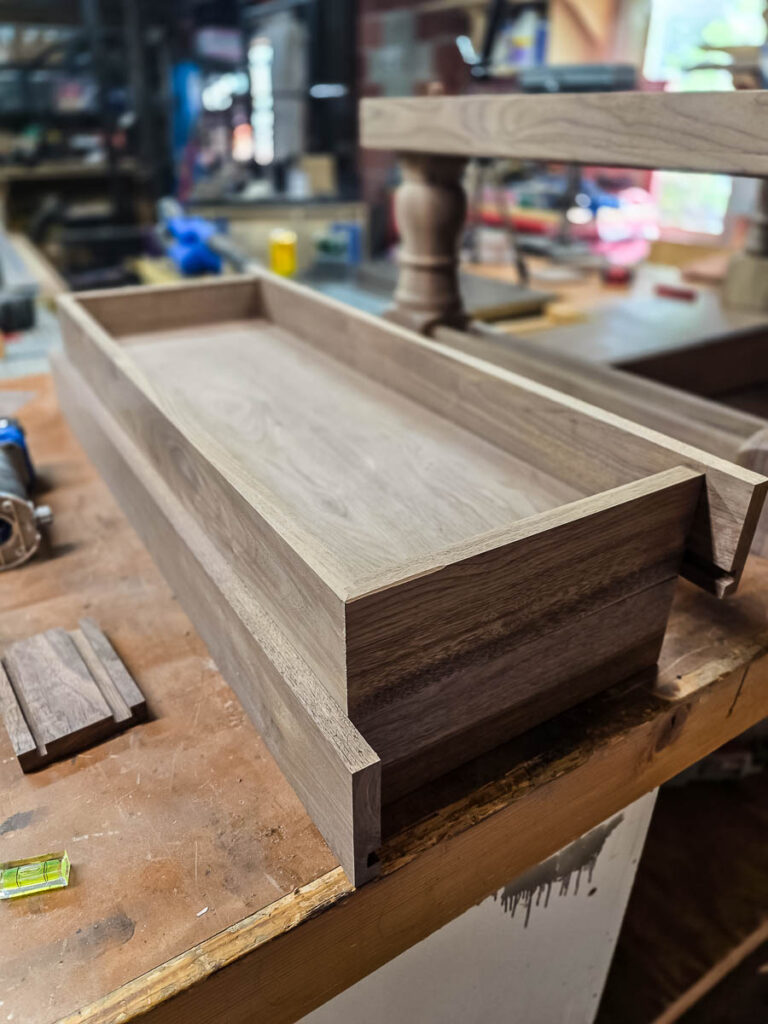
Plane the drawer panels down to ½”. Assemble the drawers following the plans. We used lock miter joints. Cut a dado on the table saw and slide the bottom panel in. Leave the drawer face a little wide so you can trim it for a perfect fit later.
Step 12: Prep the top panel
Flatten the top panel with the router sled, the same way you did the base. Cut it to size with the Kreg ACS and finish the edges however you like. We did a roundover on the top and bottom edges. Sand smooth.
Step 13: Fill knots and holes with epoxy
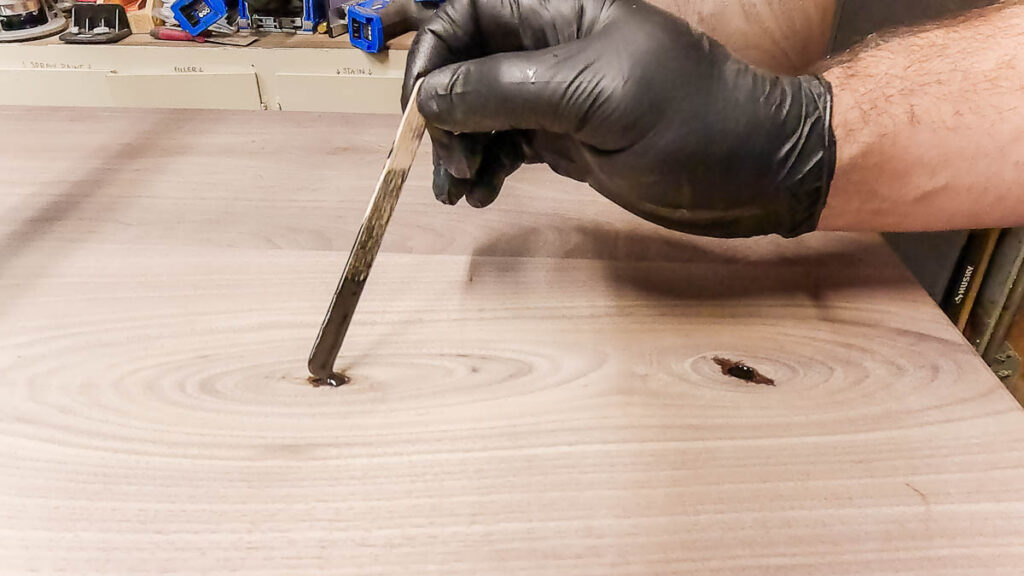
Mix epoxy and fill any large knots or holes. Let it cure, then sand smooth.
Step 14: Final sand
Sand the whole piece from 80 grit up to 220 grit. Fill any gaps with wood filler, then sand again.
Step 15: Attach the top panel
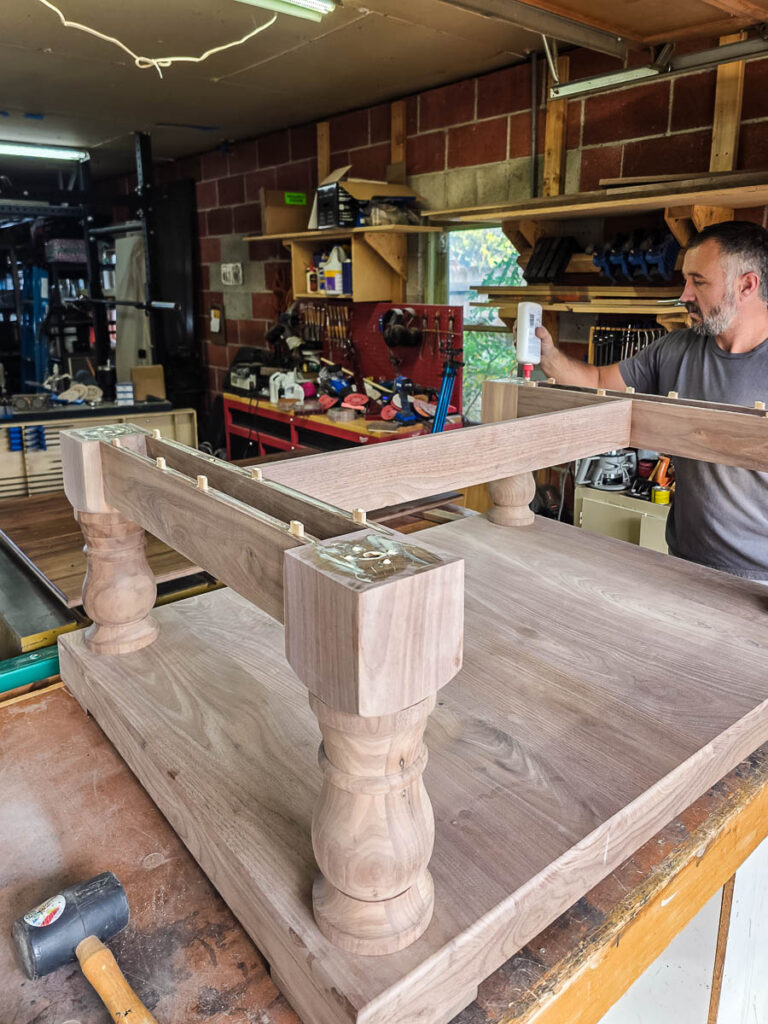
Cut mortises and attach the top panel with glue and tenons. Clamp and let dry.
Step 16: Finish
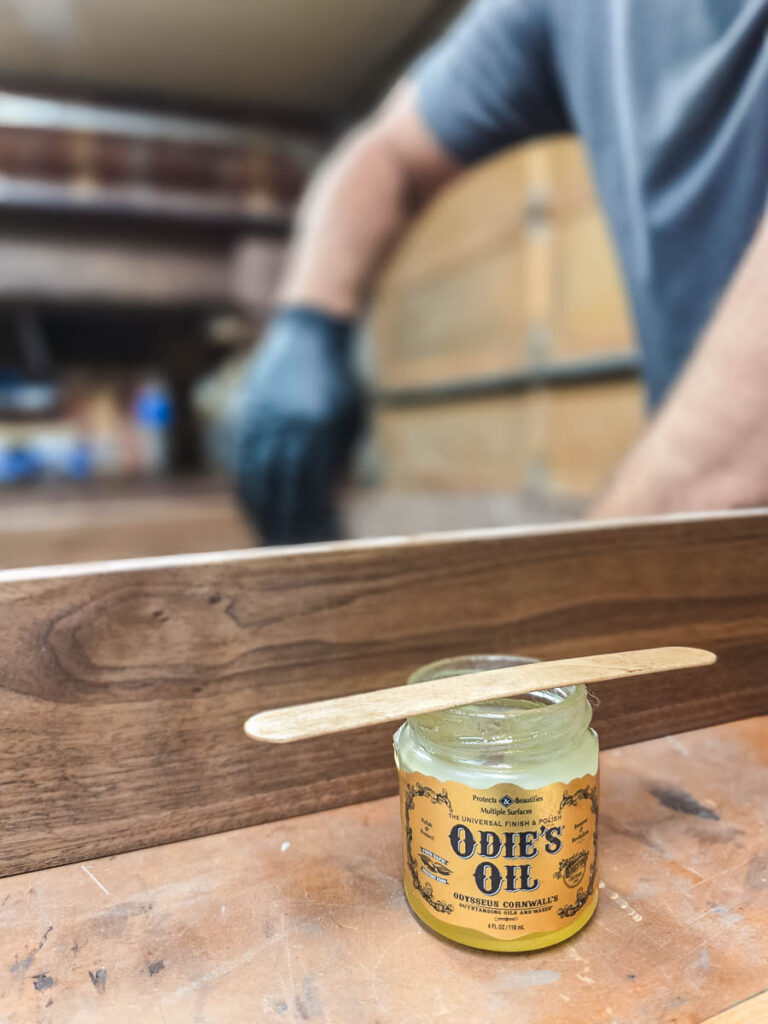
Rub oil into the entire piece. We used Odie’s Oil.
Step 17: Add the drawers
Measure carefully and trim the drawer faces to fit. Check that the soft-close drawer slides open and close smoothly.
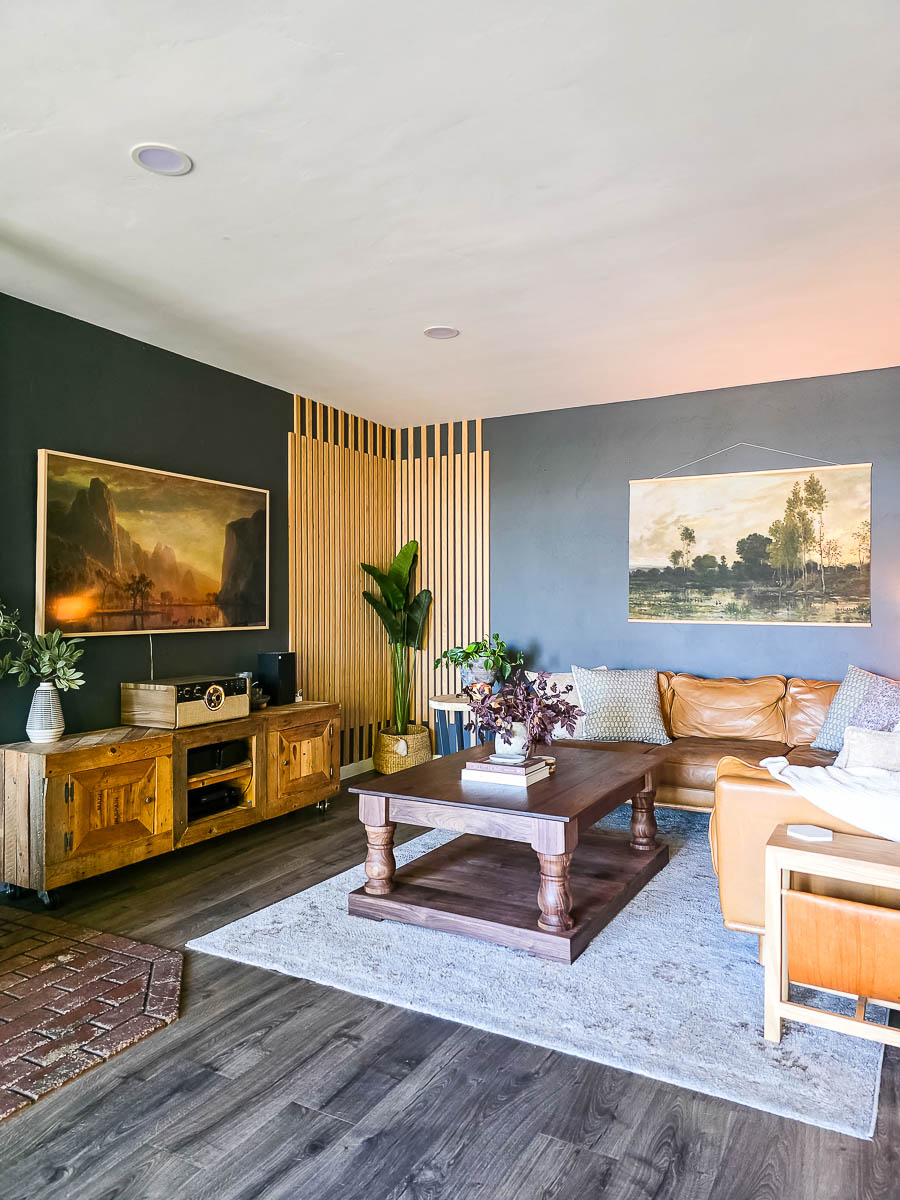
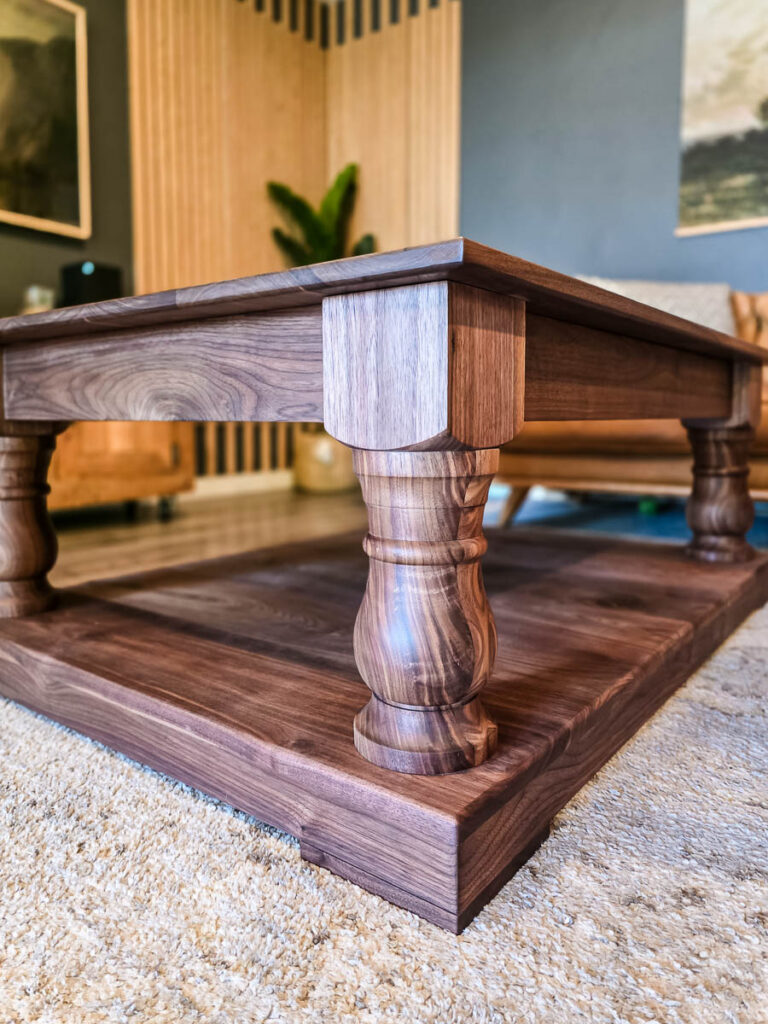
If you want to build this coffee table, we’ve done all the hard stuff for you! All you need to do ishop over to Kreg’s website! On the tutorial there, you’ll see a link to download the free plans to get all of the detailed measurements and a cut list!
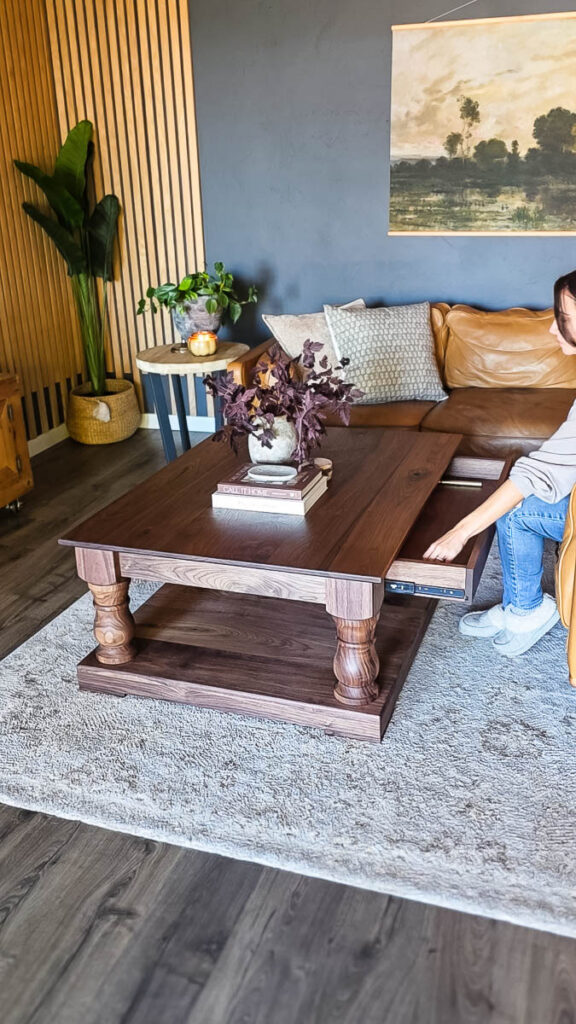
If you make your own version of the coffee table, we would love to see it. Tag us or send us a message, we always love seeing these free woodworking plans come to life in your homes.