
How Do You Prepare A Wall For Painting? Step-by-Step Guide

Wondering how do you prepare a wall for painting? We're breaking down every step, from patching nail holes to priming, so your next paint job actually lasts.
Thank you to DAP for sponsoring this article about prepping walls for paint! All opinions are entirely my own. This post also contains affiliate links, but nothing that I wouldn’t recommend wholeheartedly. Read my full disclosure here.
If you’ve ever wondered why some paint jobs look flawless for years and others start peeling within months, the answer almost always comes down to one thing: prep work.
We joke around here that painting a room should really be called “prepping a room,” because that’s where ALL the time goes. On our last painting project (our son’s bedroom), the prep took almost ten times longer than the actual painting. That’s not an exaggeration.
Rolling paint on the wall is the fast, fun part where you get to see things change quickly and dramatically. But getting the wall ready for that paint is where the real work happens.
So let’s talk about the big question… how do you prepare a wall for painting?
We are going to break down the best way to prepare a wall for painting, step by step for beginners, so you get long-lasting results the first time around.
First Things First: Clear The Room
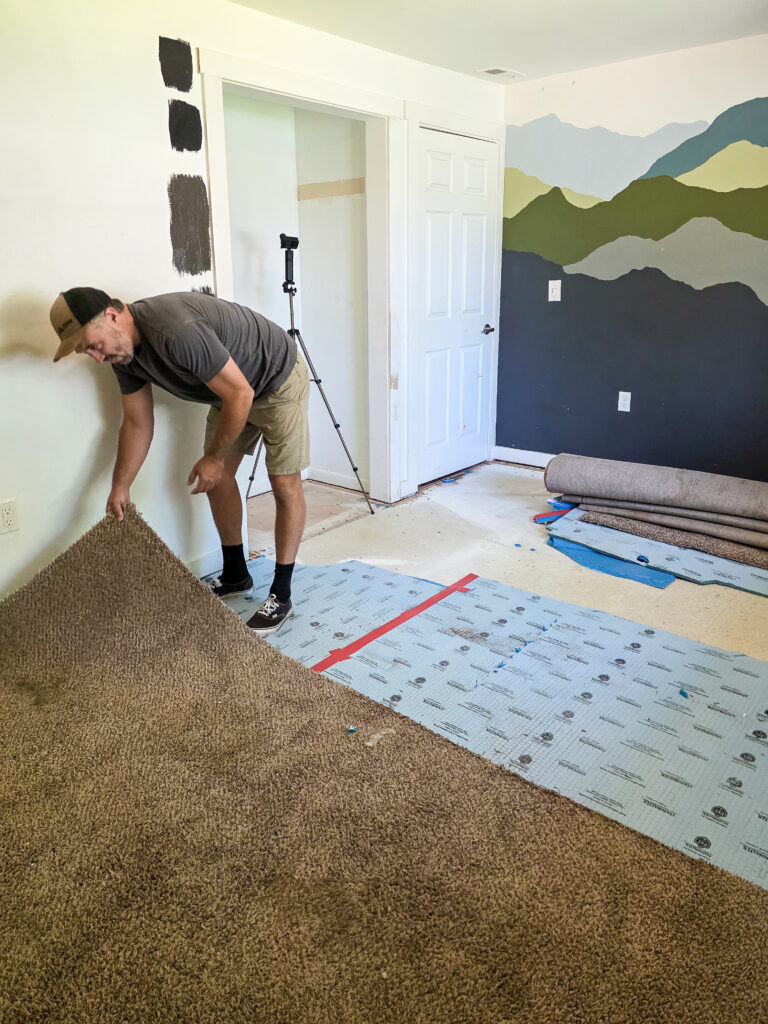
Before you touch a putty knife or a paint roller, clear everything off and around the wall you’re working on.
- Remove decorative items, art, and anything hanging on the wall
- Take down curtain rods and hardware
- Pull off switch plates and outlet covers with a screwdriver and toss them in a bag with the screws
- Set drop cloths down to protect your flooring (or in our case, remove the old flooring to expose the subfloor while you paint before you install new flooring)
- If you’re painting near door frames, give those a quick look too since they often need patching and cleaning right along with the wall
This step feels small, but skipping it is a good way to end up with paint drips on your baseboards or a switch plate you have to pry paint off of later.
Check For Loose Paint And Popped Nails
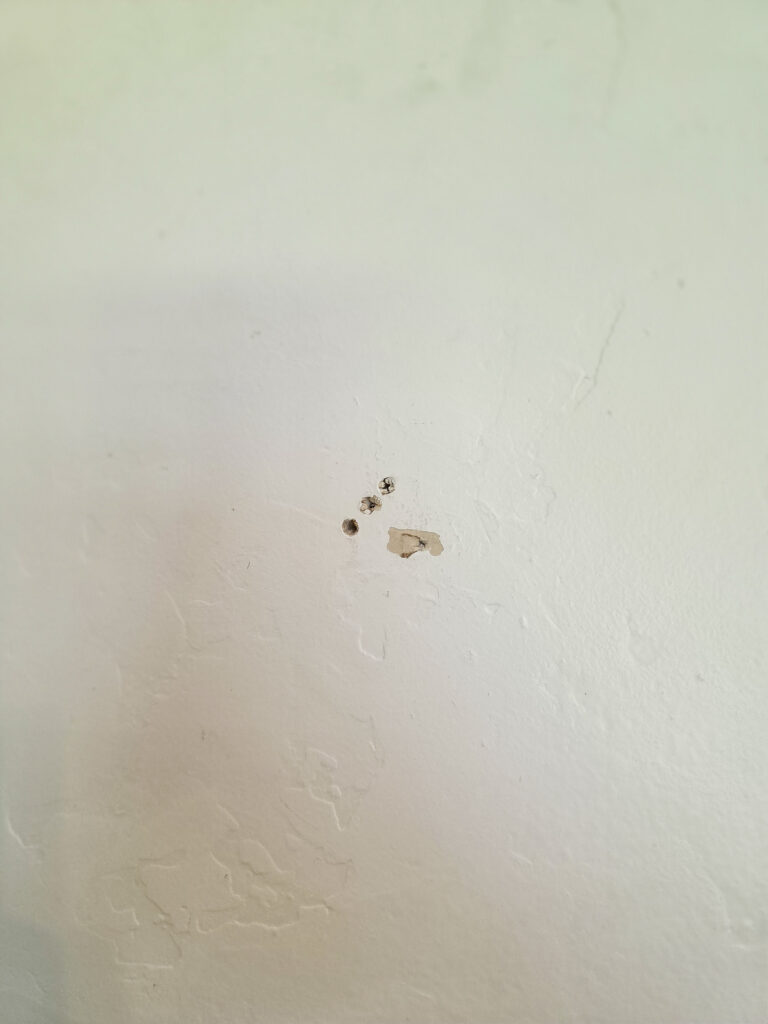
Walk the wall slowly and look for anything that needs attention before you patch. This includes:
- Loose paint or any spot where old paint is peeling
- A popped nail poking through the surface
- Small gaps where trim meets the wall
- Hairline cracks near corners or windows
Scrape off any loose or peeling paint so you’re not painting over something that’s already failing. If a nail has popped, pull it or tap it back in, then patch over it once you’re done.

A quick note on older homes and lead paint: If your home was built before 1978, it’s worth testing for lead paint before you start sanding or scraping. Disturbing old paint can release lead dust, and exposure has been linked to serious health issues. Lead dust is one of those hazardous substances you really don’t want to mess around with.
Patch Nail Holes And Imperfections
This is the step that usually takes longest, especially if you’ve got kids or pets who’ve left their mark on your interior walls (I say this as someone whose son has been slowly DESTROYING his bedroom walls for the last seven years).
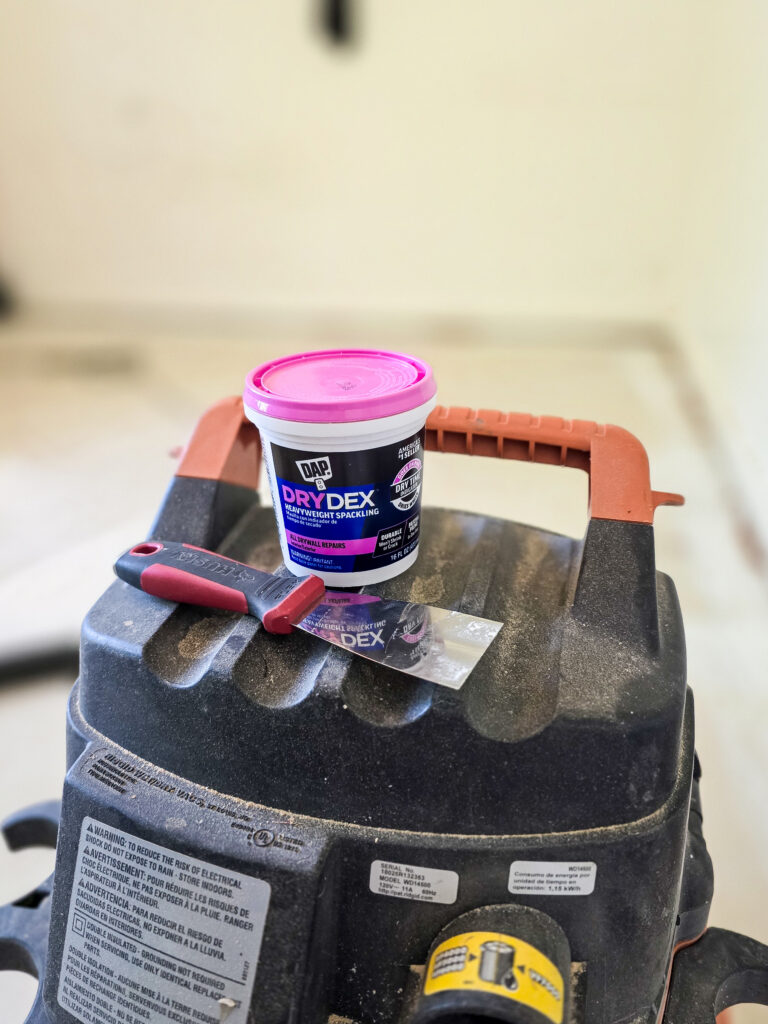
For small holes, like an empty nail hole or two:
- Use a wide putty knife to apply DryDex spackle over the hole
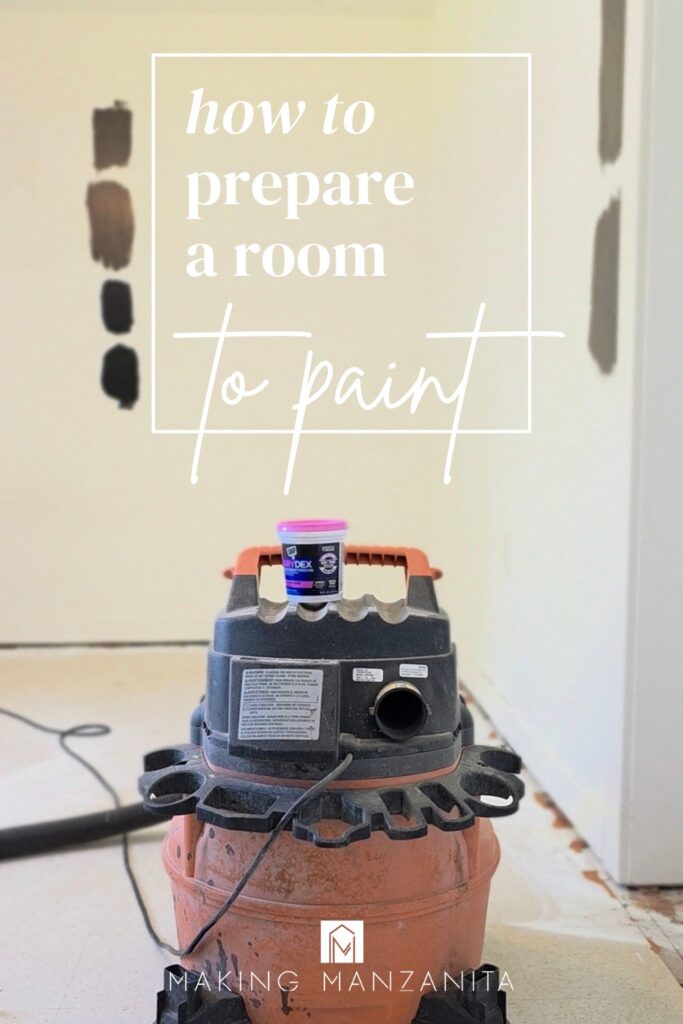
- Let it dry completely: We love the DryDex because it goes on pink and dries white when it is ready to sand!
- Sand smooth with a sanding block once dry
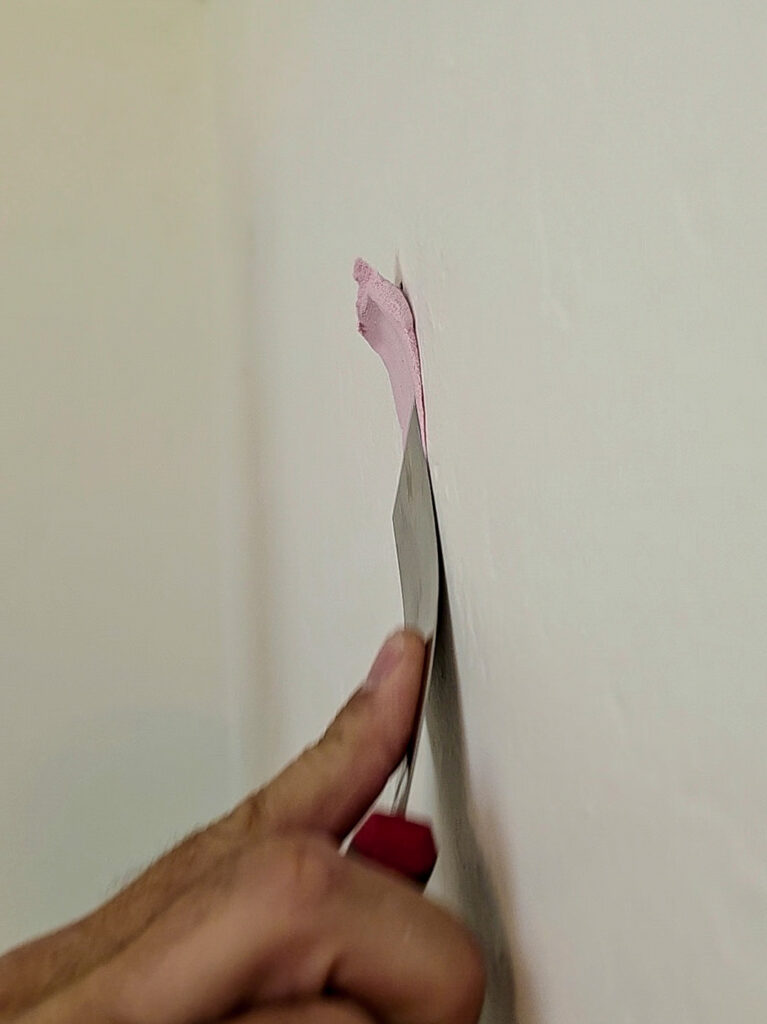
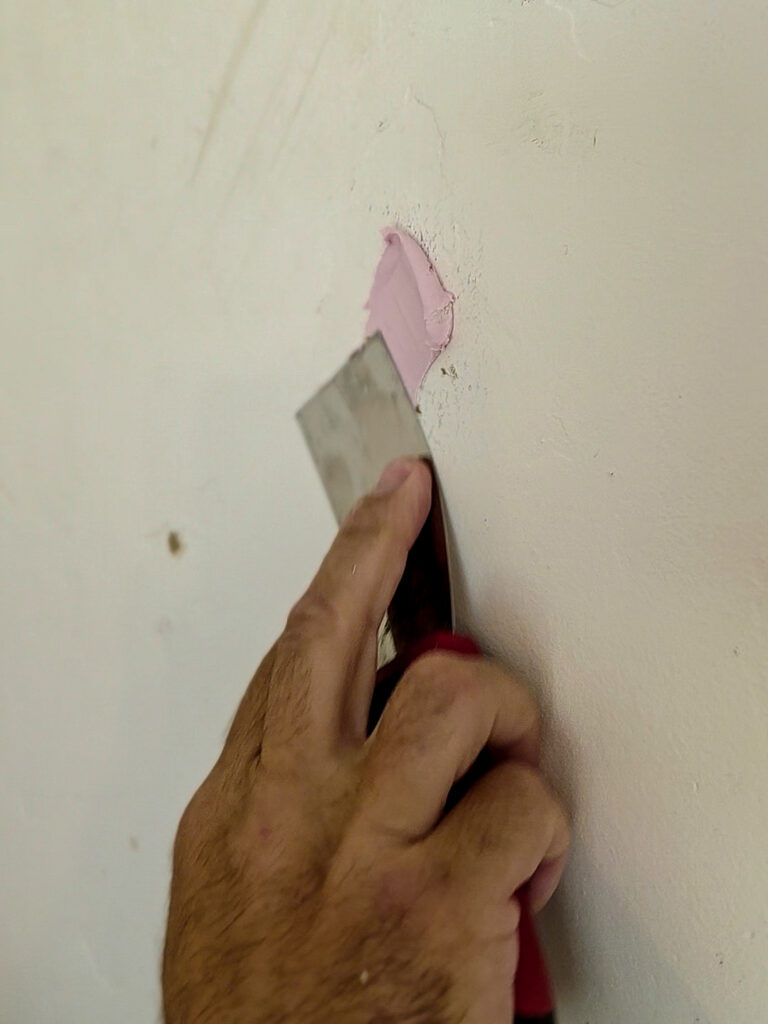
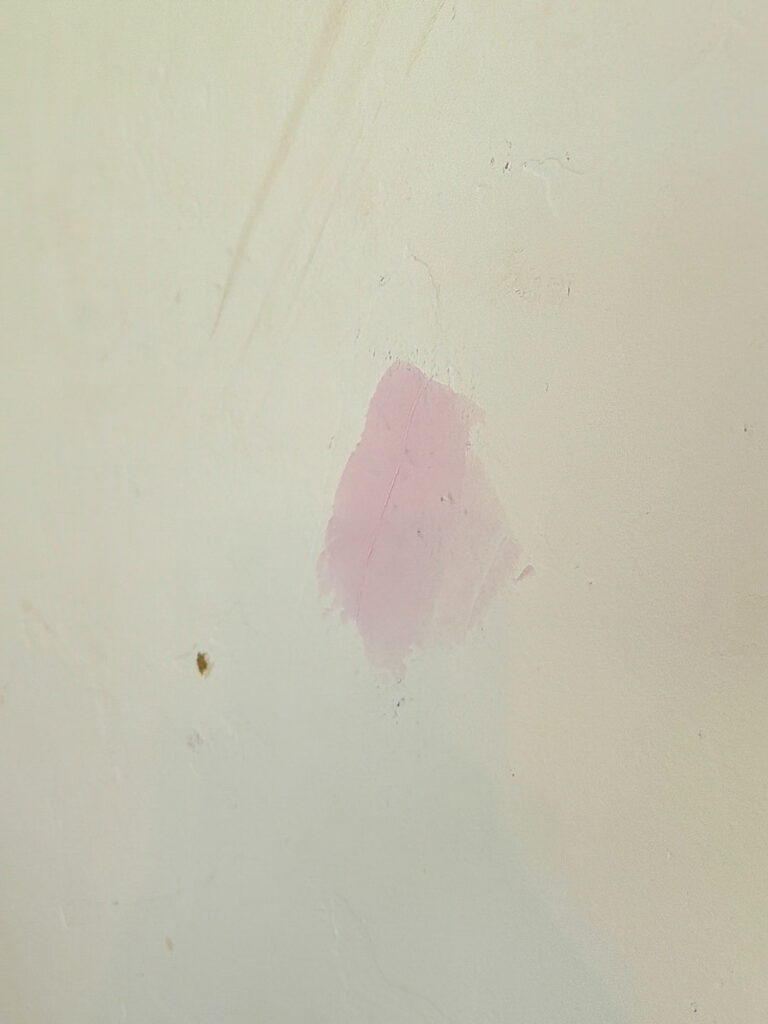
For large holes or a bigger drywall patch, you may need a patch or a piece of drywall paper face mesh over the hole first, then joint compound applied in thin layers over the top, letting each layer dry before adding the next.
DAP also has these awesome patches that work so well that just stick on and you can paint right over them! Check them out here.
A few patching tips:
- Don’t rush the dry time. Patched areas that aren’t fully dry will sand messy and won’t hold the paint or primer well
- For small gaps or hairline cracks, caulk works better than joint compound or spackle since it can handle a little wall movement
- Always check your patched areas by running a hand over them once dry. If you can feel it, you’ll see it once the wall is painted
- If you did a lot of patching, you should plan on priming first
Sand For A Smooth Surface
Once your patches are dry, it’s time to sand everything smooth. This step makes a bigger difference than people think, especially if you want a smooth finish and not a bumpy, uneven surface once the paint goes on. A sanding block works great for this.
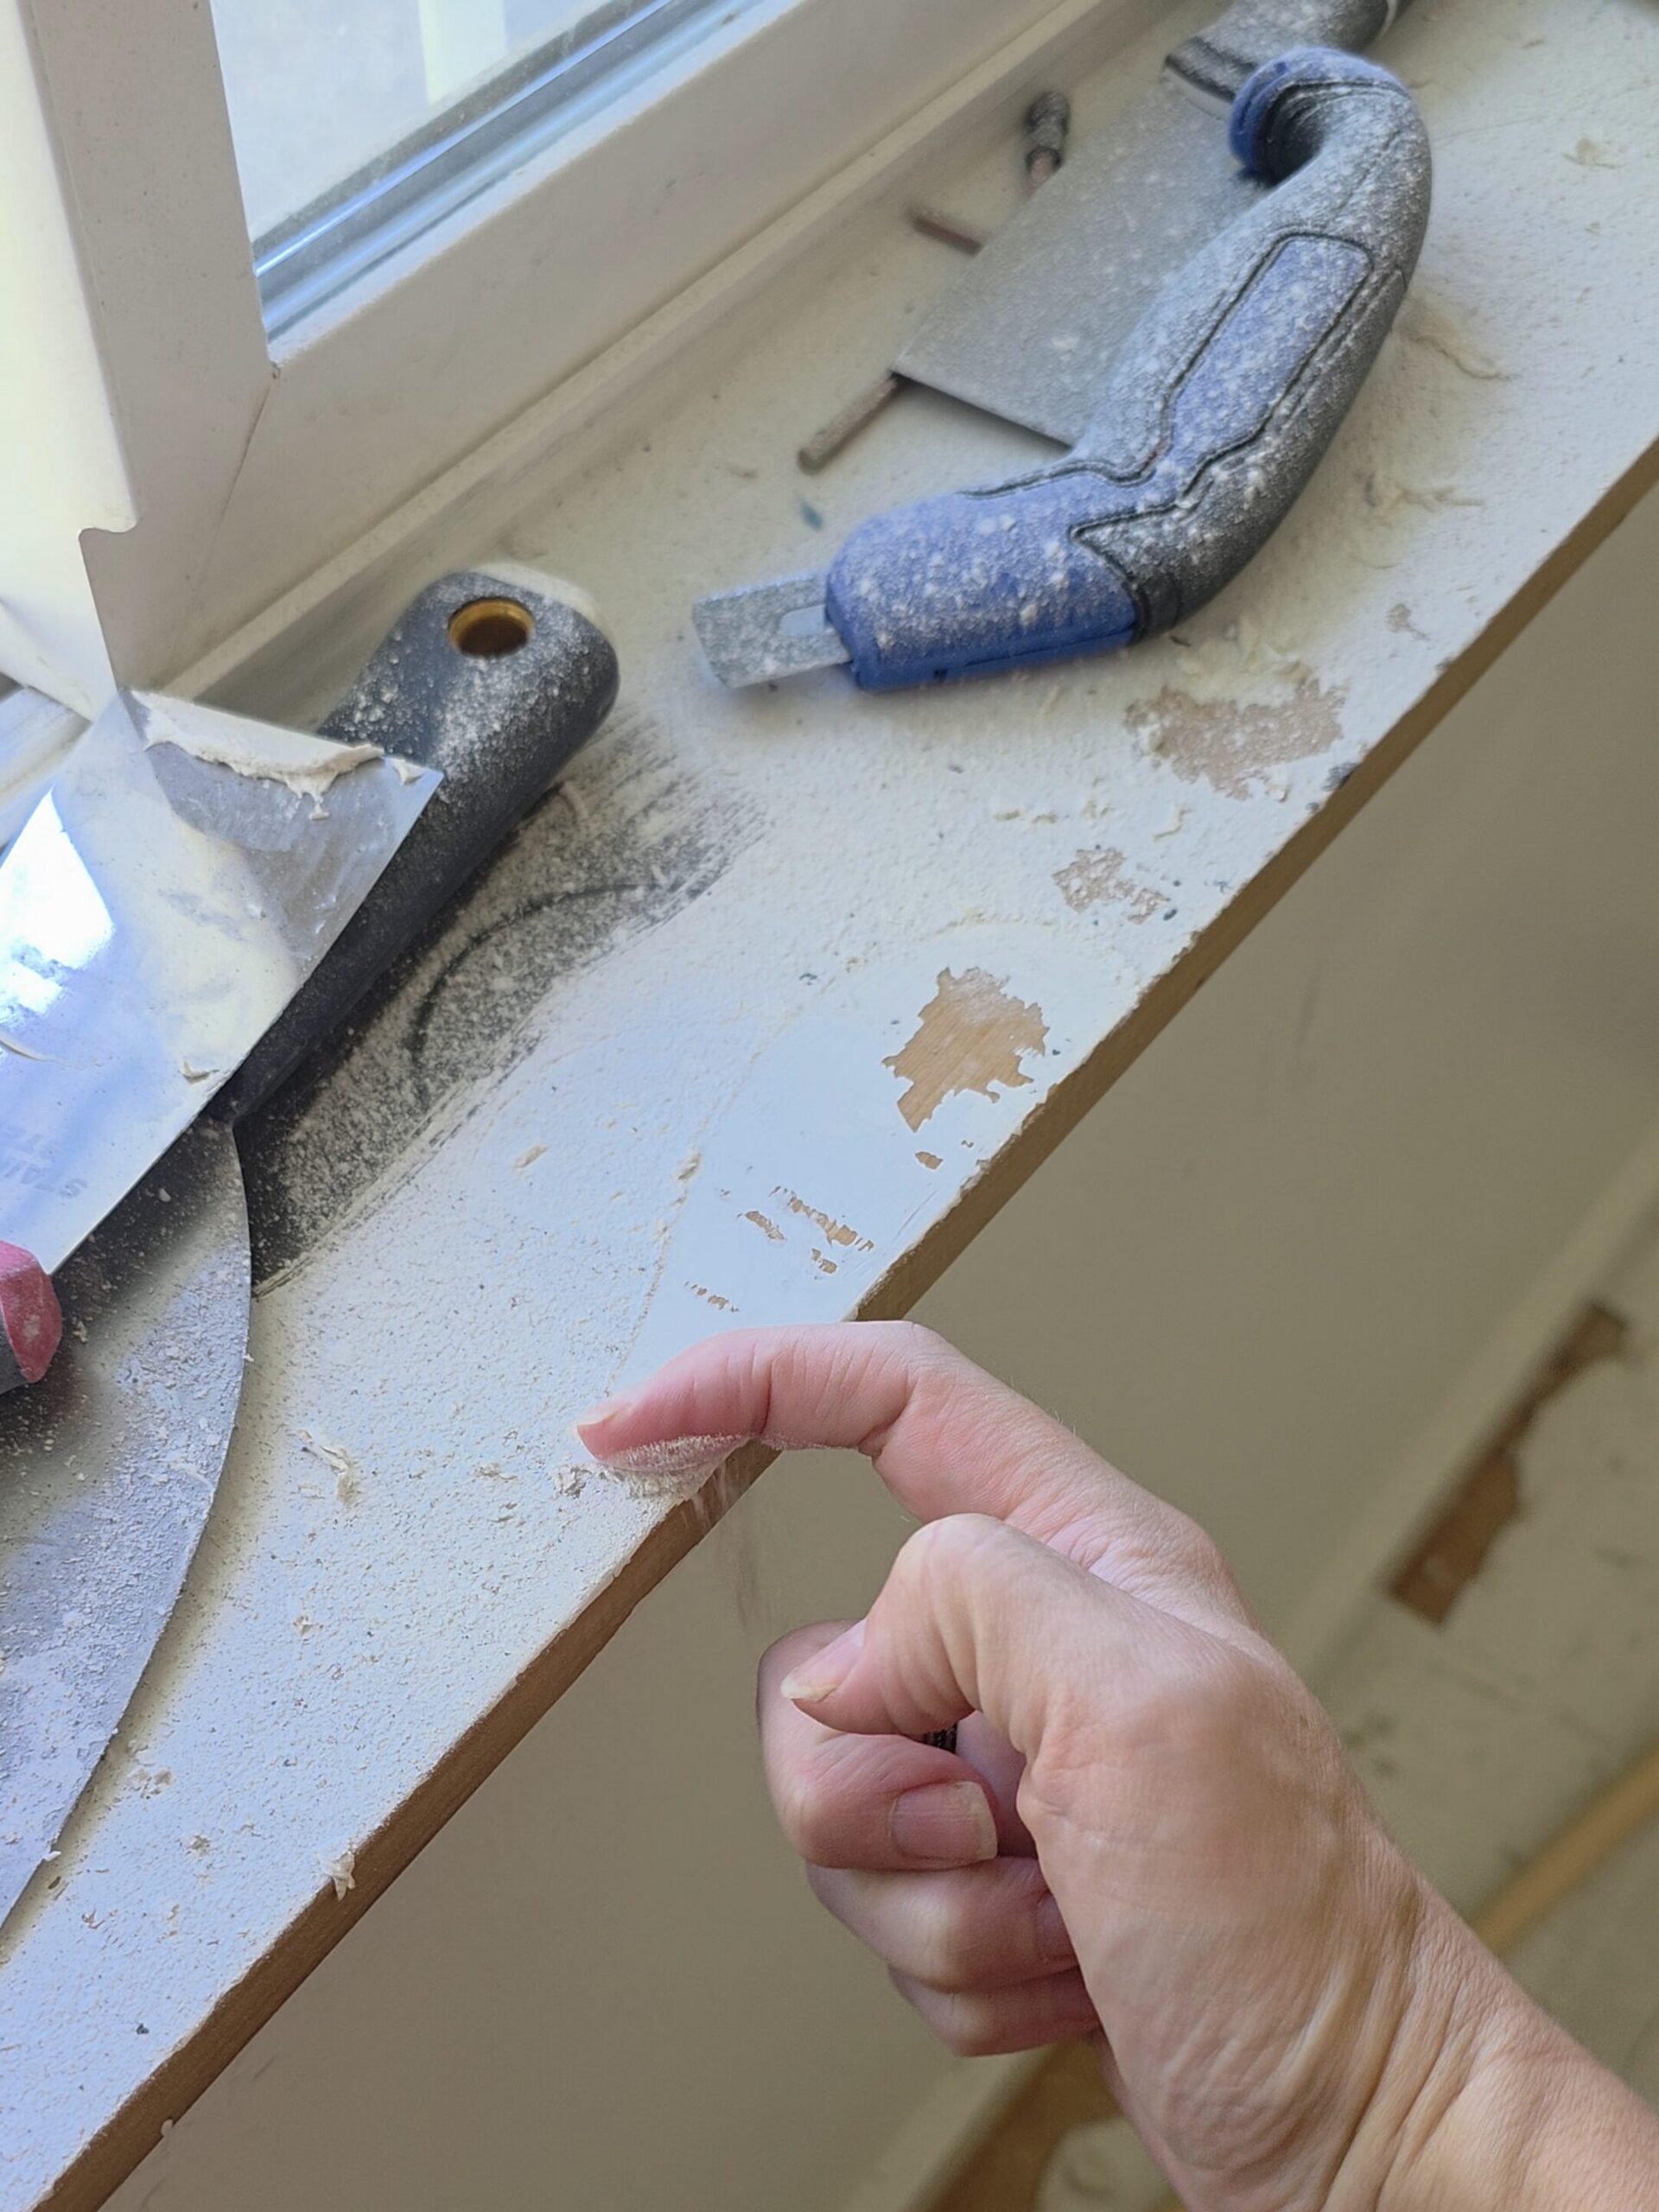
Wipe away the dust with a slightly damp cloth or vacuum before moving to the next step. Dust left behind will definitely mess with how your primer and paint adhere.
Clean Up
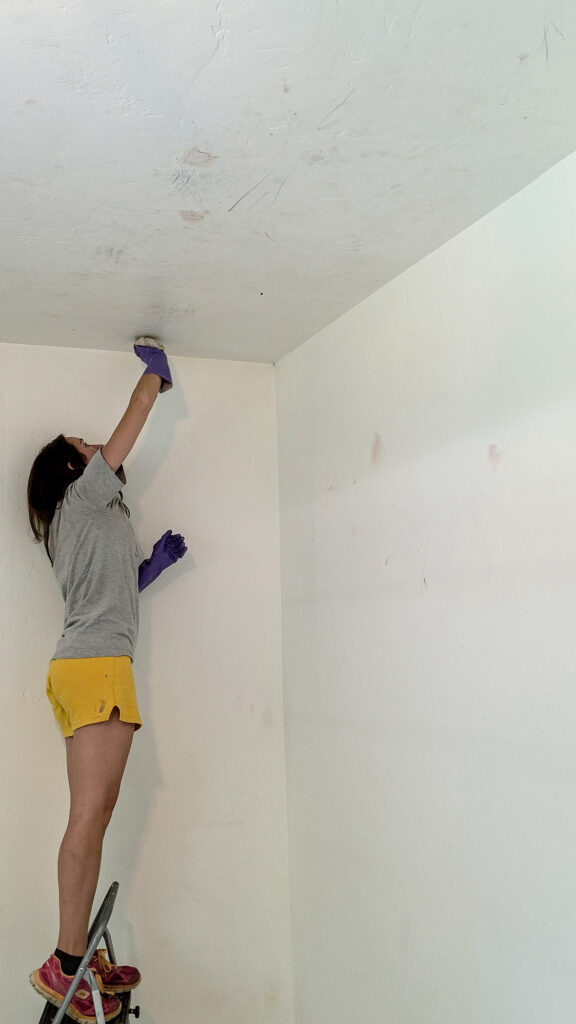
Cleaning gets skipped more than any other step, but it makes a big difference in how long your paint lasts.
- For most rooms, a damp cloth with mild soap and water is enough
- Kitchen walls usually need special attention since they collect grease and grime. A stronger cleaner, like TSP mixed with clean water, cuts through that buildup
- Our son’s bedroom walls were super dirty so we spent almost an entire day scrubbing them clean with TSP
- If using TSP, rinse with a clean cloth and let the wall dry completely before you move on.
Painting over a damp wall is a good way to end up with bubbling or peeling paint down the road.
Caulk Any Small Gaps
If you’ve got small gaps where trim meets the wall, up at the ceiling, or around window and door frames, grab caulk and fill them in. This gives you a solid foundation and a cleaner finished look once the paint goes on.
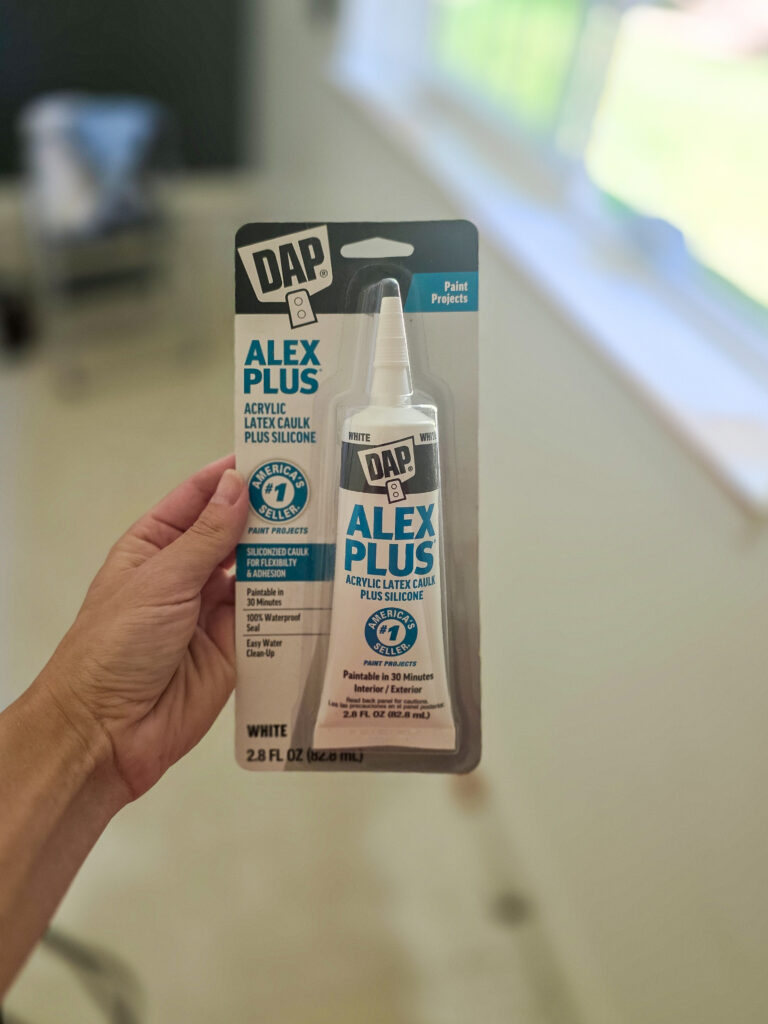
We recommend Alex Plus caulking for this and we love the small on-the-go versions when you just have a little bit of caulking to do, rather than a whole room.
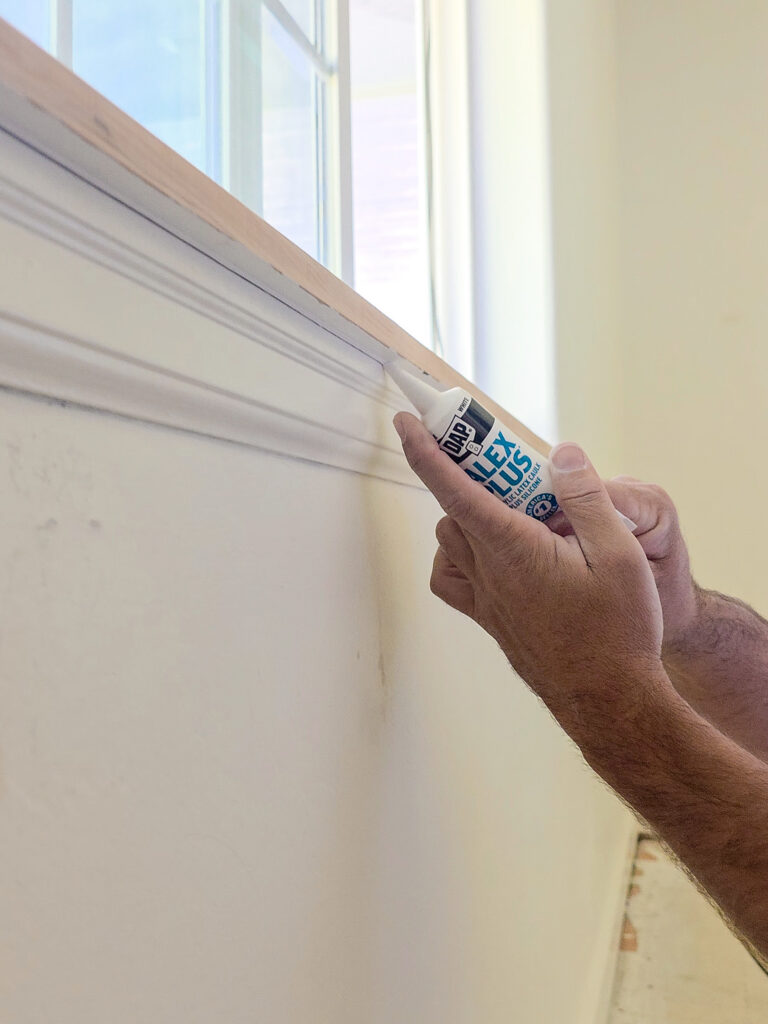
- Cut the tip of the caulk tube at an angle for a thin bead
- Run it in one straight line along the gap
- Smooth it with a caulk smooth tool before it sets
Let the caulk dry fully before priming or painting over it. The Alex Plus takes about 30 minutes until it ready for paint.
Prime If You Need It
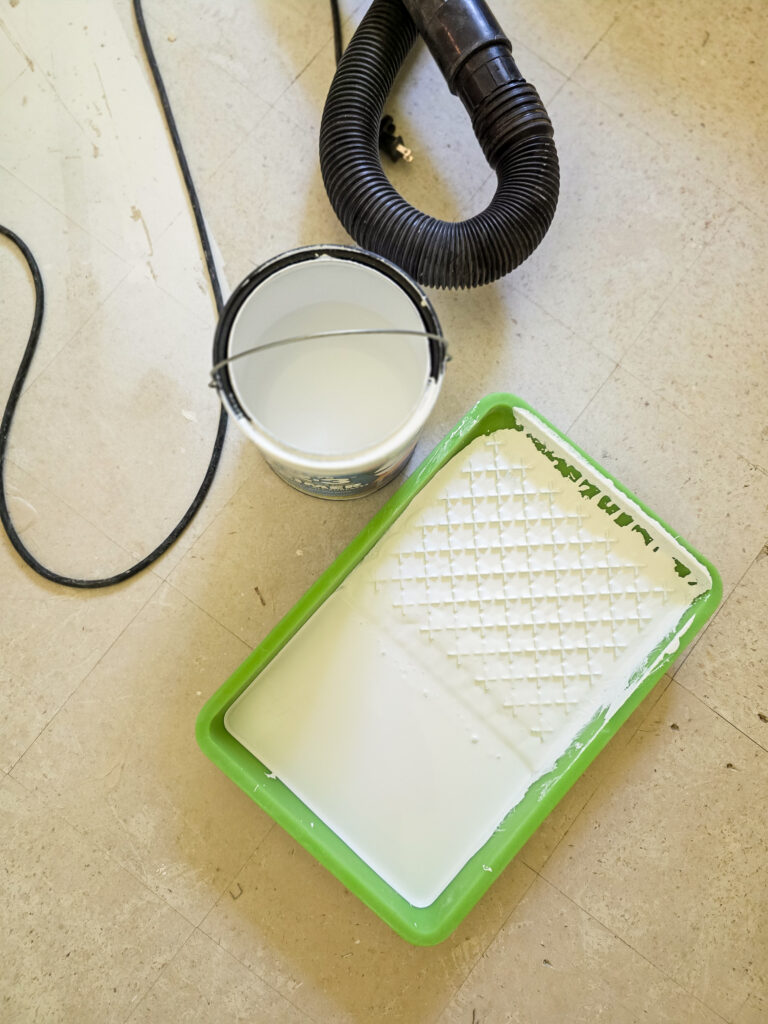
Not every wall needs a coat of primer, but there are a few situations where it’s a really good idea:
- You’re painting over large patched areas or fresh joint compound
- You’re covering a dark color with something lighter
- You’ve got stains you want to cover, in which case a stain-blocking primer is worth the extra step
- You’re switching from oil-based paint to a different type of paint
Choose the right type of paint primer for the job.
- Latex primer is easier to work with and cleans up with soap and water.
- Oil-based primer creates a stronger primer base for wood or heavily stained surfaces, but it needs mineral spirits for cleanup.
- A quick rule of the thumb…if you’re using latex wall paint, use latex primer and visa versa.
A tinted primer (closer to your final paint color) can also mean fewer coats of paint later, especially over a dark color.
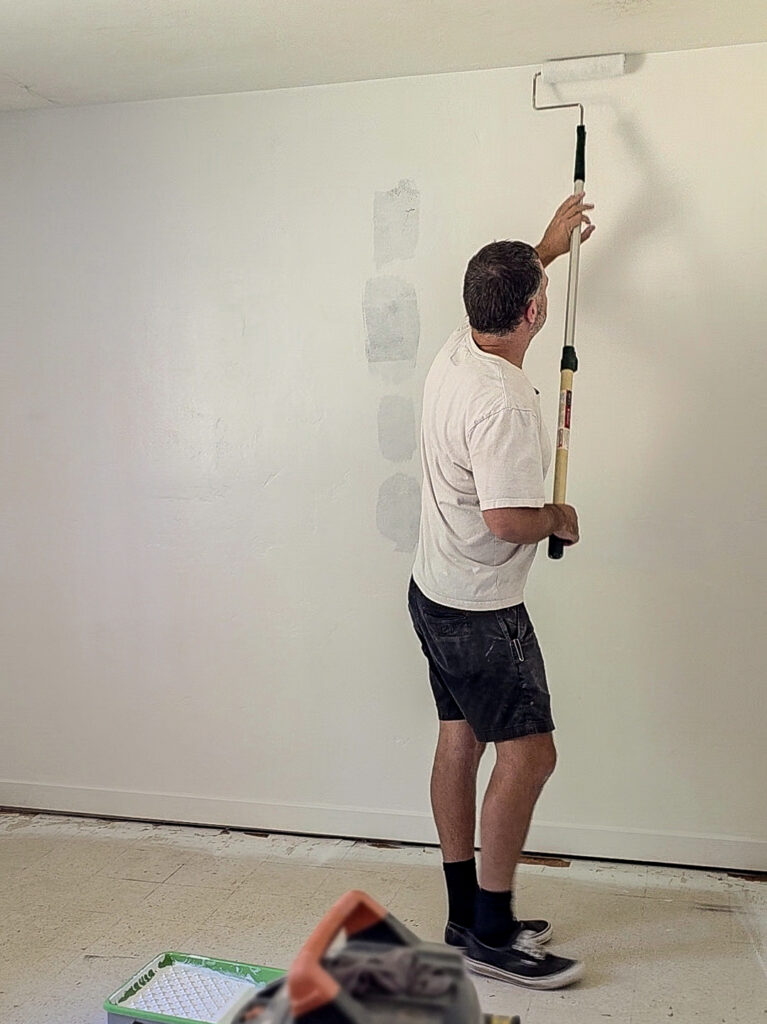
Apply your primer coat with a roller and let it dry completely.
We usually use this primer and it works well.
Tape Off What You Don’t Want Painted
Once everything is patched, sanded, cleaned, and primed, it’s time to tape.
- Run painter’s tape along baseboards, trim, and door frames
- Press the sticky side down firmly so paint can’t bleed underneath
- For anything you really don’t want touched, layer plastic sheeting or masking tape over the top
A clean, well-prepped surface is the whole reason painter’s tape actually works. Tape applied over dust or grime tends to bleed paint underneath it, which defeats the purpose.
You can also cut in paint by hand if you’re experienced or willing to go slow and practice. Learn more about how to cut in paint without tape here!
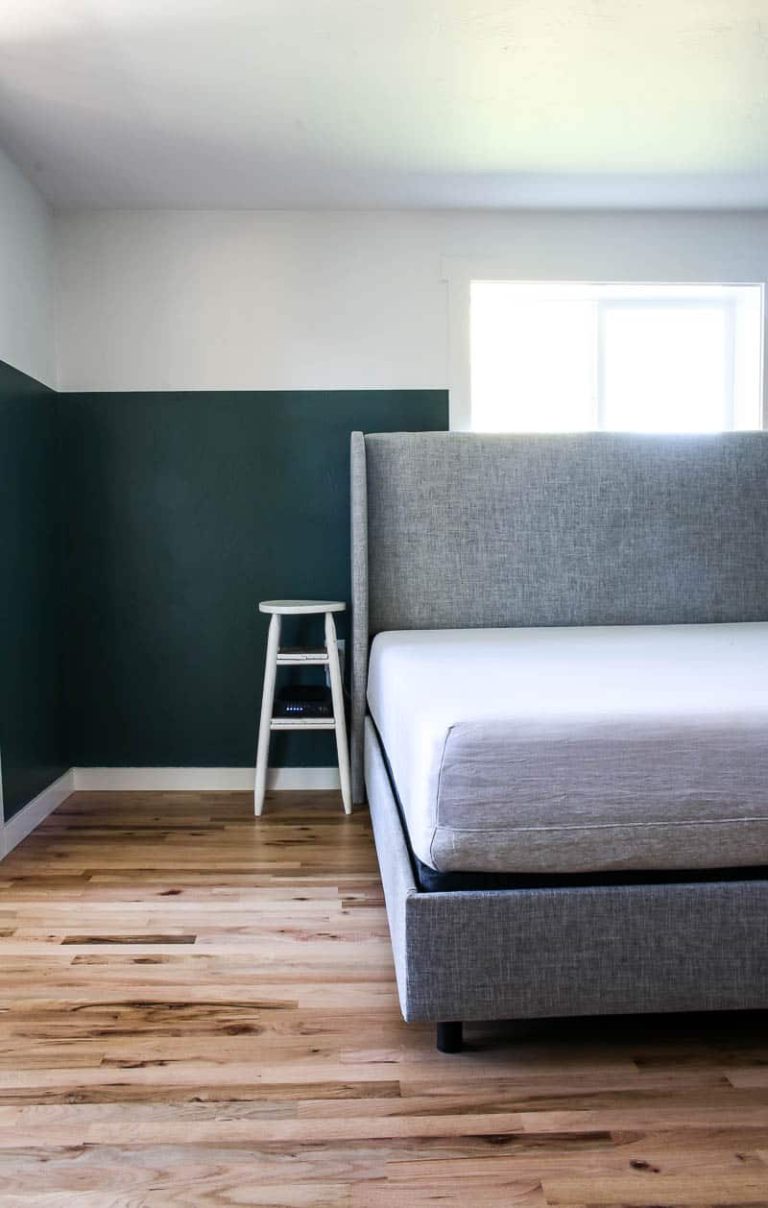
We didn’t need to worry much about this in our latest painting project because we were color drenching everything except for the ceiling. Logan cut in by hand along the ceiling line and then didn’t worry about the paint lines anywhere else because it was all getting painted dark.
Now You’re Ready To Paint
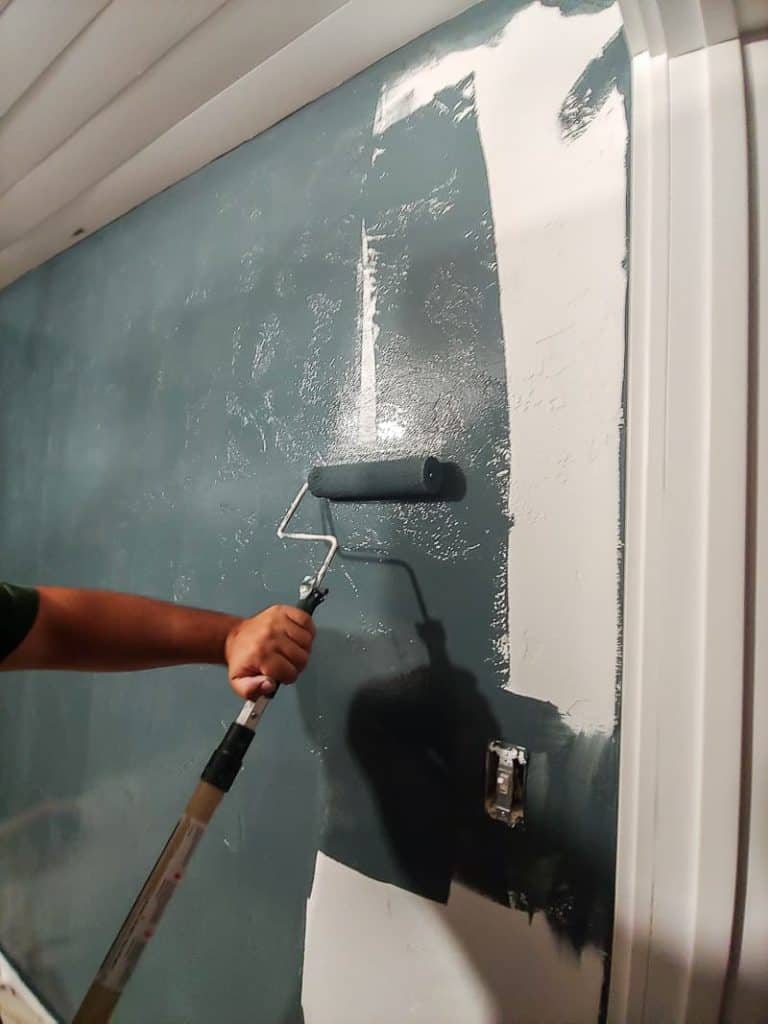
Once your wall is patched, sanded, cleaned, primed, and taped, you’ve done the hard part. Grab your paint roller and paint sticks, stir your paint color well, and work in small sections across the entire wall for the best results.
Painting a larger area goes so much faster once the prep is done right. You’re not stopping to patch a hole you missed or scraping loose paint off mid coat. You’re just rolling color onto a smooth, ready surface.
If you want more tips and tricks on how to paint a room, check out this article.
Why Prep Work Is Worth It
I get it, prep work isn’t necessarily the fun part. It’s not the part you see in a satisfying time lapse video. But it’s the difference between a new paint job that looks great for a weekend and one that holds up for years.
Professional painters don’t skip this step, and after years of experience painting our own rooms, neither do we. These essential steps take real time, sometimes even a full day depending on how much patching your walls need, but they’re what gives you a professional finish instead of a paint job that starts showing flaws in a few months.