
DIY Bookcase with Plans
Learn how to build a DIY bookcase that doubles as pantry shelving. Step-by-step plans, dowel joinery tips, and styling ideas for any room.
Thank you to Kreg for sponsoring this bookcase DIY project! All opinions are entirely my own. This post also contains affiliate links, but nothing that I wouldn’t recommend wholeheartedly. Read my full disclosure here.
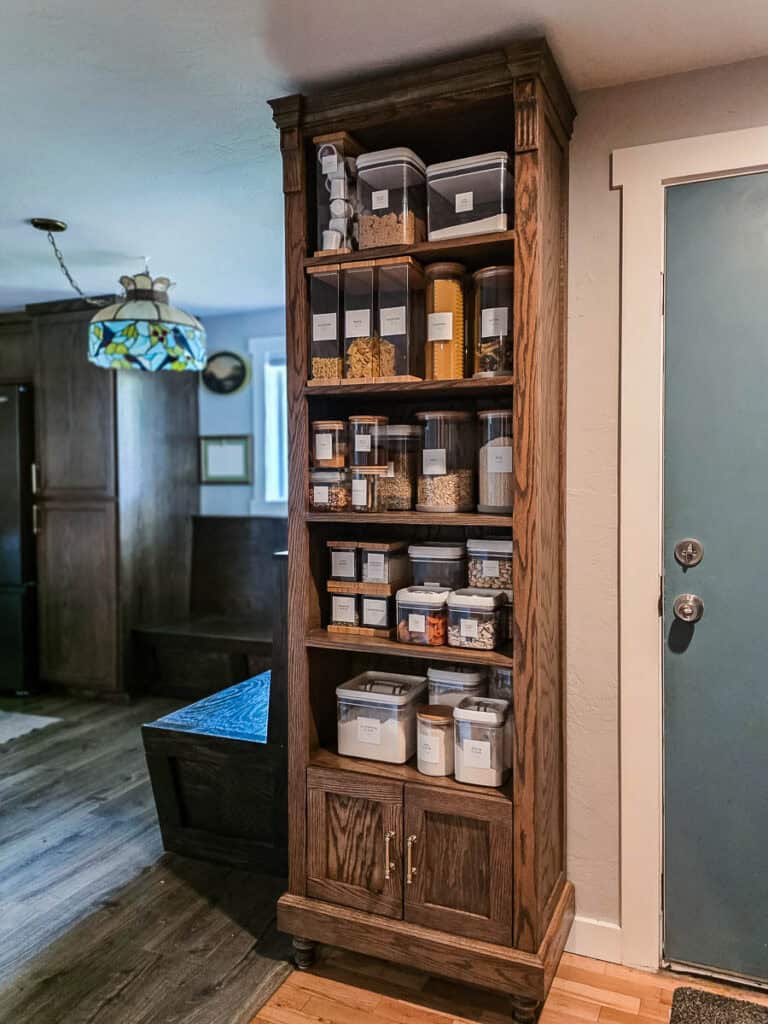
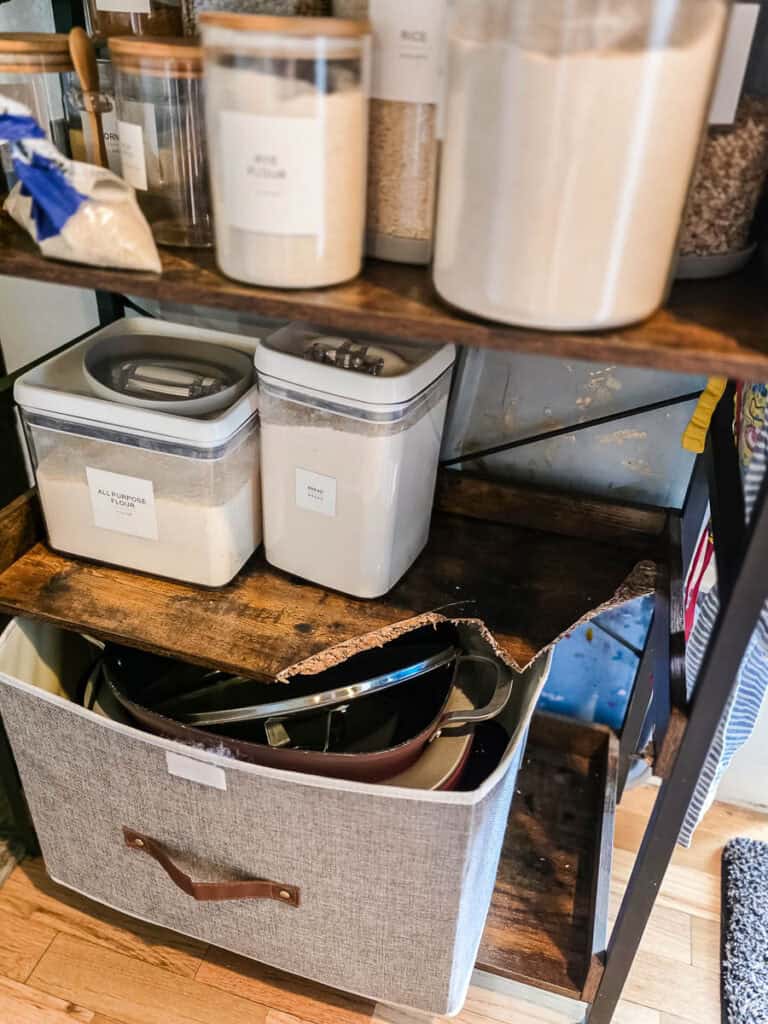
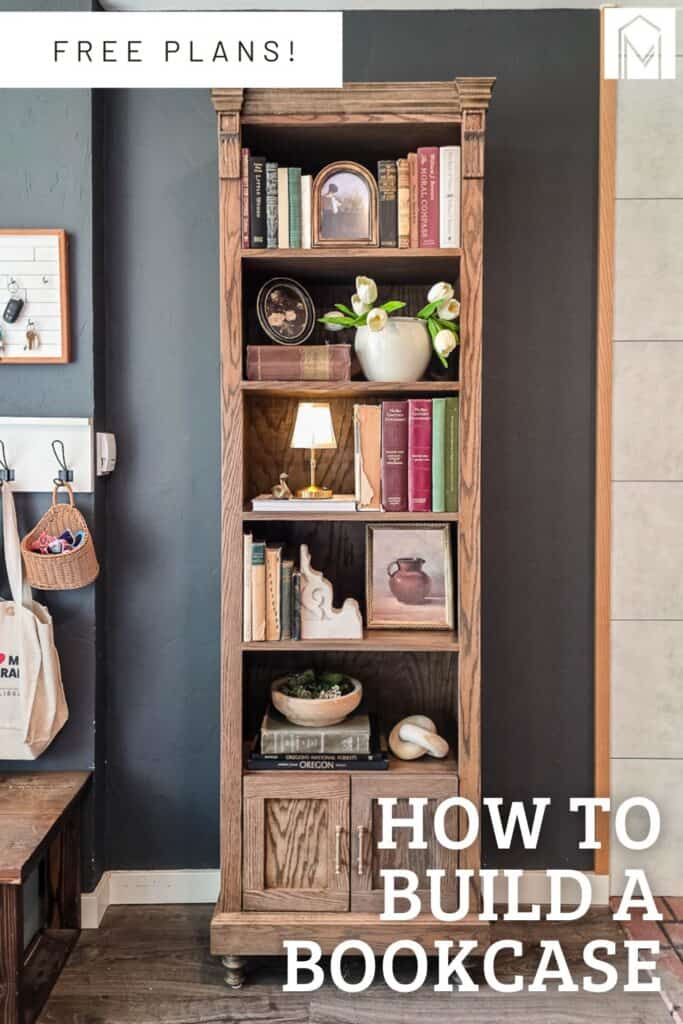
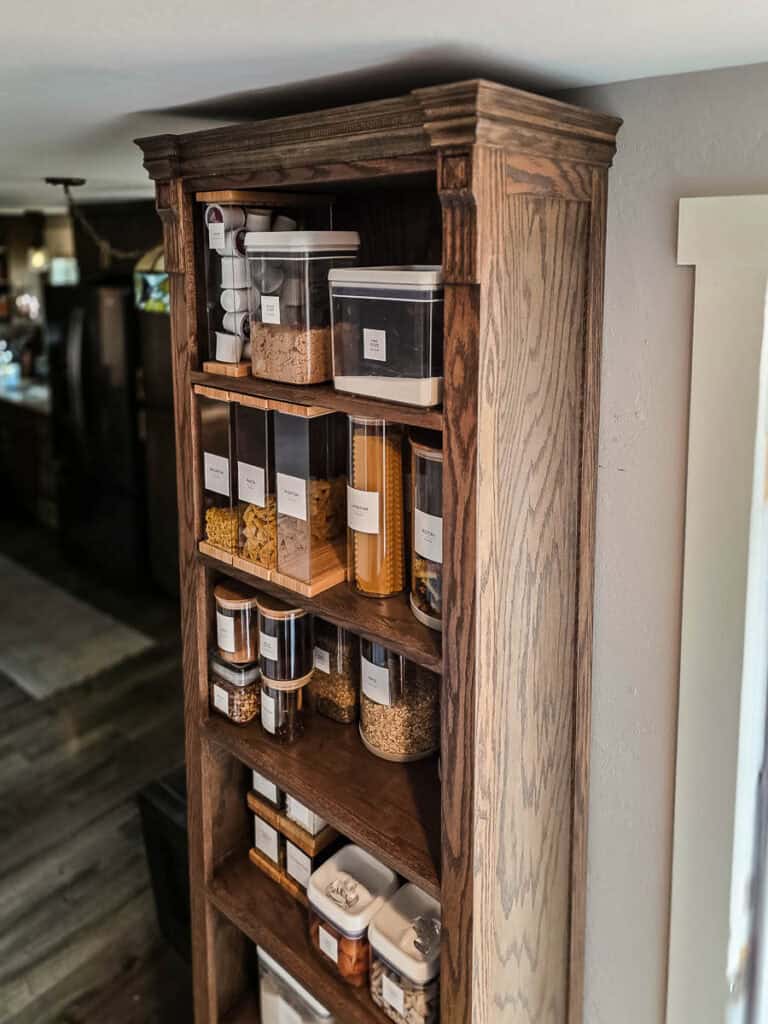
When our old particle board pantry shelves broke, we saw it as a chance to build something heirloom quality, the kind of piece that gets passed down instead of replaced.
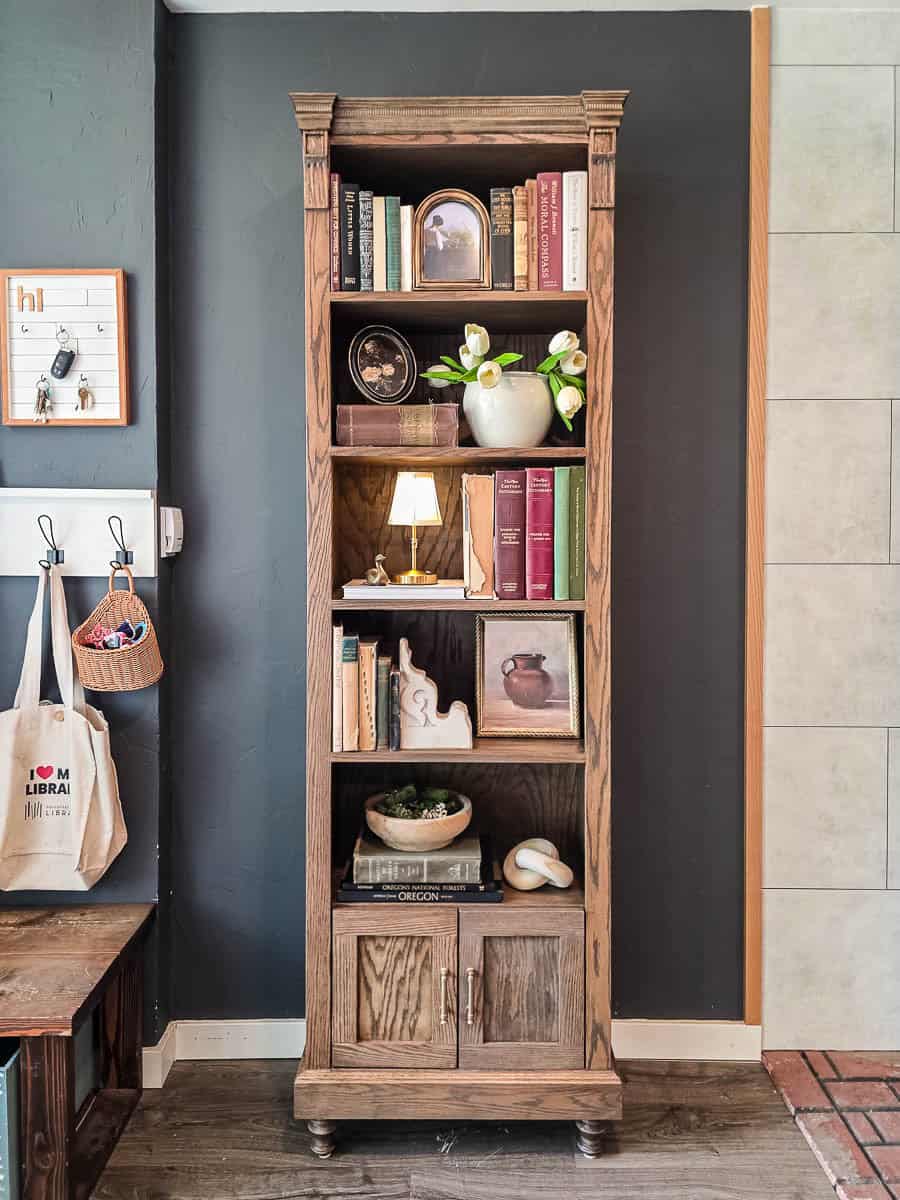
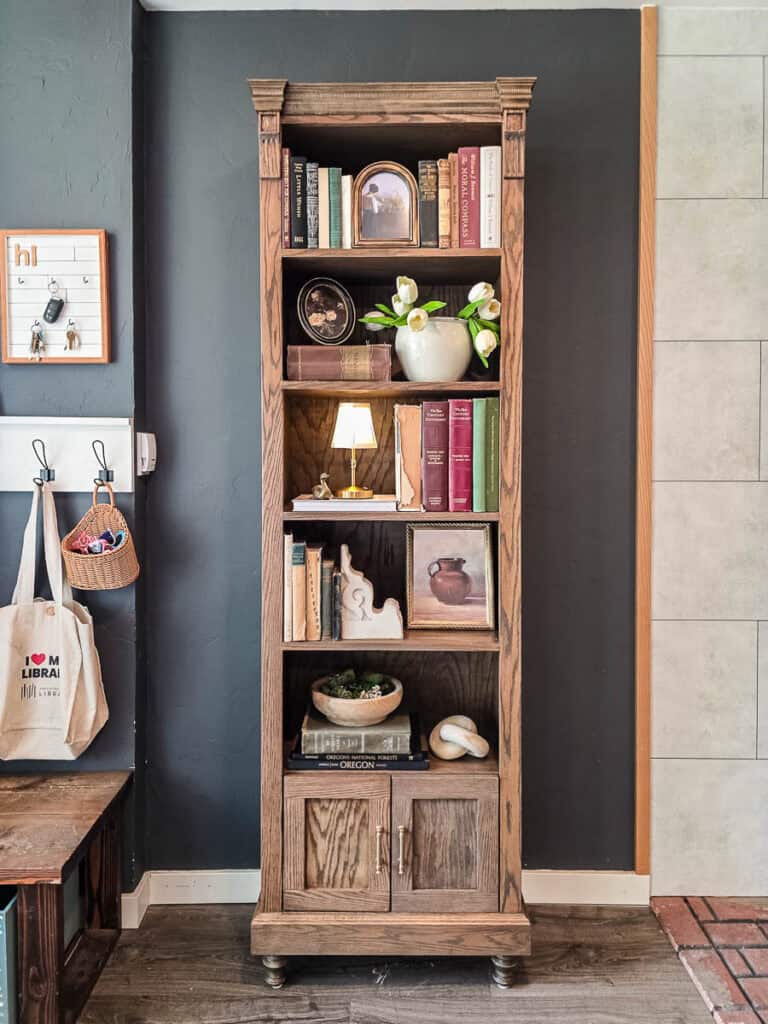
This shelving cabinet has real presence, with hand-made corbels, a decorative baseboard and crown, and doors on the bottom shelves for hidden storage.
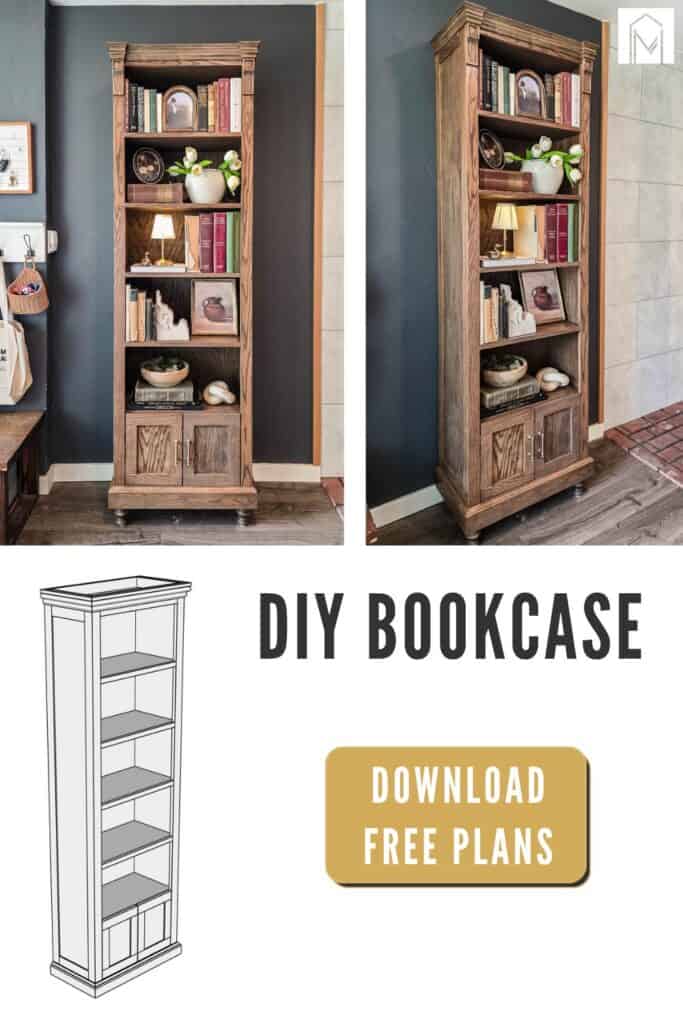
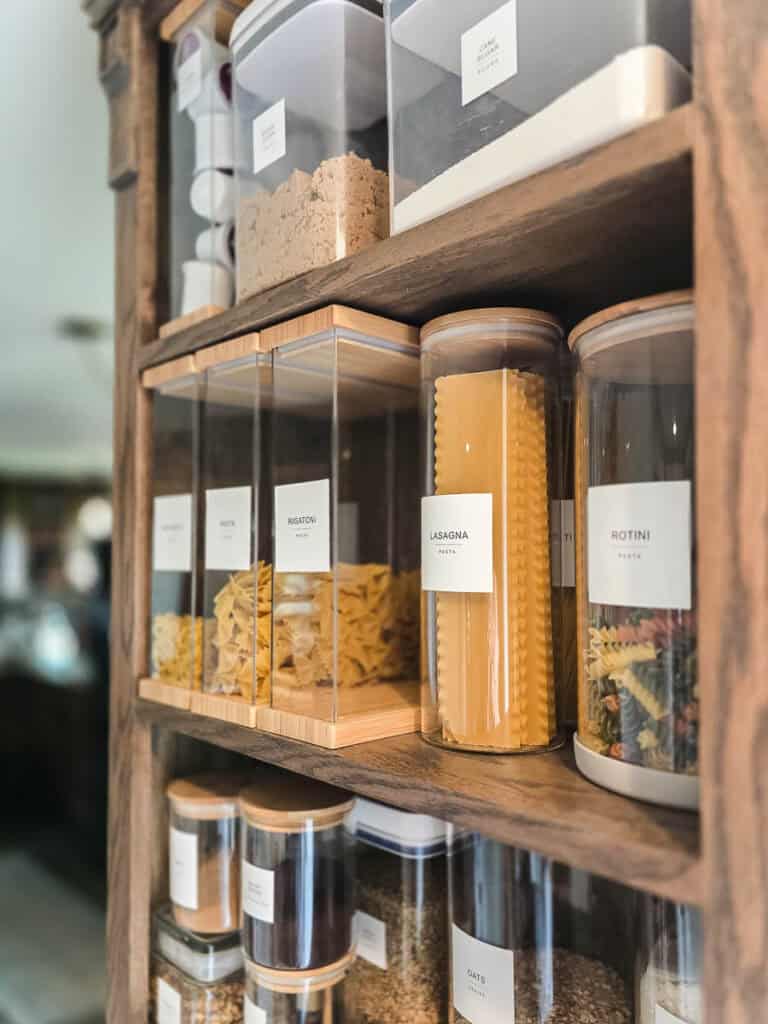
It turned out to look more like a bookcase than a pantry shelf, so we’re sharing it styled both ways. We also got to try out Kreg’s new dowel jig, and it worked beautifully. Here’s exactly how we built it, start to finish.
Kreg’s New Dowel Jig
Most people know Kreg for their pocket hole jigs, and honestly, we reach for pocket screws on nine out of ten projects. But every once in a while, a project calls for something different.
That’s why we’re so excited Kreg branched out into other joinery methods, like loose tenons and dowels!
We used their dowel jig on this bookcase, and it was such a good fit for the shelves. No visible screw holes to patch, just clean, strong joints from start to finish.
DIY Bookcase Cabinet: Step-by-Step Tutorial
Tools and materials you’ll need
Follow along with our easy step-by-step tutorial and don’t forget to get the free woodworking plans so you can have a full cut list with all of the dimensions and details you’ll need to build one for yourself!
Video Tutorial
YouTube video coming soon!
Step 1: Cut the wood
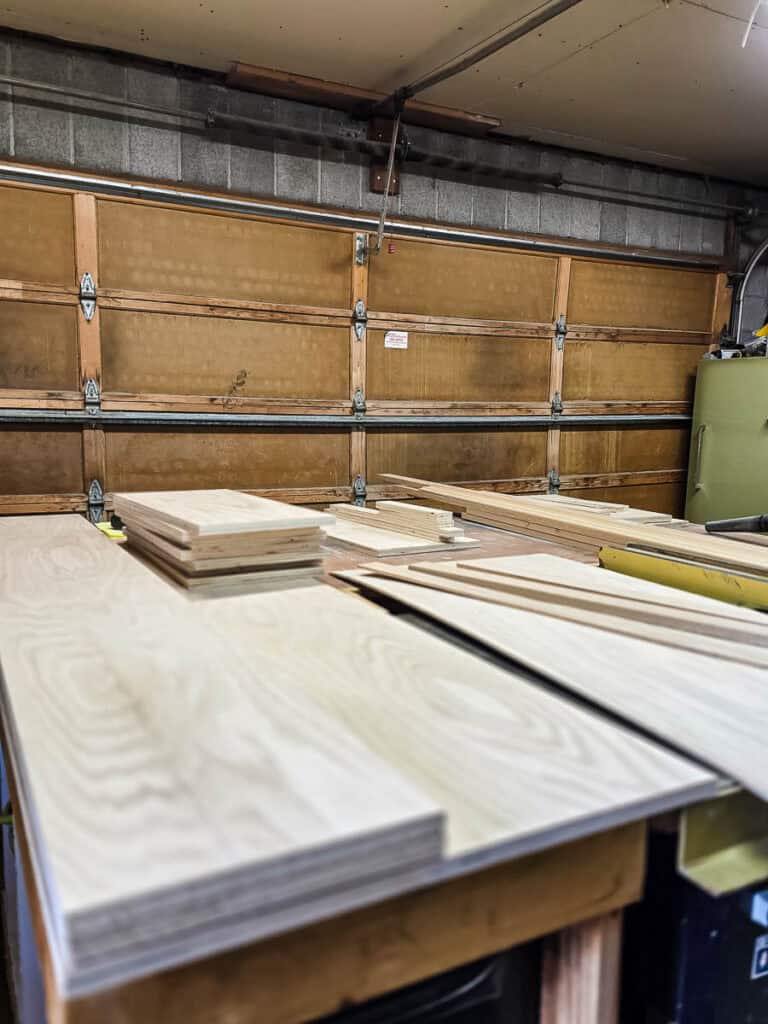
Cut all wood pieces to size using the cut list in the woodworking plans, which you can download for free here.
Step 2: Build base and top
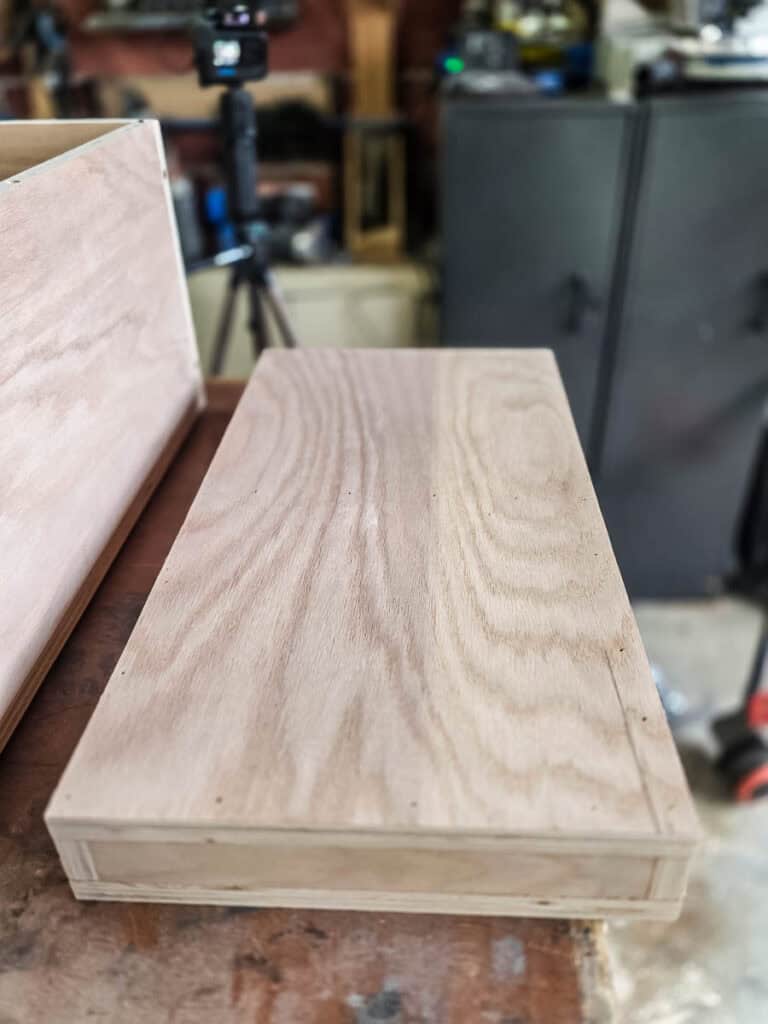
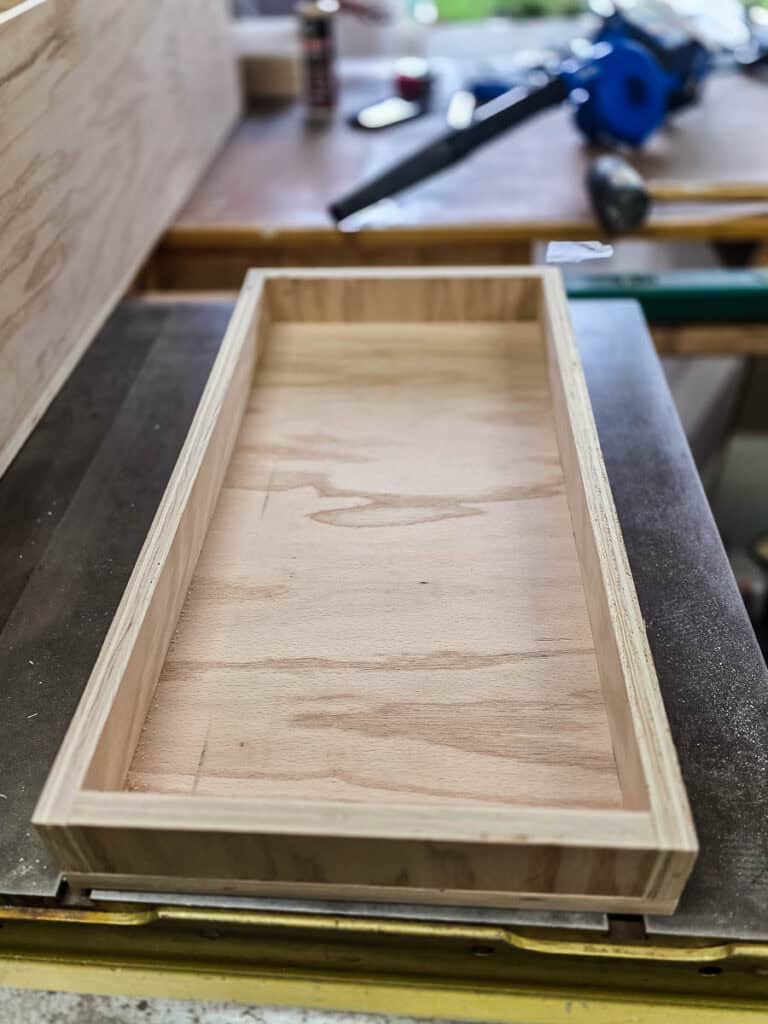
Assemble the base and top following the woodworking plans. Secure with glue and 1 ½” brad nails.
Step 3: Make dowel holes

Mark where the dowel holes should go. Drill the holes using the Kreg dowel jig. This jig is really easy to use, but we’re working on an in-depth tutorial for how to set it up and use it – so stay tuned!
The dowel hole locations in the plans are approximate, so we recommend double checking each one as you go to keep everything aligned.
Step 4: Assemble shelves
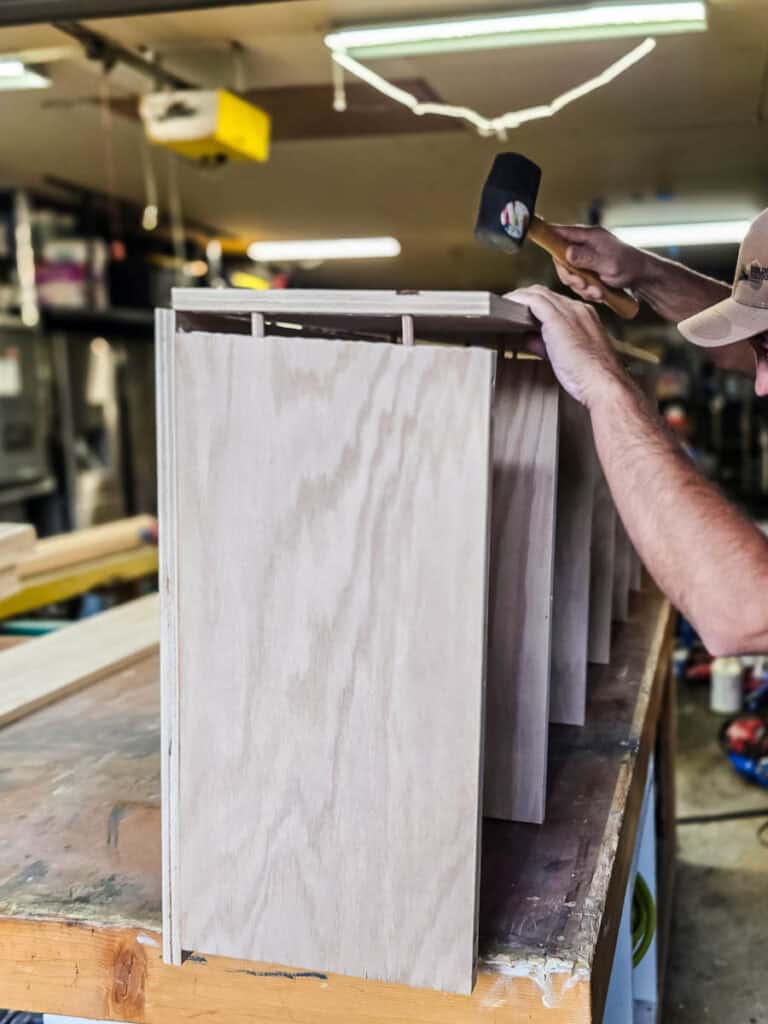
Use the predrilled dowel holes to put together the side panels, shelves, and back panel. Add wood glue to every joint.
Be sure to wipe off excess glue as you go.
Step 5: Attach base and top to shelves
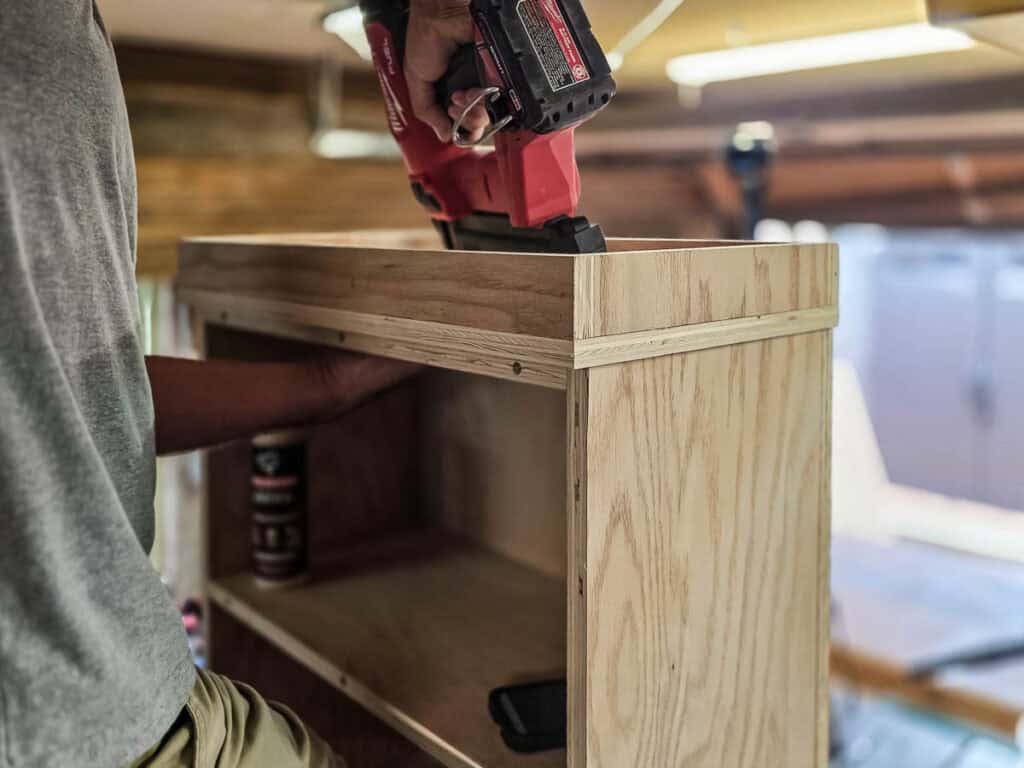
Secure the top using a brad nailer with 1 1/4” brad nails and wood glue.
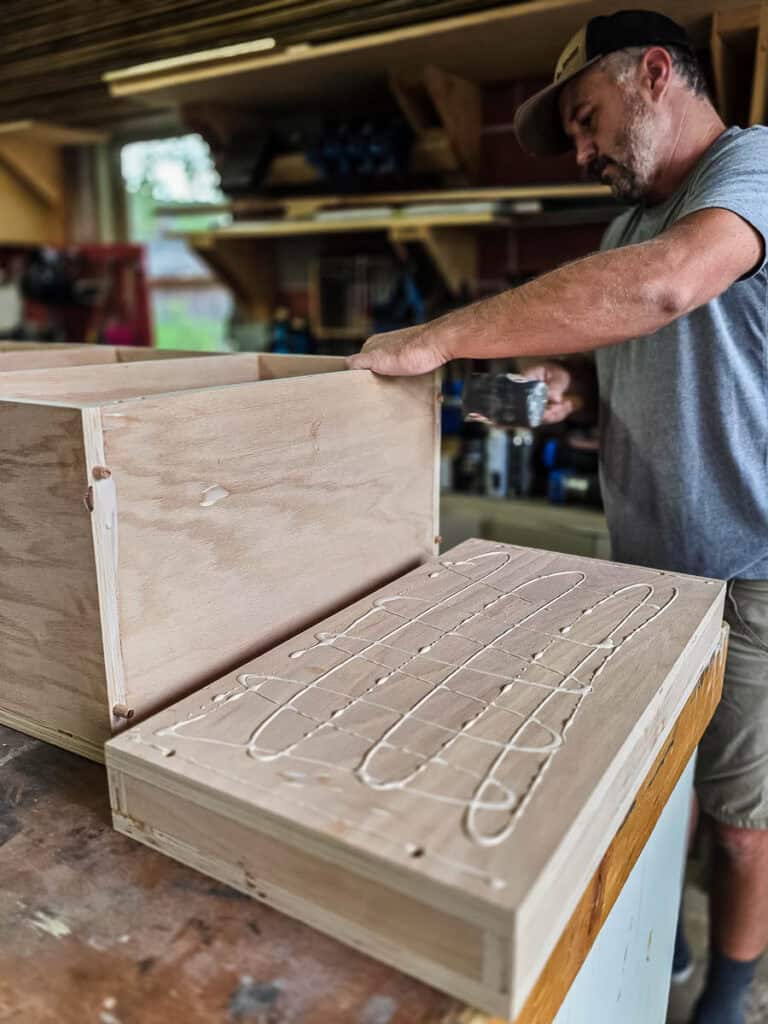
Secure the base using the predrilled dowel holes and wood glue.
Step 6: Attach vertical face trim
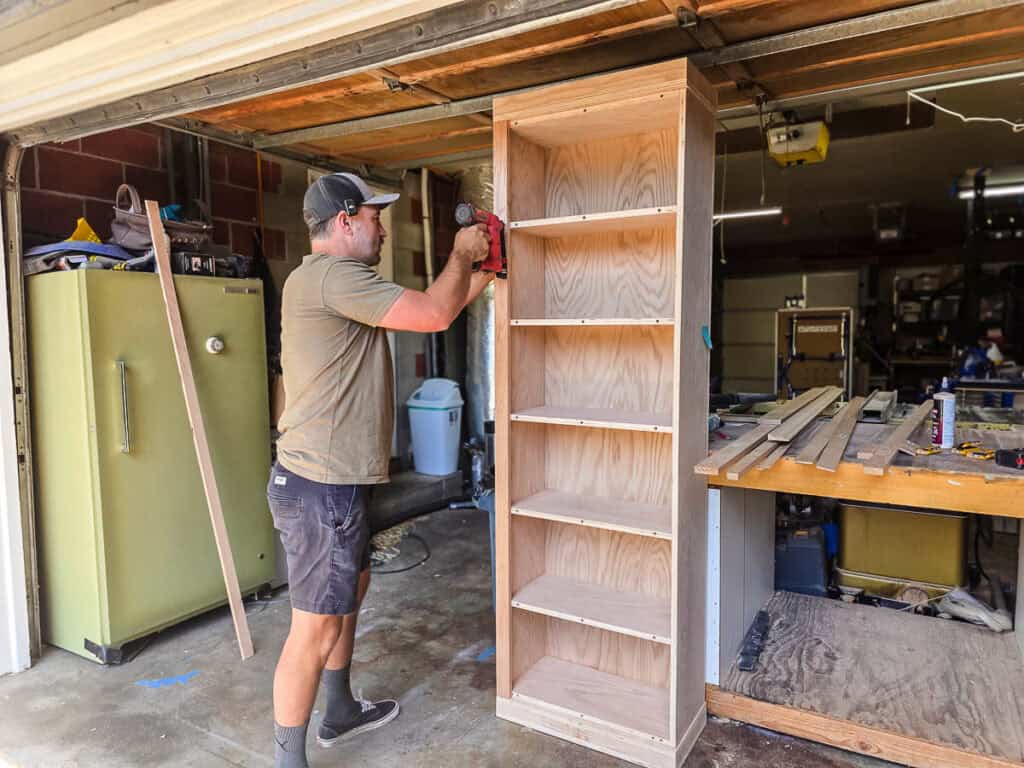
Attach the vertical face trim pieces to the front of the shelves with wood glue and a pin nailer, using 1 ¼” pin nails.
Step 7: Attach side trim
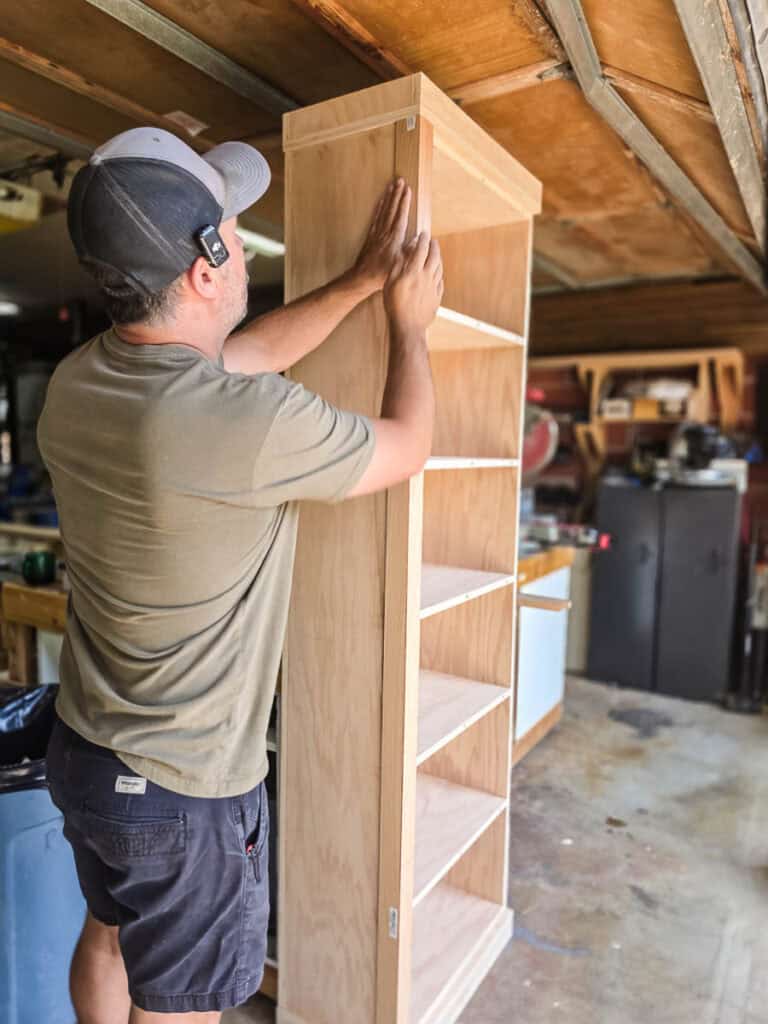
Attach ¼” side trim to the sides of the bookshelves with a pin nailer and ¾” pin nails.
Step 8: Cover 2 bottom shelves with edge banding
Since the bottom shelf has doors, those two shelves skip the face trim. Use edge banding instead to cover the exposed plywood ends.
To learn more about using edge banding, check out this tutorial!
Step 9: Attach shelf face trim
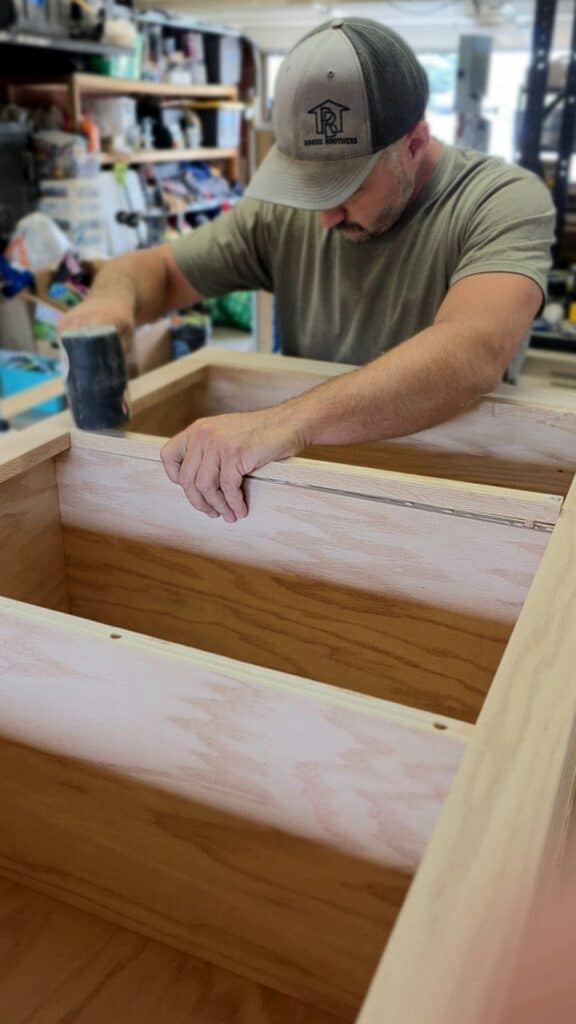
Cut each trim piece for a precise fit on the shelf front. Mark and drill the dowel holes with the dowel jig, then attach using wood glue and dowel joinery.
Step 10: Sand
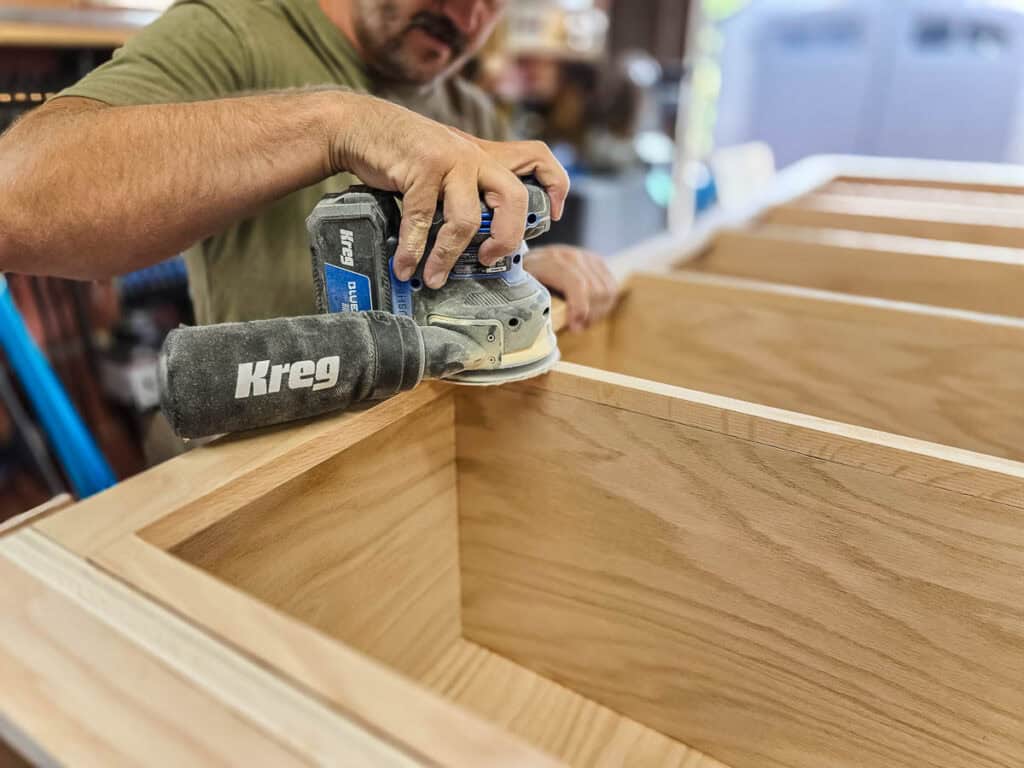
Smooth everything out with 80-grit sandpaper and then 120-grit using an orbital sander.
Step 11: Make and attach decorative corbels (optional)
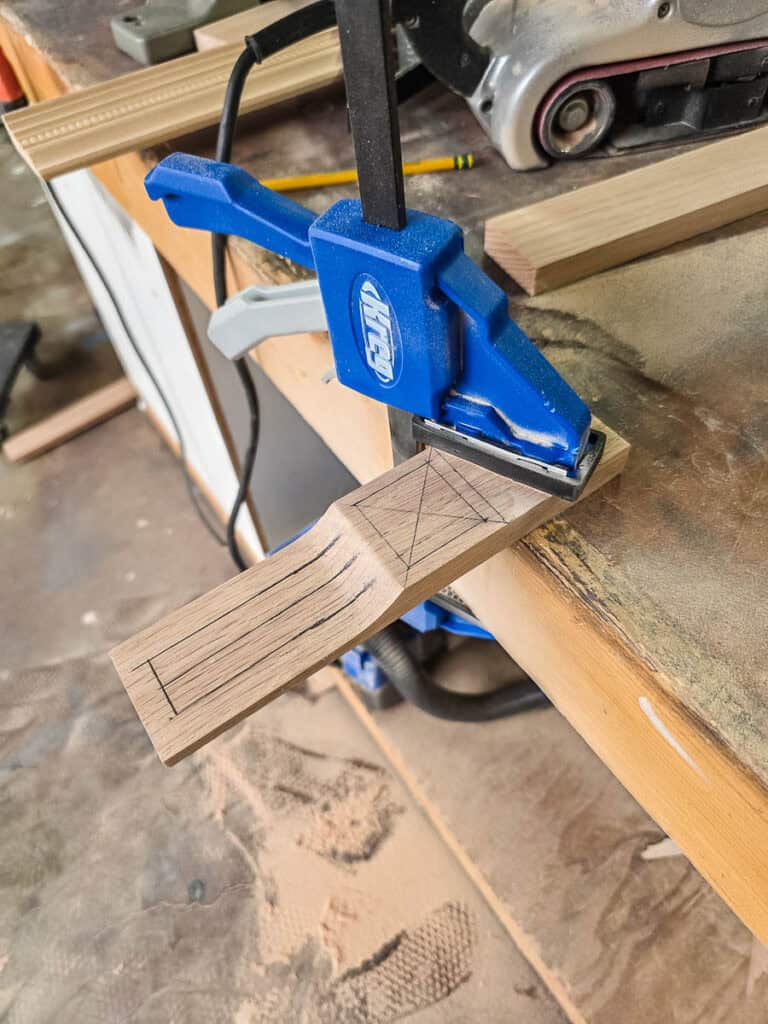
We made our own corbels from scrap oak since we couldn’t find any we liked. We attached them to the front of the bookshelf with wood glue and 1 ¼” brad nails.
This step is totally optional. Skip it and just run trim straight across the top of the shelves instead if you’d like.
Step 12: Make and attach baseboard
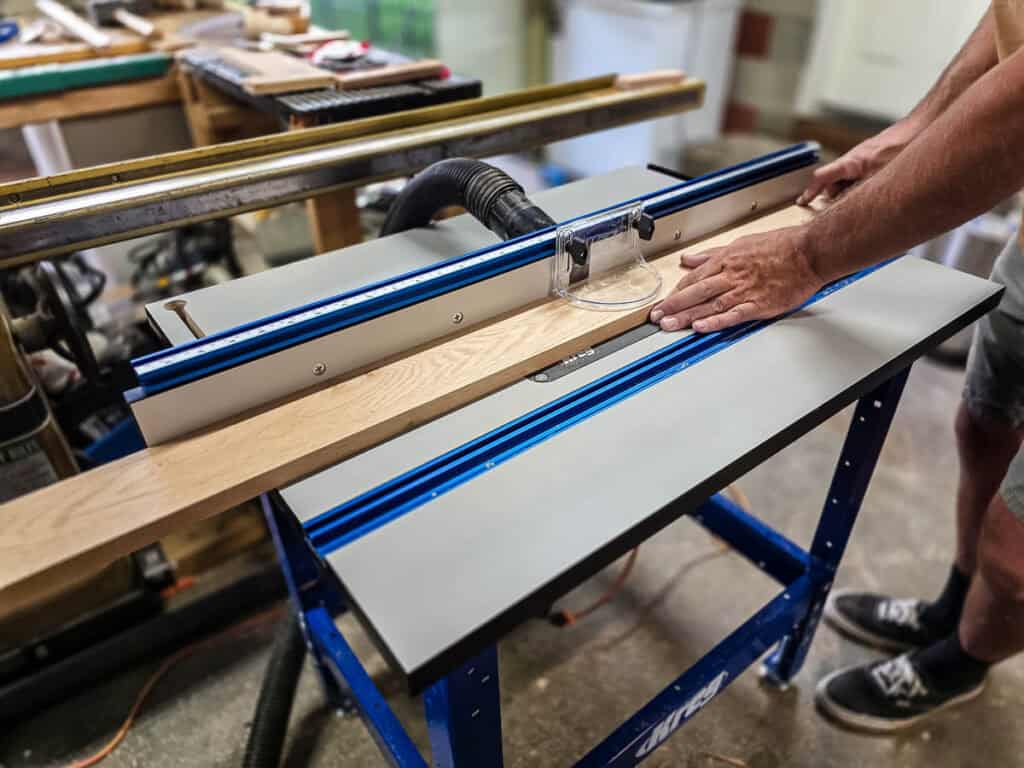
We made the baseboard using the Kreg router table and decorative router bits, then attach with 1 ¼” pin nails.
Premade baseboard also works fine.
Step 13: Attach top crown
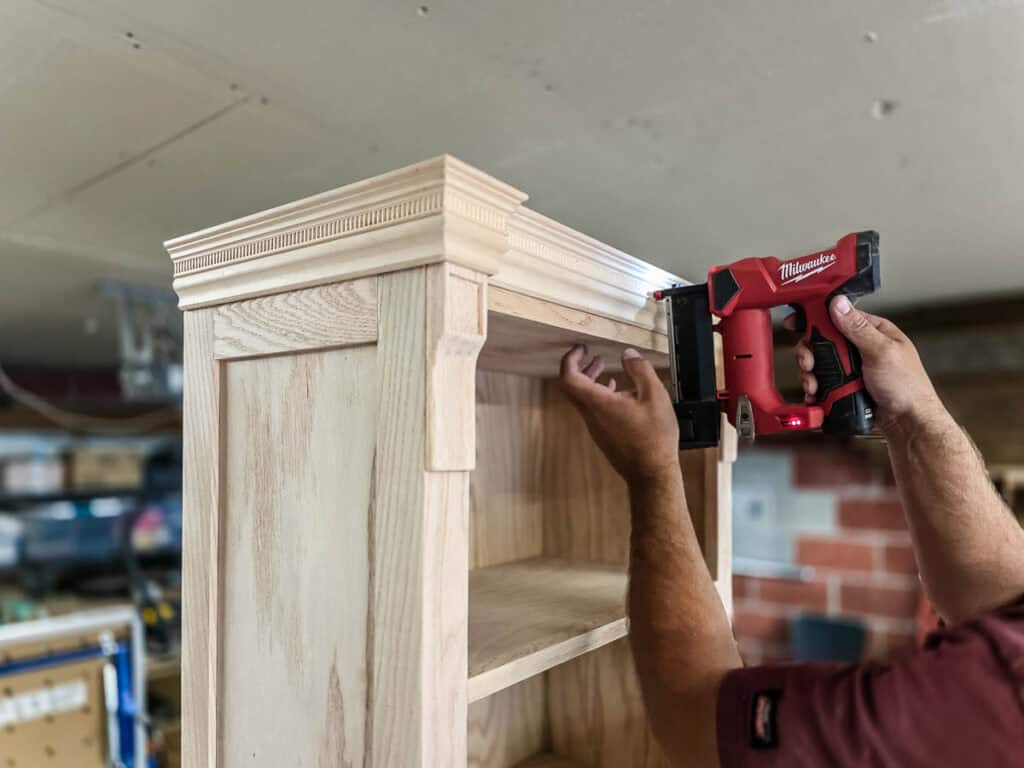
Attach decorative trim as crown along the top edge of the bookshelves with ¾” pin nails, wrapping around the corbels if you used them.
Note: the corbels aren’t included in our woodworking plans and cut list, so you’ll need to adjust those dimensions if you add them. If you skip the corbels, just run trim straight across the top instead.
Step 14: Sand
Sand everything with 120-grit sandpaper using an orbital sander, then hand sand tight corners. Fill any noticeable gaps or blemishes with wood putty. We left the nail holes unfilled since filling actually made them stand out more. Do a final pass with 120-grit and then 220-grit sandpaper, and clear away all the dust.
Step 15: Build doors
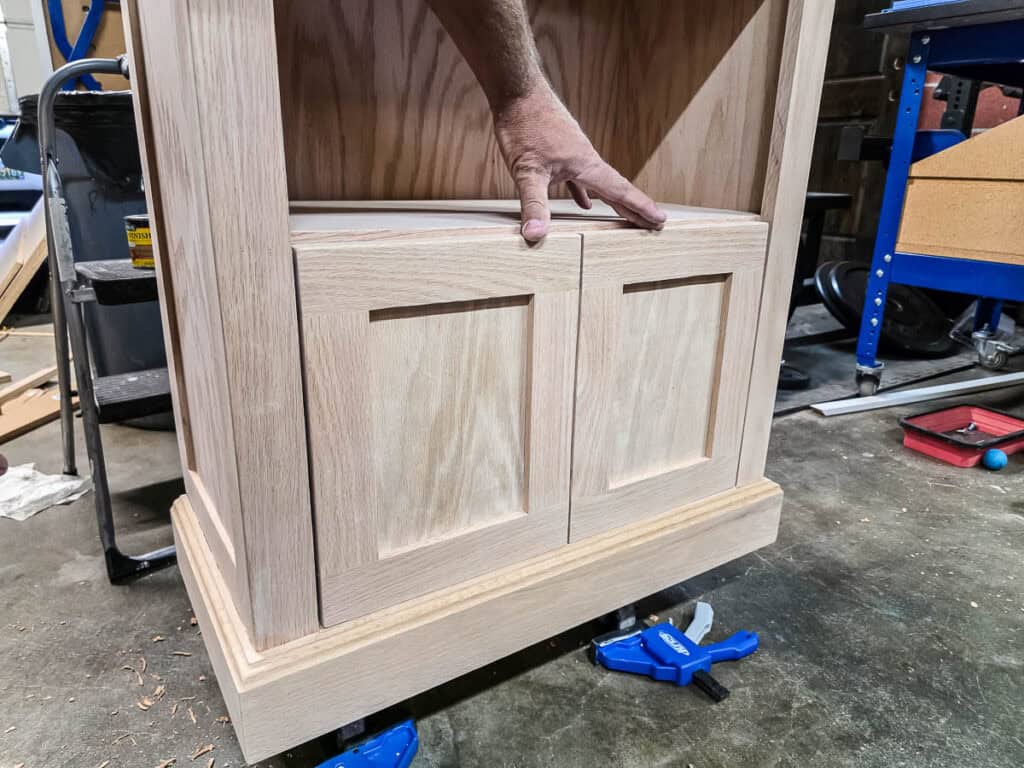
Assemble the doors following the woodworking plans.
Step 16: Stain and seal.
Apply the stain color of your choice. We layered two colors together, starting with this gray stain color followed by this dark wood stain.
The gray base helped soften the darker stain for a more muted finish.
Seal with spray lacquer to finish.
Step 17: Attach doors
Attach the doors to the bookshelf.
Step 18: Attach legs (optional).
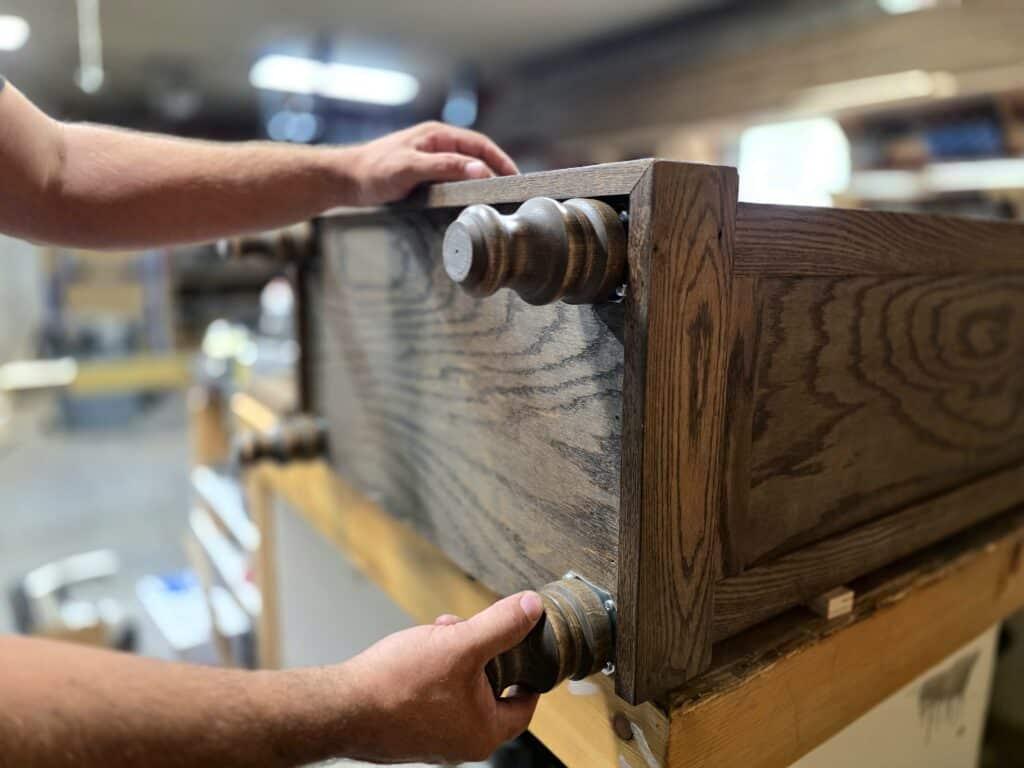
Attach furniture legs to the bottom of the shelves using mounting plates.
This step is optional but adds a lot of character.
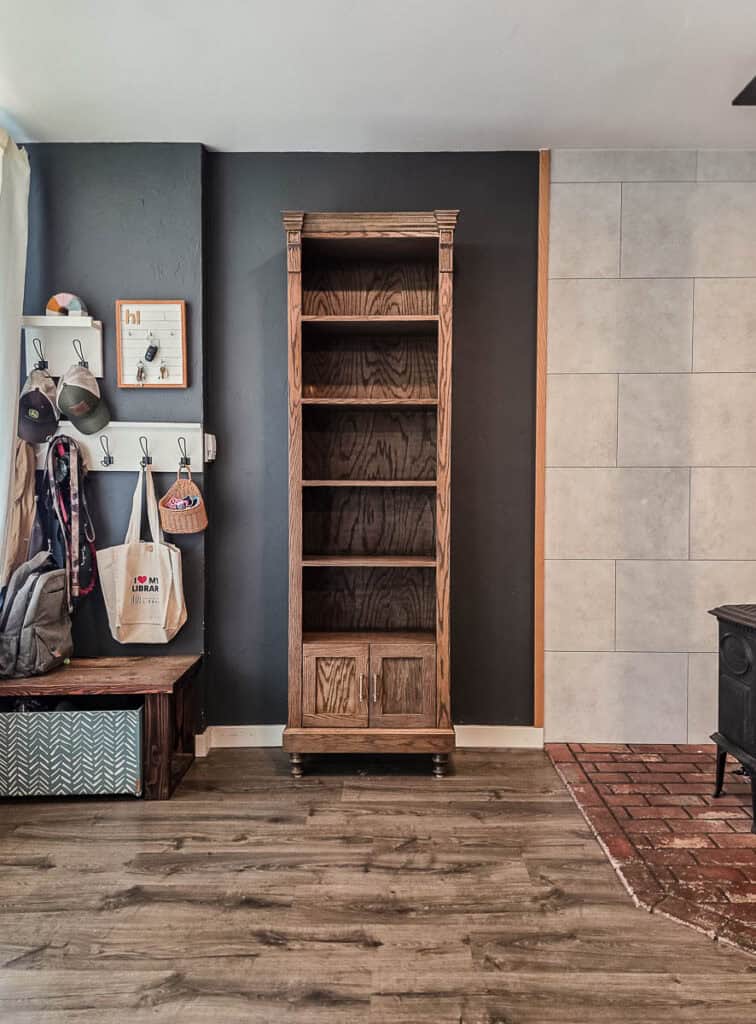
And there you have it, a piece that works just as well holding pantry staples as it does holding your favorite books and decor.
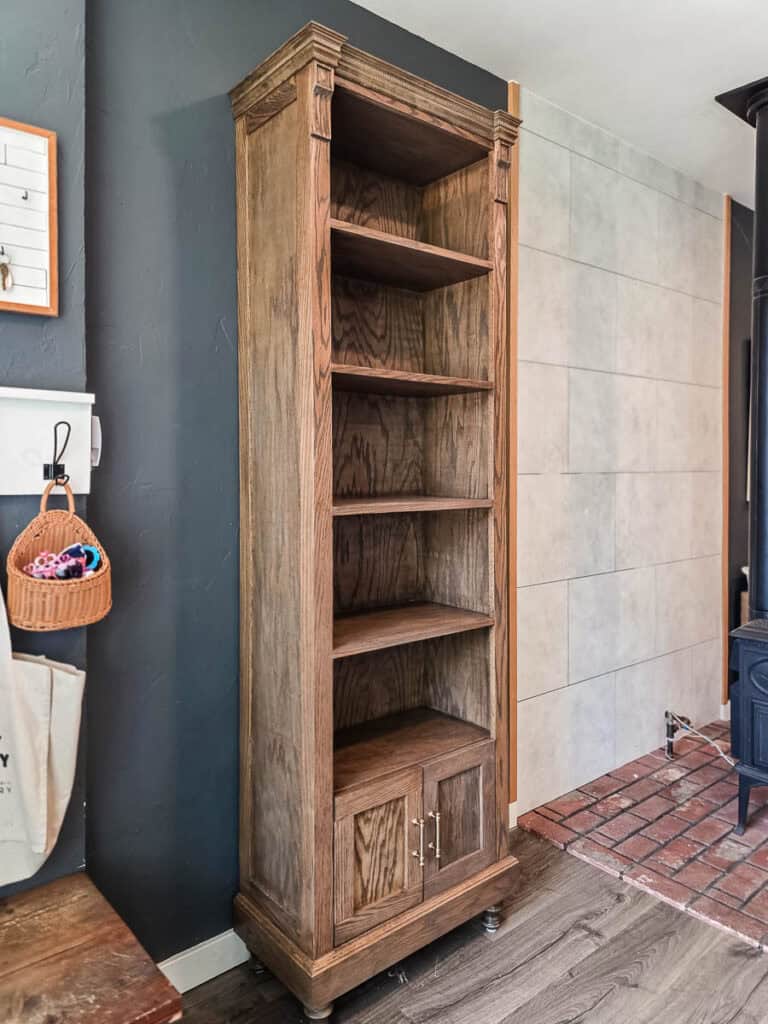
This DIY bookcase was one of those projects where the small details made the difference, from the dowel joinery to the layered stain to those hand-made corbels, all built with heirloom quality in mind.
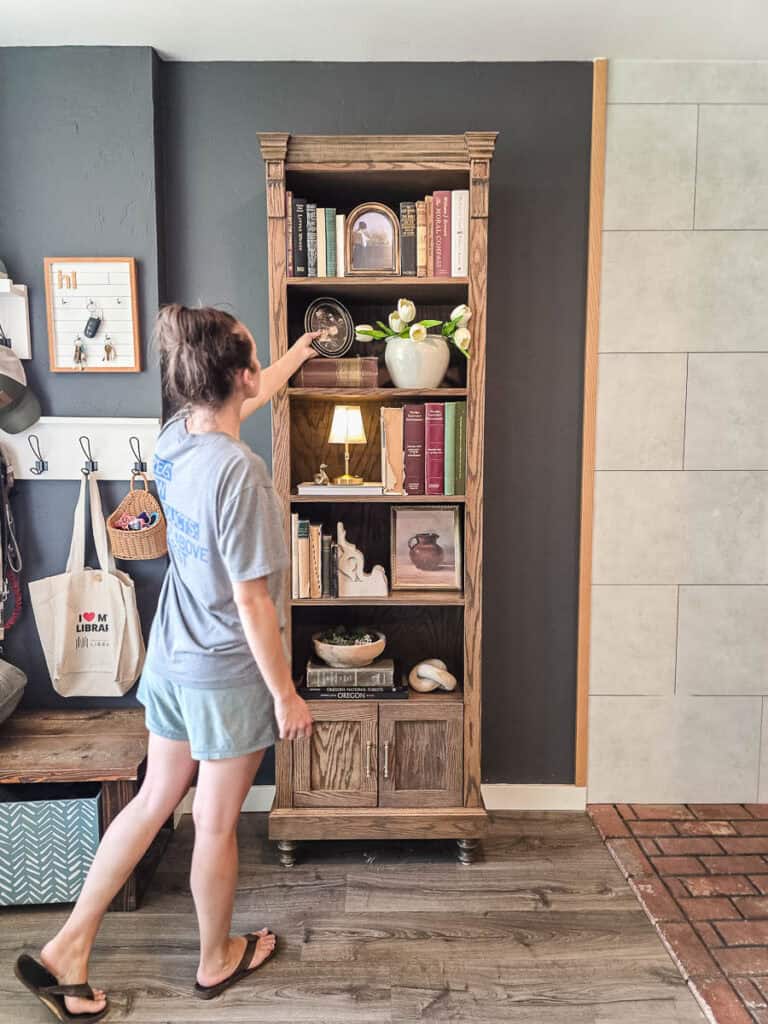
Whether you need pantry storage or a bookcase, this build delivers on both.
If you want to build this DIY bookcase, we’ve done all the hard stuff for you! All you need to do is hop over the Kreg’s website! At the bottom of the tutorial there, you’ll see a link to download the free plans to get all of the detailed measurements and a cut list!
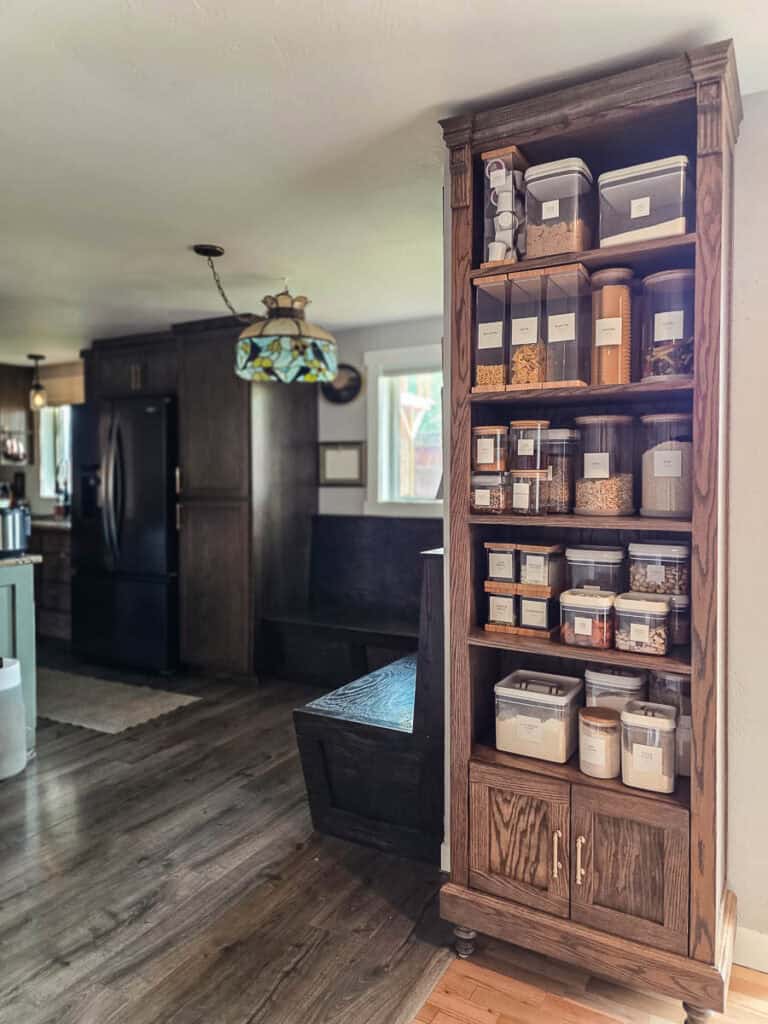
If you make your own version of the bookcase, we would love to see it. Tag us or send us a message, we always love seeing these plans come to life in your homes.