
How To Fix Towel Rack Coming Out Of Wall With Blocking
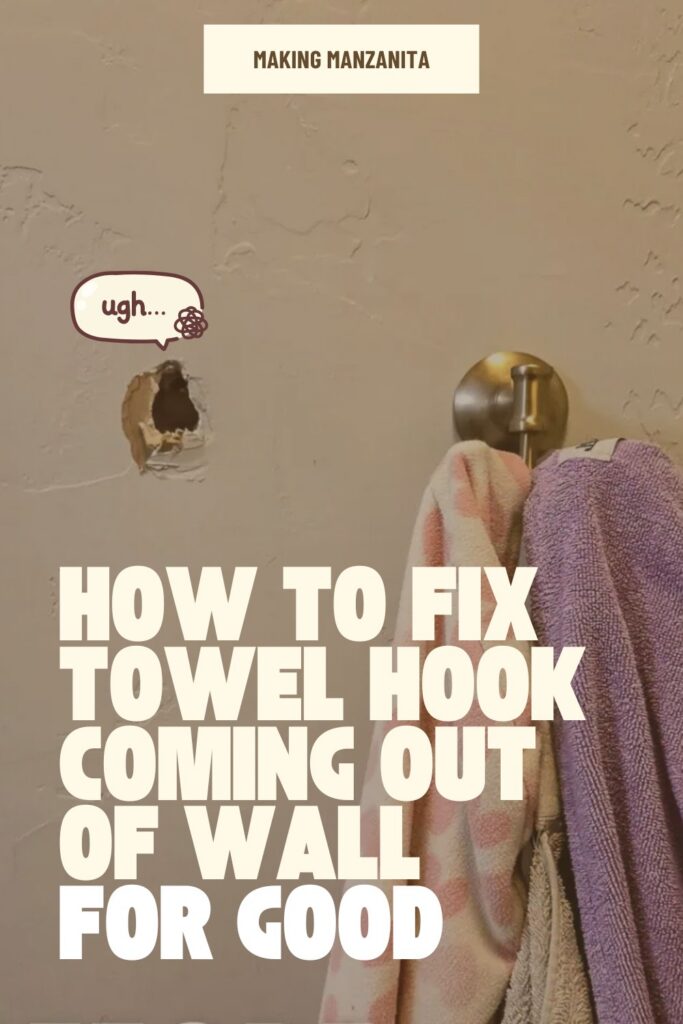
Tired of your towel rack pulling out of the wall? The real fix isn't a bigger anchor. It's blocking. Here's exactly how to do it right, from cutting drywall to patching, painting, and reinstalling for good.
Thank you to DAP for sponsoring this towel rack fix! All opinions are entirely my own. This post also contains affiliate links, but nothing that I wouldn’t recommend wholeheartedly. Read my full disclosure here.
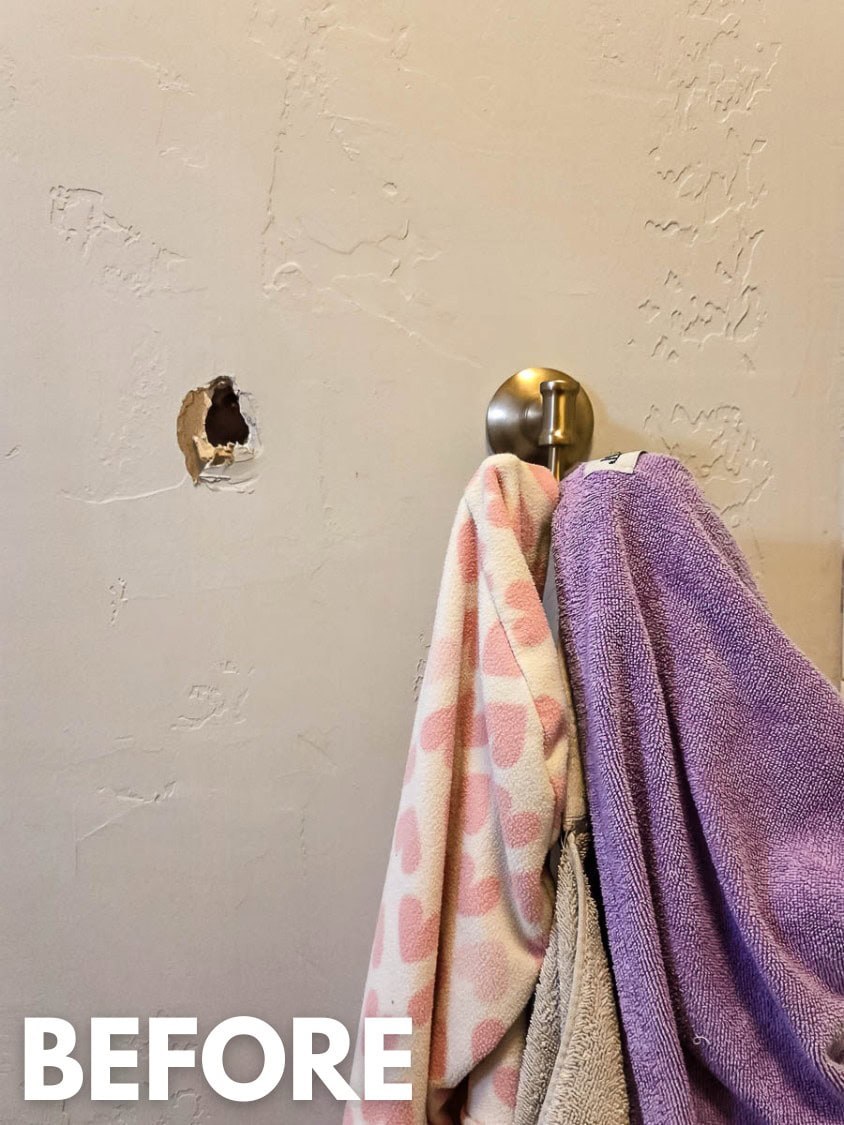
We’ve all been there… the stinking towel rack (or floating shelf, or hook, whatever) that just won’t stay in the wall. It keeps falling out of the wall because it wasn’t installed into a wall stud, and the drywall anchors that you thought would work have gotten too loose to hold it.
It is such a frustrating and common problem. It can be easier just to keep putting the towel rack back up, hoping it will hold a little longer. Or you can do what we did and just leave the hole in the wall…staring at you for months.
But here’s the deal. There’s a right way to fix a towel rack coming out of the wall, and there’s a wrong way. The wrong way is just a temporary fix. It’s either a larger wall anchor (that will inevitably come loose again, and you’ll end up with an even bigger hole). Or you can try toggle bolts, which can work in some scenarios, but they don’t work for all towel racks.
The right way to fix the issue of the towel hook that keeps falling out of the wall is by blocking it. That means a piece of a block (wood 2×4 or 2×6) installed behind the drywall exactly where you’ll be drilling a hole for the thing you want to hang on the wall.
That may seem like a big and complicated fix, but it really isn’t that bad! And today, we’re going to walk you through the entire thing so you can do this too!
You’ll finally not have to worry about that towel rack falling off the wall again every time you put a wet towel on it!
Tools and materials you’ll need
How To Fix Towel Rack In Drywall: Step-by-Step Tutorial
Step 1. Mark & cut drywall

Use a stud finder to figure out exactly where you want to remove the drywall to install the blocking. You’ll need to, at least, remove the drywall over the two wall studs that you’ll be screwing the block into.
Most wall studs are 16″ apart. You can learn more about wall stud spacing in this article.

Using a level and pencil, draw a line and cut the drywall out with a multi-tool. Try to remove it in one piece because you’ll be using it later to reinstall after the block is added.
Be careful to just push the multi-tool in far enough to cut the drywall and no more. You don’t want to be damaging any electrical or the wall studs.
Step 2. Install blocking


Cut the 2×4 or 2×6 block to the correct size to fit in between the wall studs using a miter saw. You want it to be a nice, tight fit, so don’t trim it too short.

Slightly drill a screw into the middle of the block to give yourself a little handle. Otherwise it is pretty hard to hold the block in place while securing.

Using wood screws, drive them in horizontally at an angle into the vertical wall studs.

Step 3. Reinstall drywall
Put the piece of drywall that you removed back into place and screw it in with drywall screws in several places.
Here’s what it looks like when we were done at this step:

Step 4. Patch drywall


Now it’s time for the magic step. You’ll patch the damage to the drywall with DAP Fast Dry DryDex Spackling, and it will disappear. Using a small putty knife and larger knife, push the spackling into the joint and any holes in the drywall.
Let the first layer dry before adding any additional layers. We needed to do two layers of the spackle before moving on to more of a texturing type of application.

The great thing about the DryDex spackling is that it goes on pink, but turns white as it dries, so you know when it is ready to sand.
Step 5. Texture drywall

If you have knockdown (or skip trowel) texture as we do, here’s a quick summary of how to get that look:
- Load the spackle onto your knife
- Hold the putty knife at an angle along the wall and skim the spackle over the surface
- The spackle won’t be a perfect layer, but will have some parts that stick to the wall and some parts that don’t…which makes the wall texture.
- Try your best to match the texture with the rest of the wall so it isn’t too noticeable.
- Be patient with yourself; it can take some practice.
If you have a different type of texture, like orange peel, you can use a texture spray, like this, to match the rest of the wall.
Step 6. Prime & paint

Once the spackle is dry, you can go back with your putty knife and gently scrape off any high spots, which is why it is called a “knockdown” texture.
Then come back with a sanding block and lightly sand.
Wipe away sanding dust and apply a layer of primer. Adding primer before the paint will help prevent “flashing,” which is when the paint is a different sheen than the rest of the wall, so I wouldn’t recommend skipping this step.

Once the primer is dry, you can add your wall paint. Depending on your paint, the color, and the texture, you may need to do two coats of the paint.

Step 7. Reinstall the towel rack

Reinstall your towel rack in the same spot that you installed the blocking.
It should be good and secure now. Now that it is properly installed, it won’t be going anywhere.

And honestly? That’s it. A little extra effort upfront means you’ll never deal with this same problem again. The blocking makes it bulletproof, the patch disappears, and your towel rack stays exactly where it belongs.