How To Finish Plywood Edges Like A Pro | Edge Banding Tutorial
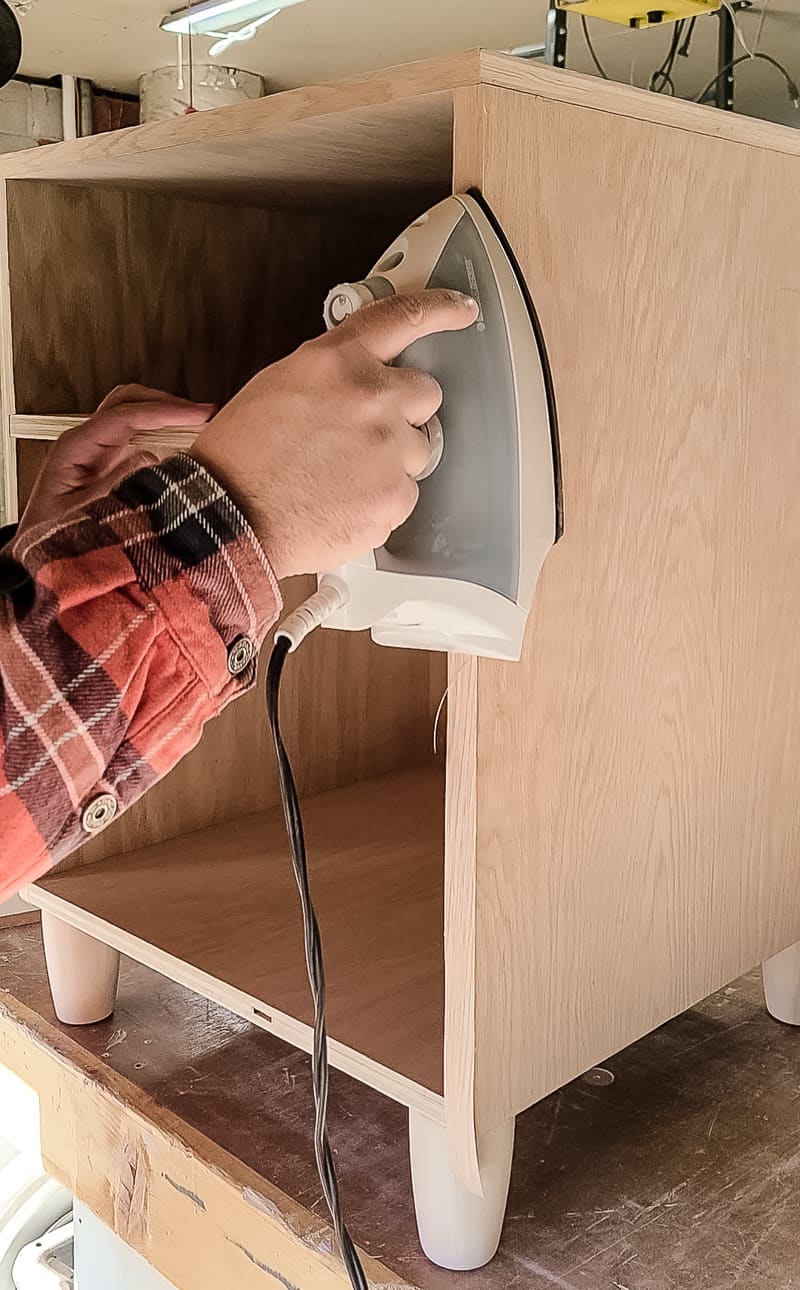
Are you trying to cover the edges of plywood in your woodworking projects? Learn how to finish plywood edges with veneer edging with this easy step-by-step tutorial. This is the easiest way to hide raw edges of plywood for a finished, completed look.
Plywood is an affordable and easy material to use in woodworking projects, but the raw edges can leave it looking unfinished. For a more finished look, veneer edging or edge banding (and sometimes called edge tape) is a great way to finish the plywood edge before painting or staining.
Table of Contents
This how to finish plywood edges tutorial contains affiliate links, but nothing that I wouldn’t recommend wholeheartedly. Read my full disclosure here.
Plywood is easily one of the most affordable types of wood for woodworking. We’ve used plywood for everything from seating, cabinetry, walls, and even organizational projects. It’s really the end-all to DIY projects!
Projects with Plywood:
What is plywood?
Both plywood and MDF wood are similar in that they are made by binding different wood products together. Plywood is made with thin layers of wood veneers glued together in combination with other types of binders (like resin).
This layering makes plywood a strong option that is less susceptible to warping because the veneers are generally rotated as they are glued together.
This rotating is called “cross graining” and it helps make plywood less like to warp, split when nailed, and reduces the natural expansion and shrinkage. unfinished look plywood can have.
Plywood is a much cheaper option when buying lumber compared to hardwood alternatives.
Plywood also comes in large sheets, like 2-feet by 4-feet and 4-feet by 8-feet. These large panels are convenient to use in projects that require large surface areas of wood (like cabinets).
What is edge banding for plywood?
The veneers are visible on the edge of plywood panels and appear as lines. You could even describe them as looking similar to the pages on the side of a book. These raw plywood edges show the layers of the different species of wood that were pressed together.
You can either choose to embrace the layers as this retro entryway bench does, or you can cover them up if you prefer.
That’s where edge banding comes in! Edge banding is an adhesive veneer that covers the outside edges of plywood so it appears as a finished piece, instead of seeing the layers of material. The adhesive on the tape is activated with heat by using a household iron.
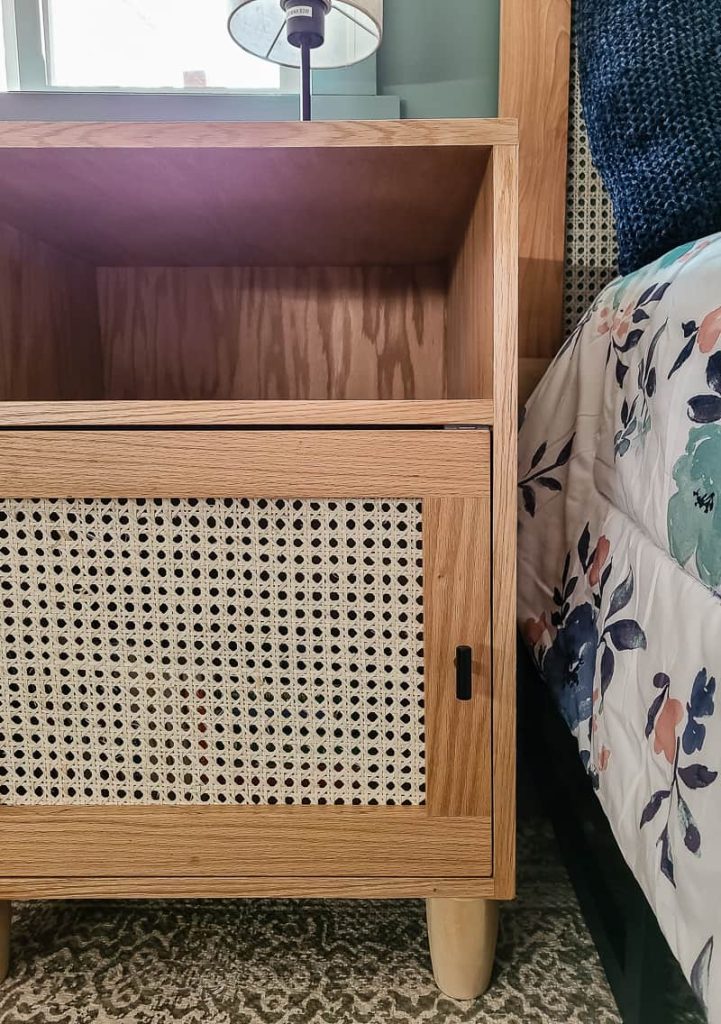
We used edge banding when we made our bedside table and it worked like a charm! It really smoothed out that cabinet edge, leaving a smooth surface that wouldn’t snag or look unfinished.
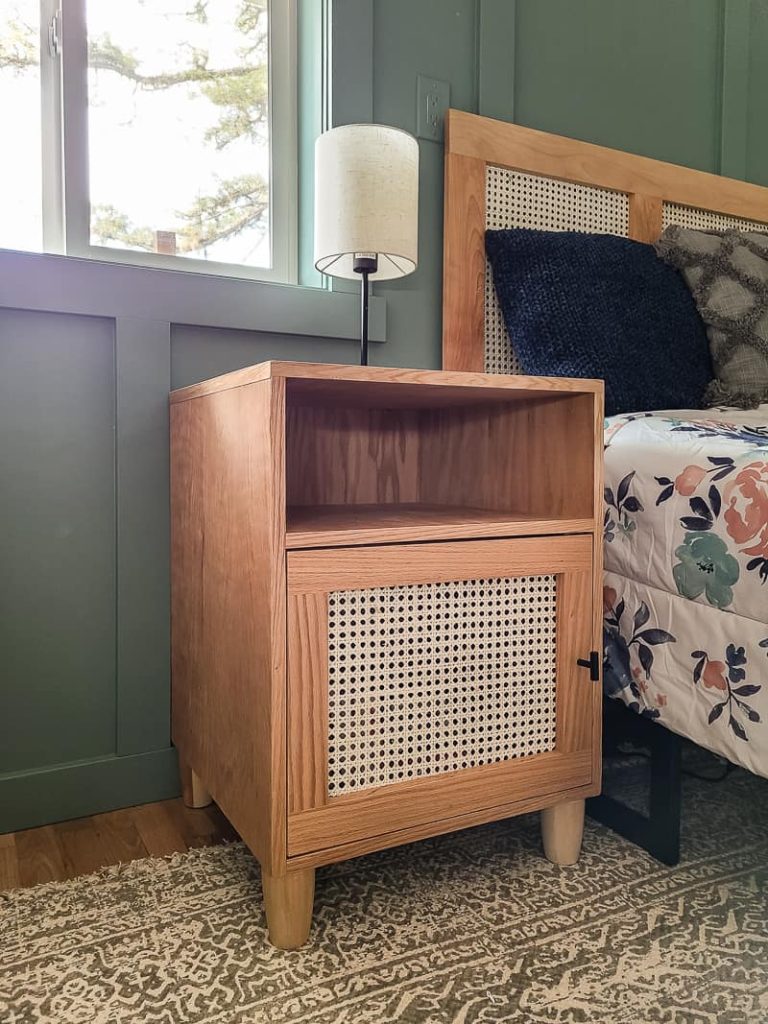
After applying edge banding, you can complete your project with a stain or paint.
TIP: The edge banding color should match the same species of plywood you are using for your project. It’s important that these match as different types of wood will accept wood stain differently, so we want them to look the same when finished.
Video Tutorial: Finishing Plywood Edges
Applying edge banding to plywood is a really easy process. Watch the video below to see the full tutorial, plus a few tips!
If you love DIY videos, be sure to subscribe to our YouTube channel, so you don’t miss the next one! We share weekly renovating and DIY tutorials.
How to Cover Raw Edges of Plywood: Step-by-Step Tutorial
Supplies used in the video:
- Edge banding
- Household iron
- Utility knife
- Sanding block
- Heat resistant gloves
Start with a clean work surface. Make sure the plywood edges are free of any dust or debris that could prevent the adhesive from sticking.
For the bedside table, we began with the vertical edges and then the horizontal edges. Whichever edges you work with first, be sure to complete each of them so all of the banding lines are even.
For example, if you start with horizontal edges, complete all of the horizontal edges before moving on to the other edges. Otherwise, you will have overlaps in various spots.
Step 1: Measure each edge and cut edge banding to size.
Start by measuring the plywood edge you will cover.
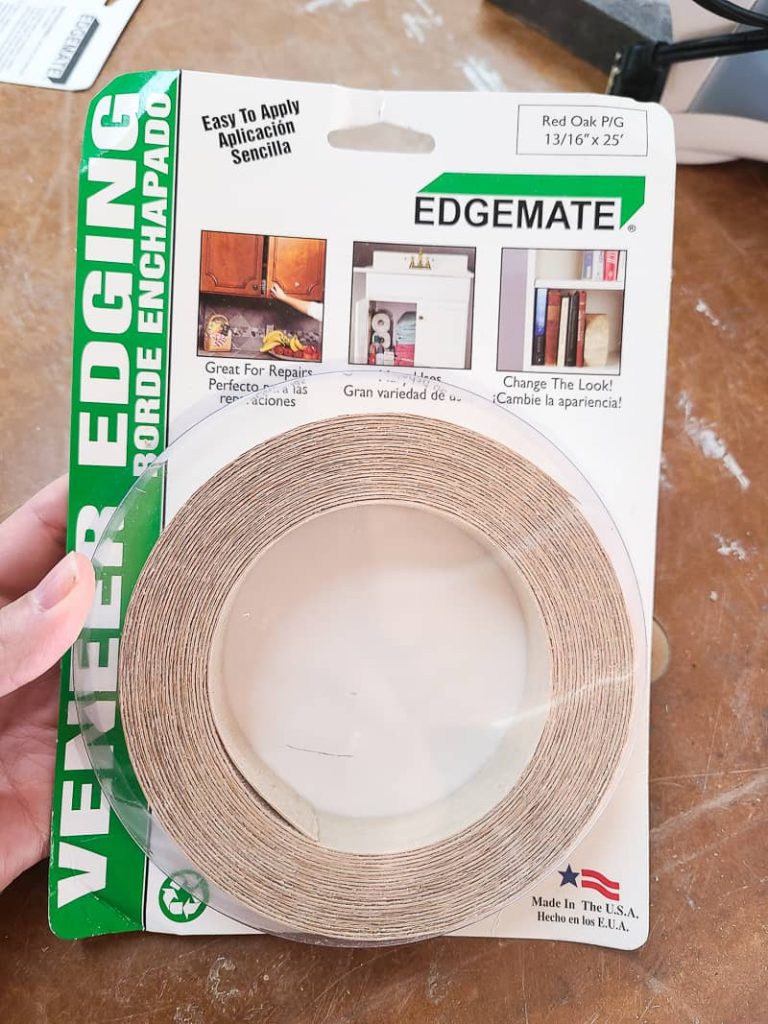
Then, unroll the banding and use a utility knife to trim the banding accordingly. We recommend trimming a piece slightly larger than what you will need.
This will make it a little less cumbersome to work with as you apply the heat and begin trimming.
Step 2: Place the edge banding.
Place the top of the banding flush with the top edge of the plywood. Double-check for length.
Depending on what you are sealing, you could also use a clamp to hold the veneer in place.
Line up the tape so any excess width hangs off the outside of the edge so it can be easily trimmed. We will trim the excess width with a utility knife in a later step.
Step 3: Adhere the edge banding.
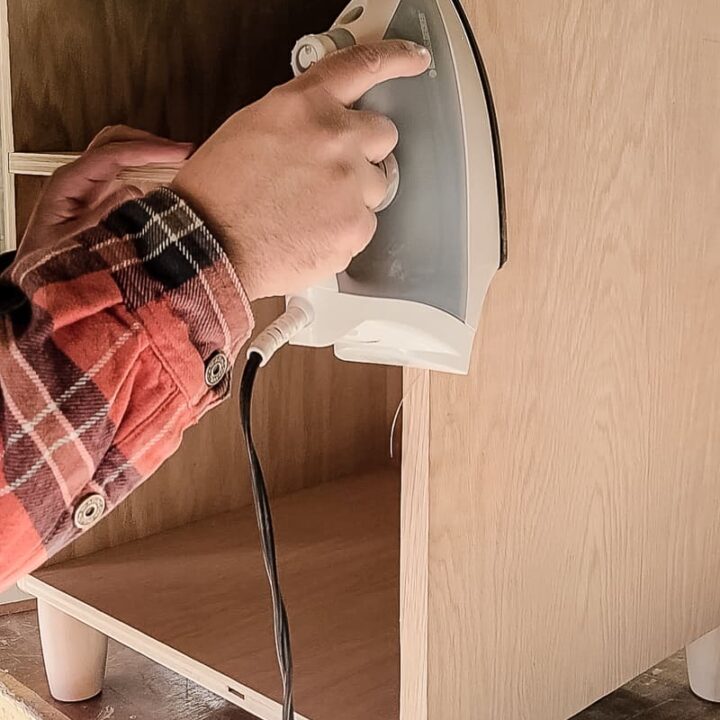
To adhere the banding to the plywood, hold the veneer in place (this is where work gloves are handy!) and place the iron on top of the banding. Hold for a few seconds, then release.
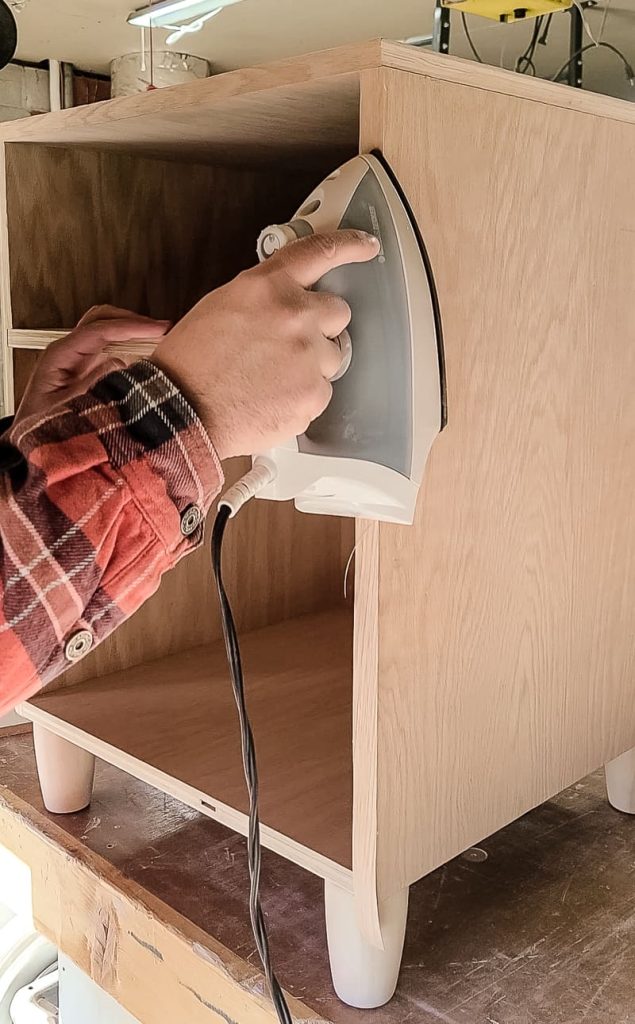
The banding should adhere to the furniture. After the glue is activated, you have about 30 seconds to adjust the banding before it sets, so be sure to make any adjustments quickly.
Then, double back with the iron down the edge of the plywood to adhere the entire length of the veneer. You may have to go over the length a few times. Do this slowly and gently – just like ironing clothing. You shouldn’t need to apply too much pressure.
Keep the iron moving and don’t let it sit on one spot for too long as it could burn the wood.
When covering areas between other pieces of banding, like a horizontal shelf edge, use the same process and trim the excess very carefully to not cut into the other banding pieces that are already attached.
Step 4: Trim and finish the project.
When the adhesive has cooled in place, trim the excess banding with a utility knife. Using a new, sharp blade, trim the width and length excess being careful not to dent or scratch the plywood.
When all sides have been covered, gently use a sanding block or sandpaper to smooth things out. Do not sand against the adhesive in order to prevent pulling up the edge banding. Sand in a downward motion, towards the plywood edge.
Now, you are ready to stain or paint your plywood project!
FAQ: Finishing Plywood Edges
Do you need to cover plywood edges?
While edge banding isn’t necessary, it gives the project a more finished look and protects it from snagging on things.
Can you stain edge banding?
After edge banding has adhered, cooled, and dried, you can stain or paint over the banding.
How do you cover plywood edges before painting?
You can cover plywood edges with a wooden veneer or edge banding, as we’ve shown in the tutorial. However, since seeing the wood grain is not necessary if you are painting, you can also opt to simply cover the plywood edge with wood filler or spackle, sand smooth, and paint over it. This is an alternative way to cover plywood edges before painting that does not require edge banding. Learn more about covering plywood edges with spackle here.
How do you trim edge banding?
Using a utility knife, carefully trim away excess edge banding. There are special trimming tools that you could purchase to trim the edges, but we found they weren’t necessary. A utility knife worked fine.
Do you sand before edge banding?
Sanding isn’t necessary before edge banding but can be done if the plywood edge is rough or uneven.
Every time you decide to use plywood in your woodworking projects, you’ll need to make a choice. Leave the plywood edges exposed intentionally or cover them up with edge banding?
Either option is a good one and totally up to you – but don’t let the task of covering the plywood edges stop you. It’s a very simple process!
Follow along with our step-by-step tutorial to learn how to finish plywood edges like a pro!
How to Finish Plywood Edges
Learn how to finish plywood edges with veneer edging like a pro! The easiest way to hide raw edges for a finished look on your next project.
Materials
Tools
- Household iron
- Utility knife
- Heat resistant gloves
- Sanding block
Instructions
- Start with a clean work surface. Make sure the plywood edges are free of any dust or debris that could prevent the adhesive from sticking.
- Start by measuring the plywood edge you will cover.
- Place the top of the banding flush with the top edge of the plywood. Double-check for length.
- To adhere the banding to the plywood, hold the veneer in place and place the iron on top of the banding. Hold for a few seconds, then release.
- When the adhesive has cooled in place, trim the excess banding with a utility knife. Using a new, sharp blade, trim the width and length excess being careful not to dent or scratch the plywood.
- Gently use a sanding block or sandpaper to smooth things out. Sand in a downward motion towards the plywood edge.
- Stain and paint your project!

