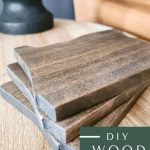
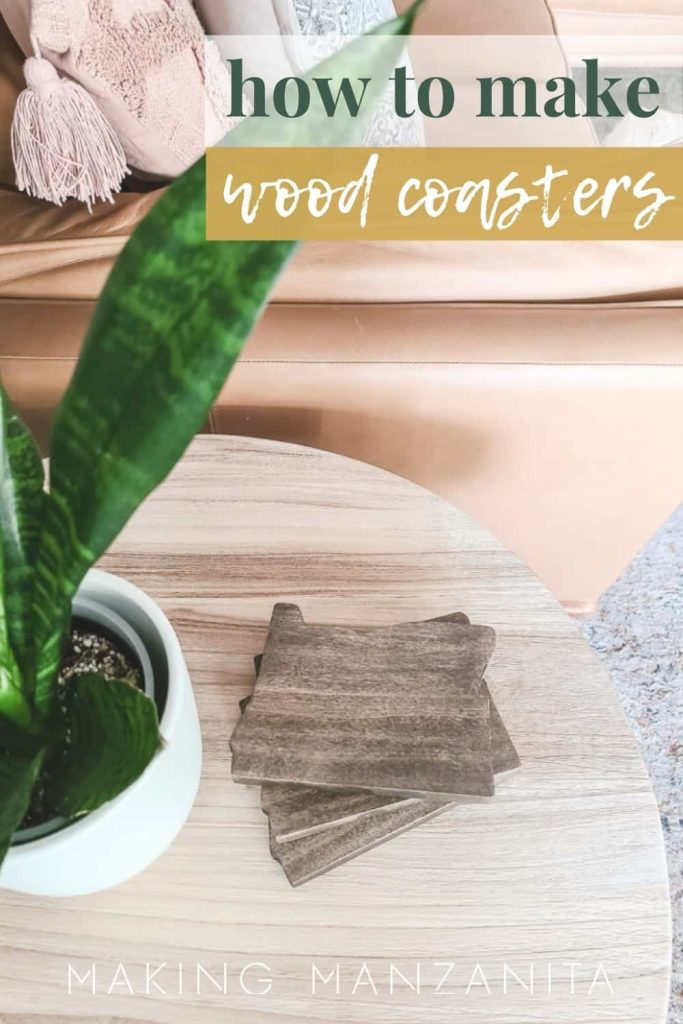
DIY Wood Coasters with State Shape

Thank you to Inventables for sponsoring this DIY wood coasters project! All opinions are entirely my own. This post also contains affiliate links, but nothing that I wouldn’t recommend wholeheartedly. Read my full disclosure here.
Did you know that 7 years ago, Logan and I packed up everything we owned and traded in those San Diego palm trees for pine trees in Oregon? And we’ve never regretted it once.
In our latest DIY project, we’re showing off our state pride with these fun DIY wood coasters!
Want to Know How to Make DIY Wood State Coasters?
We’re always looking for new ways to create projects efficiently, and something that we’ve had our eye on for quite a while is a CNC machine.
What is a CNC machine?
A CNC machine means that the tool is controlled by a computer – rather than a person’s hands.
“CNC” stands for computer numerical control, but it’s very commonly known as CNC.
Way back in CNC machines were huge and not reasonable to have in a home workshop – they were only found in big commercial-sized woodshops.
But the technology has come a long way! This means that getting a budget-friendly CNC machine is achieve for DIYers – like us. Yay!
X-Carve by Inventables
So when we had the chance to team up with Inventables and feature the X-Carve CNC system in our projects, you better believe that we jumped at the chance.
The X-Carve is “the easiest and most affordable CNC machine on the planet”. It is very easy to use and requires no CNC knowledge or experience.
The X-Carve machine links up with the software called Easel (also developed by Inventables) to create your design.
It’s great for DIYers who want to scale the production of small projects to sell on Etsy or other places. And you can rapidly carve products in batches!
You may not have a big need for a CNC machine in your woodshop, so with the projects we create on our X-Carve, we’ll always let you know if there’s another way to make it if you don’t have an X-Carve.
How To Make DIY Wood Coasters: Step-by-Step Guide
Supplies needed for DIY Wood Coasters
- Inventables X-Carve
- 1/8″ Upcut Bit
- Poplar Board 24″ x 8″
- 80 and 150 Grit Sandpaper
- Orbital Sander
- Dark Walnut Water-based Stain (Learn more about the Dark Walnut stain color here)
- Wipe-On or Aerosol Polyurethane
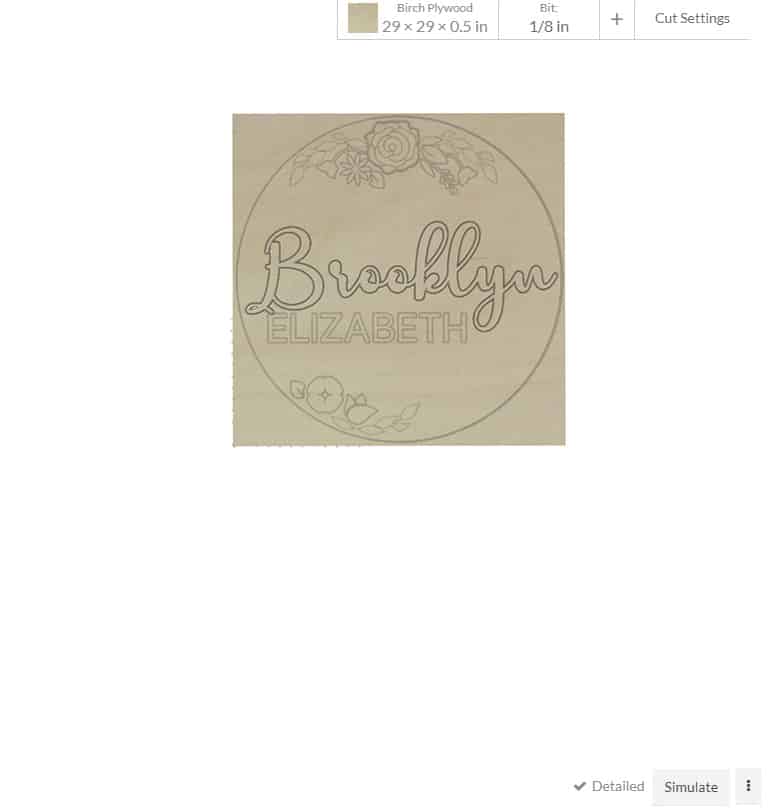
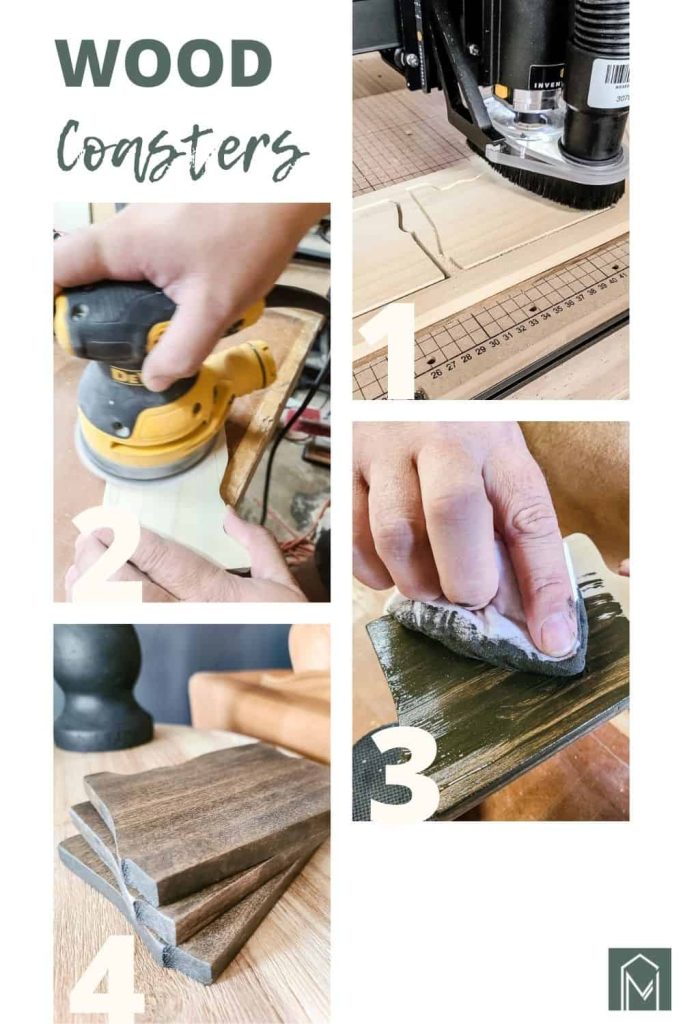
Step 1. Design and carve your DIY wood coasters
Start designing your DIY wood coasters in the Easel Pro program. If you want the state coasters in the shape of Oregon just like us – all you have to do is hop over to the project we’ve created on Inventables website and click “Open in Easel” and you’ll be ready to carve in minutes!
If you want to use another state shape, you can either use the image trace feature using a photo from the internet or find a design in the Pro Design Library on your Easel Pro program.
If you’re having trouble finding a good silhouette image of your state, check out this state silhouette resource at Silhouette Garden. They have a whole section full of state shapes!
Alternatively, you can also draw out your DIY wood coasters if the above options don’t have what you are looking for. The Easel program is very easy to use!
After you have your shape outline in Easel ready, you enter the type of wood you are using and the size. Then you can simply copy and paste the shape until you have the desired amount of coasters to layout efficiently on your piece of wood.
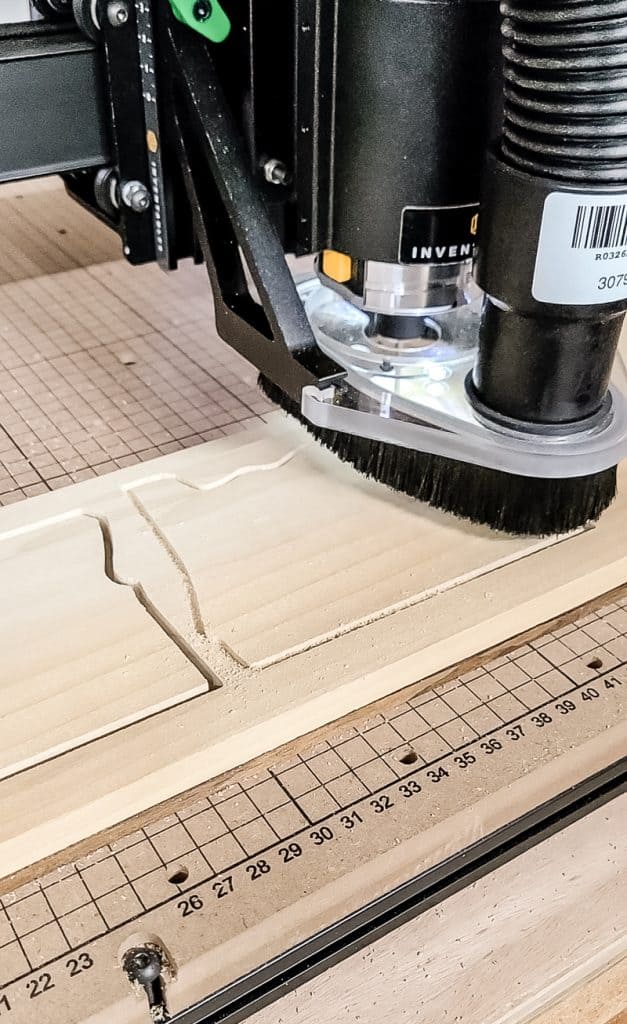
Next, clamp down your wood stock on the X-Carve cutting mat and run through the carve on your Easel Pro program.
Since this is a small and simple carve, it shouldn’t take long!
Don’t have an X-Carve CNC machine?
You could also use a jigsaw to cut out the state shape from wood, but it will take longer and won’t be as quick and easy as it is with the CNC – that’s for sure. Learn more about your options for different types of saws for woodworking here.
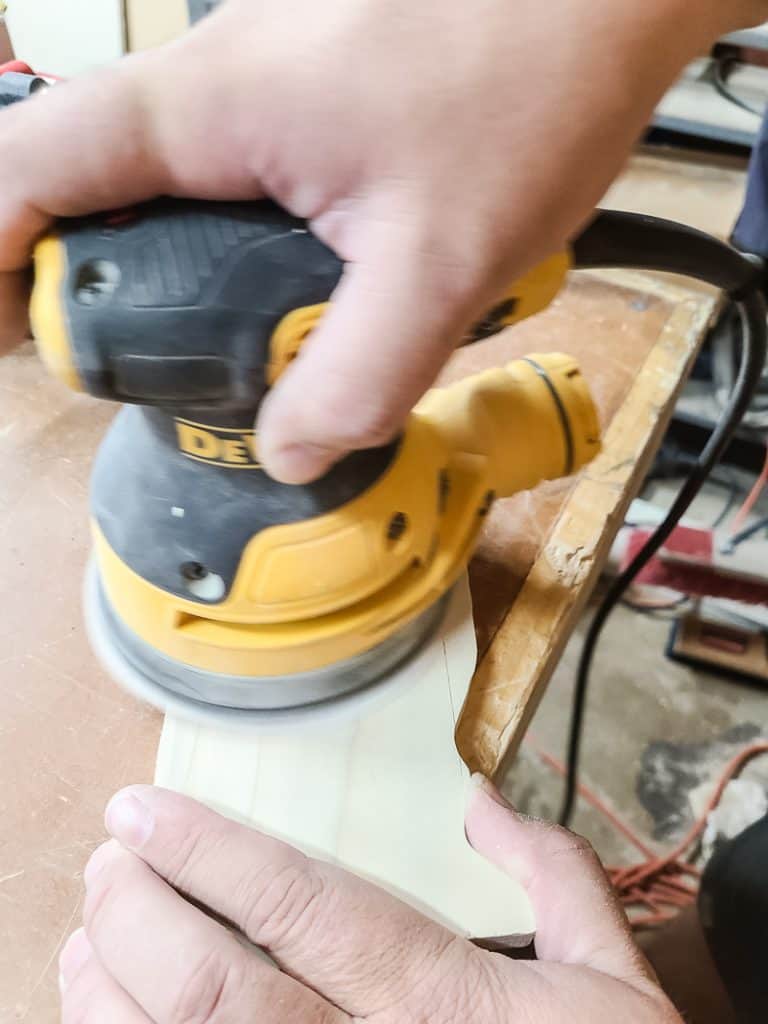
Step 2. Sand coasters
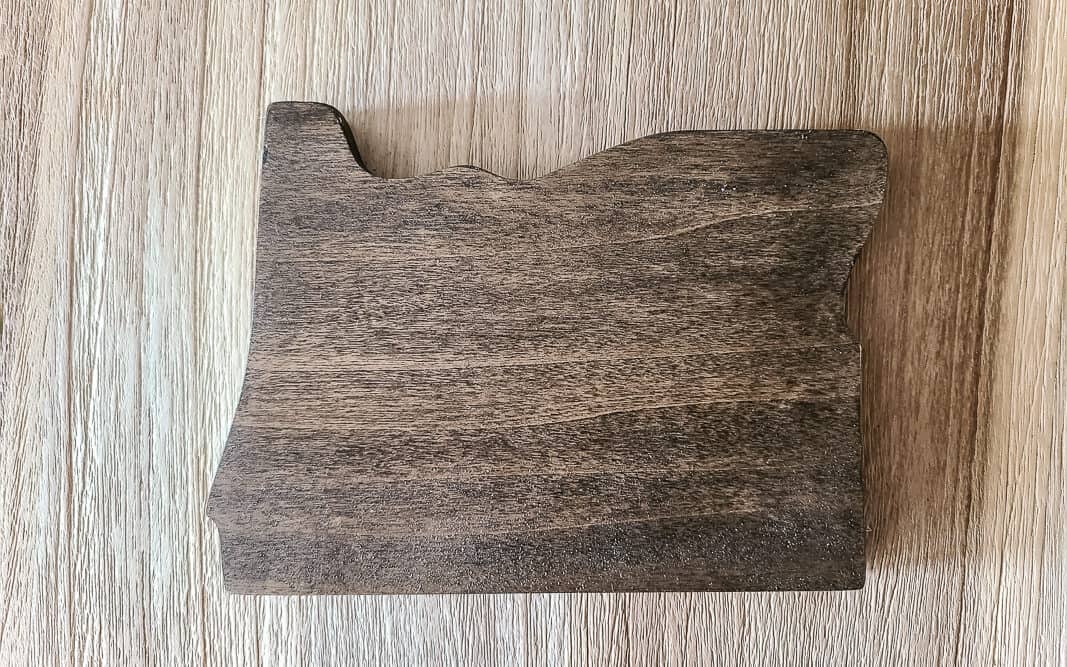
After the X-Carve cuts out your shape, you can begin the finishing process. You can see from the pictures we decided to make Oregon State coasters. Busting out the state coasters with the tabs should be easy.
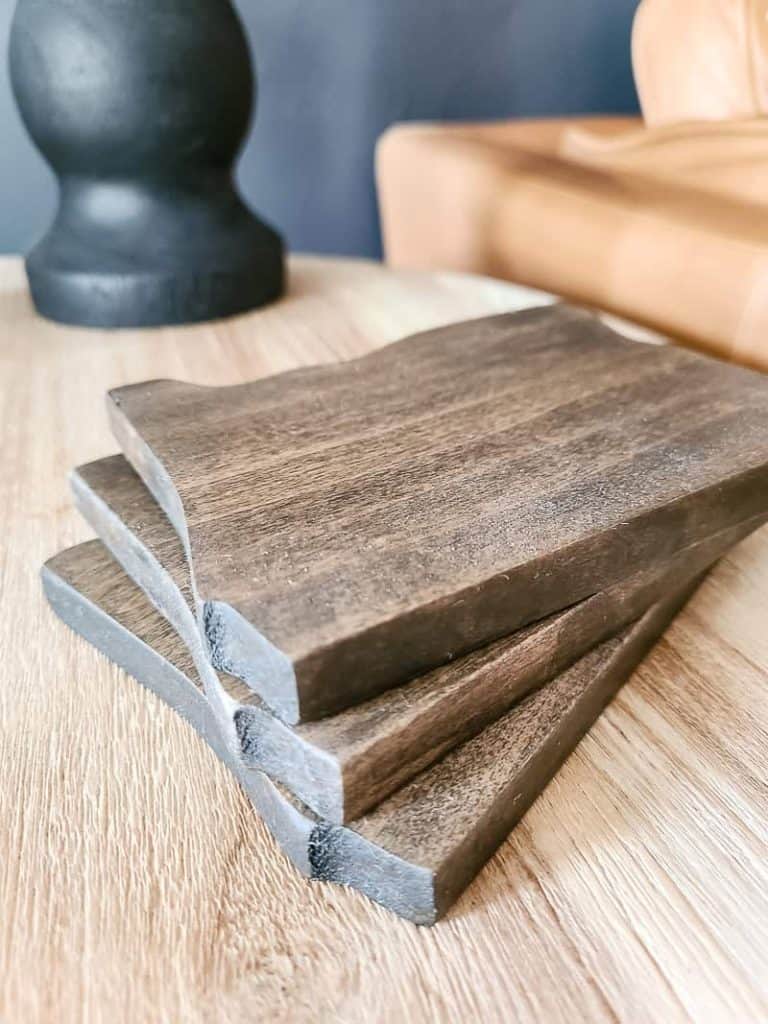
Once your state coasters are out, start sanding them down using 80 grit to smooth and shape the edges. Follow up with 150-grit sandpaper. This leaves enough wood pores open and provides a nice finish that won’t be so smooth that cups will slide right off.
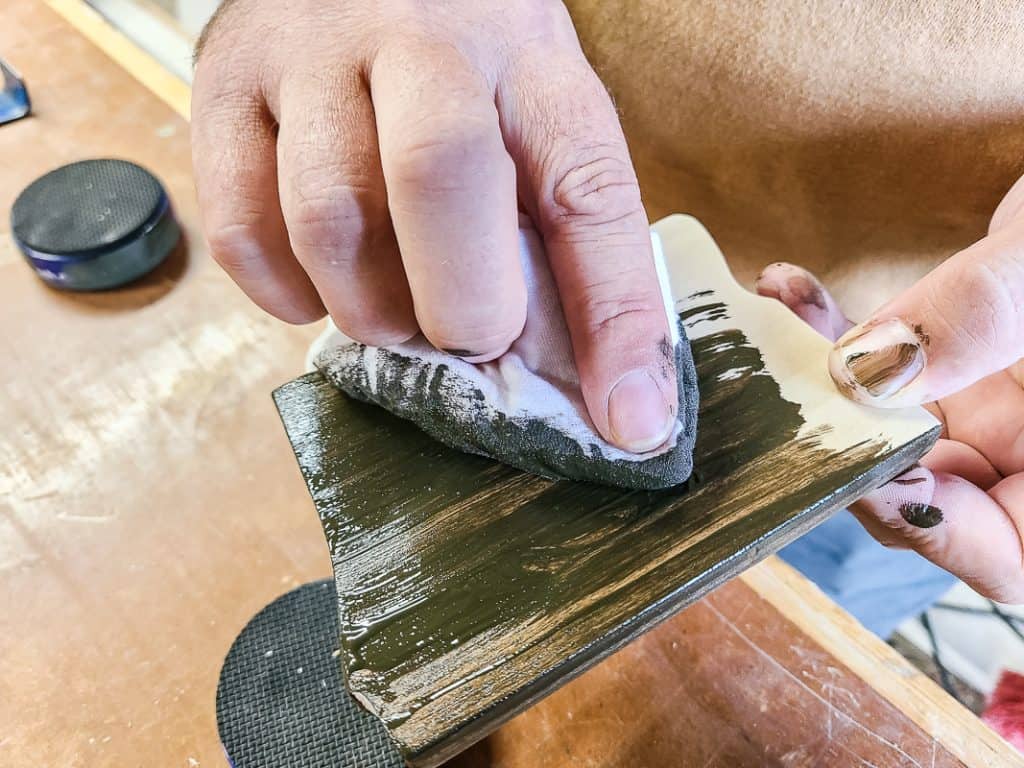
Step 3. Stain state shape coasters
We used a Water-Based stain with a dark walnut color. Since the coffee table in our living room is light wood, we thought this would be a nice contrast.
Step 4. Seal wooden coasters
Another nice feature of the water-based stain is it is ready and dry very quickly. You can start putting on your topcoat in 2-3 hours.
Now we used polyurethane as our coasters are primarily used for coffee cups and occasionally water cups. If your DIY coasters are going to be subjected to a lot of moisture, you would probably want to put on a different finish – like a varnish.
Related Reading: Not too sure whether to use Polyurethane vs Polycrylic for your project – learn the difference in this article!
With your finish chosen, apply according to your manufacturer’s instructions. Do yourself a favor and put on a few more coats than you normally would. We went with an aerosol polyurethane and applied several light coats.
Wood coasters will take a beating, so the more protection you put on now, the longer they will last. Be sure to wait for the entire length of the drying and curing time on your sealant before using the coasters.
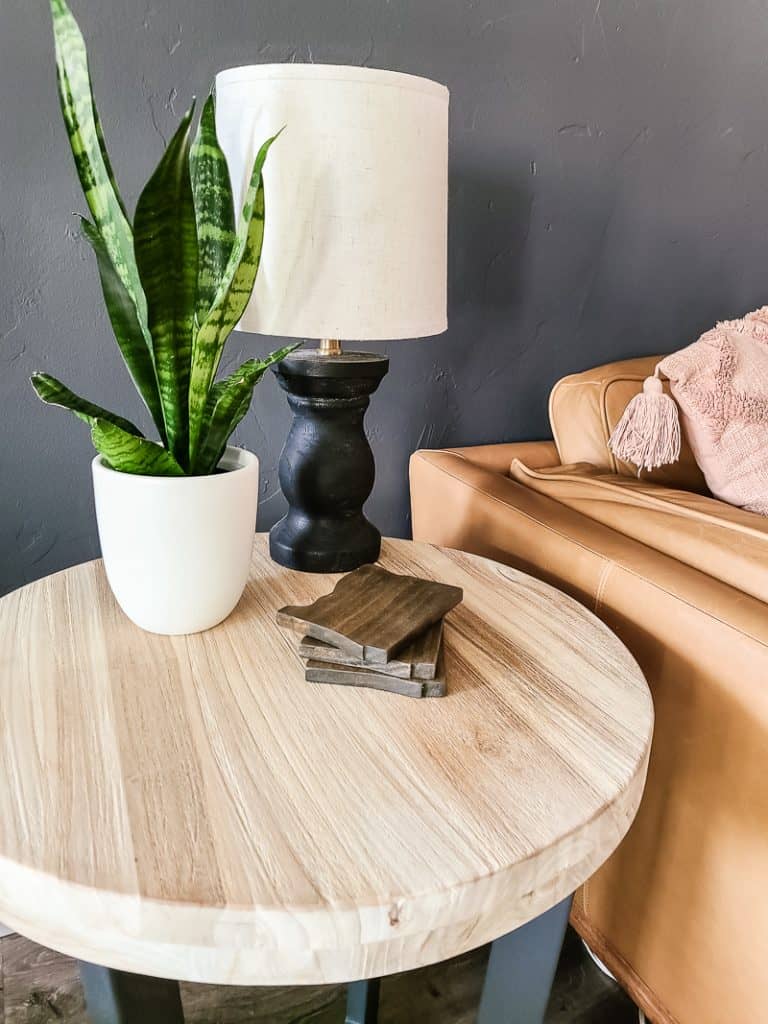

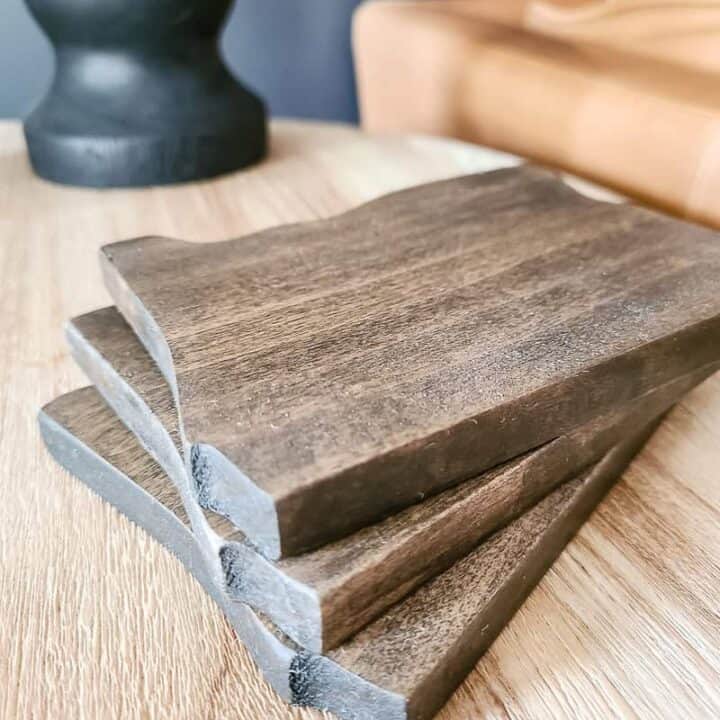
Now it is time to enjoy your new DIY wood coasters!
Didn’t they turn out awesome? I love the contrast of the dark wood on the light furniture in our living room!
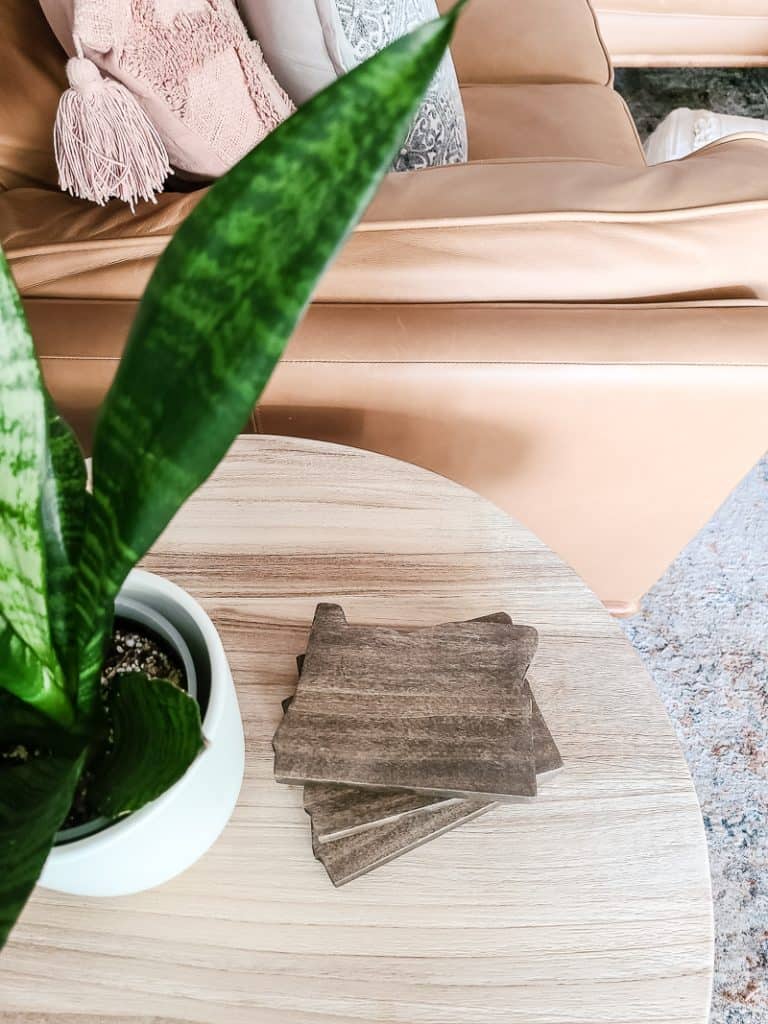
State coasters (or any shaped DIY wood coasters) make great gifts, and they are so easy to make! Remember…the holidays are RIGHT around the corner!
Our minds are swimming with all of the amazing projects that we can make now that we have a CNC machine in our woodshop. Any requests?
If you’re interested in giving this carve a try on your X-Carve, don’t forget to visit our project on Inventables and just push “open in Easel” to be ready to carve in just minutes.
What shape would you choose for your DIY wood coasters?
Let us know in the comments below!
How To Make DIY Wood Coasters
These DIY wooden coasters make the perfect gift! Learn how to use a CNC machine to create state-shaped wood coasters with this easy-to-follow tutorial.
Materials
- Poplar Board 24" x 8"
- 80 and 150 Grit Sandpaper
- Dark Walnut Water-based Stain
- Wipe-On or Aerosol Polyurethane
Instructions
- Start designing your DIY wood coasters in the Easel Pro program.
- After you have your shape outline in Easel ready, you enter the type of wood you are using and the size. Then you can simply copy and paste the shape until you have the desired amount of coasters to layout efficiently on your piece of wood.
- Clamp down your wood stock on the X-Carve cutting mat and run through the carve on your Easel Pro program.
- Sand coasters using 80 grit sandpaper to smooth and shape the edges. Follow up with 150 grit sandpaper.
- Stain using water-based stain.
- Apply a coat of polyurethane according to the manufacturer's instructions.
- Allow curing for the recommended amount of time then your state shaped coasters are ready to use!
Notes
If your coasters will be subjected to lots of moisture, consider using a varnish on them instead of polyurethane.
You can use a jigsaw to cut out your state-shaped coasters if you don't have a CNC machine. It will just take longer.
Recommended Products
As an Amazon Associate and member of other affiliate programs, I earn from qualifying purchases.