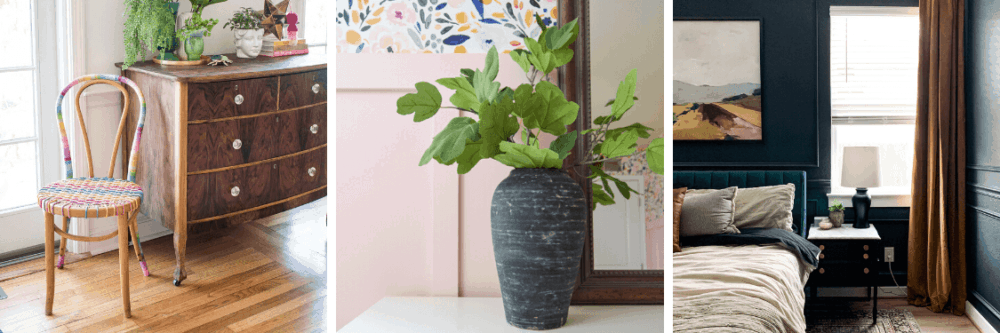
A little touch of greenery or plants in every room can really go a long way. Whether it’s real or faux – there’s just something about green that brings life into the room.
I’m pretty sure I’ve found a way to bring plants (mostly faux because I’m a total black thumb) into just about every room that we’ve touched in this house. If you’re looking for more ways to decorate with greenery, I think you’ll love these creative ideas!
Right now I’m working on getting our little hallway some love! I painted one wall a dark gray color and I’m going to install a grid gallery wall of family pictures. I’m also in the process of creating a wicker basket wall on another.
I thought the refreshed hallway area could use a little touch of life, so I got rid of a boring sign and created this DIY round wall planter!
In today’s post, I’m teaming up with some of my favorite blogging friends for a little thrift shop challenge! We are all transforming items from thrift stores, so be sure to jump around and check out everyone’s projects (linked at the bottom of this post).
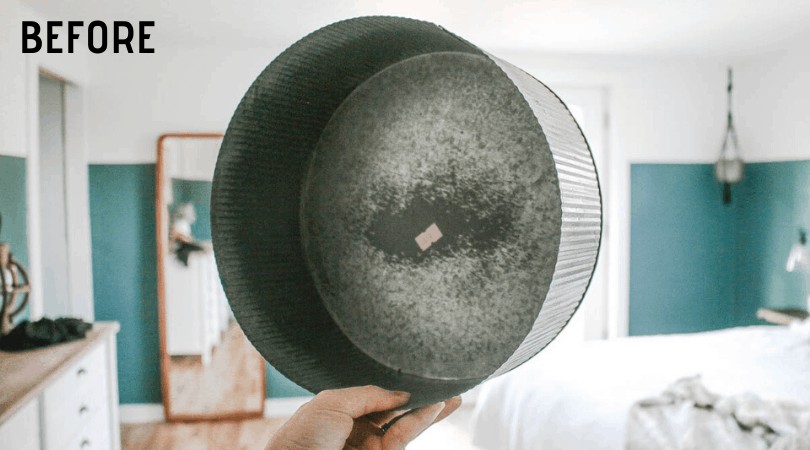
I was pretty excited when I snagged this round metal bin for $2 a few weeks ago. I knew this thrift shop challenge was coming up and I was going to try making this basket into a DIY round wall planter!

This DIY round wall planter tutorial contains affiliate links, but nothing that I wouldn’t wholeheartedly recommend anyway! Read my full disclosure here.
Materials needed for a DIY round wall planter:
- Metal Circle Bin (this one is actually a floral centerpiece holder is what my friend told me)
- ½” Sanded Plywood
- Hot Glue Sticks
- Leather – learn how I got free leather here
- 150 Grit Sandpaper
- Sealer
- Picture Hanging Strips
- Faux Plant
Tools for DIY round wall planter:
- Table Saw
- Orbital Sander
- Pencil
- Hot Glue Gun
- Rotary Cutter
- Cutting Mat
- Clear Acrylic Ruler
- Scissors
Step 1. Prep & cut wood
Use a pencil to trace the metal circle bin on a small piece of ½” plywood. We had this scrap piece that was perfect. Mark the middle of the circle because we only need a half-circle.
Now to cut the edge of the semi-circle, I had Logan help with that. He used the table saw to cut around the curved edge of the semi-circle getting as close as he could to the edge and then sanded it flat. Here’s a YouTube video that shows the method that he used.
Alternatively, you could use a band saw as well. Learn more about different types of saws here.
You can lightly sand the edges with an orbital sander and 150 grit sandpaper once it’s cut to smooth everything out.
Finish prepping wood by lightly coating it with a few coats of acrylic sealer.

Step 2. Attach wood to metal circle bin
The wood will attach to the metal circle bin with a little bit of hot glue.
Be sure not to use too much because it will ooze out the front. Remember, the wood won’t really be holding weight, so no need to go overboard with the glue.

Step 3. Add leather strap
The part is totally optional, but I love the little touch of leather added to my DIY round wall planter! I think it gives it a modern and unique look. It also helps add some extra support for the wood getting attached to the metal circle because I chose to wrap the leather around the sides of the metal basket too.
I used my recycled leather (click here to read how I got a ton of free leather!) and cut a 1-inch wide strip with a rotary cutter, clear acrylic ruler, and a cutting mat.
To attach the leather, you can use a little bit of hot glue. Again, not too much because you don’t want it to come out the edges.
I used the backside of the leather for more of a suede look and wrapped it around the edges of the metal bin too!

Step 4. Add plants to your new round wall planter.
You can either use a recycled shopping bag or some floral foam to set faux plants into place. This just helps grab the end faux plant stem to keep it where you want it.

Step 5. Hang on wall.
I used some Command picture hanging strips to hang the DIY round wall planter on the wall.

I am SO flipping obsessed with how this little thing turned out! I mean, I had a vision – but honestly, it turned out better than what was in my head!

I thought this plant was going to maybe be too big when I grabbed it at Hobby Lobby, but it’s just perfect! I love that it’s a little dramatic.

Now I think it goes without saying, but I thought I would say it anyway…..this is not an actual “PLANTER”…Like, please for the love of all that is holy, don’t go do this tutorial and put dirt and a real plant in it. It won’t last at all! This is only a planter for faux plants! 😉
I’m proud to say that this DIY round wall planter only cost me $2 for the bin and then $10 for the faux greenery – so $12 all in. Everything else, I already had laying around. Pretty good, right?
Considering that I sold the old sign that was previously hung here on Facebook Marketplace for $10 – I almost broke even! How’s that for decorating a house with no money?!

When it comes to creating your thrift shop upcycle project usually all that it takes is a little vision, some inspiration, a lot of imagination, and a small investment.
Thrift Shop Challenge
If you’re stuck wandering the aisles of your thrift stores thinking that everything sucks, maybe my friends and I can help give you some inspiration! Be sure to check out everyone’s projects below – there are some super fun project ideas!
At Charlotte’s House // Making Joy & Pretty Things // Love & Renovations
Making Manzanita // Small Stuff Counts // Green With Decor // Holland Avenue Home
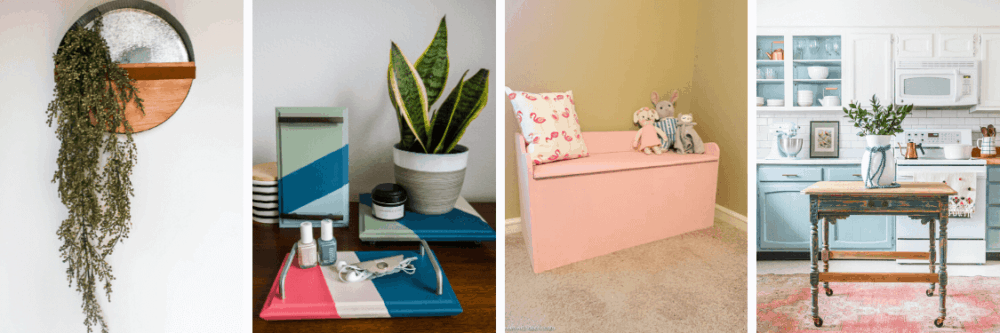
Related – If you like this DIY round wall planter, you’ll love these other thrift store upcycle projects (just click each photo to read tutorial):


How To Make A DIY Round Wall Planter
Materials
- Metal Circle Bin
- 1/2 Sanded Plywood
- Hot Glue Sticks
- Leather
- 150 Grit Sandpaper
- Sealer
- Picture Hanging Strips
- Faux Plant
- Floral foam or old shopping bag
Tools
- Table Saw
- Orbital Sander
- Pencil
- Hot Glue Gun
- Rotary Cutter
- Cutting Mat
- Clear Acrylic Ruler
- Scissors
Instructions
- Prep & cut wood
- Attach wood to metal circle bin
- Add leather strap
- Add plants
- Hang on wall


