
Painting Kitchen Island: How To, Tips, and Tricks
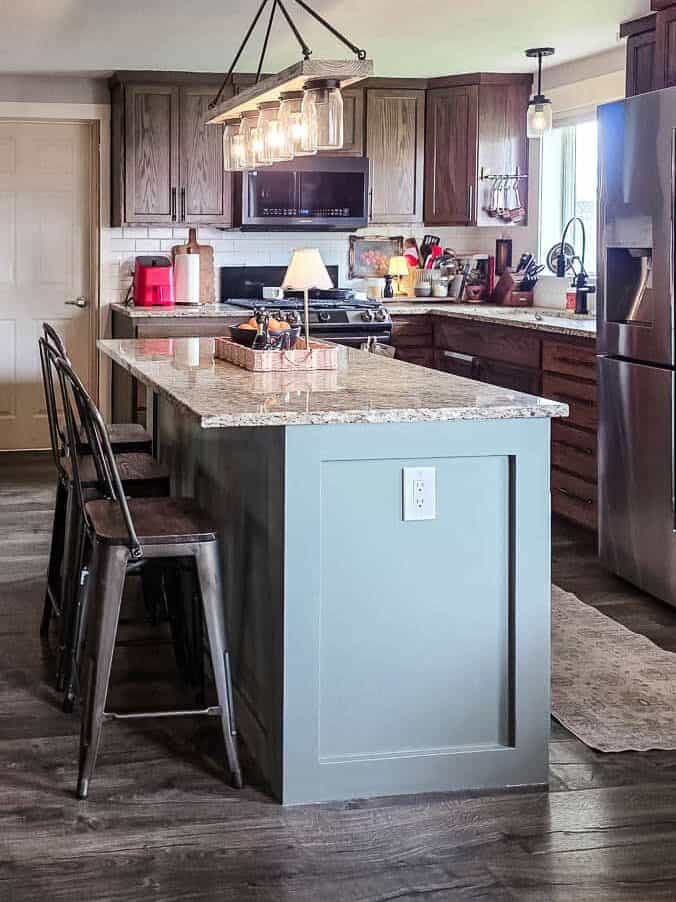
Tired of scrubbing white cabinets? This step-by-step kitchen island painting tutorial shows how we ditched the high-maintenance finish, removed dated trim, and transformed our island with just $50 in paint.
Thank you to DAP for sponsoring this kitchen island painting project! All opinions are entirely my own. This post also contains affiliate links, but nothing that I wouldn’t recommend wholeheartedly. Read my full disclosure here.
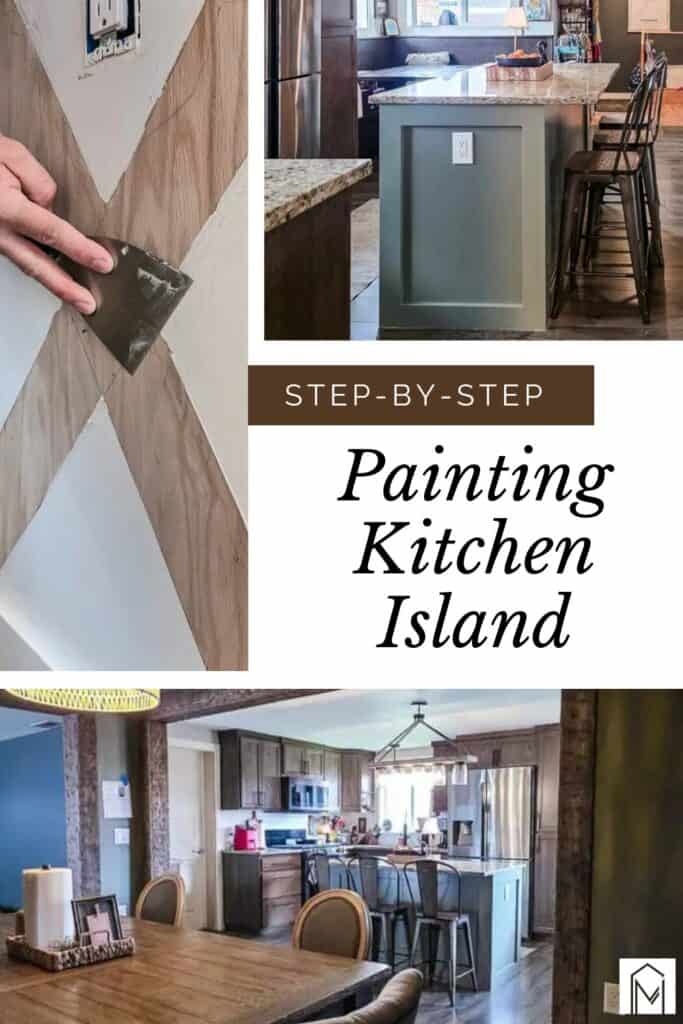
We moved into this home over 8 years ago and one of the first things we did was completely rebuild this kitchen island to add the dishwasher (hallelujah!). We chose white for the kitchen island color to contrast with the dark wood kitchen cabinets. We also added this pretty X design to the ends of the island.

Little did I know it then, but I would come to regret those two decisions (cabinet paint color and the x-design) for years. Don’t get me wrong…yes, white cabinets really do brighten up the look of your kitchen and give it a fresh look.
But here’s the tough truth. White cabinets are SO hard to keep clean! I was seriously so tired of scrubbing this down with a Magic Eraser every time I wanted it to look better.
And this pretty X on the ends of the island was just a dust collector and I could never really get into the corners to get the dirt and dust out.
And then I remembered… I have free will to change things in my home that drive me crazy. All it took was $50 in paint and a few hours of work to completely transform the whole island, which really made our whole kitchen look more cozy and cohesive.
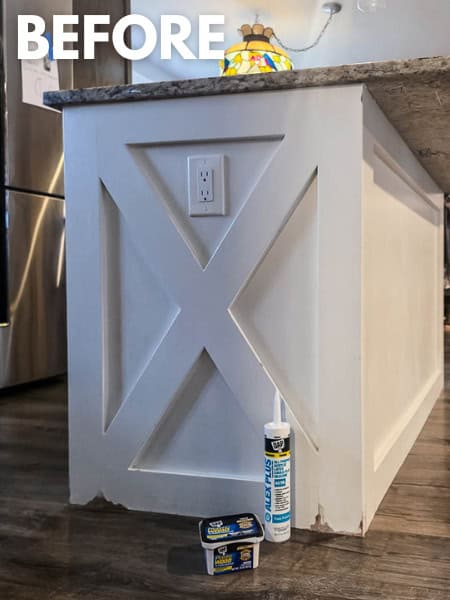
As you can see, the kitchen island was long overdue for a fresh coat of paint. There was quite a bit of wear and tear. It was dinged and damaged and the paint was chipping at the bottom.
How To Paint Kitchen Island: Step-by-step tutorial
Supplies needed for painting kitchen island:
Step 1. Remove cabinet doors and drawer fronts
The first step of painting your kitchen island is to remove all of the cabinet doors from the island base and the drawer fronts from the drawers. These are much easier to paint on a flat surface instead.
It is also helpful to completely remove the hinges so you don’t have to paint around them.
If you’re painting the inside of your cabinet, you’ll also want to empty out the base cabinet contents. I had already painted the inside of the cabinet when we built these pull out shelves last month.
Step 2. Remove X design
Now, most people won’t have this step if repainting their kitchen island, but we did.
Carefully remove the trim by running a utility knife along the edge of the trim and pulling it off with a crow bar. There will be some expected damage from doing this, but do it carefully to minimize the damage.
Step 3. Scrape & sand
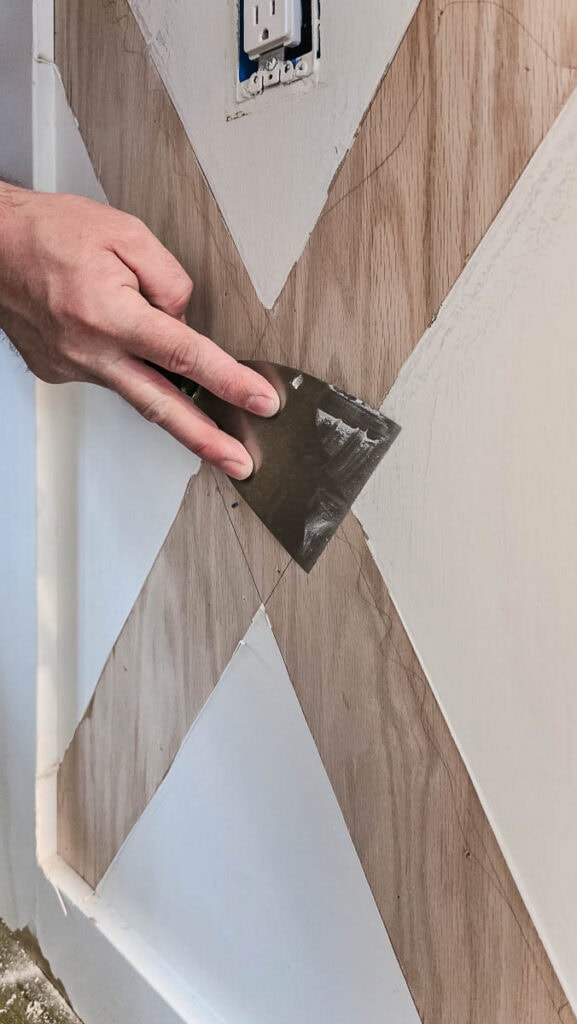
Use the putty knife to gently scrape off any old caulking or paint after the trim is removed.
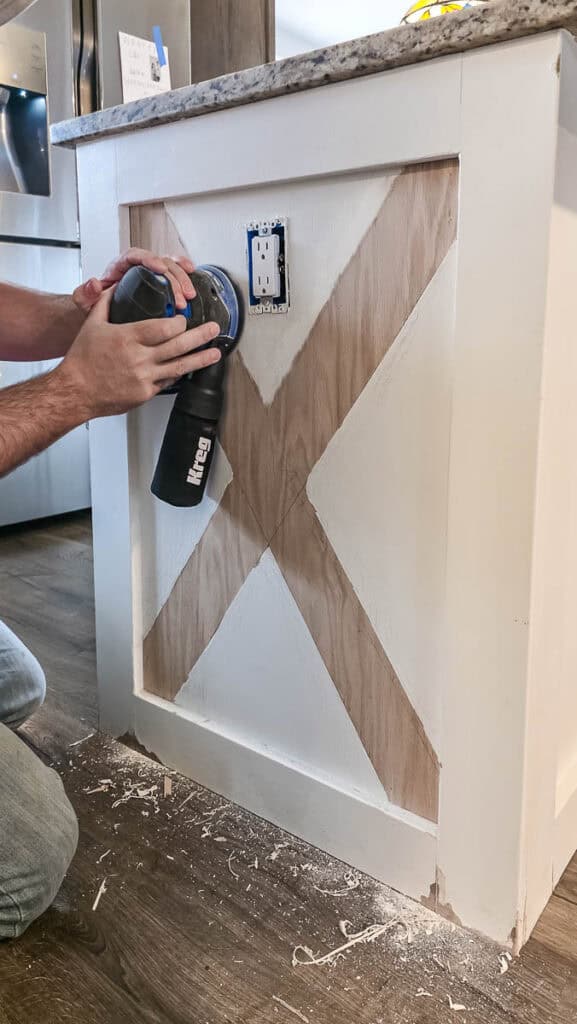
Then you can give those areas a good sanding with an orbital sander and 150-grit sandpaper.
Step 4. Repair damaged areas
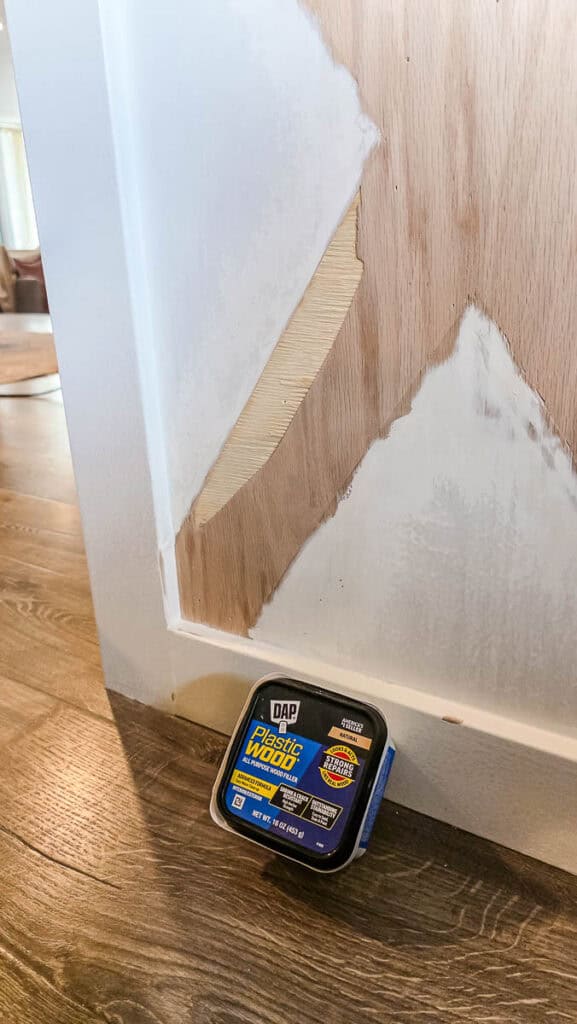
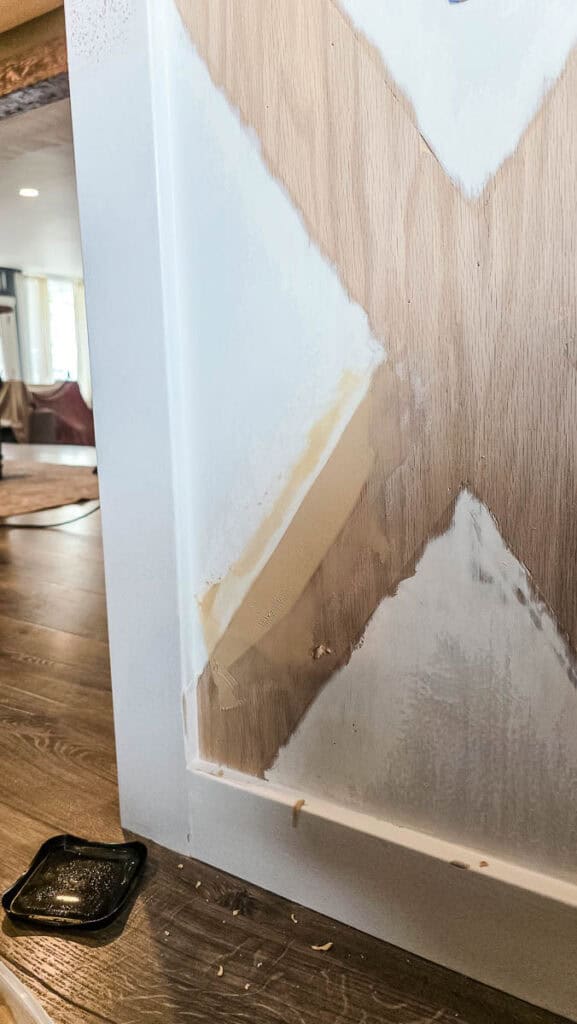
Even though there was some veneer that chipped out on ours when we were removing the trim, it was nothing that DAP Plastic Wood wood filler couldn’t fix. Apply the wood filler on all damaged areas and joints with a putty knife.
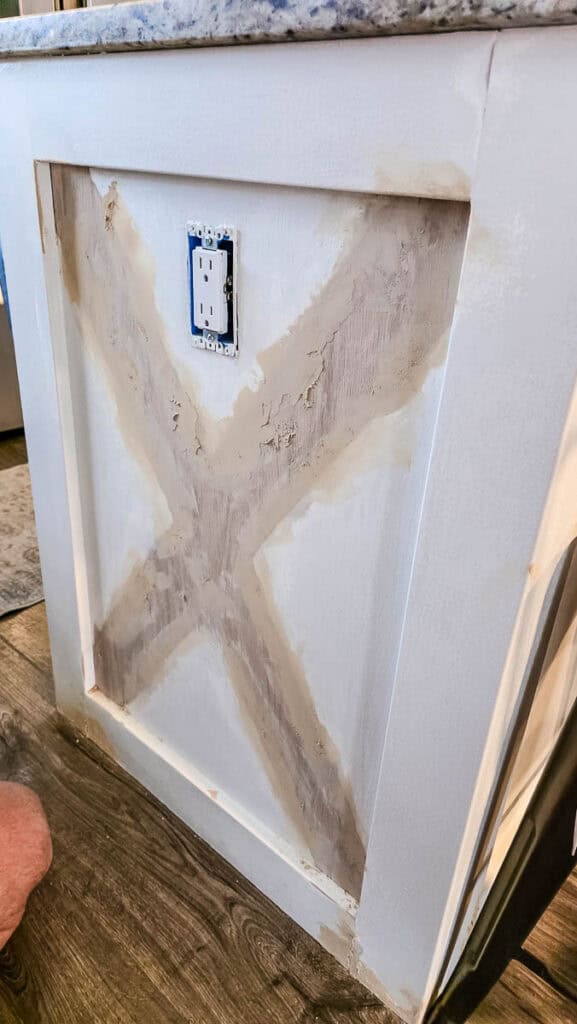
Let dry and then sand smooth with the orbital sander and 150-grit sandpaper.
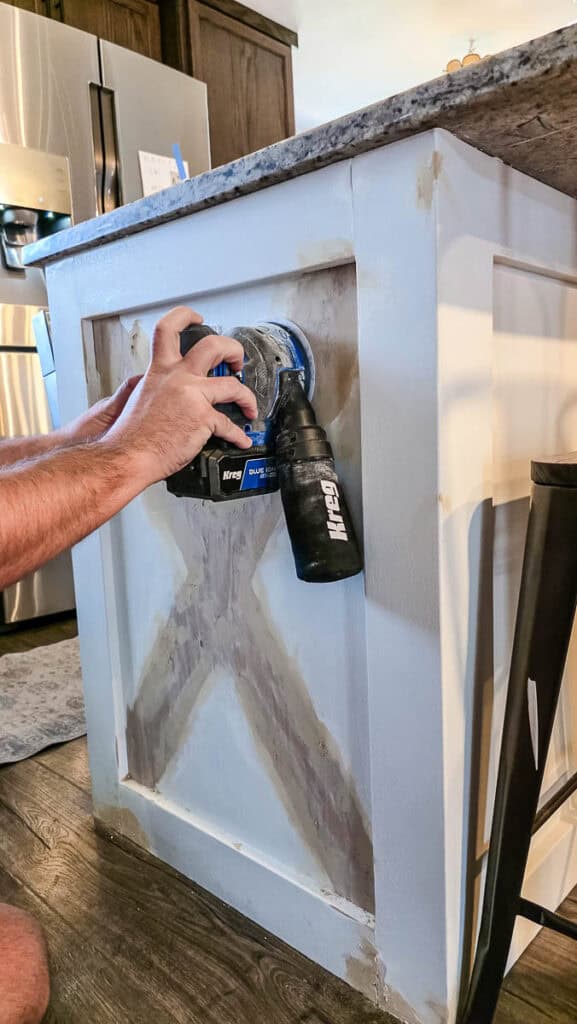
Wipe everything clean with a slightly damp cloth or sticky tack cloth to remove the sanding dust before painting.
Step 5. Prime
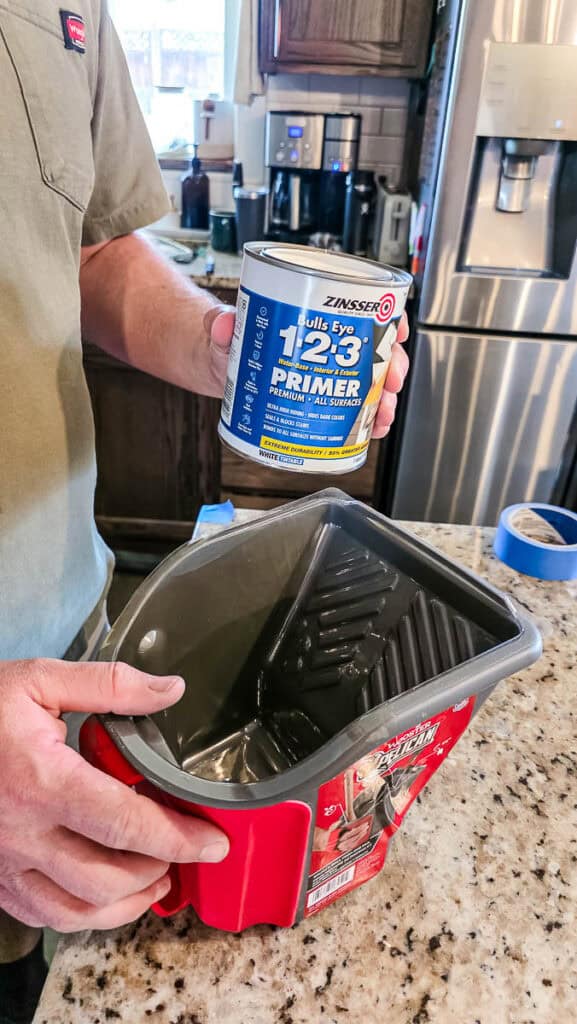
The first step of any good painting project is a high-quality primer. This is especially essential for cabinets that has a mix of patched areas and previous paint layers to give you a nice even base coat.
Before painting, add a layer of painter’s tape around the base of the island to protect your flooring.
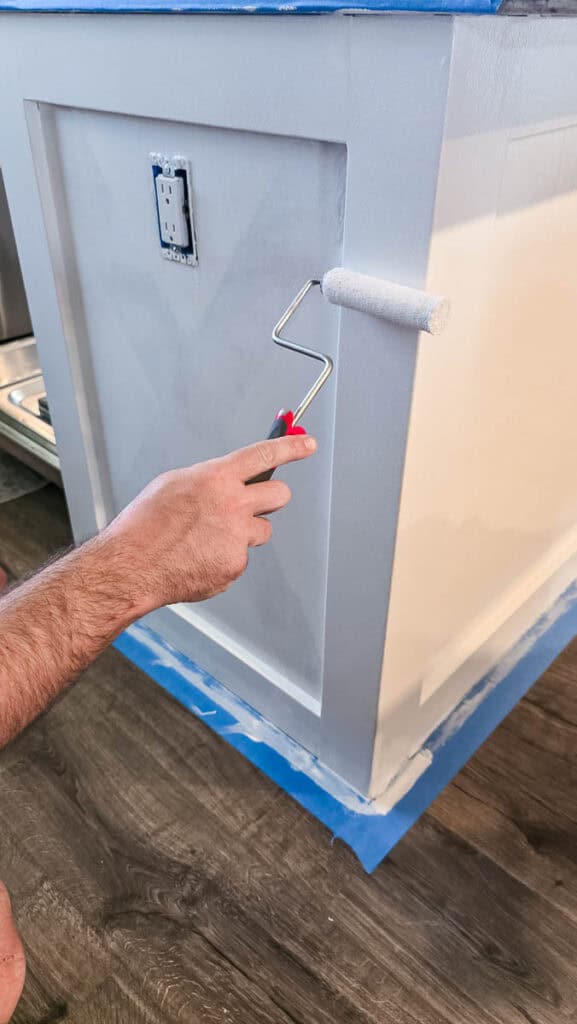
Apply at least one coat of primer to the entire kitchen island with a 1/4″ nap paint roller. Let dry.
Step 6. Caulk
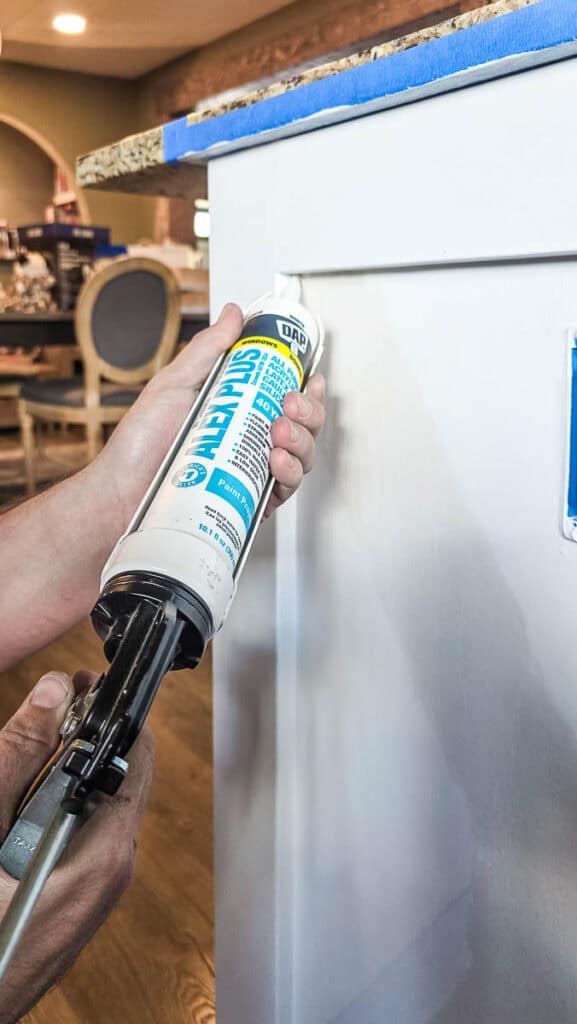
Cut the tube of caulk at a 45-degree angle on the tip and apply a thin bead with a caulking gun. Use your finger or a caulking tool to smooth it. If it is sticking, you can get your finger damp in soapy water to help. Let it dry before painting.
There was caulking applied to all corners and joints when this kitchen island was originally built that was still in good shape, so we only needed to add caulking to the newly exposed corners where we removed the X-trim pieces.
Step 7. Paint
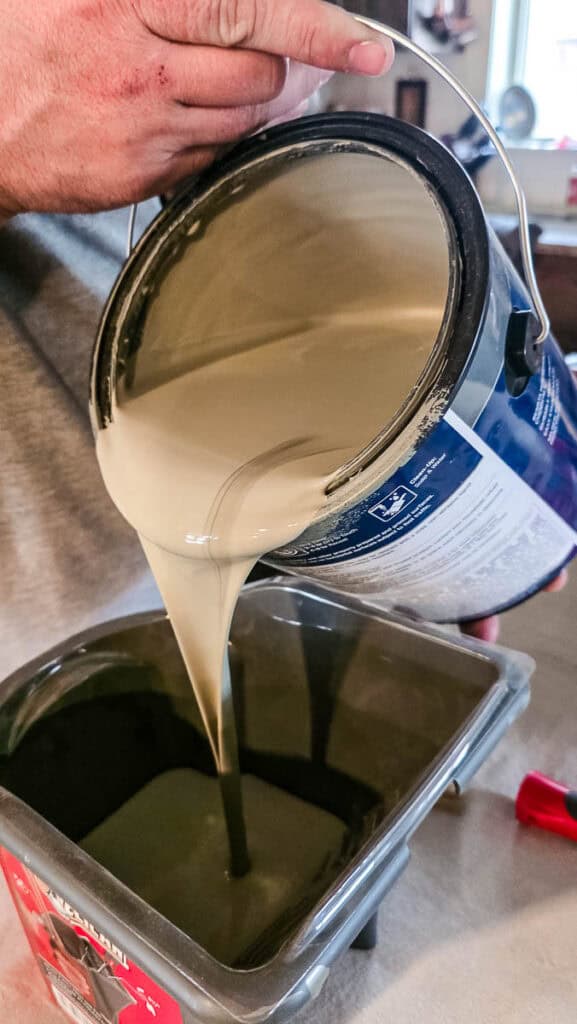
Now it is time to paint! You’re definitely going to want to use a paint that is made specifically for cabinets so that it can withstand the wear and tear and can be wiped down every time the island needs a good cleaning.
Apply at least 2 coats of paint to the entirety of your kitchen island with the 1/4″ nap paint roller.
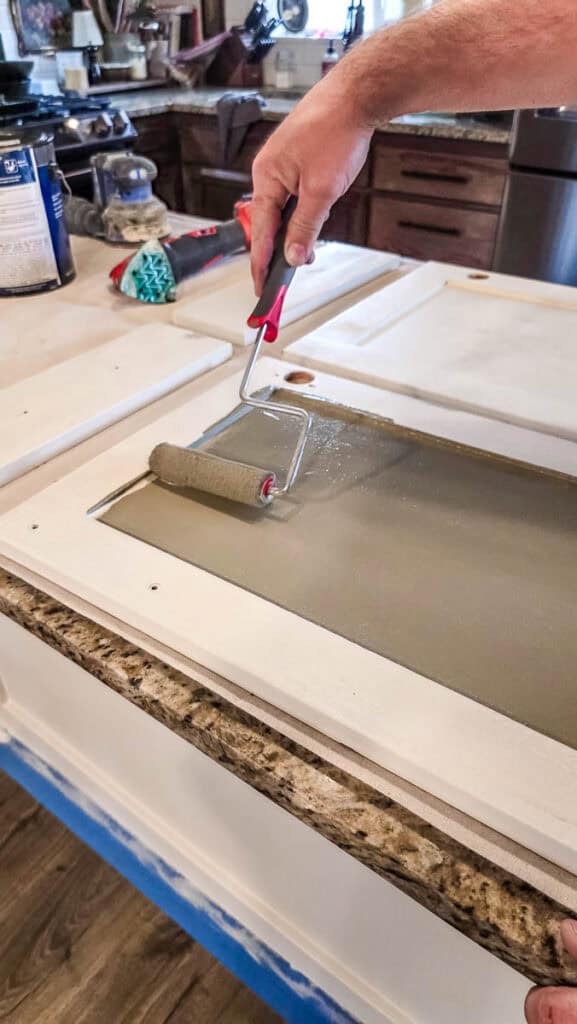
For the doors and drawer fronts, you can paint the backside on a flat surface and then hang them back up to paint the fronts, so you don’t have to worry about the freshly painted sides sticking to your drop cloth.
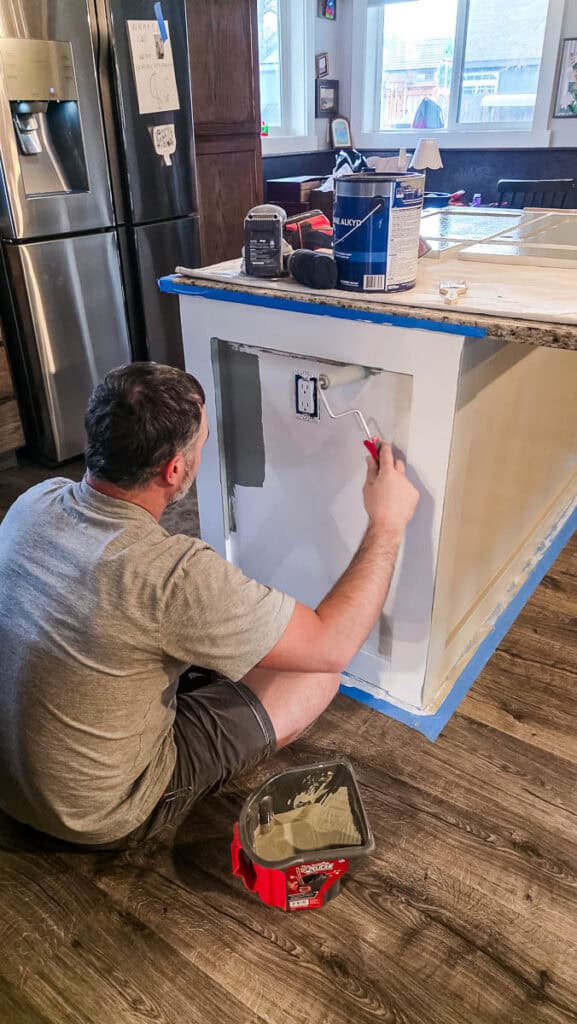
I was a smidge worried that painting a darker shade on the kitchen island would make the kitchen feel smaller or darker, but it totally didn’t.
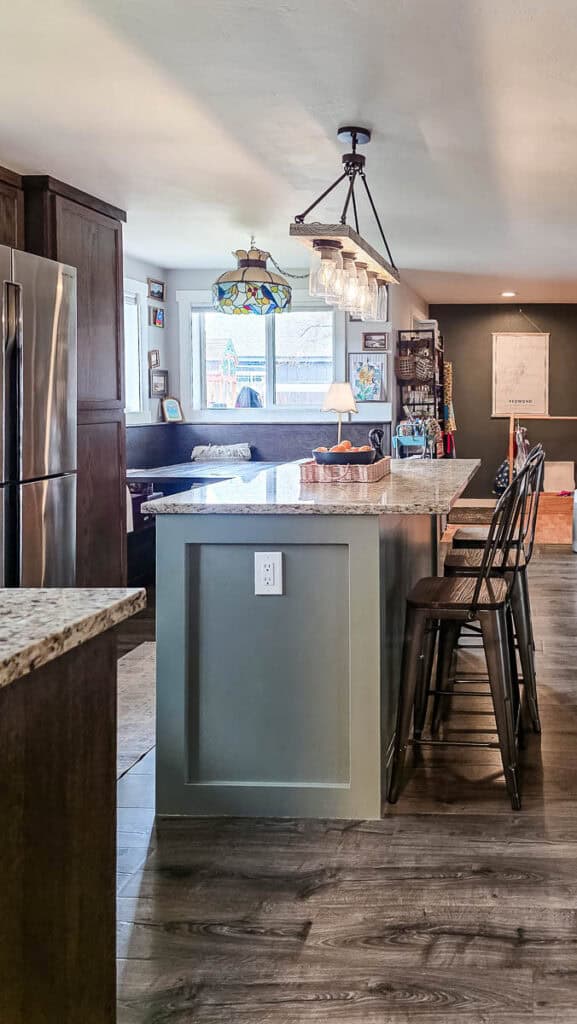
It feels calm and cozy and definitely cohesive. The dining room right next to the kitchen has this same pretty sage green color on the walls, so it all fits together perfectly.
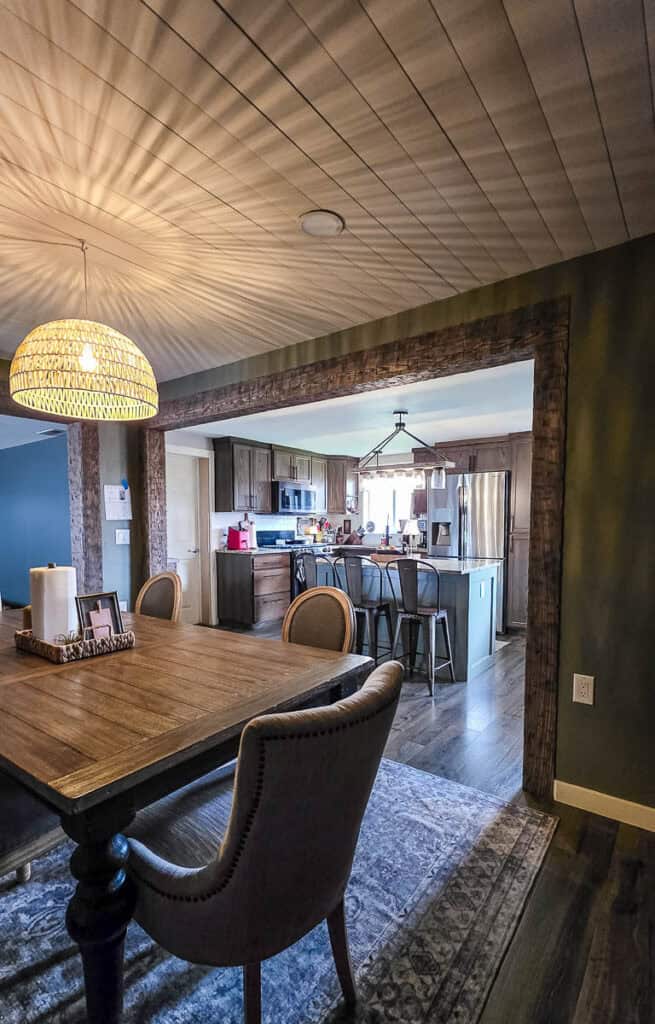
Repainting your kitchen island is an easy home weekend project that you can definitely do yourself. With a little bit of prep and patience while it dries, you’ll have yourself a brand new kitchen!
Now that it is done, I can’t believe I let myself wait years before changing the color of this kitchen island that drove me crazy. Don’t be me…just fix the things that drive you crazy in your home! Altogether, this project only took a few days of inconvenience and less than $100!
What would you change in your home for less than $100?
Let us know in the comments below!