

Wooden Holders for Disposable Cups and Napkins for Parties

Thank you to Kreg for sponsoring these DIY cup and napkin holders! All opinions are entirely my own. This post also contains affiliate links, but nothing that I wouldn’t recommend wholeheartedly. Read my full disclosure here.
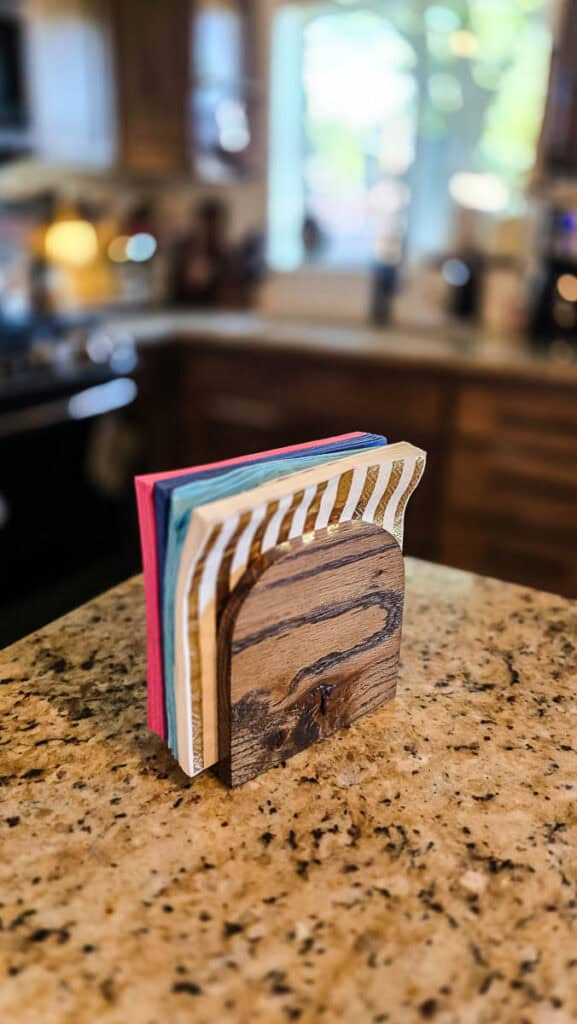
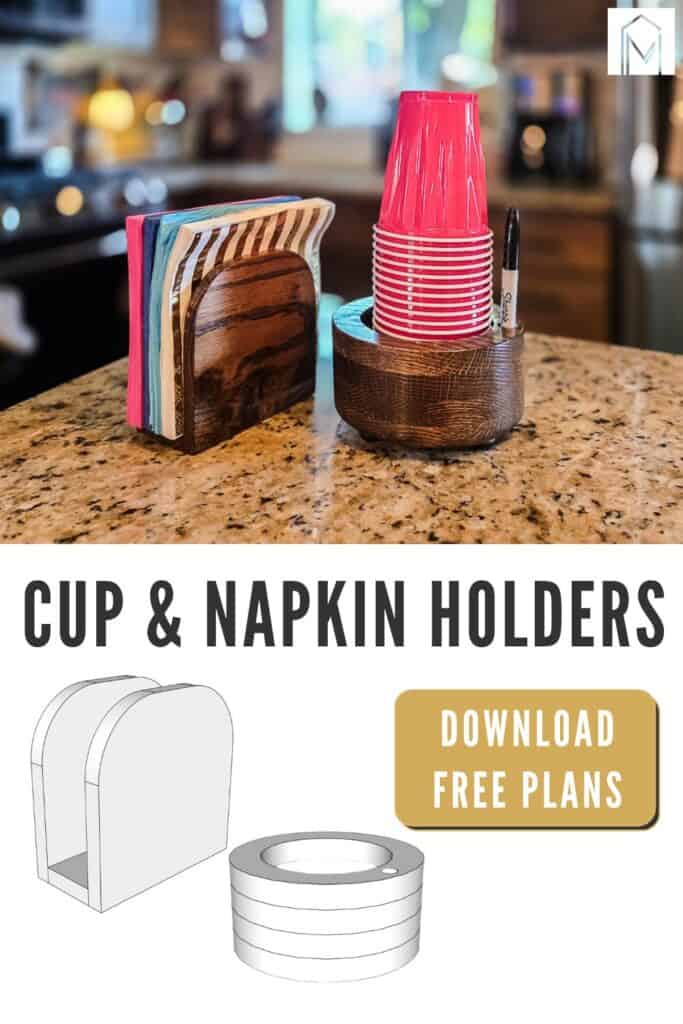
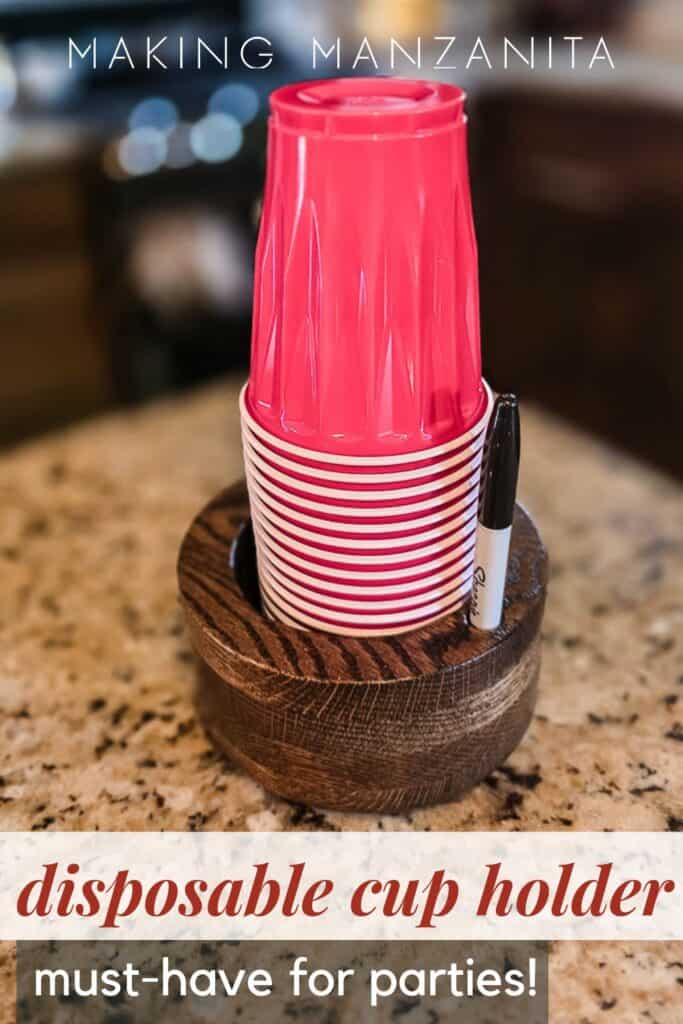
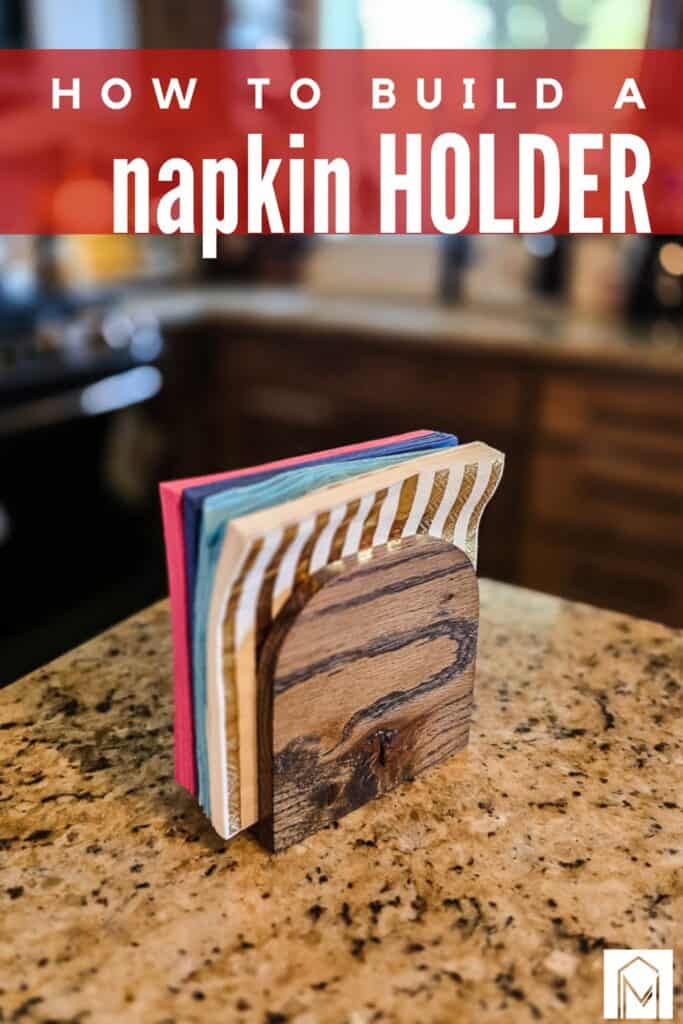
Hosting doesn’t have to be complicated. These two simple wooden pieces, a napkin holder and a cup caddy with a spot for a marker to write guest names on cups, are a must-have if you entertain regularly.
These small woodworking projects are perfect to grab out of the cabinet when you have people over to keep things simple. They pair perfectly with this paper plate and utensil holder that we built last year too.
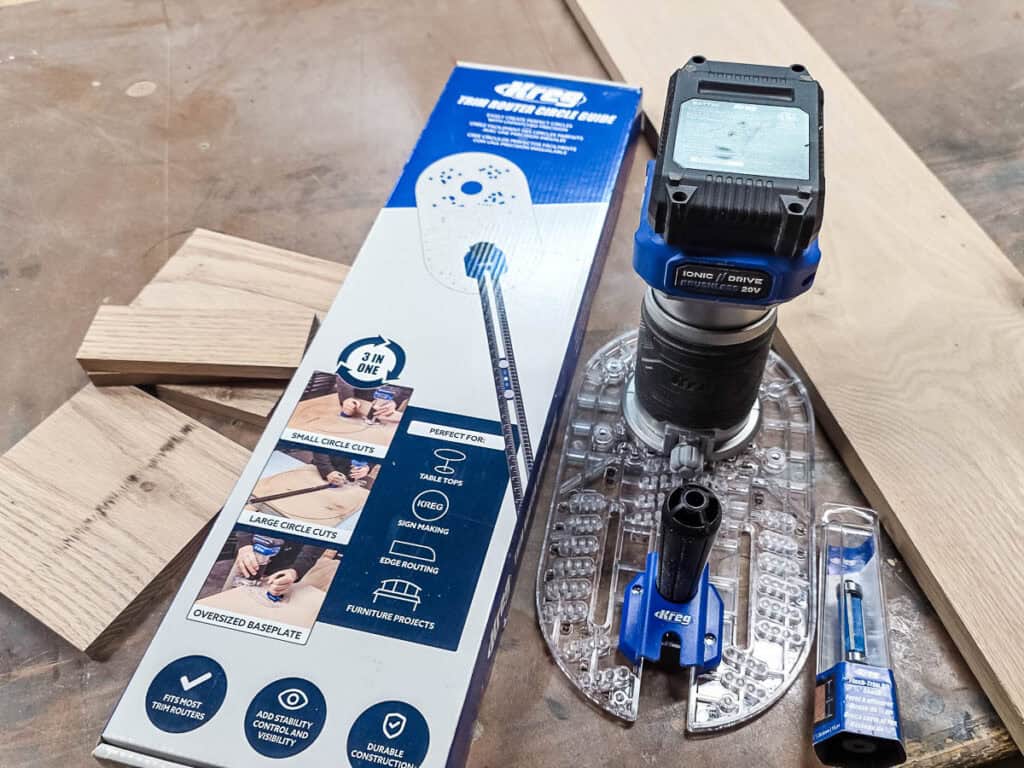
Kreg Trim Router & Circle Guide
We’ve been using Kreg Tool’s new power tools for a while now, and they really deliver for woodworkers.
You probably know them as the “pocket hole company” from all the projects we’ve done with their Kreg Jig, but their tool line goes way beyond that now.
Everything is designed with the DIYer in mind, and it shows in how well they perform. For this build, we are zeroing in on the trim router that was a part of the Ionic Drive power tool release. And we’re trying out two new accessories (guides) that go with the trim router – the circle cutting guide and the corner routing guide.
We teamed up with our friends Kreg again for these DIY cup and napkin holders, and we’re sharing them online for free, now available on KregTool.com!
Kreg’s website has tons of free woodworking plans that are easy to follow… It’s a solid resource for finding your next project.
DIY Cup and Napkin Holders: Video Tutorial
YouTube video coming soon!
If you love DIY videos, don’t forget to subscribe to our YouTube channel!
Cup and Napkin Holders: Step-by-Step Instructions
Tools & materials you’ll need
#1: Cut wood pieces.
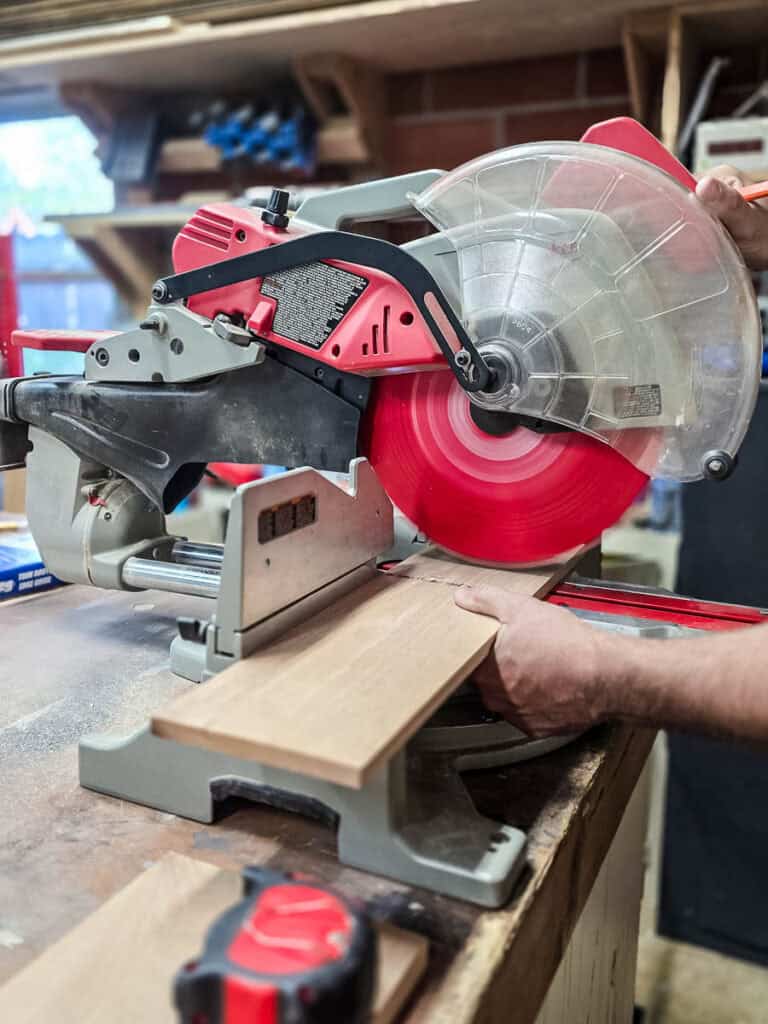
Use a miter saw to cut the napkin holder bottom and side pieces to size from the 1×6.
Don’t worry about cutting out the pieces for the cup holder, you’ll use a router to cut them directly from a 1×8 board in the next step.
#2: Cut circles for cup holder.
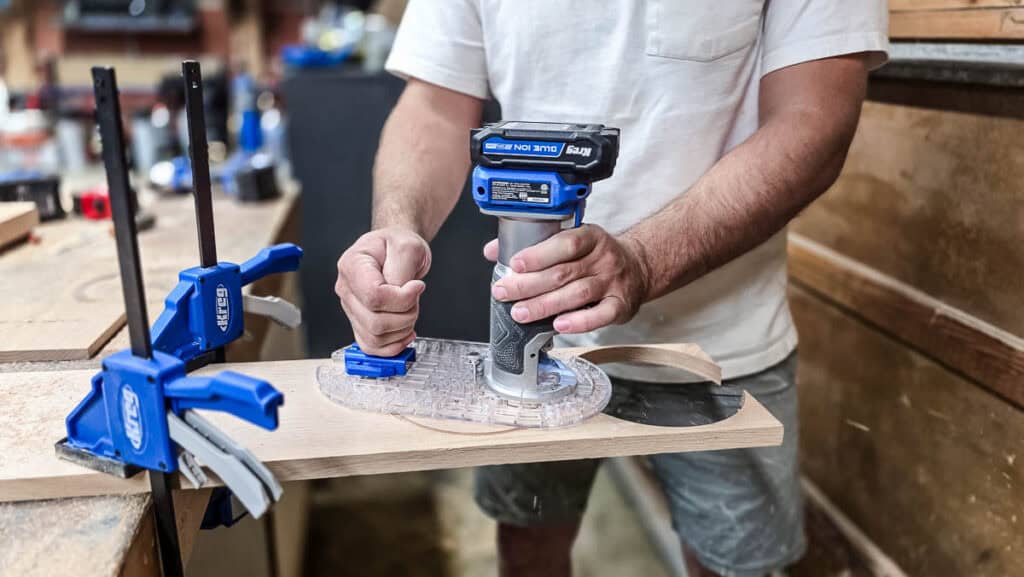
With a trim router and the circle guide, cut four circles from the 1×8 board. Hollow out the insides of three circles as shown in the free woodworking plans, which you can download here.
#3: Round corners on napkin holder.
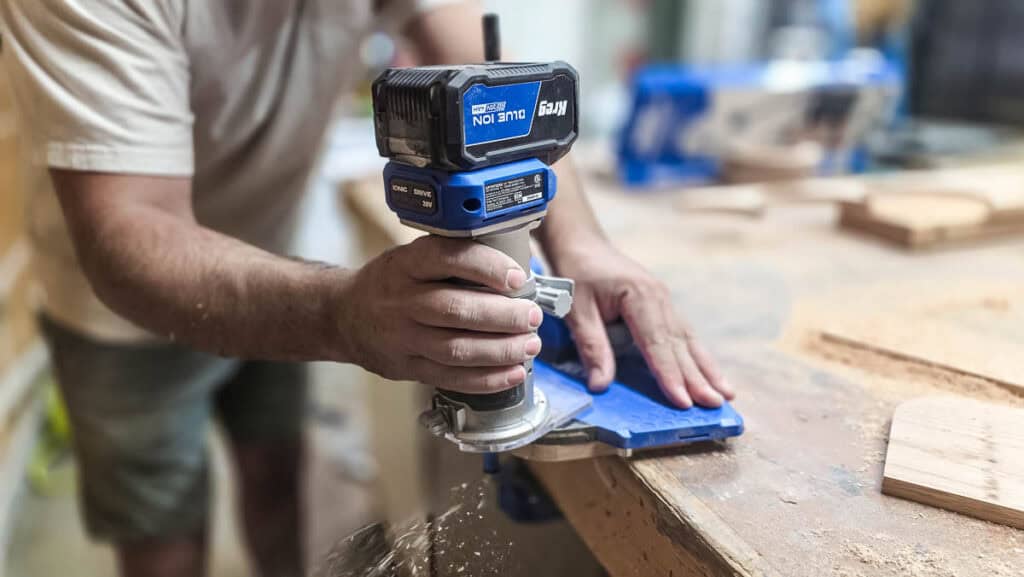
Use a trim router with a corner routing guide (we used a 2″ guide) to round both corners on the napkin side pieces.
#4: Drill pocket holes.
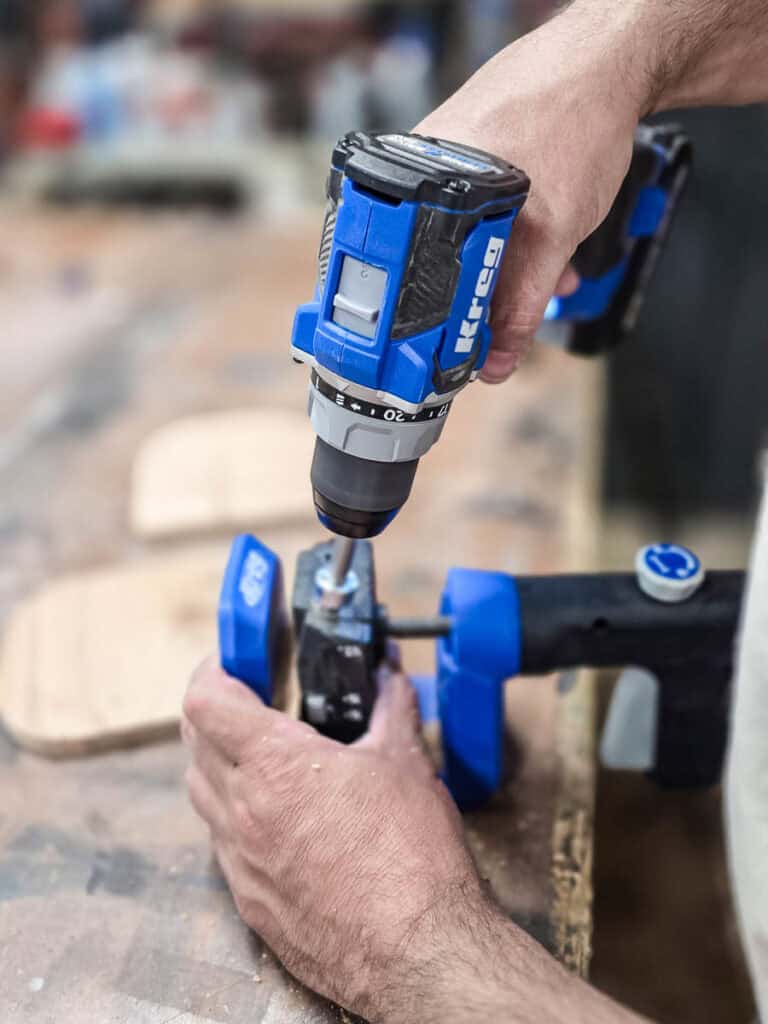
Add pocket holes to the napkin holder bottom where indicated in your plans – use a Kreg 520 or similar jig.
Not sure which jig you should buy? Check out our guide here!
#5: Assemble napkin holder.
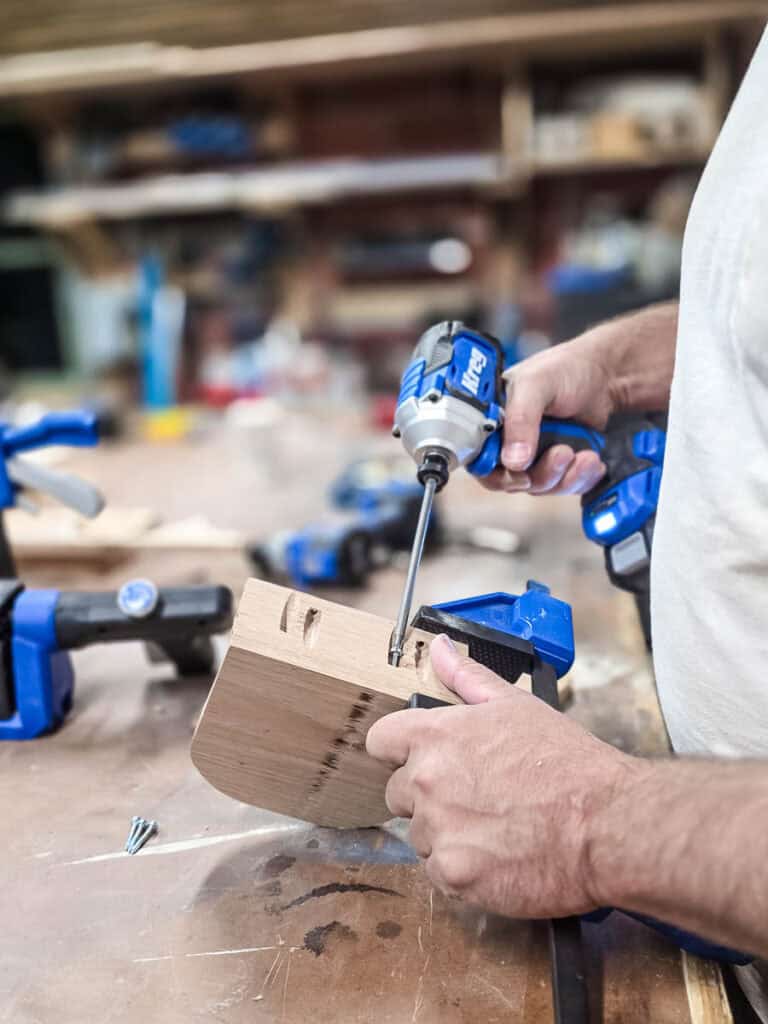
Attach the side pieces to the bottom using pocket hole screws (1″). I’d recommend drilling pilot holes first to prevent splitting, especially with oak. Don’t overtighten with ½” stock or you’ll pierce through.
#6: Glue cup holder pieces.
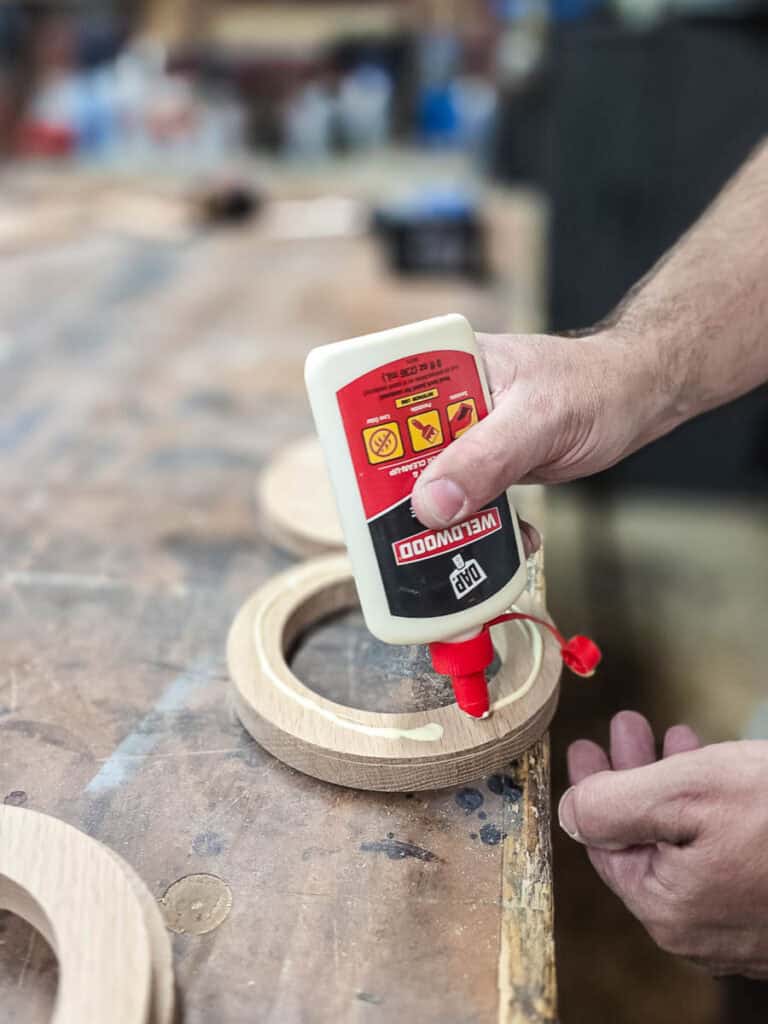
Apply wood glue to the circular cup holder pieces, clamp them together, and let dry completely.
#7: Sand and fill.
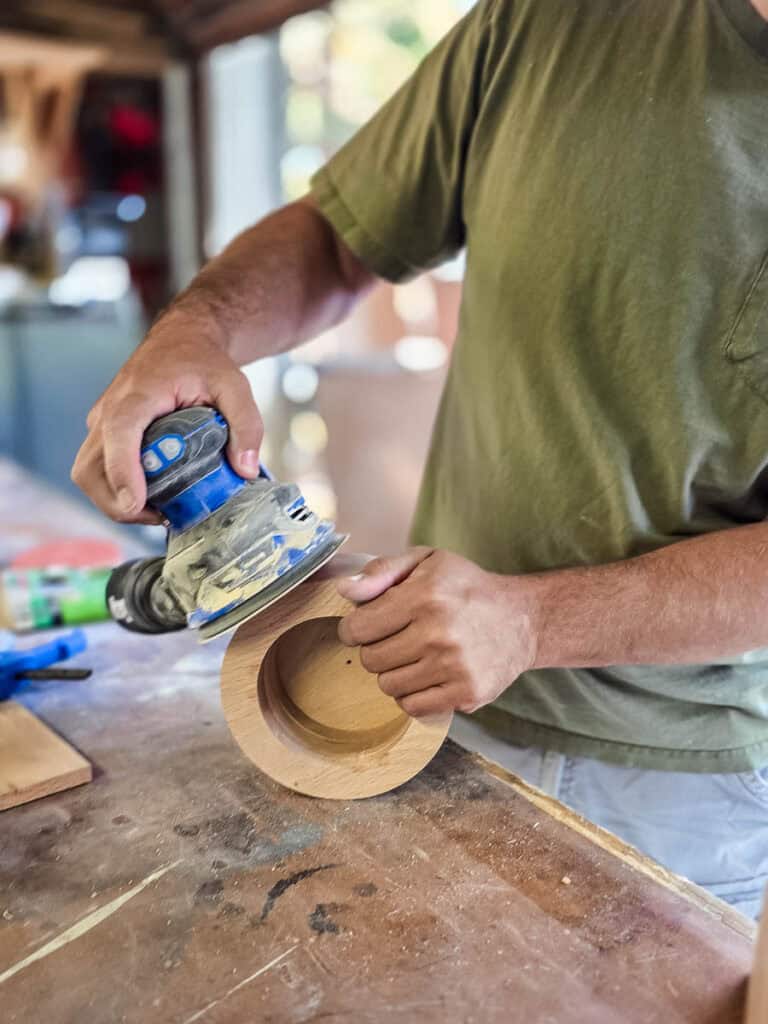
Start with 60-grit sandpaper and progress to 150-grit using an orbital sander (a Dremel works well for the cup holder’s interior). Fill any gaps with wood filler, then sand again with 150 to 220-grit.
#8: Round the cup holder edge (optional).
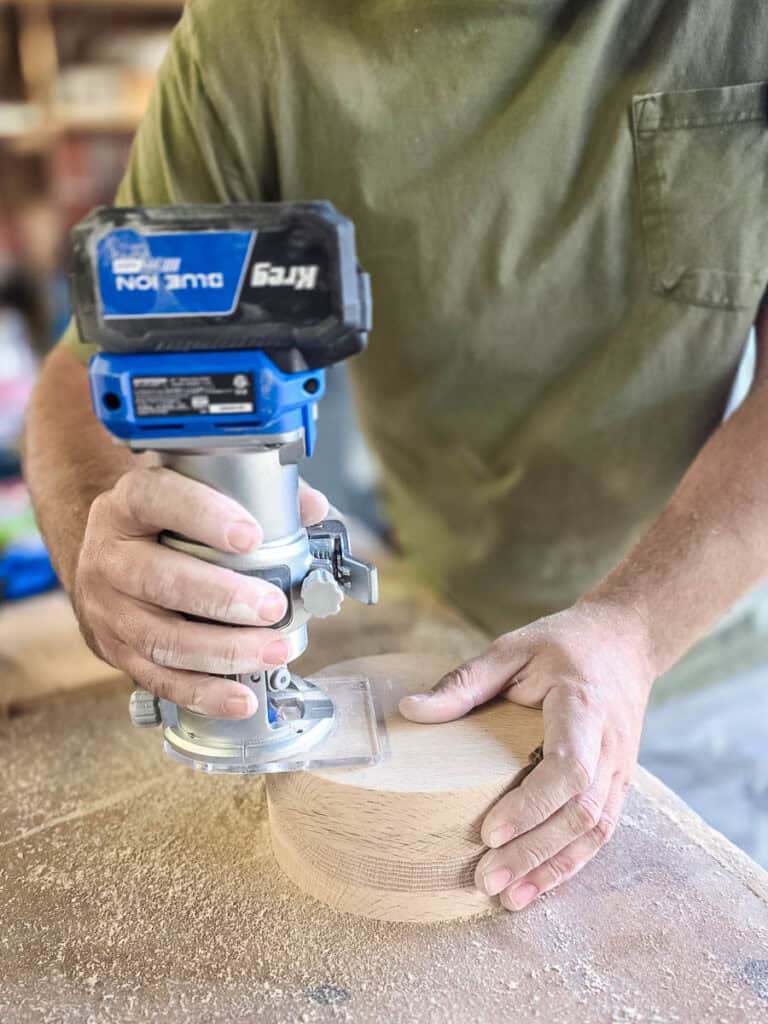
Totally optional, but we also used a ¼” roundover bit with your trim router to soften the cup holder’s bottom edge.
#9: Drill the marker hole.
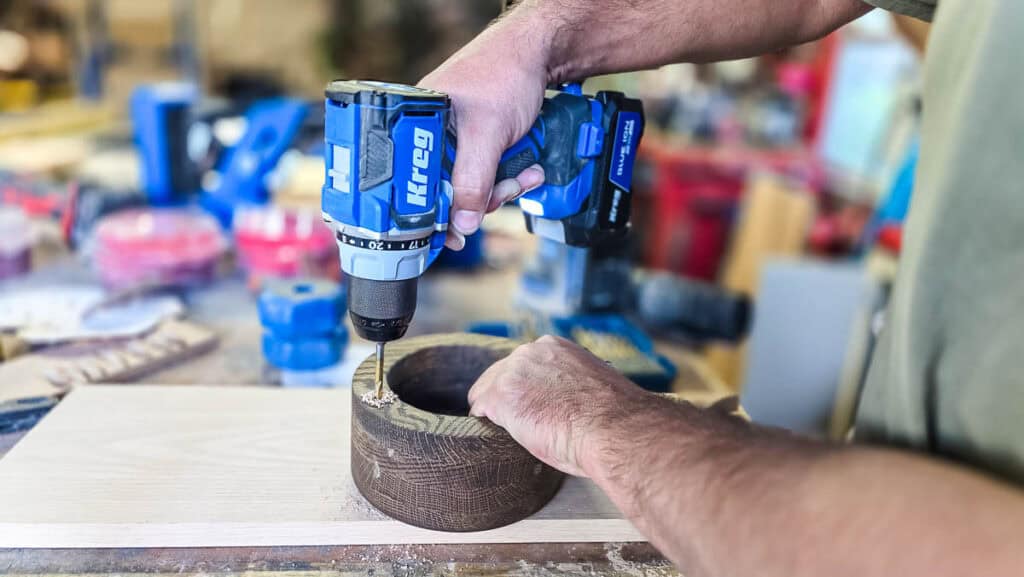
Clamp a sacrificial scrap piece on top, then use a drill press to slowly create a ½” hole for the marker, starting with a 1/16″ bit and stepping up 1/16″ at a time.
You’ll see in the photo that we’re doing this step after staining and we used a drill. But we had some damage occur so to prevent this, we’re recommending a drill press so you can move slower with more control and we’d do this before staining so you can repair any damage easier.
#10: Stain and seal.
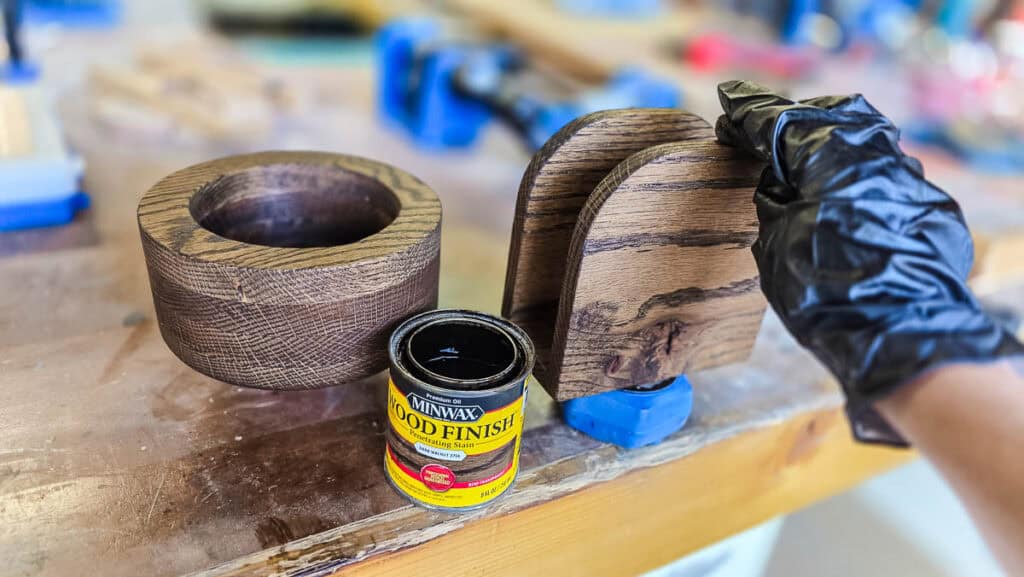
Apply wood stain (we used one of our favorite dark wood stain colors), let it dry, then spray with lacquer.
#11: Add feet (optional).
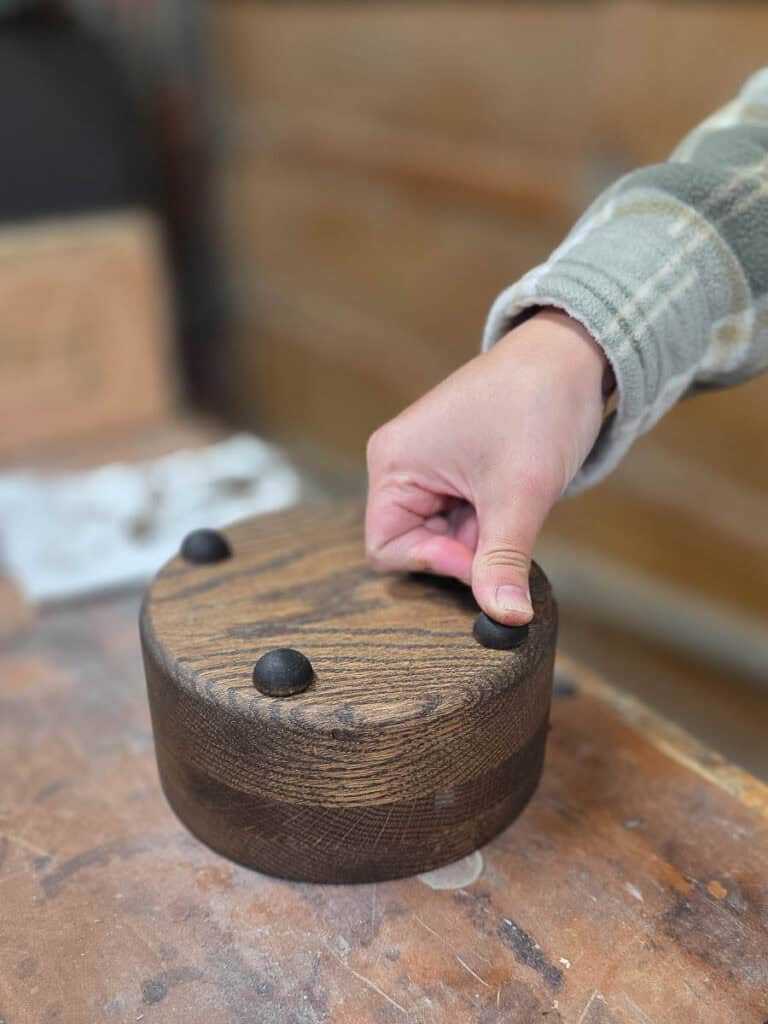
Attach half-round wood beads to the bottom with instant wood adhesive before the final seal dries.
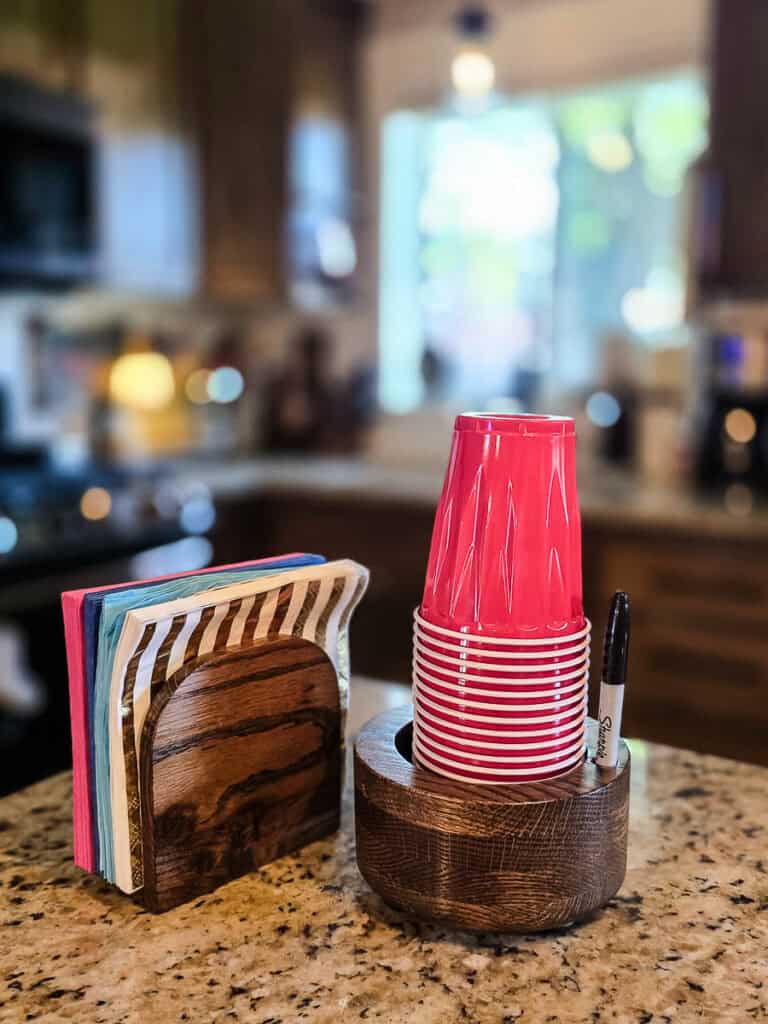
Aren’t these so awesome?! Now I can’t wait to have the fam over for dinner and use these to keep things organized for the crowd!
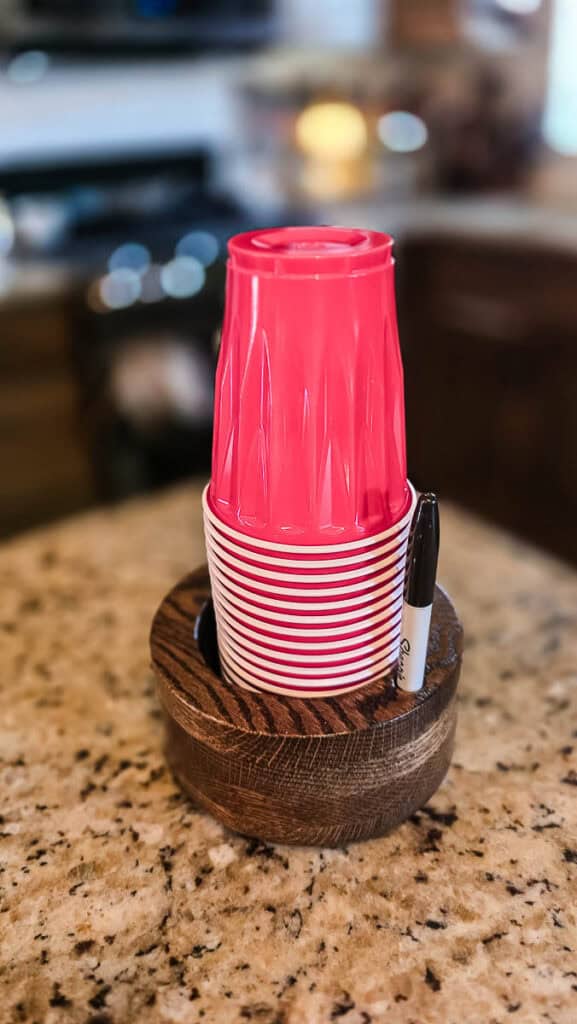
If you want to build your own holders for disposable cups and napkins, we’ve done all the hard work for you! All you need to do is hop over to Kreg’s website and check out the full tutorial.
At the bottom of the tutorial on Kreg’s website, you’ll also see a link to download the free plans to get all of the detailed measurements and a cut list!
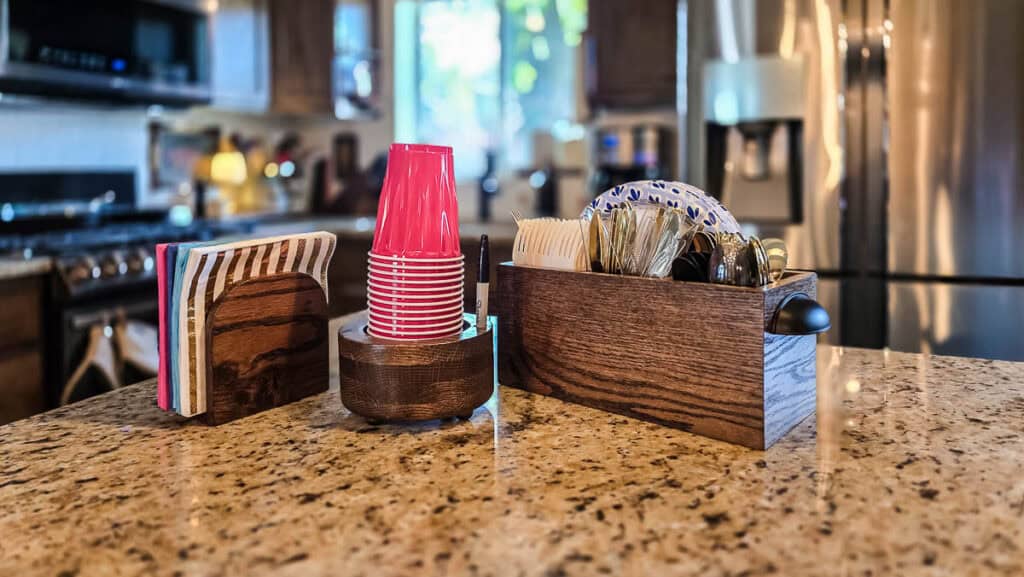
Don’t forget to check out the paper plate and utensil holder that you can build to go with this! It’s the perfect project combination!
Related – Projects that use a pocket hole jig
- Kid’s Cabin Bed
- Table Top
- Planter Box for Front Porch
- Outdoor Plant Wall
- Farmhouse Sink Cabinet
- Mudroom Lockers
- DIY Desk Calendar & Wooden Pencil Holder
- DIY Dress Up Storage for Kids
- Picture Ledge DIY
- DIY Firewood Rack with Roof
- Wood Bench with Cushion
- DIY Cane Headboard
- Boho Nightstand with Cane
- DIY Behind the Couch Table with Outlet
- DIY Headphone Stand
- DIY Cookbook Stand
- Easy DIY Grill Utensil Holder
- DIY Deck Box for Outdoor Toys
- DIY Towel Rack Made With One Board
- DIY Tool Organizer for Kreg Tool Stand
- DIY Mail and Key Holder
- DIY Step Stool for Toddler
- DIY Trash Can
- DIY Spice Rack
- DIY Book Holder
- Easy DIY Magazine Shelf
- DIY Clamp Rack
- DIY Chicknic Table
- DIY Bike Rack
- Small Bookshelf
- DIY Laptop Tray
- DIY TV Frame
- Rolling Tool Cart with Pegboard
- DIY Giant Tic Tac Toe Board
- DIY Hidden Picture Frame Storage
- DIY Cabinet Pull Out Shelves