

DIY Giant Tic Tac Toe Board (with Free Plans)
Thank you to Kreg for sponsoring this giant tic tac toe board project! All opinions are entirely my own. This post also contains affiliate links, but nothing that I wouldn’t recommend wholeheartedly. Read my full disclosure here.
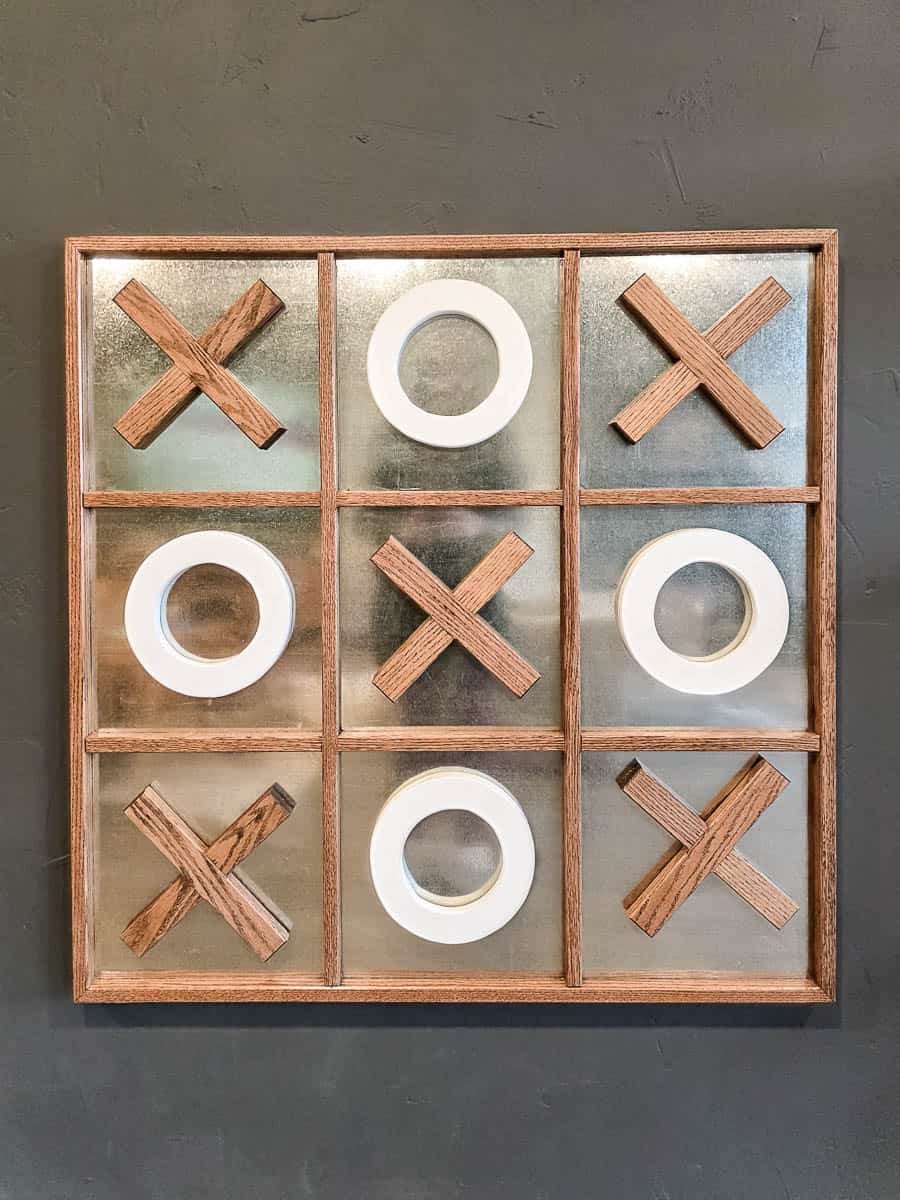
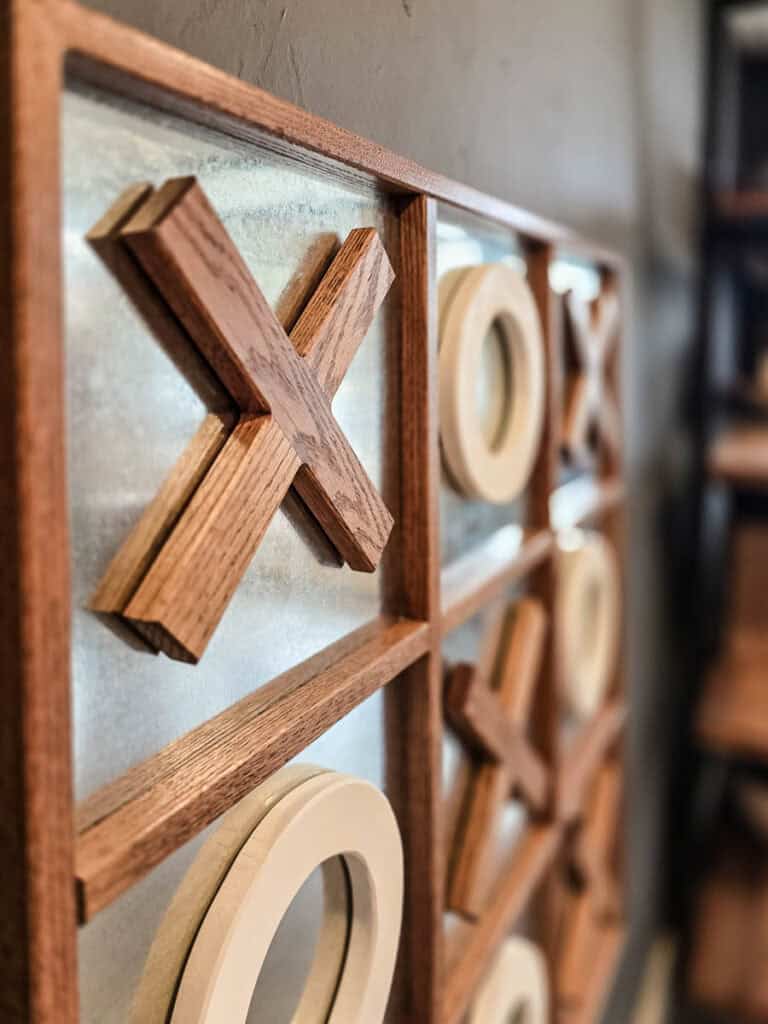
Looking for a fun game that actually looks good hanging on the wall in your home? This DIY magnetic tic-tac-toe board is perfect. It’s part wall art, part family game, and totally customizable to fit the style of your space.
We made ours with a mix of wood, metal, and magnets (so the X and O pieces stick right to the board — no lost game pieces 🙌). It’s a great weekend project and makes a unique handmade gift too. You know, the holidays are right around the corner!
Kreg’s New Power Tools
Have you heard the awesome news? One of our favorite brands, Kreg Tool, released its brand-new line of power tools this month – the Ionic Drive tool line. You will know Kreg’s name from the MANY pocket hole projects that we’ve done, and that’s what they are known for. They are the “pocket hole company”.
But they have created this new awesome line of tools with woodworkers in mind, and it shows. We’re trying out a few of the new power tools here in this project, like:
- the circular saw with Rip-Cut to cut down the sheet of plywood
- the trim router to chamfer the edges and route out some grooves for a cross-lap joint
- the jigsaw to cut out O’s from sheet goods
- the compact drill to drill pocket holes with the 720Pro pocket hole jig
- the impact driver to drive screws into pocket holes
- the random orbital sander to get everything nice and smooth
They all worked great and I can’t wait to use them more (and the other new tools) in future woodworking projects!
Tools and materials you’ll need
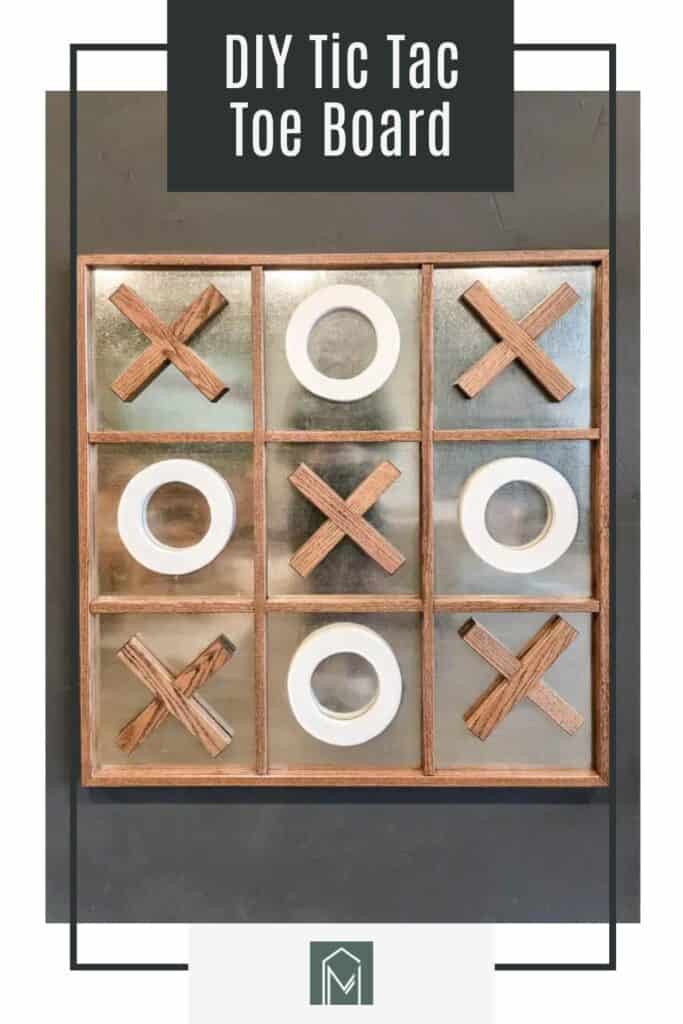
Giant Tic Tac Toe Board: Step-by-Step Tutorial
This magnetic tic tac toe board is such a fun game for the family — and it doubles as decor! Here’s the full tutorial on how we built our game board step by step.
Video Tutorial
YouTube video coming soon! Be sure to subscribe to our YouTube channel & turn on notifications so you get a heads up when it has been posted!
Step 1: Cut the wood
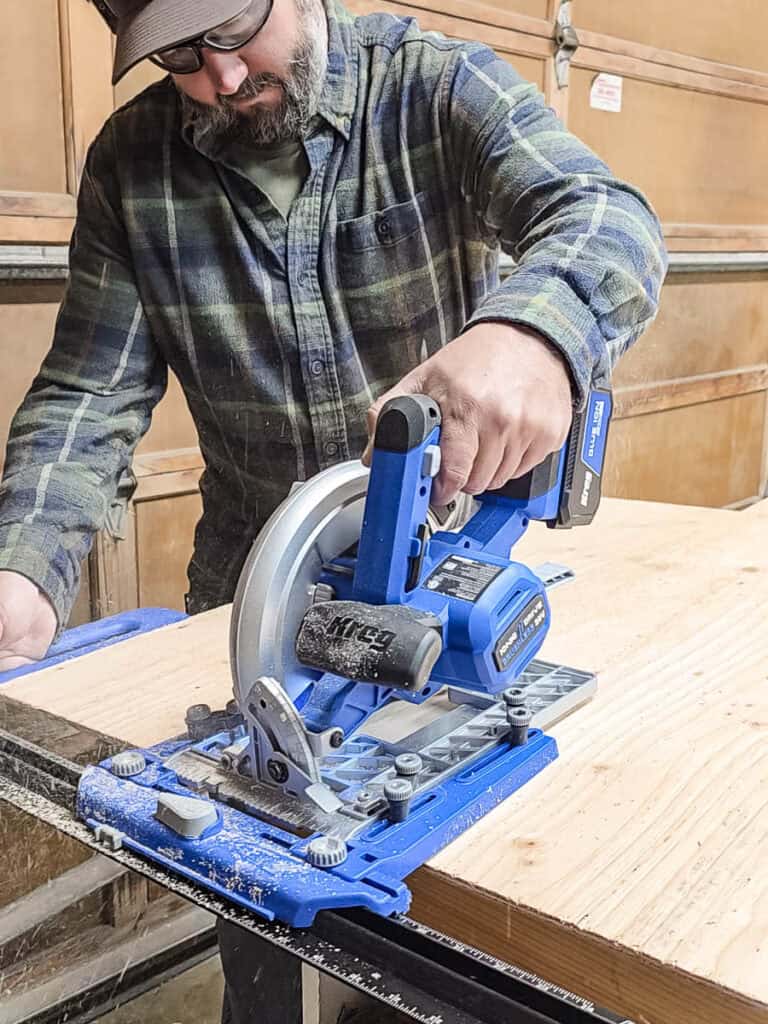
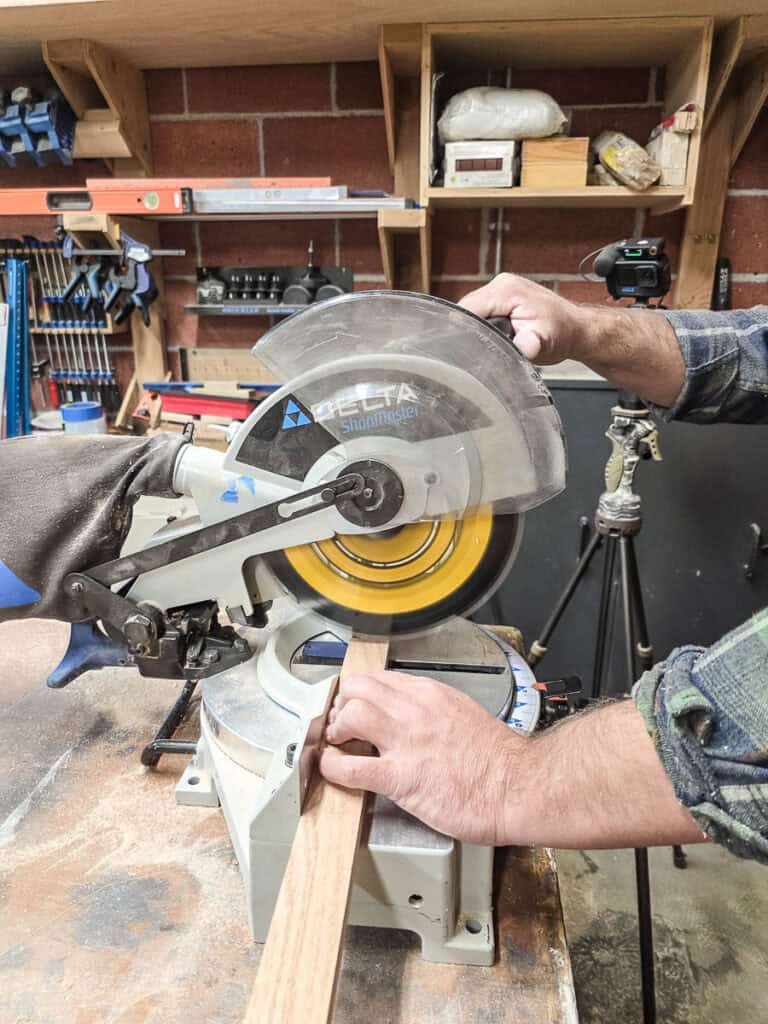
Start by cutting your wood pieces down to size using the visual cut list in the woodworking plans, which can be downloaded here.
- Use the Rip-Cut and circular saw to break down your sheet of plywood.
- The miter saw works great for cutting the board lengths.
- Use the table saw for the grid pieces and to cut the groove on the inside of the frame.
Step 2: Attach the metal sheet
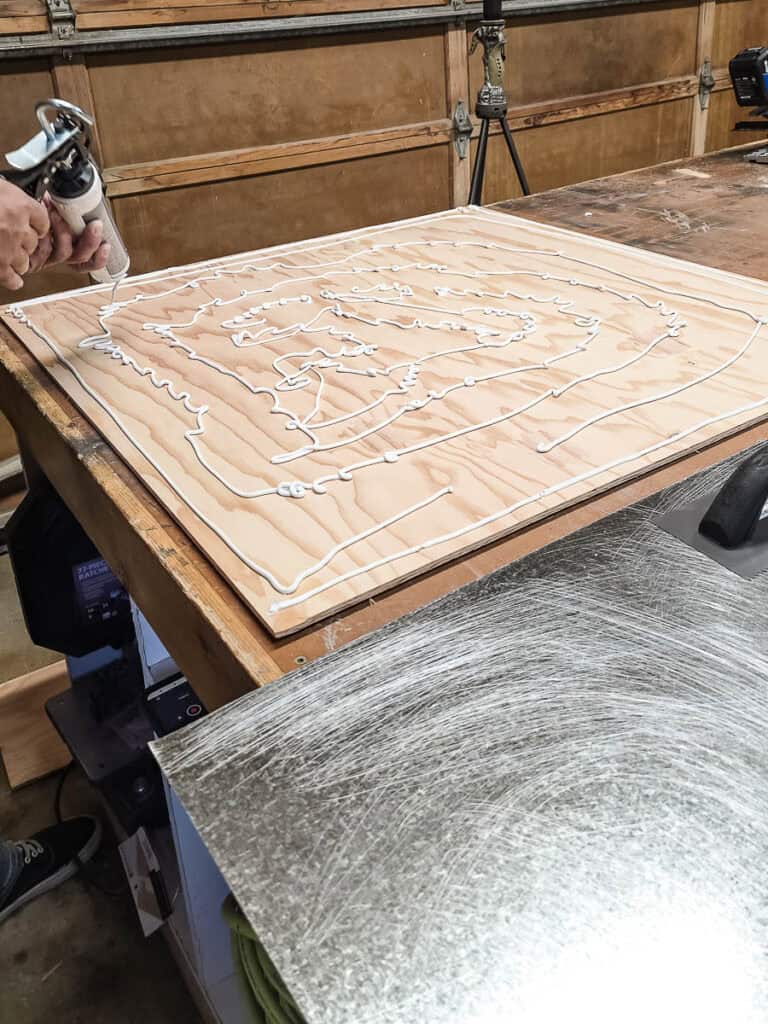
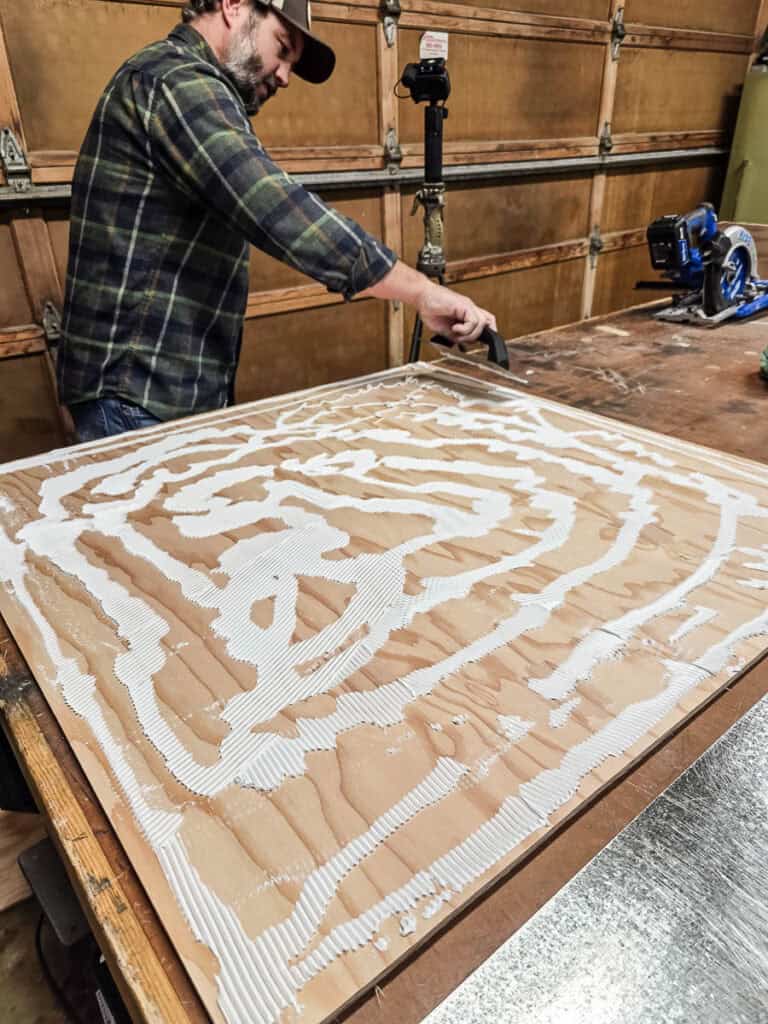
Lightly sand one side of the metal sheet with coarse-grit sandpaper, then wipe it clean. This gives the adhesive something to grab onto.
- Spread construction adhesive on the 3×3 plywood sheet. Trowel the adhesive with a v-notch trowel.
- Press the metal sheet in place, lining up one edge.
- Use a rag over a block of scrap wood to press it down evenly.
- Let it dry completely, then trim any excess metal with tin snips.
Step 3: Add the frame
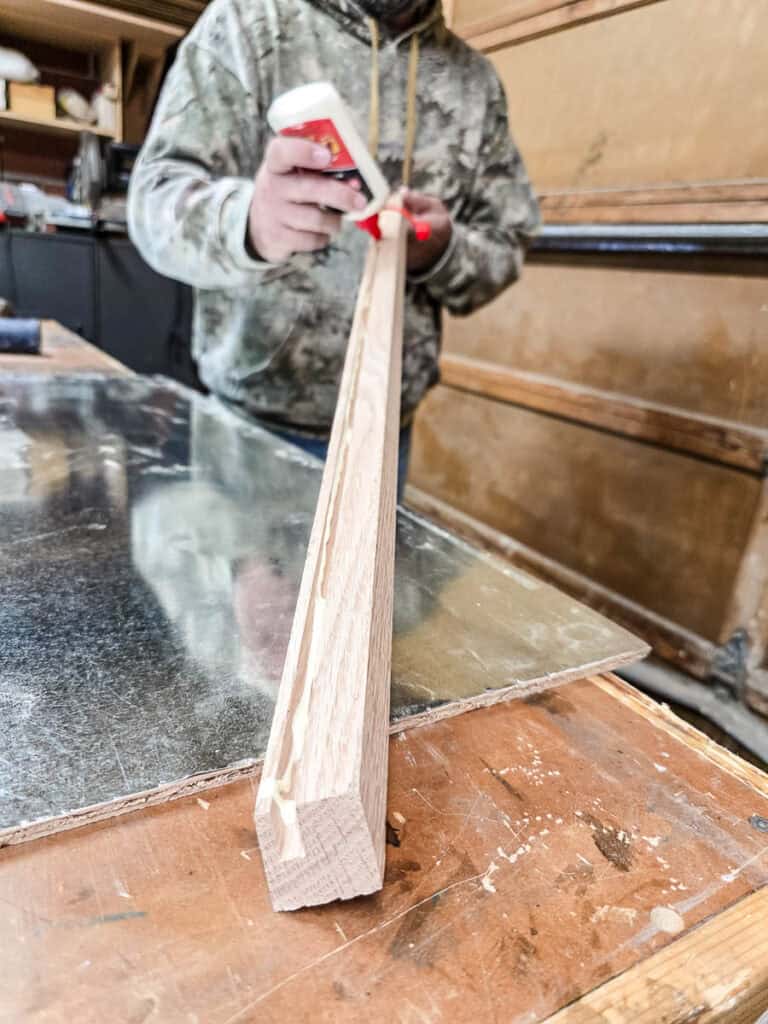
Apply wood glue along the inside of the groove on the inside of the frame pieces and slide them over the plywood and metal edges.
- Tap into place with a rubber mallet if needed.
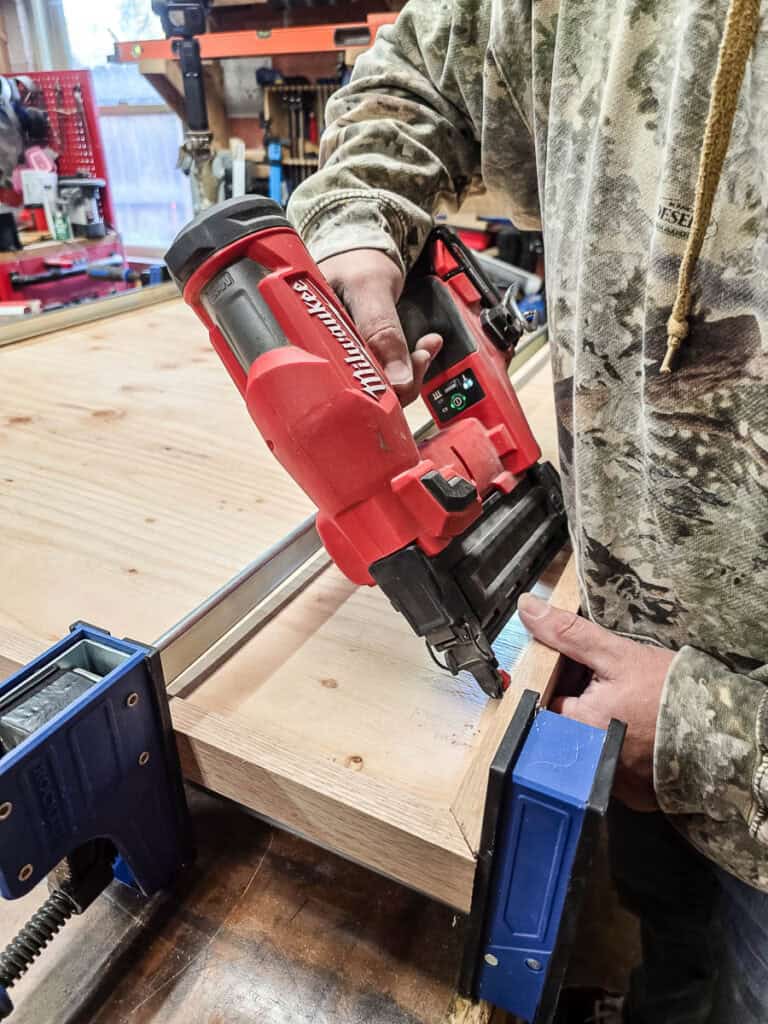
- Clamp and nail from the back (the plywood side) using ¾” brad nails.
- Use 1¼” brad nails on the mitered corners.
- Let everything dry completely.
Step 4: Cut grooves for the grid pieces
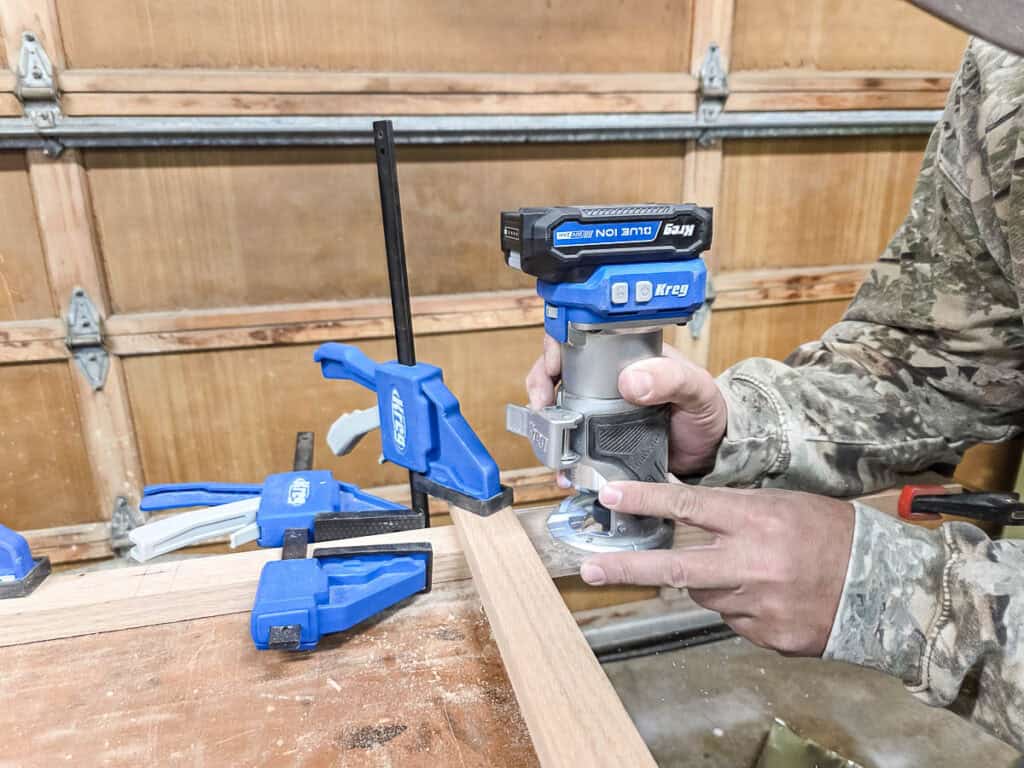
We’re using cross-lap joints so the grid pieces interlock nicely.
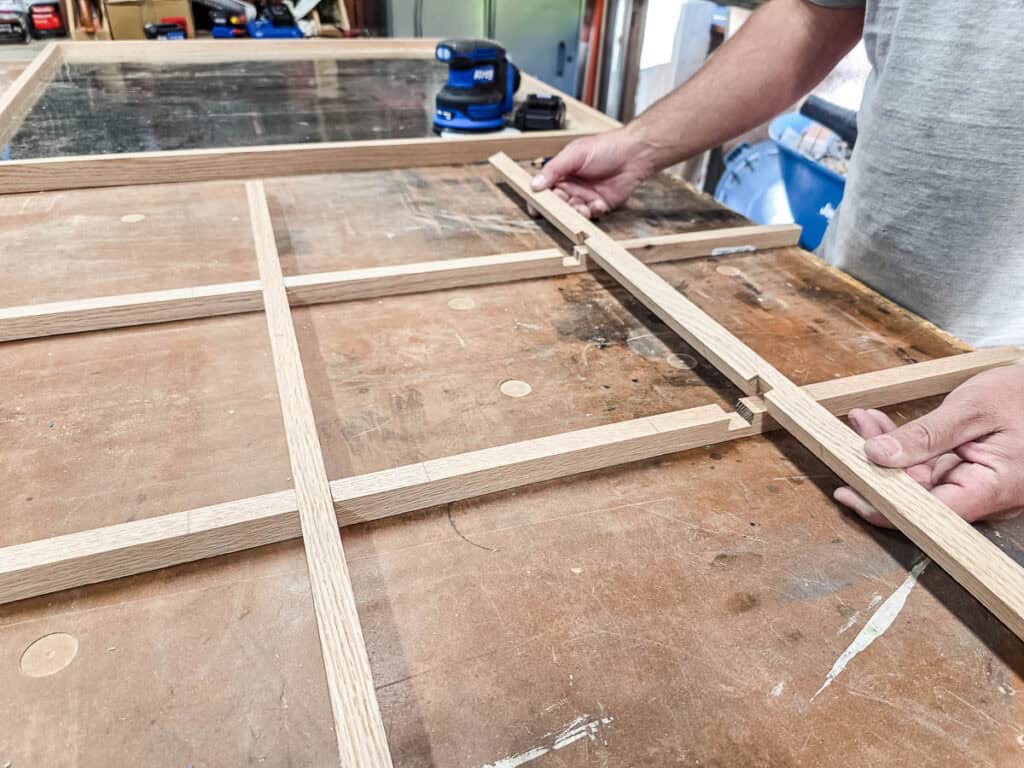
- Mark your groove locations (check out the woodworking places for the exact locations).
- Clamp a scrap board as a guide.
- Using a ½” straight router bit, cut a groove ⅜” deep.
- Repeat on the intersecting piece so they fit together like puzzle pieces.
Step 5: Chamfer the edges
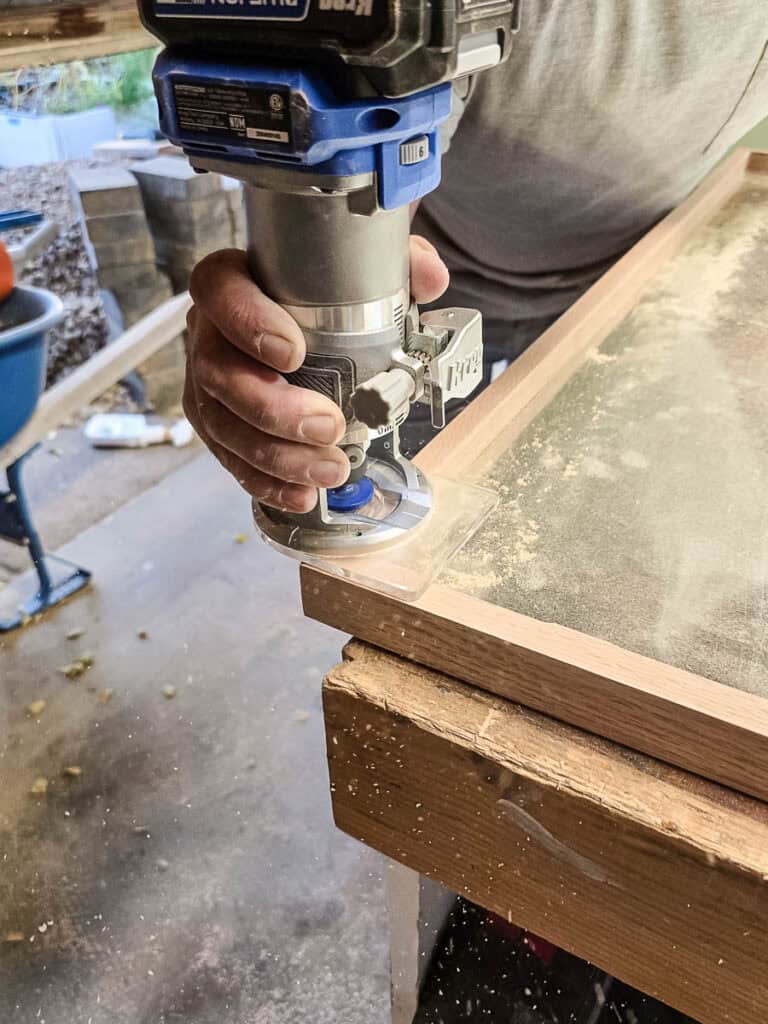
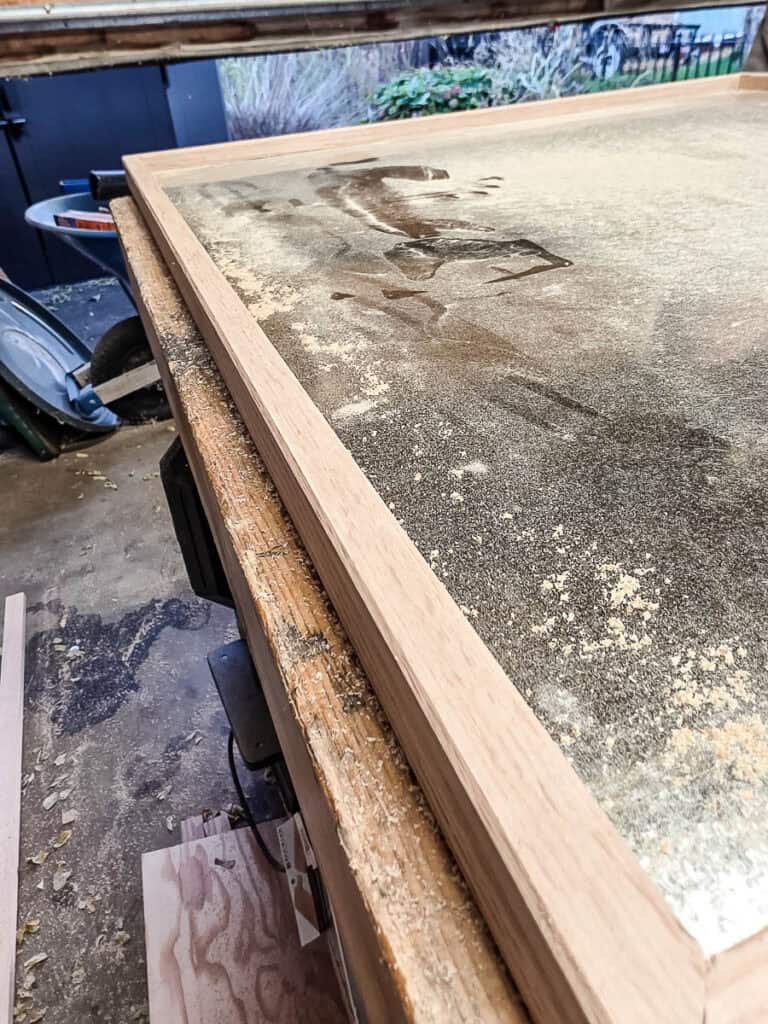
For the next step, use your trim router with a chamfer bit to smooth and angle all the edges on the frame and grid pieces. It gives the project a clean, professional finish.
Step 6: Assemble the grid
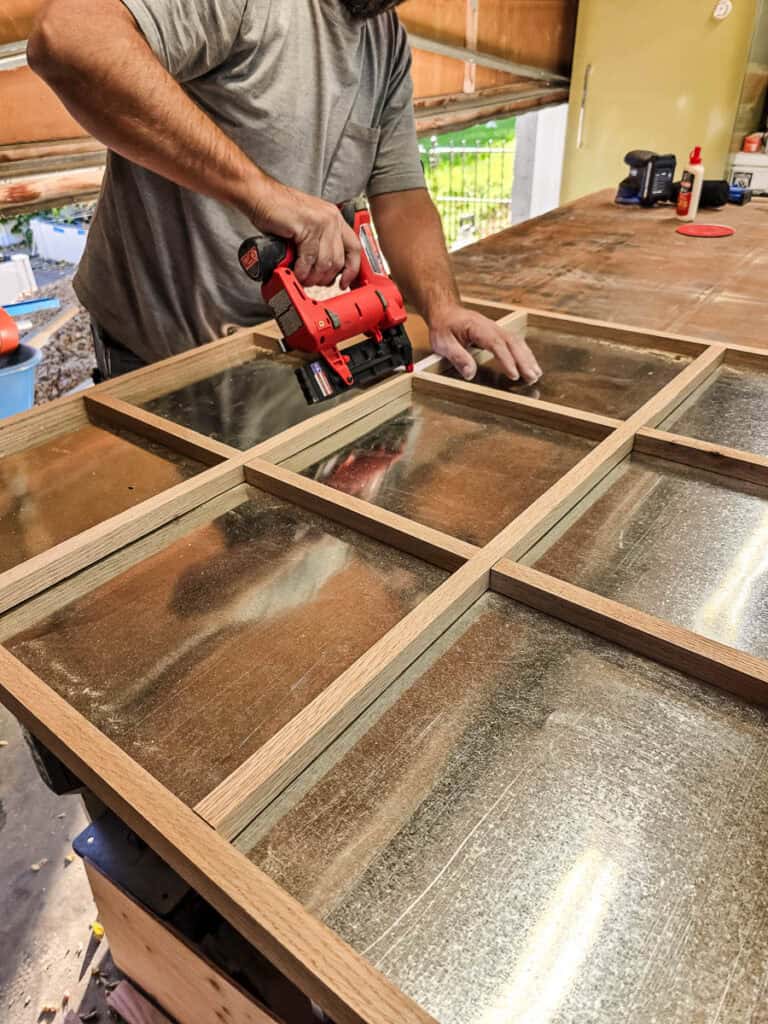
Add a bit of wood glue inside the grooves you added to the grid pieces and fit them together.
- Set the assembled grid inside the frame (metal side up) to check that everything is square.
- Once it’s aligned, nail the joints with a pin nailer and ¾” pin nails at an angle.
Step 7: Attach the grid to the frame
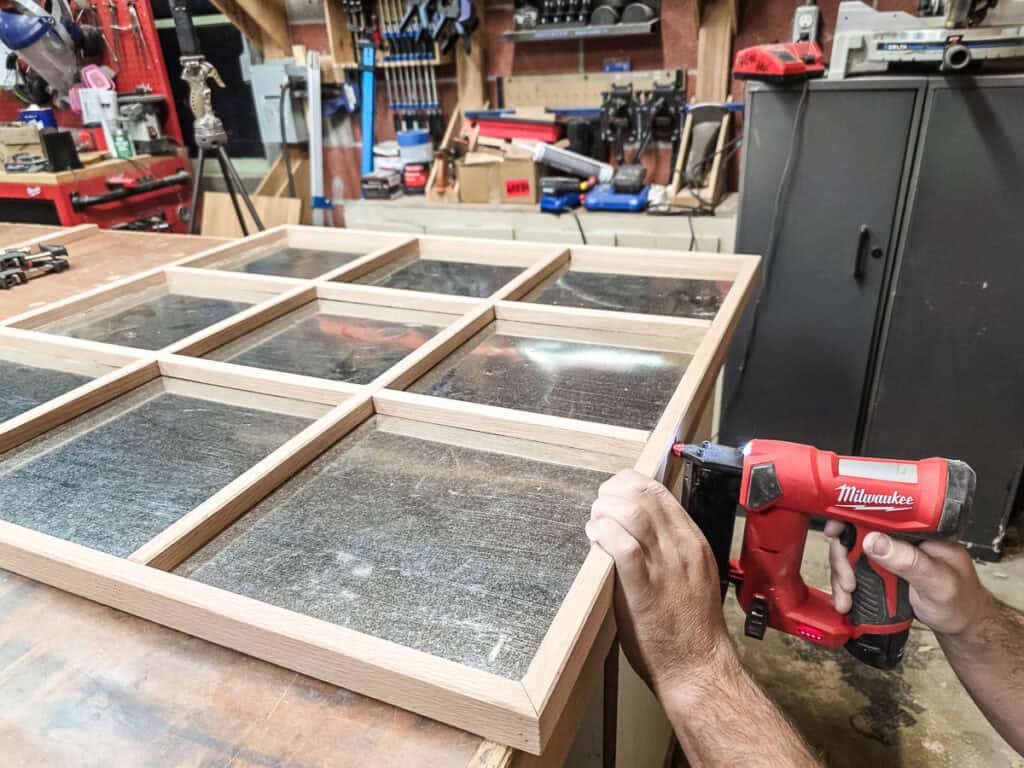
Attach the grid to the frame by nailing it in from the outside edge using 1⅜” pin nails.
Step 8: Build the X pieces
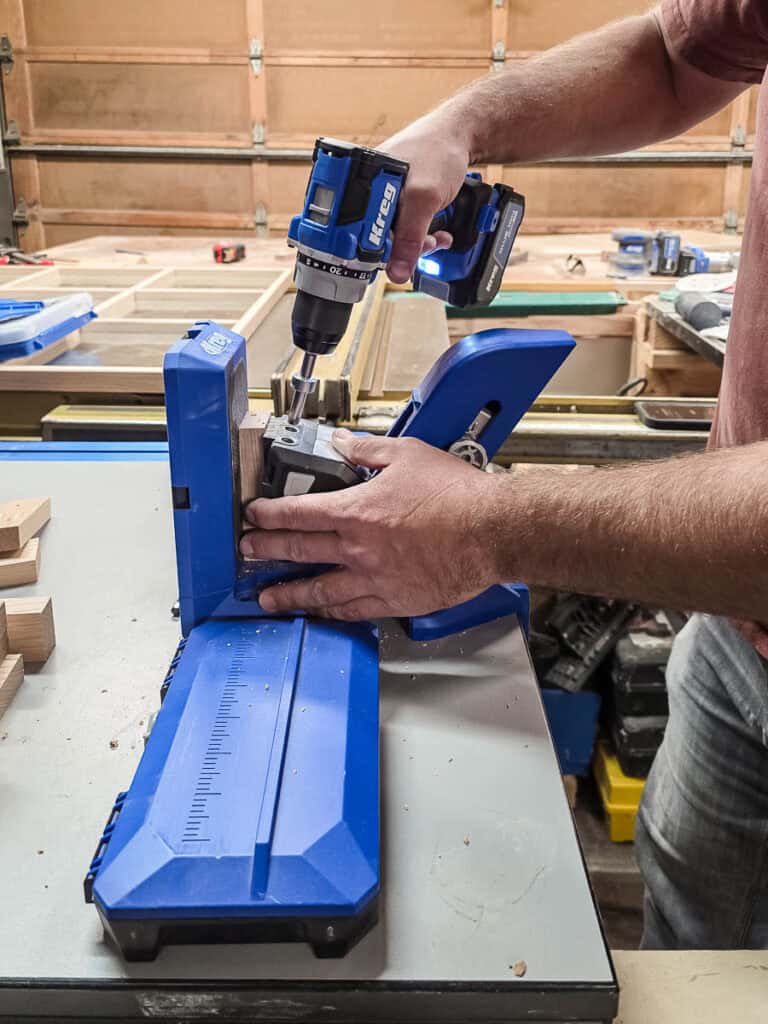
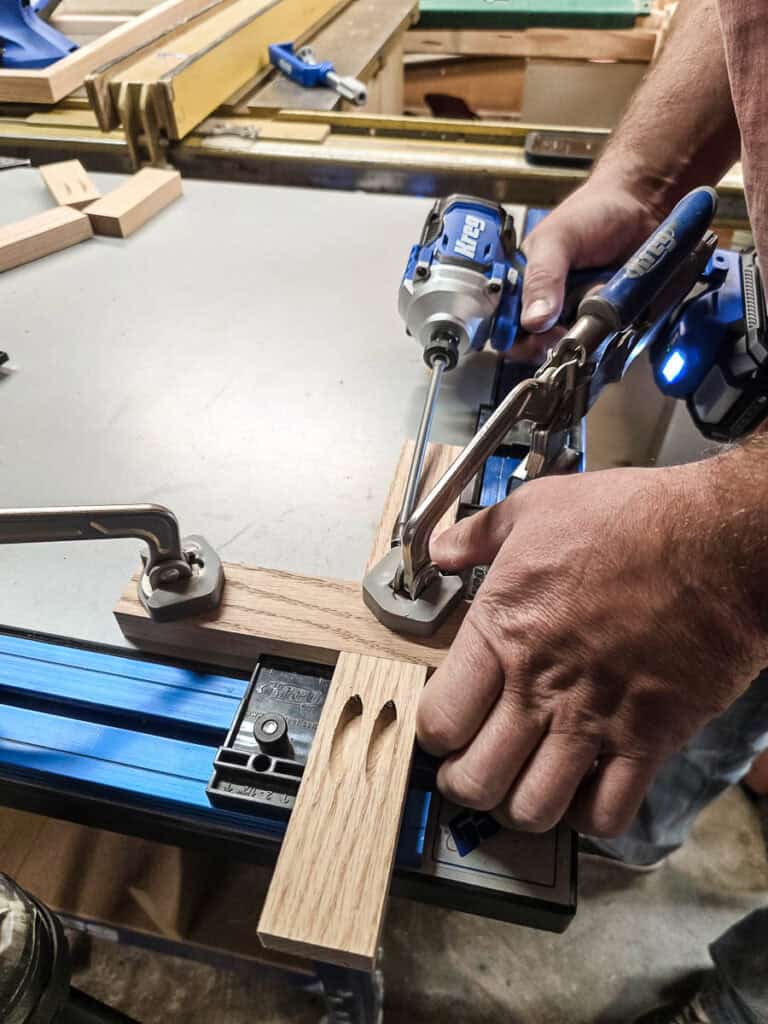
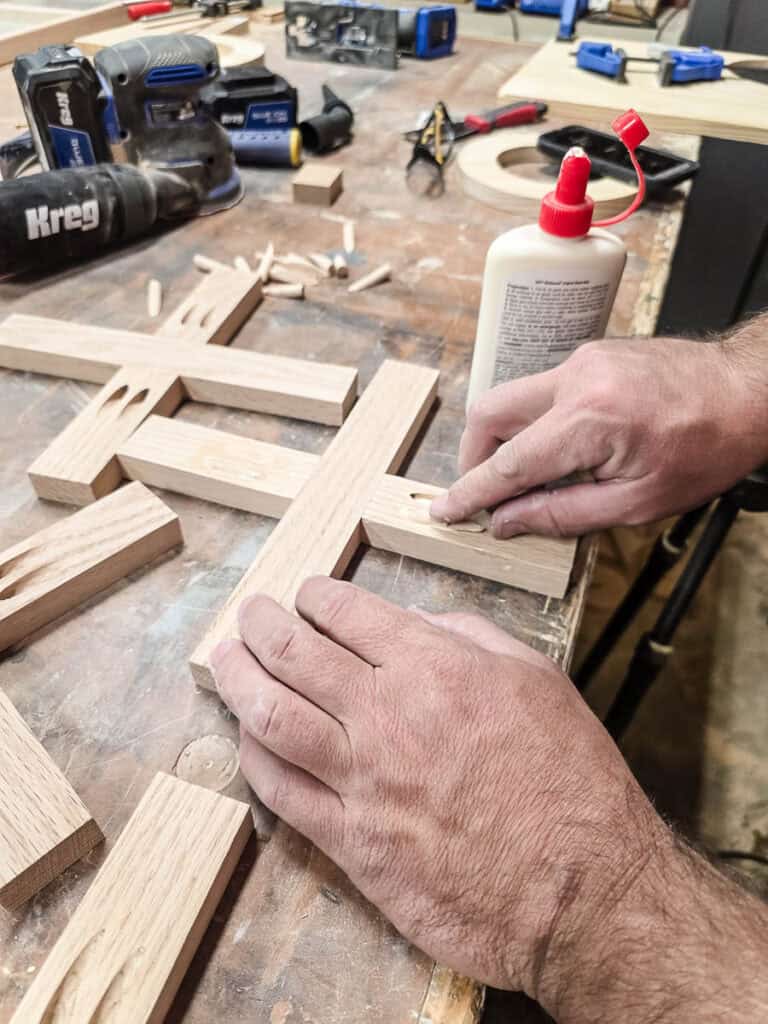
Time to make your X’s!
- Drill pocket holes (we used the 720Pro jig) on the short pieces of the X’s as shown on the woodworking plans.
- Clamp and secure with pocket hole screws.
- Sand smooth with 150-grit sandpaper.
- Fill the pocket holes with plugs and wood glue, and any gaps with wood putty.
- Once dry, sand again and chamfer the edges with your router.
Step 9: Make the O pieces
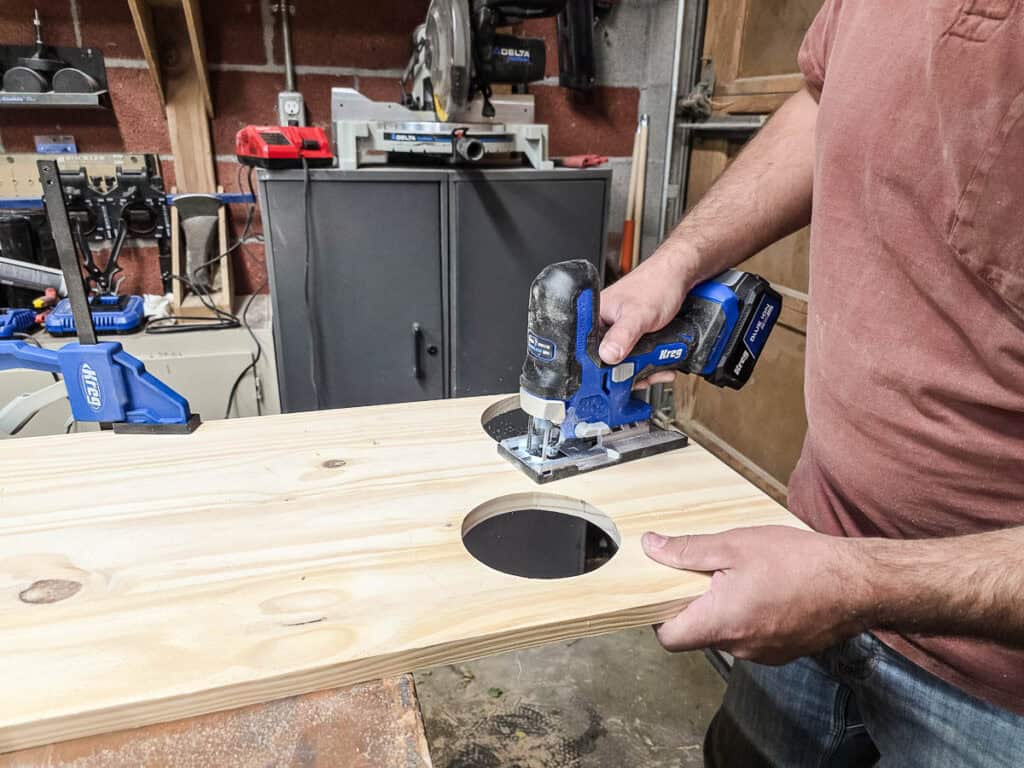
On the project panel, draw two circles — one 4¾” and one 8” — using a compass.
- Cut out the O’s with a jigsaw.
- Sand smooth with 150-grit sandpaper.
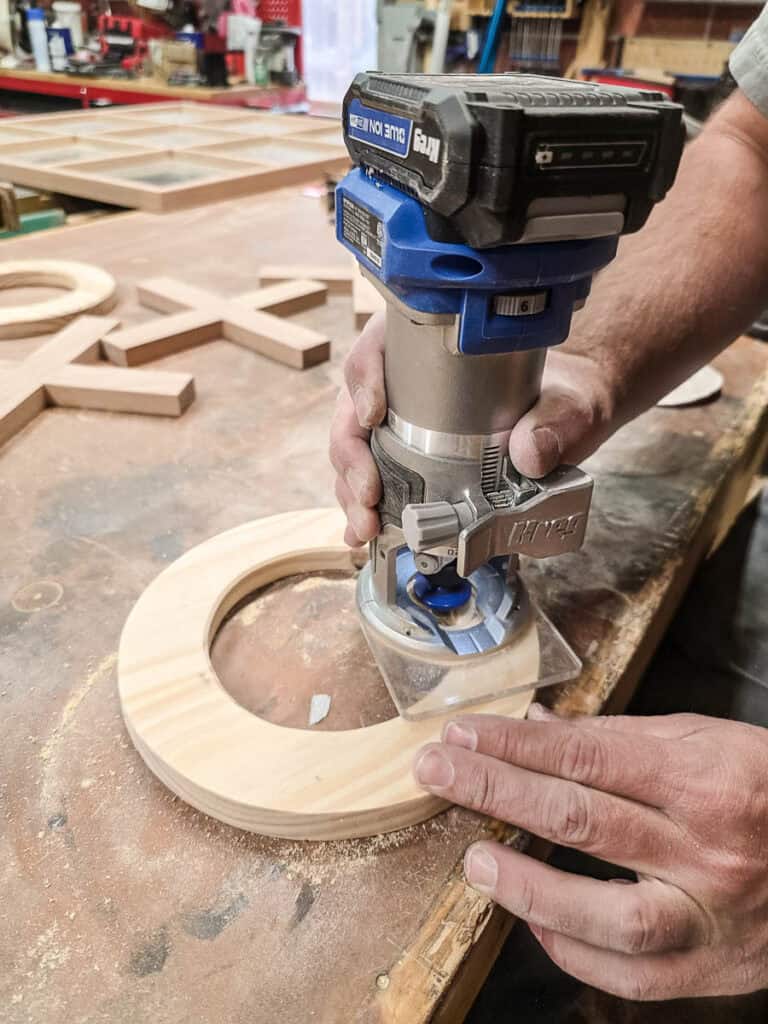
- Finish them off by chamfering the edges with your router.
At this point, here’s what your finished X’s and O’s will look like!
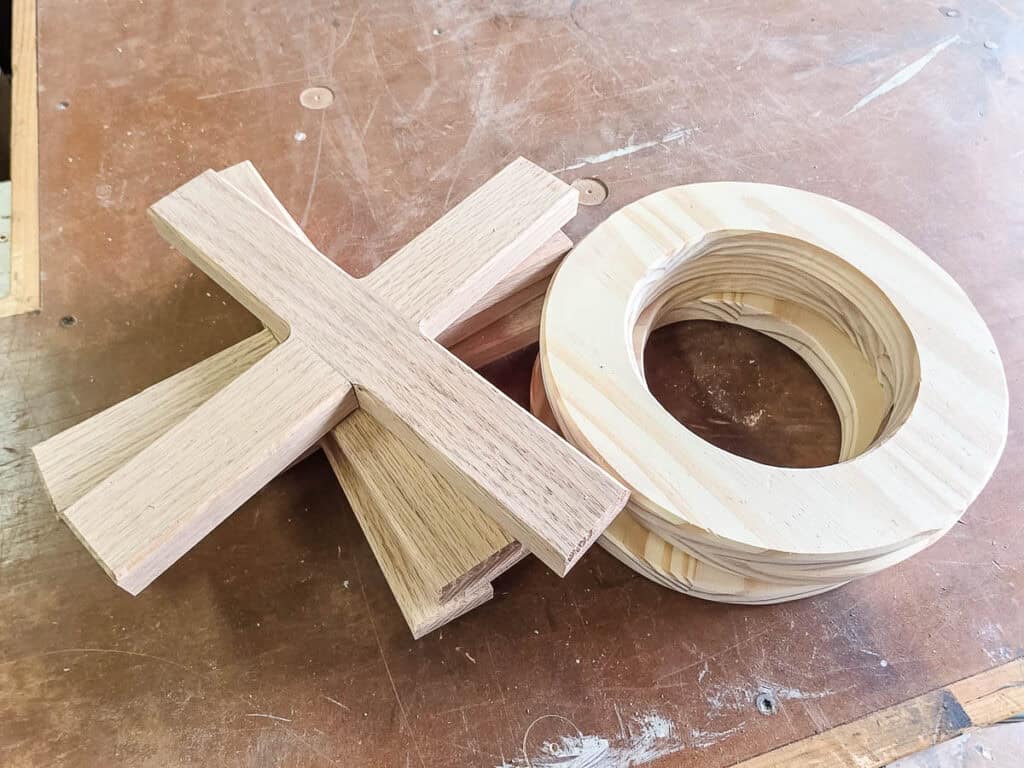
Step 10: Stain and seal
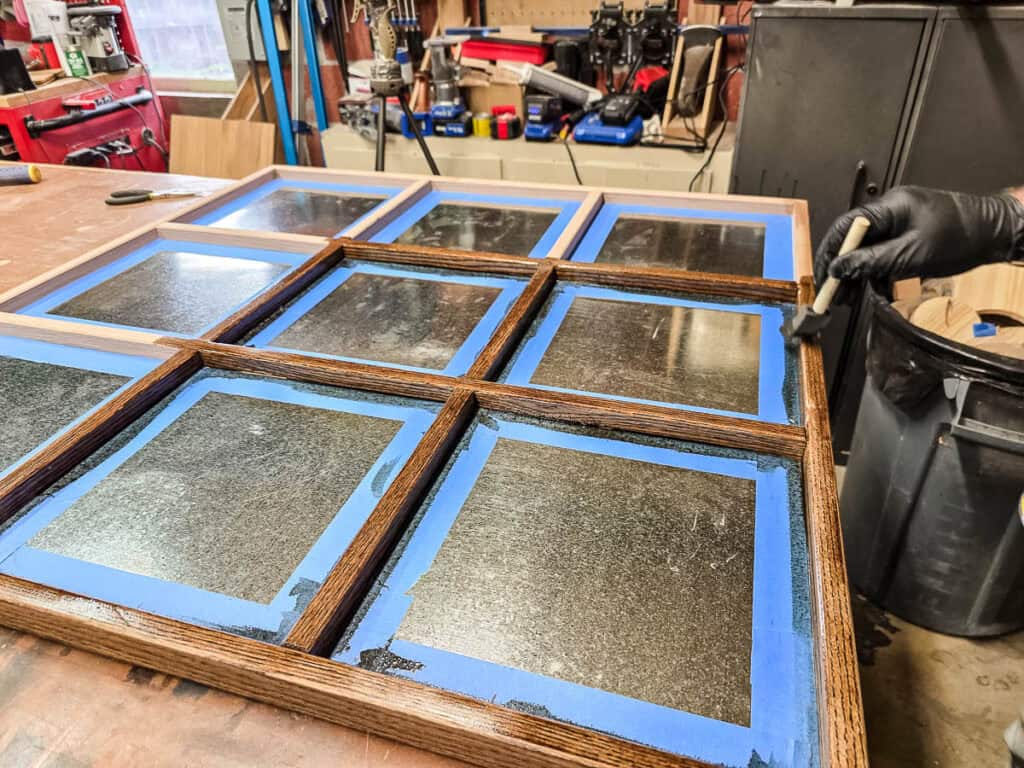
Now for the fun part — finishing!
- We stained the board and X’s with Dark Walnut and spray-painted the O’s white.
- Once dry, seal everything with a few light coats of spray lacquer for durability.
Step 11: Add the magnets
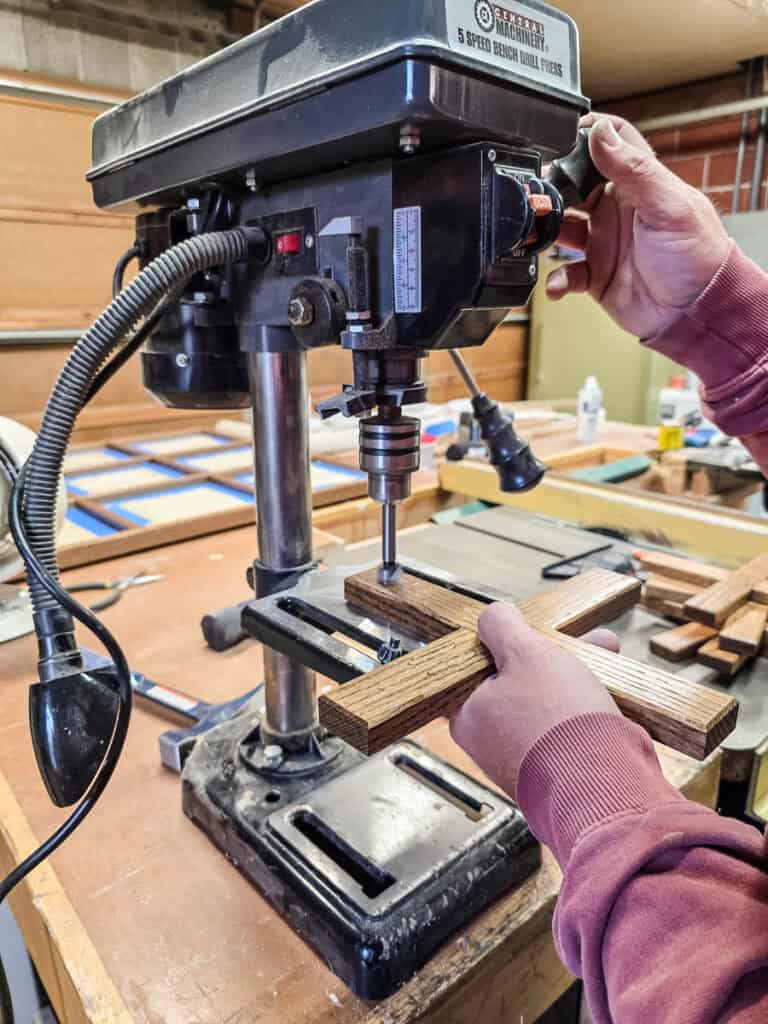
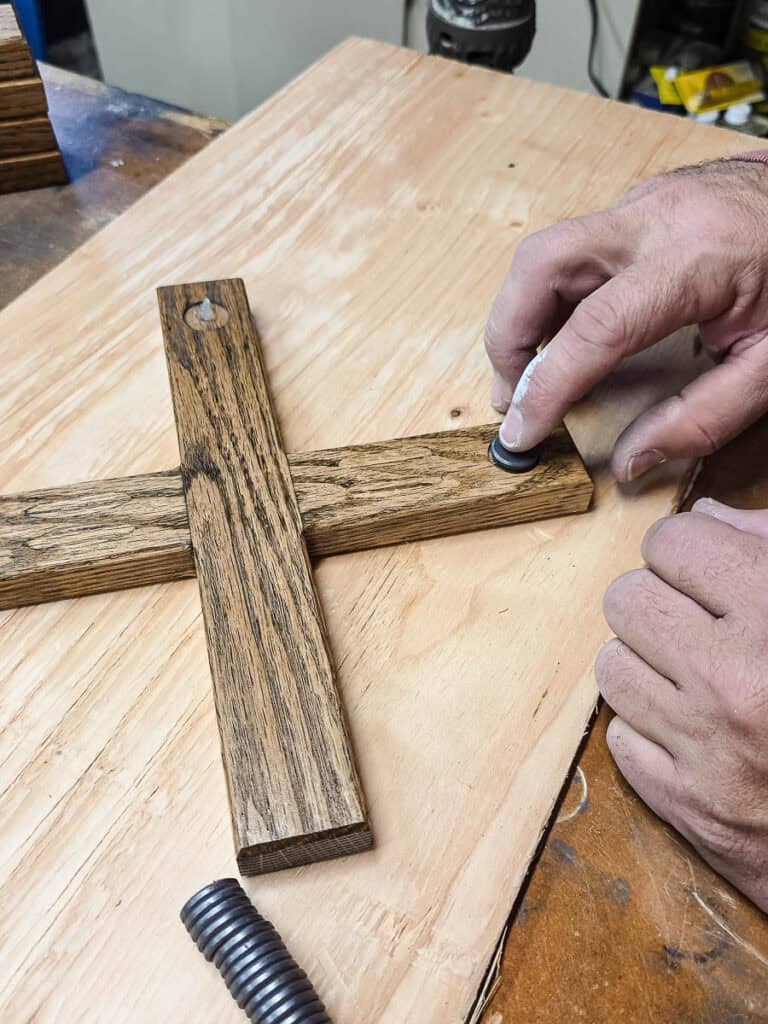
- Drill a shallow hole (about 1/16” deep) in the back of each X and O with a drill press — just deep enough for the magnets to sit slightly inset.
- Add a dab of silicone and press in the magnets (ours also had adhesive backing).
Step 12: Hang it up

Attach a metal French cleat to the back and hang your new wooden tic tac toe board on the wall!
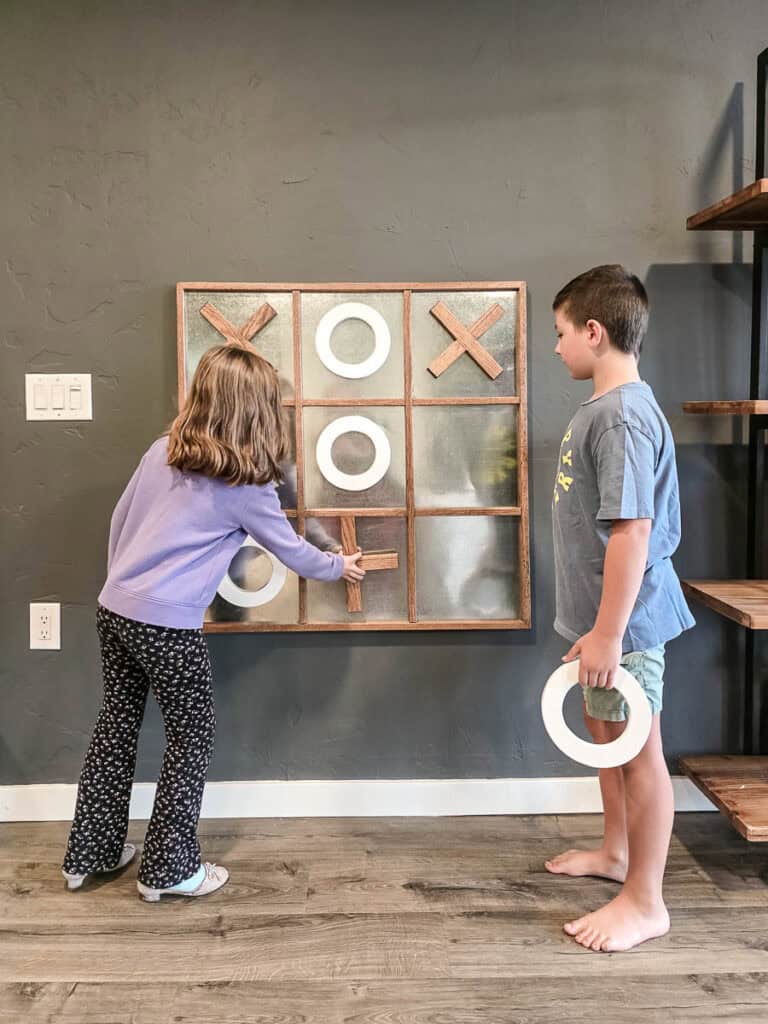
This simple project is sturdy, so much fun, and looks way more high-end than any store-bought version.
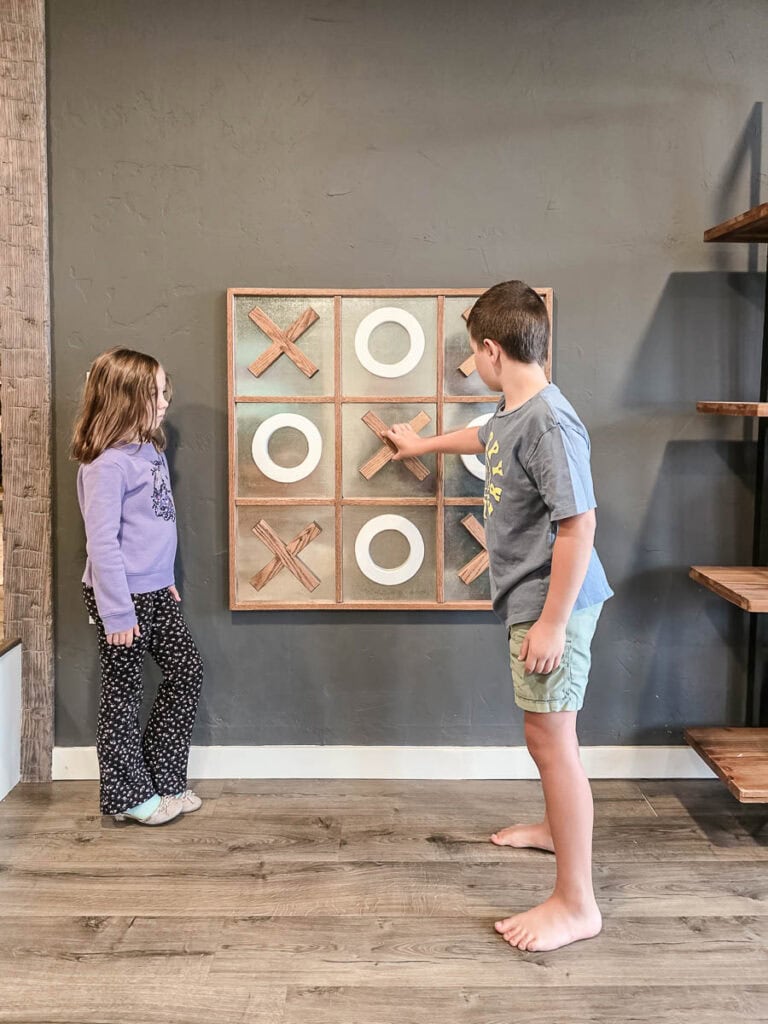
We made ours for the kids’ room at our church, and it will be such a hit. The kids love playing with the magnets, and it adds a fun, interactive touch to the wall. You could also hang one in a playroom, game room, or even a family room — anywhere you want a little playful decor.
If you want to build this giant tic-tac-toe board for the wall, we’ve done all the hard stuff for you! All you need to do is hop over the Kreg’s website! At the bottom of the tutorial there, you’ll see a link to download the free plans to get all of the detailed measurements and a cut list!

Related – Projects that use a pocket hole jig
- Kid’s Cabin Bed
- Table Top
- Planter Box for Front Porch
- Outdoor Plant Wall
- Farmhouse Sink Cabinet
- Mudroom Lockers
- DIY Desk Calendar & Wooden Pencil Holder
- DIY Dress Up Storage for Kids
- Picture Ledge DIY
- DIY Firewood Rack with Roof
- Wood Bench with Cushion
- DIY Cane Headboard
- Boho Nightstand with Cane
- DIY Behind the Couch Table with Outlet
- DIY Headphone Stand
- DIY Cookbook Stand
- Easy DIY Grill Utensil Holder
- DIY Deck Box for Outdoor Toys
- DIY Towel Rack Made With One Board
- DIY Tool Organizer for Kreg Tool Stand
- DIY Mail and Key Holder
- DIY Step Stool for Toddler
- DIY Trash Can
- DIY Spice Rack
- DIY Book Holder
- Easy DIY Magazine Shelf
- DIY Clamp Rack
- DIY Chicknic Table
- DIY Bike Rack
- Small Bookshelf
- DIY Laptop Tray
- DIY TV Frame
- Rolling Tool Cart with Pegboard
- DIY Giant Tic Tac Toe Board
- DIY Hidden Picture Frame Storage
- DIY Cabinet Pull Out Shelves