


Front Yard Makeover: Easy Outdoor DIY Projects You Can Do To Transform Your Front Yard
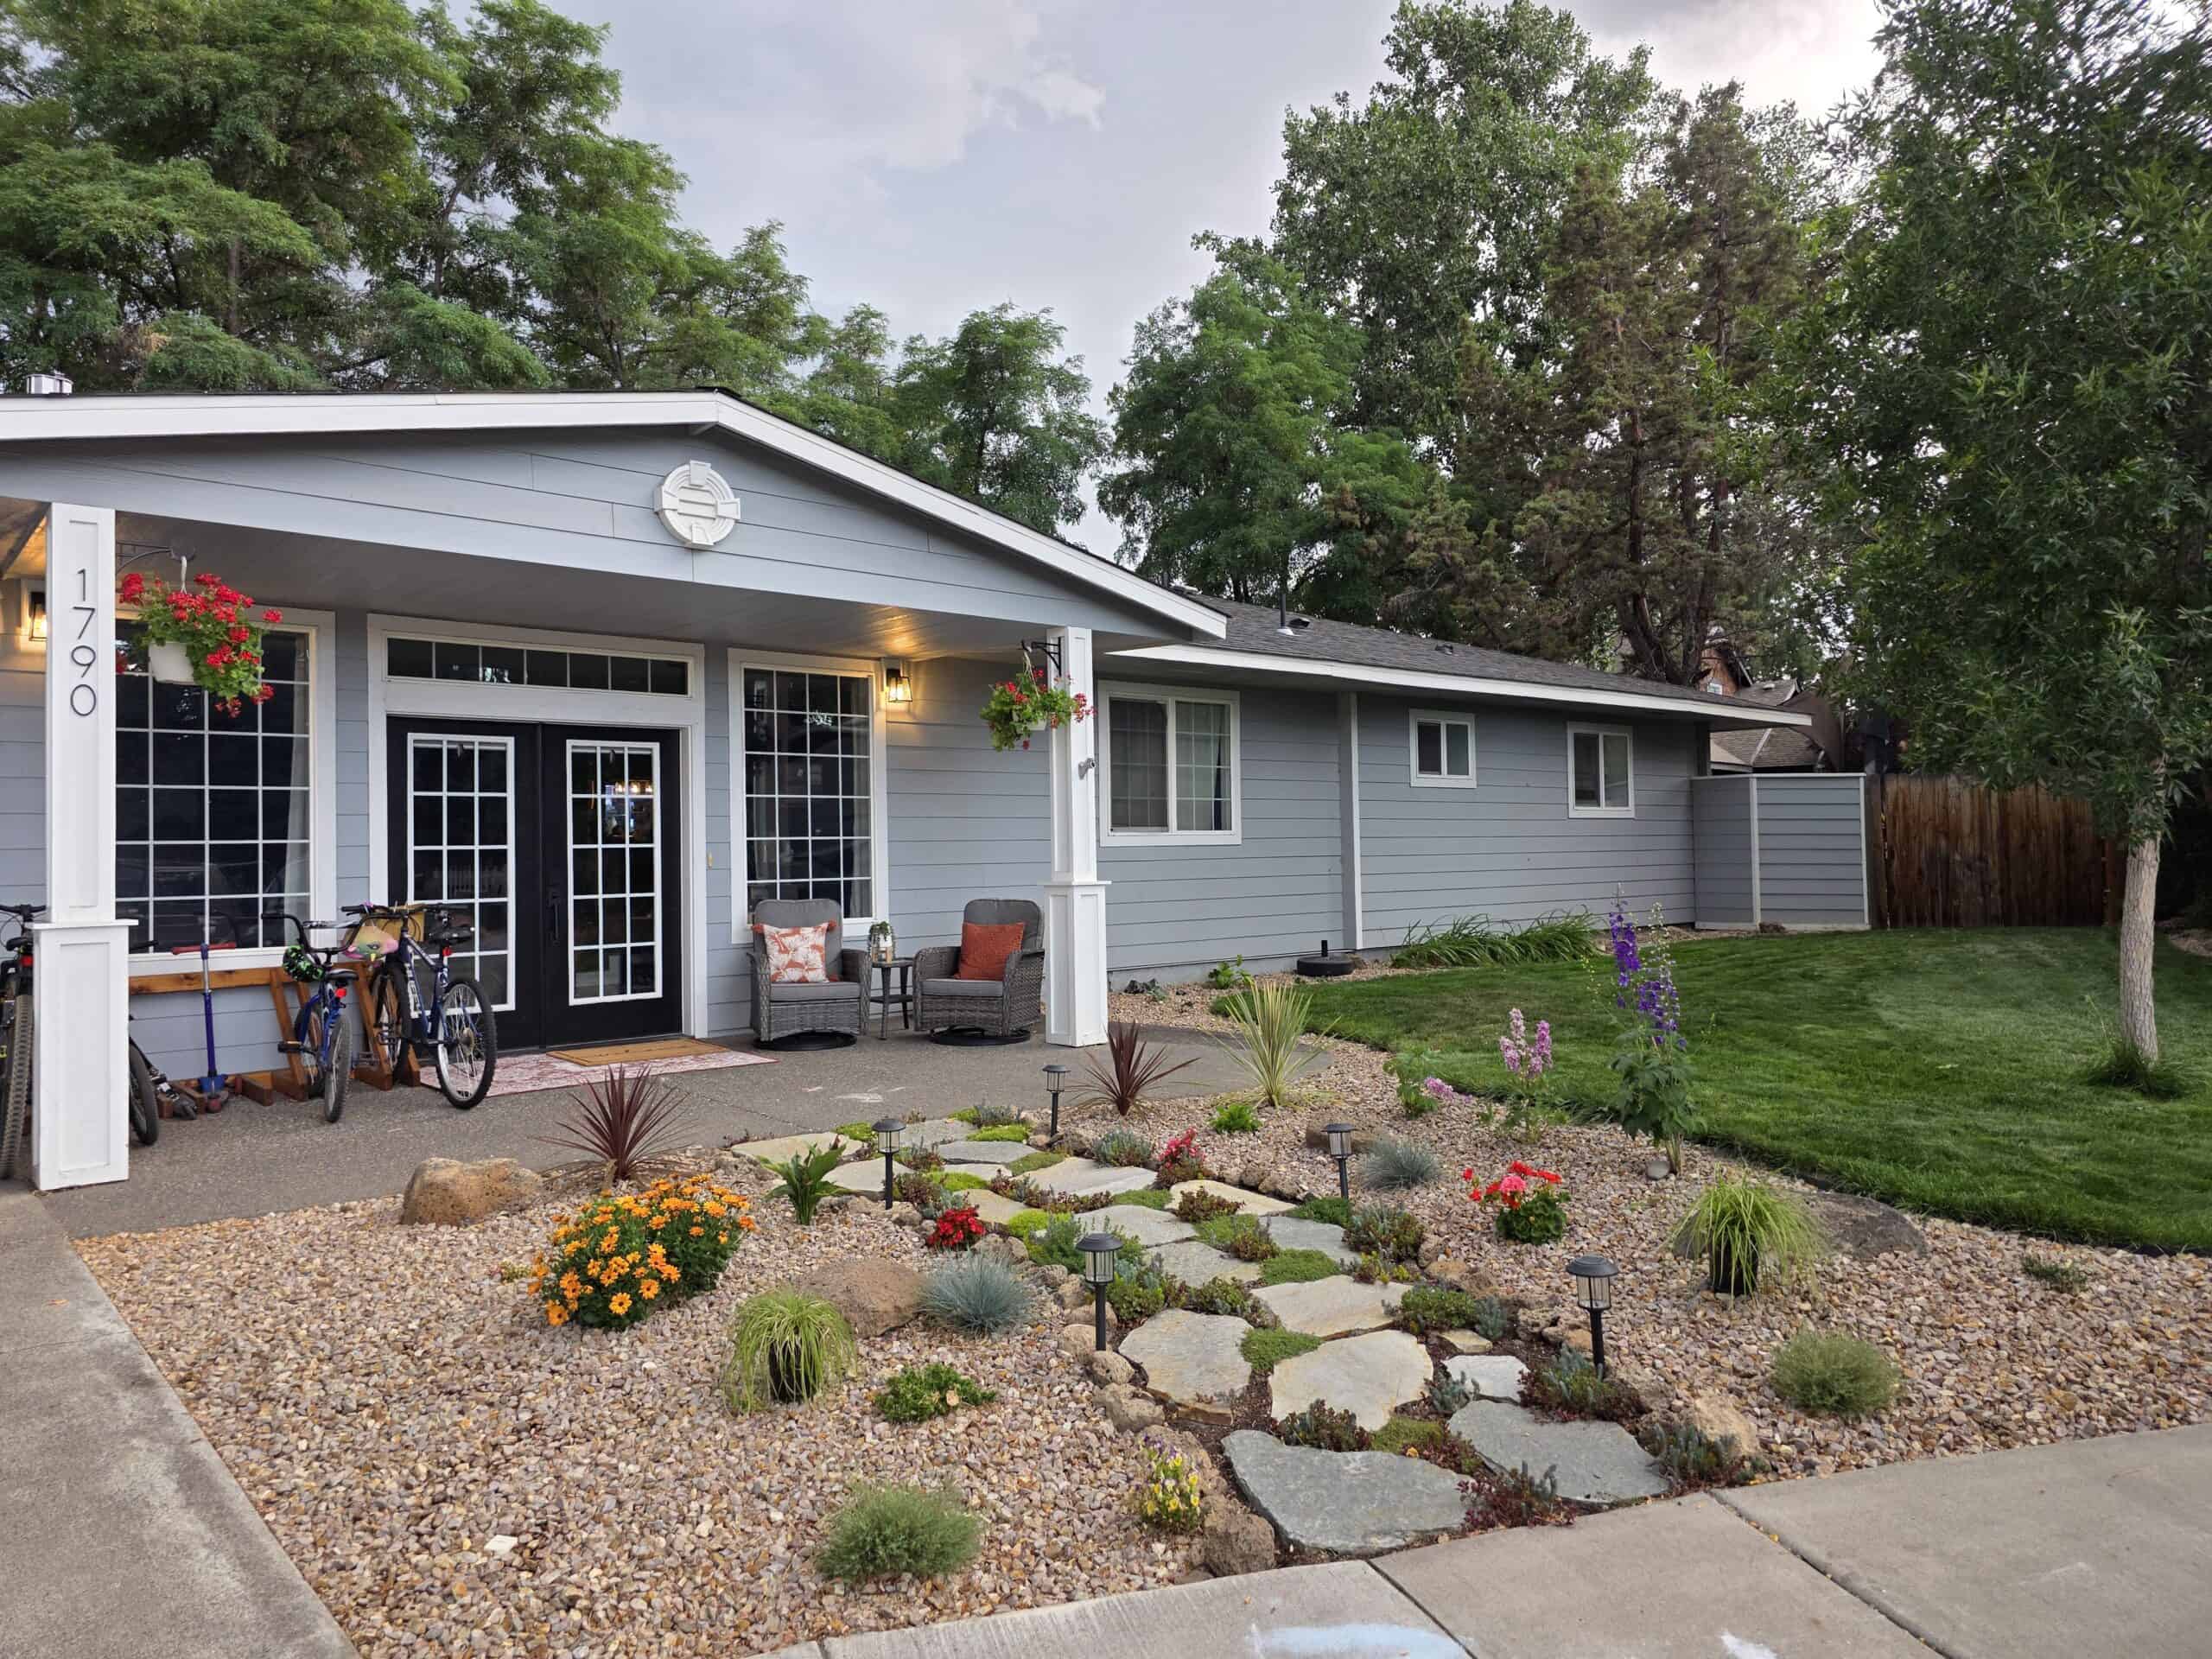
Last Spring we did a big overhaul on our front yard and porch, and we're ready to spill all the details! Here's the entire transformation, including links to the YouTube video tutorials and all the sources for everything we used!
This front yard makeover series contains affiliate links, but nothing that I wouldn’t recommend wholeheartedly. Read my full disclosure here.
Everything we used
Here’s everything we used for the entire front yard makeover – from the tools to the pillows on the chairs at the end!

Before Photos
Let’s just say… this space had potential 😅

When we started, the front yard was basically a blank slate. A huge mound of dirt, messy lawn edges, and zero personality. No plants, no defined spaces, nothing that made it feel welcoming.
We also didn’t even have a real walkway to the front door. People either cut across the dirt or squeezed through the driveway around parked cars… not exactly the first impression we were going for.

It didn’t really feel like an entry to our home – just kind of there.
We knew with a little vision (and a lot of dirt moving), we could turn it into something that actually felt finished and inviting.
If you love DIY videos, be sure to subscribe to our YouTube channel!
Part 1. Moving Dirt by Hand
First step – tackling the giant pile of dirt and leveling out our front yard.
We skipped the machines and went full DIY… shovel by shovel. Seven hours later, we were completely wiped.

Could we have rented equipment? Yep.
But this way was free, a solid workout, and the kids jumped in to help, too.
Bonus: we moved a ton of soil to the backyard for another project 👏
Part 2. Edging the Lawn
Part of our front yard plan was to clean up the lawn edges and soften everything with some curves. When it comes to landscaping, curves always win.

We started by marking the lawn to get the general shape. This helped us visualize the transformation.
We kept it simple and used a manual step edger to shape it all out – no power tools needed.


Once the edge was in, we installed no-dig plastic edging to hold the line, then added gravel around the perimeter to lock it in and give it that clean, finished border.

A little elbow grease goes a long way here – you don’t need anything fancy to get a really polished look.
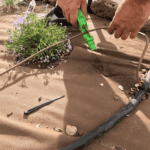
Part 3. Installing Drip Irrigation
We needed a simple way to keep all the new plants watered, and a drip irrigation system just made sense.
It was pretty easy to install ourselves, but definitely watch Logan’s YouTube video (linked above) for his best tips and tricks.
Part 4. Putting in a Flagstone Pathway
I had my heart set on a flagstone pathway with plants growing in between, and we went for it. It was surprisingly doable as a DIY, just a bit time-consuming to get everything sitting just right.

Watch the video linked above to see exactly how we built our flagstone walkway. We walk through each step so you can install your own path using large, irregular pavers.


Part 5. Planting & Adding Gravel
Next up – landscaping.
We laid down landscape fabric, then started planting a mix of plants throughout the front yard.

After everything was in, we added a few boulders as low-maintenance fillers that still look really good.


Final touch – a layer of 3/4″ minus desert stone as ground cover in the beds. It helps keep weeds down and gives everything a clean, finished look.
Part 6. Front Porch Makeover
Final step – giving our small front porch a little refresh.

Watch the video above to decorate the porch with me for spring. I added hanging flowers, updated the patio furniture with outdoor pillows, brought in a 3×5 rug, and finished it off with a new doormat.

Now it’s all set and ready for spring and summer🌿
After Photos of Finished Front Yard and Porch

Wrapping up this front yard makeover, it’s kind of wild how much these small, simple projects added up.
We didn’t do anything overly complicated or use a bunch of fancy tools – just tackled it step by step. A little edging, a pathway, some plants, and a porch refresh completely changed the feel of our home from the street.

If you’re staring at your own front yard and wondering where to start, just pick one project and go. You don’t have to do it all at once.

And honestly, that’s the best part – each step makes a difference, and before you know it, your whole space feels fresh, welcoming, and so much more you.
Now it is not a makeover around here unless we take a look back at the before and after pictures to see how far we came!

If you loved this front yard makeover, check out our backyard makeover next.
Front yard makeover sources
Here’s everything we used for the entire front yard makeover – from the tools to the pillows on the chairs at the end!

Want more outdoor DIY projects? Check out these ones next:

It’s amazing what a little elbow grease and planning can change a landscape. Looks great and even at my antique age, I might just tackle the same front yard makeover!
Good luck with your outdoor projects!
Love the makeover. Thanks for all of the specifics. I’d like to know what the paint color you used on your house is. I just moved a few months ago, the house needs a lot of work, painting is a priority. Looking at blue/greys, not too blue not too grey. Thanks
Hi Lori, thanks! Unfortunately I don’t know the exterior paint color. It was this color when we moved in!