How To Make A Print Look Like A Painting (Fake Oil Painting)
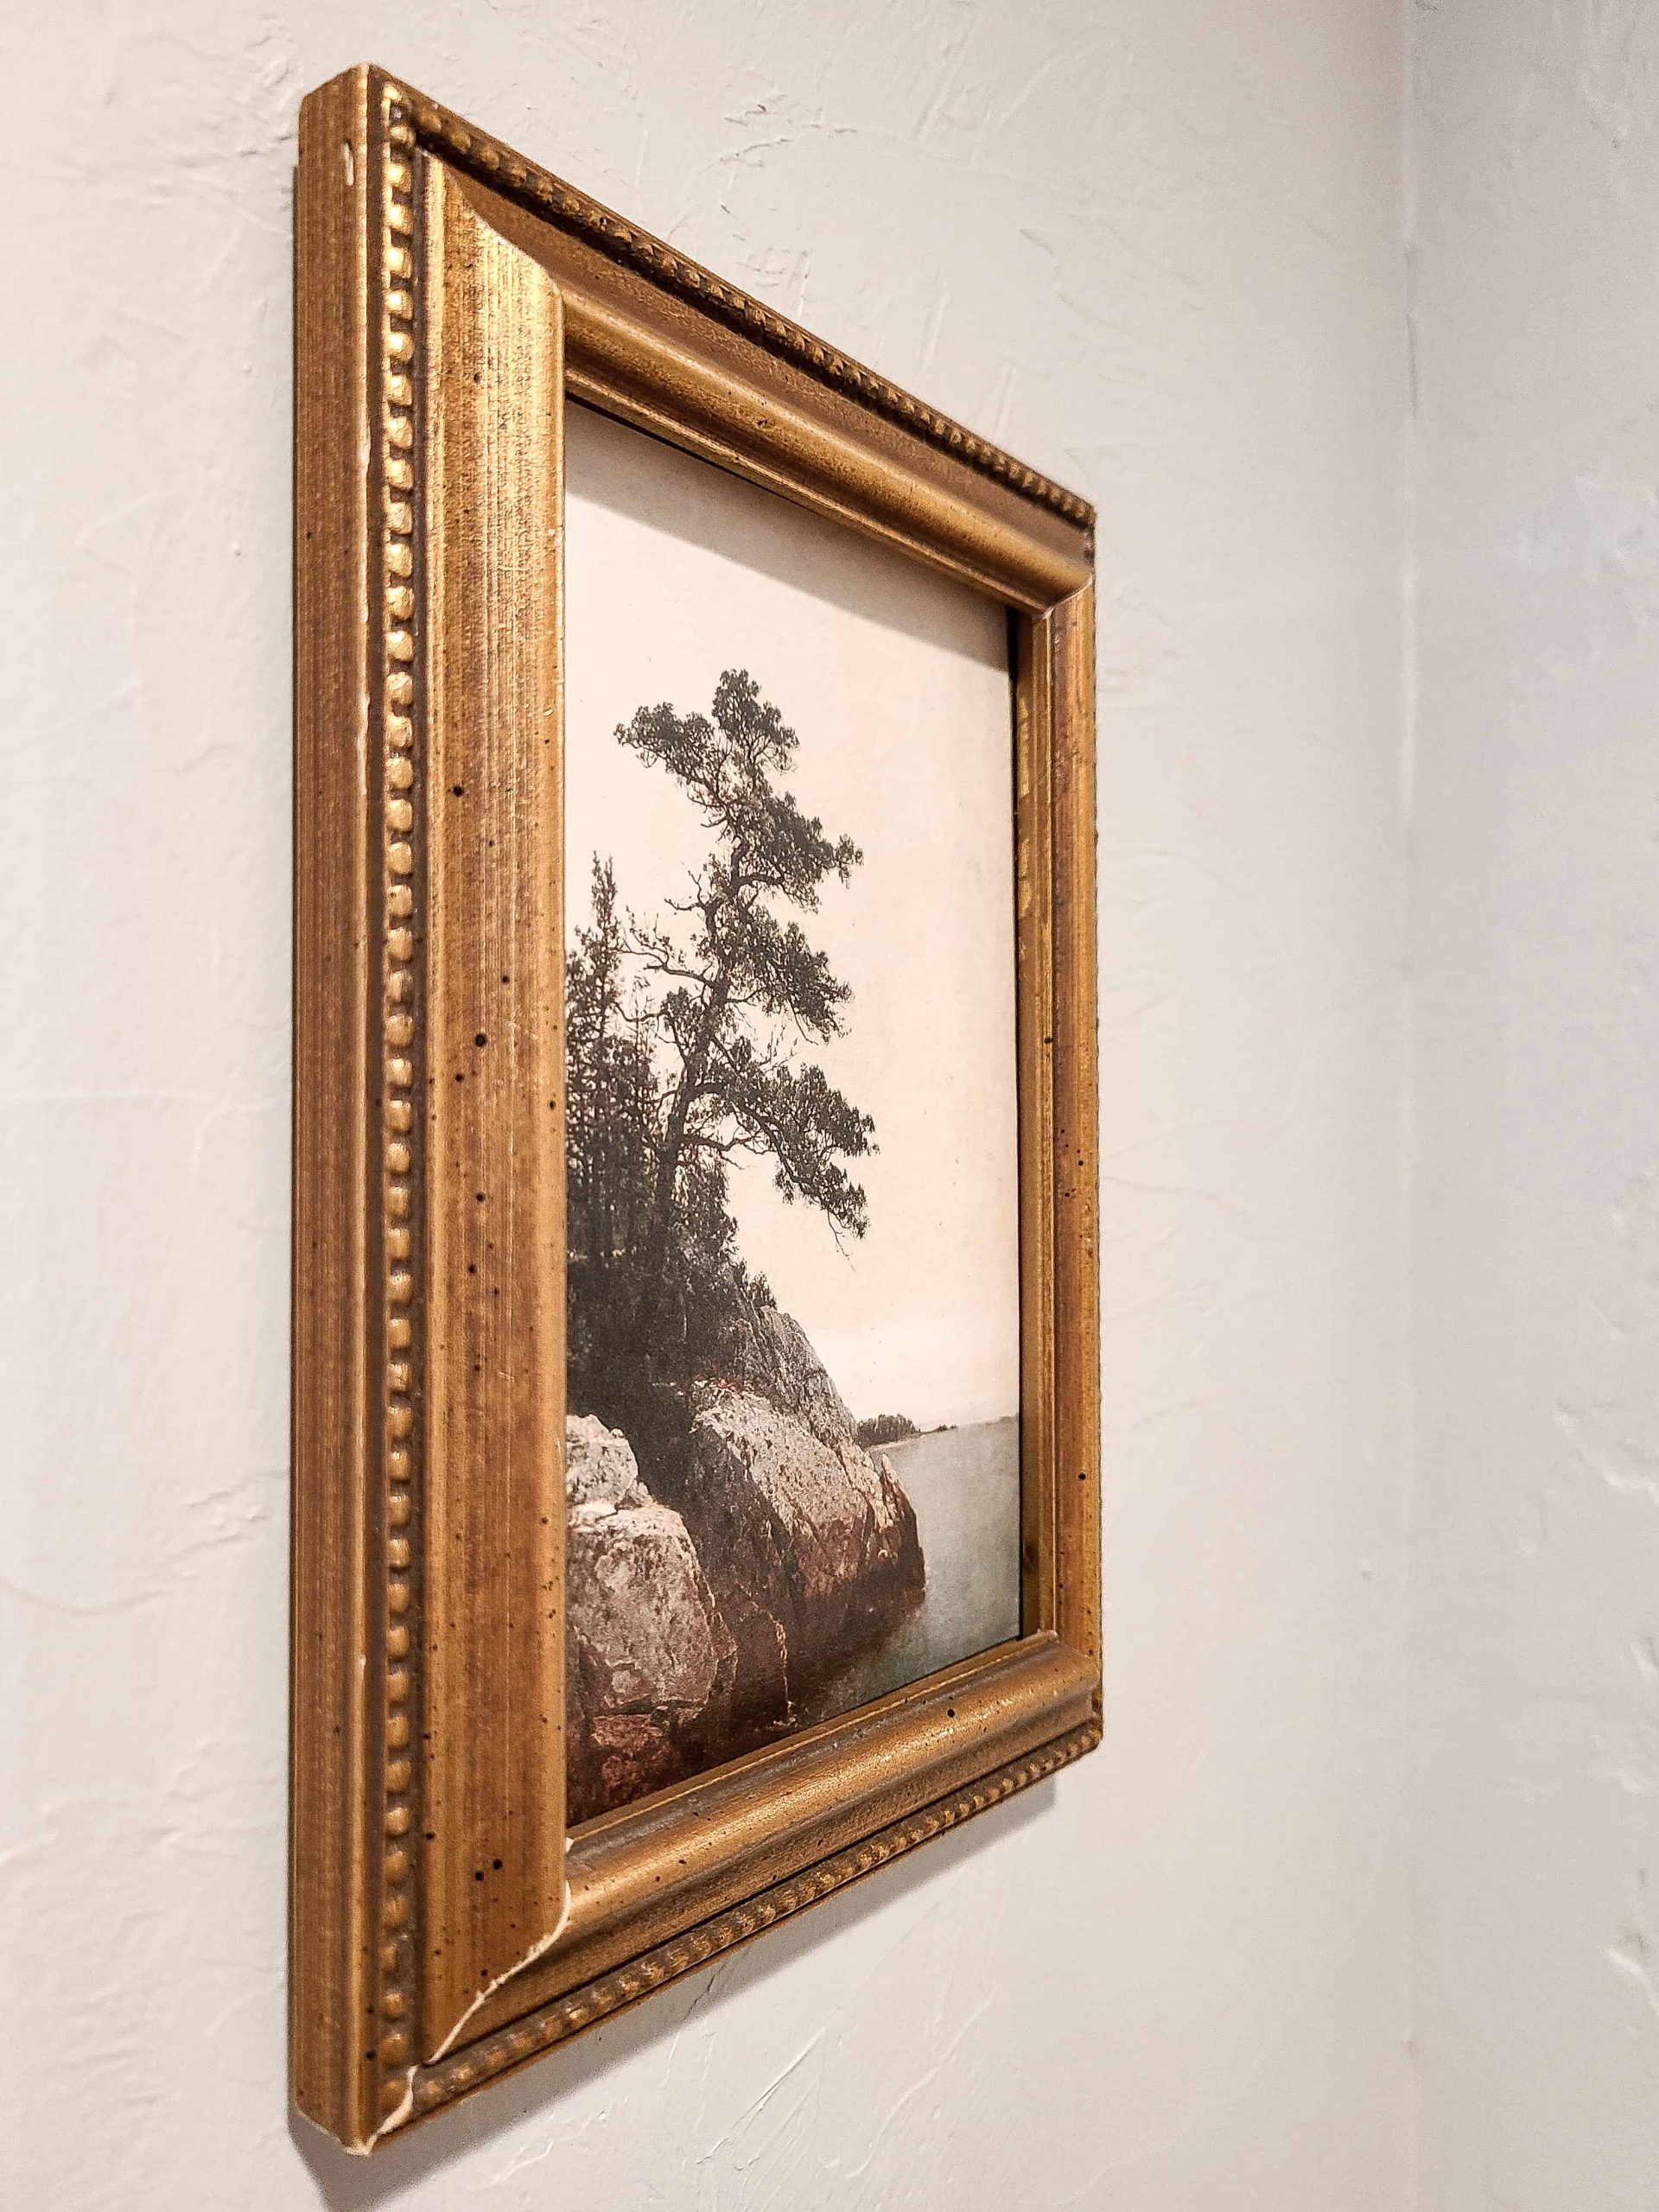
Do you love the look of vintage oil paintings, but can't afford them? Use this fake oil painting hack with Mod Podge. Learn how to make a print look like a painting with this simple step-by-step tutorial!
There’s something so classic and moody like a vintage oil painting. I’ve been seeing them everywhere. Stores are selling antique art replicas like hotcakes. And I’m totally seeing moody oil paintings all over Instagram.
The problem is that finding and buying real antique art is expensive. If you don’t have “art” as a line item in your budget, I’ve figured out a trick for you to make a fake oil painting that looks pretty dang authentic.
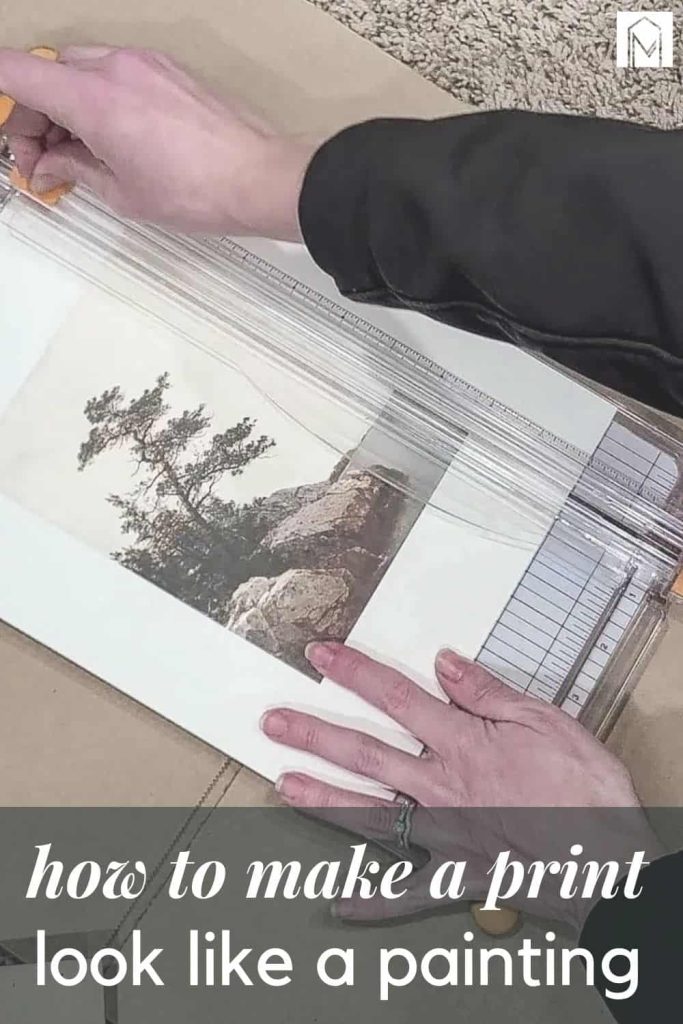
In this easy step-by-step tutorial, you’ll learn how to make a print look like a painting! All you need is a thrift store frame, a printer, a paintbrush, and Mod Podge.
Before Picture
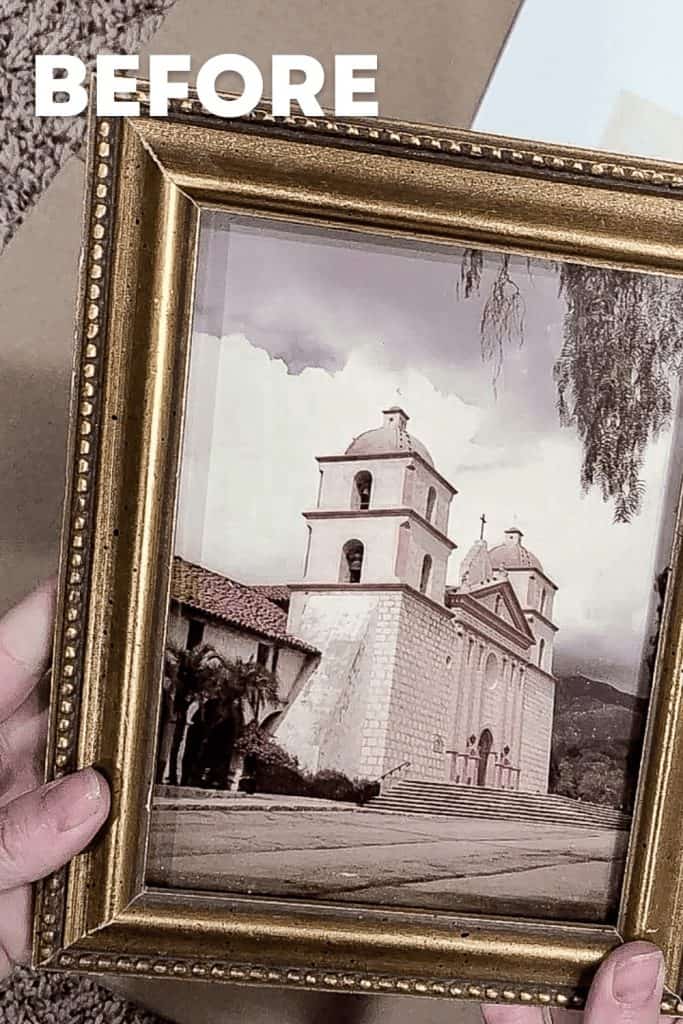
I snagged this pretty bronze looking 5×7 frame at the thrift store for just $2. It was the perfect home for the printable that I found!
This fake oil painting tutorial contains affiliate links, but nothing that I wouldn’t wholeheartedly recommend anyway! Read my full disclosure here.
Where to find printable vintage art
I’m using printable art for mine from Etsy, but you could also order vintage art prints from Amazon and you won’t have to mess around with printing.
But if you want to go the printable route, Etsy is definitely the best place to get it! There are so many affordable options and most of them are under $5. I got mine for just $2!
Vintage art prints from Etsy
Here are some of my favorite options from Etsy!
Fake Oil Painting – Video Tutorial
If you love DIY videos, don’t forget to subscribe to our YouTube channel!
How To Make A Print Look Like A Painting – Step-by-Step Tutorial
Ok, are you ready for this Mod Podge hack to totally make a print look like a painting? Let’s jump in!
Supplies needed for fake oil painting
- Frame, I got my for a couple of bucks at the thrift store
- Printable file (here’s the one I’m using)
- Paper cutter
- Watercolor paper (or high-quality cardstock with a matte finish)
- Printer
- Spray adhesive
- Mod Podge with a matte finish
- Foam paintbrush
- Small artist paint brush
- Command picture hanging strip
Step 1. Print out your printable art file
You can totally use a home printer for this, but the key is using a good quality paper. You want something thick, like a cardstock with no gloss or a matte finish.
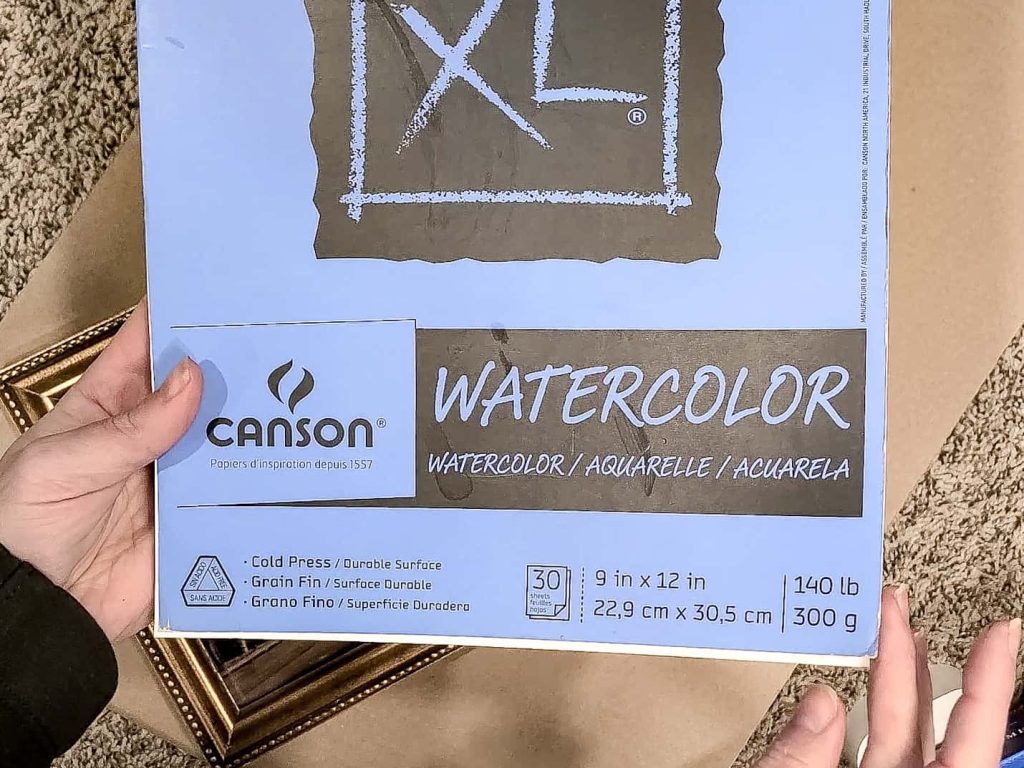
I used a sheet from this deck of watercolor paper and it was perfect. Watercolor paper is thick and has a bit of texture to it, so that was key.
Watercolor paper can also hold up to the moisture that will come later when we add the Mod Podge, where as other papers may have a tendency to warp or bubble with the Mod Podge.
Step 2. Cut your print with a paper cutter
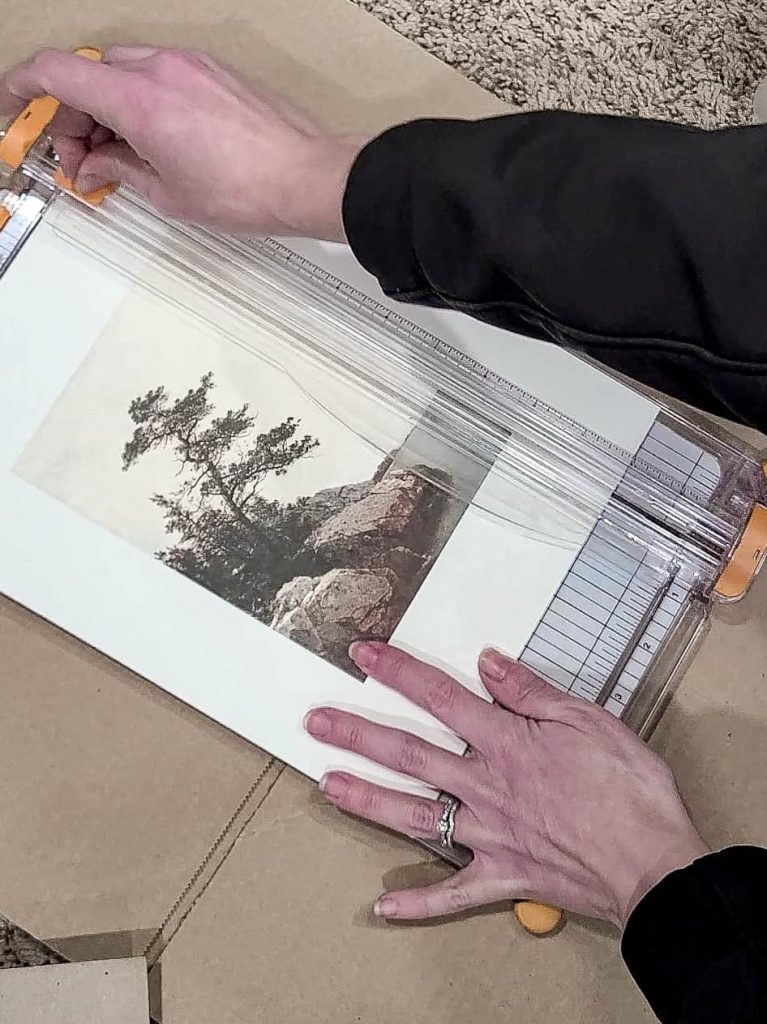
Next cut your print down to size with a paper cutter. I was using a 5×7 frame, so I printed it out to that size and then cut along the edges.
Step 3. Attach print to the cardboard backing of your frame
Dismantle your frame and remove any old pictures that are in it. You can also get rid of the glass, we won’t be using it!
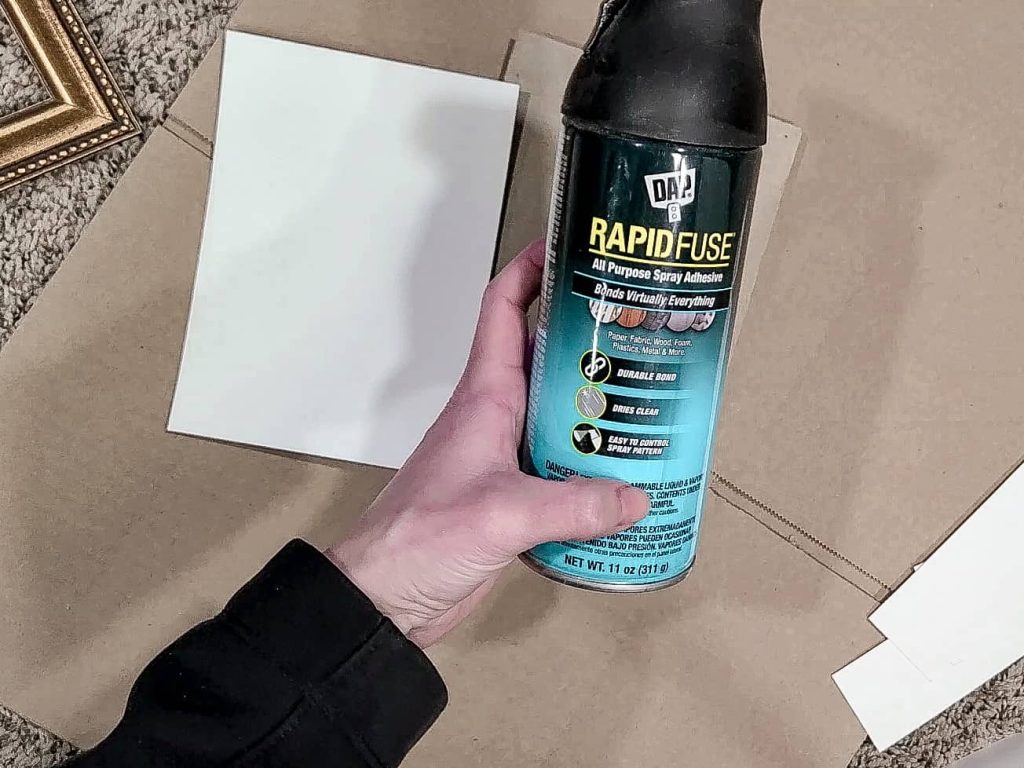
To attach the print to the cardboard backing of my frame, I used DAP Rapid Fuse Spray Adhesive. You just want to use a strong glue that won’t bubble.
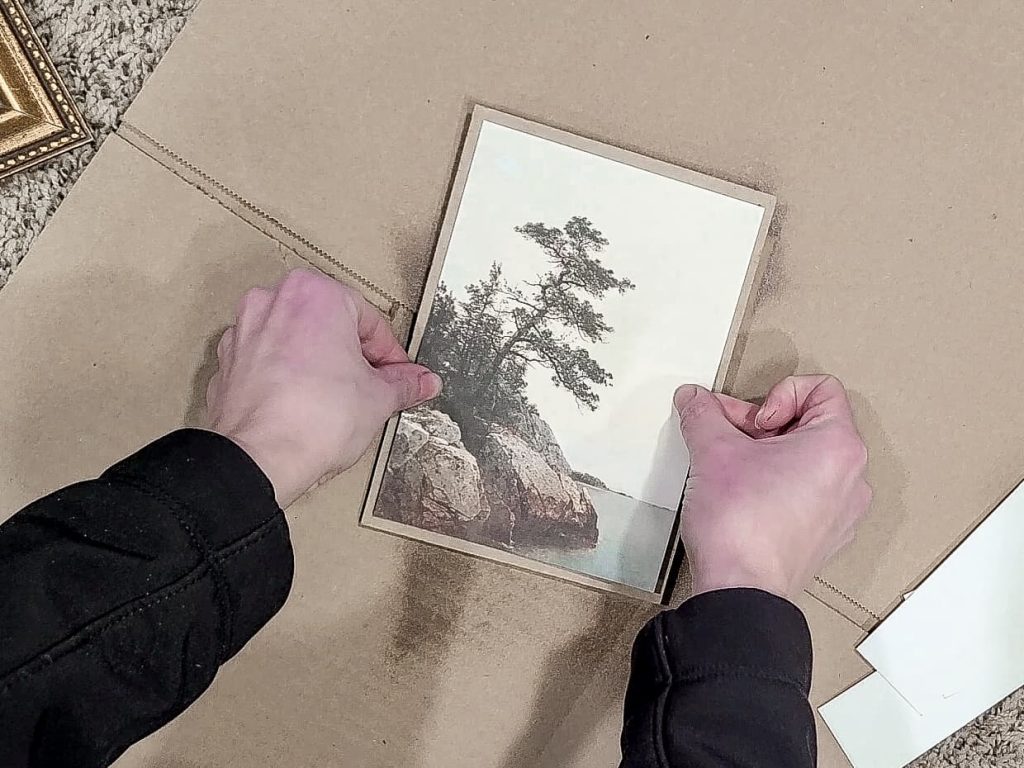
I wouldn’t recommend using Mod Podge on this because the extra moisture under the paper will cause problems. Let it dry the recommended time.
Step 4. Brush Mod Podge over the top of the print
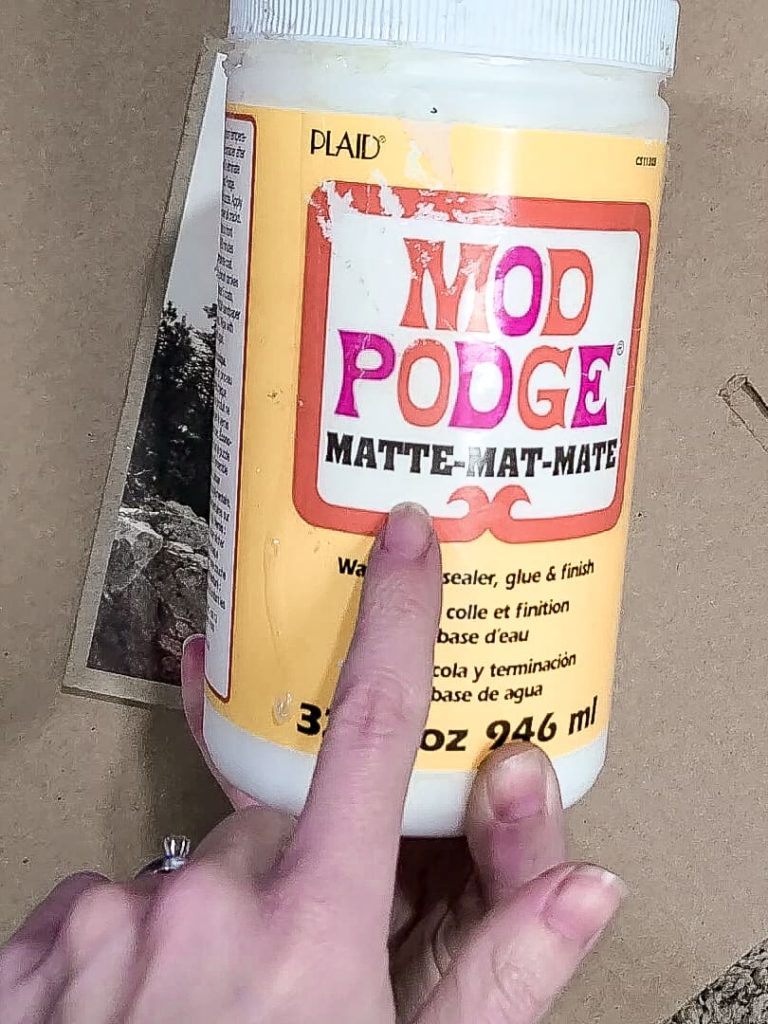
Using a foam brush add Mod Podge over the top of the print. This will seal the print to protect it (remember we’re not using glass) and it will also start to give it a realistic and handbrushed texture.
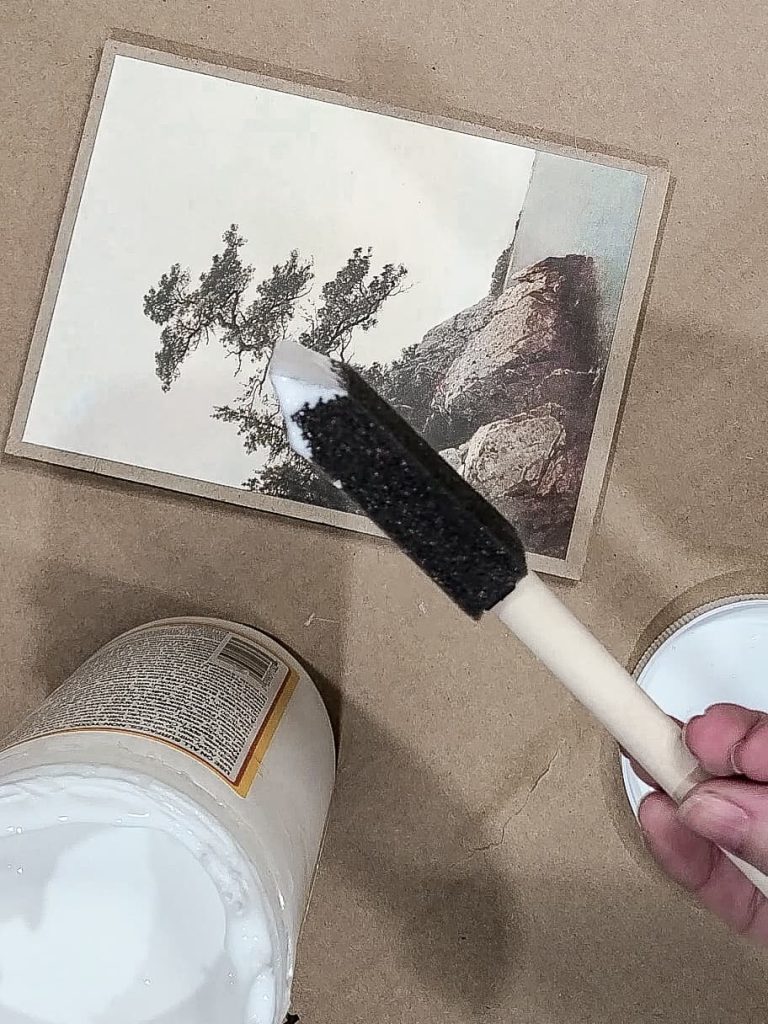
You can go every which way the brush strokes here for an authentic look.
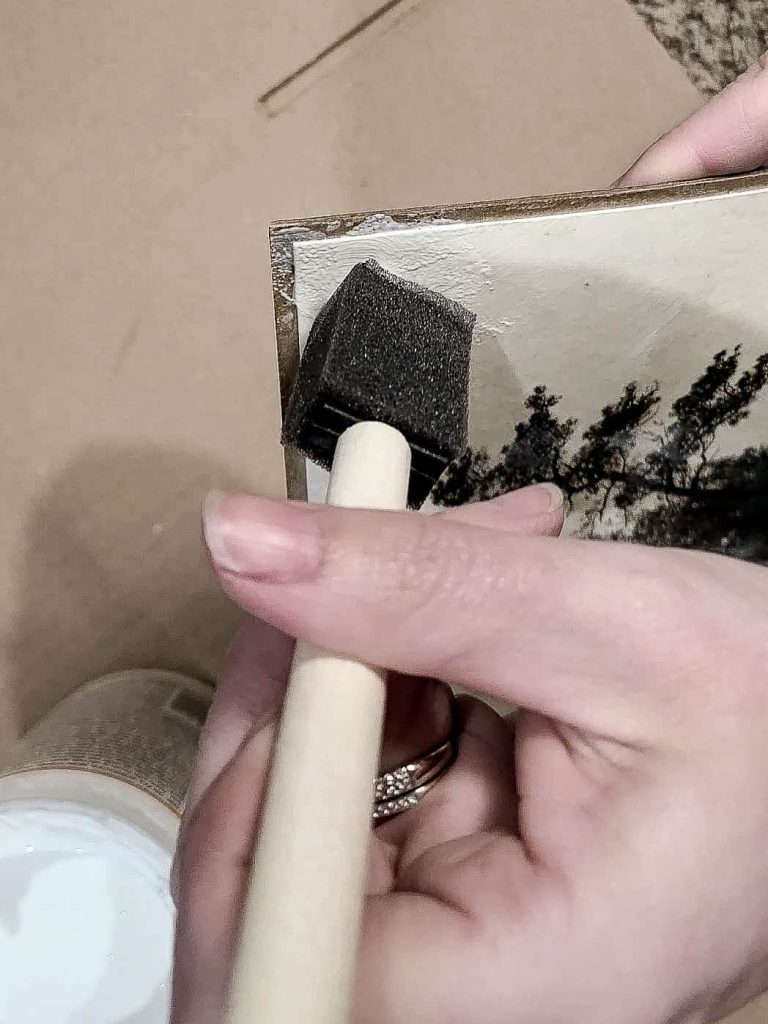
Pounce the foam brush up and down for some extra texture.
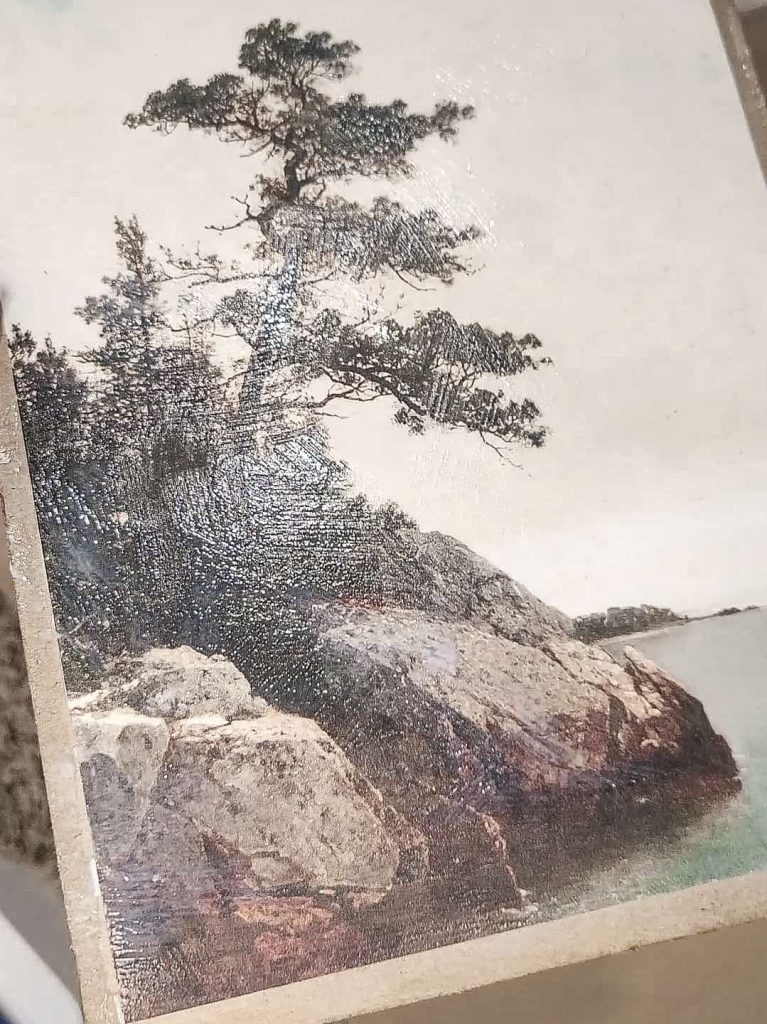
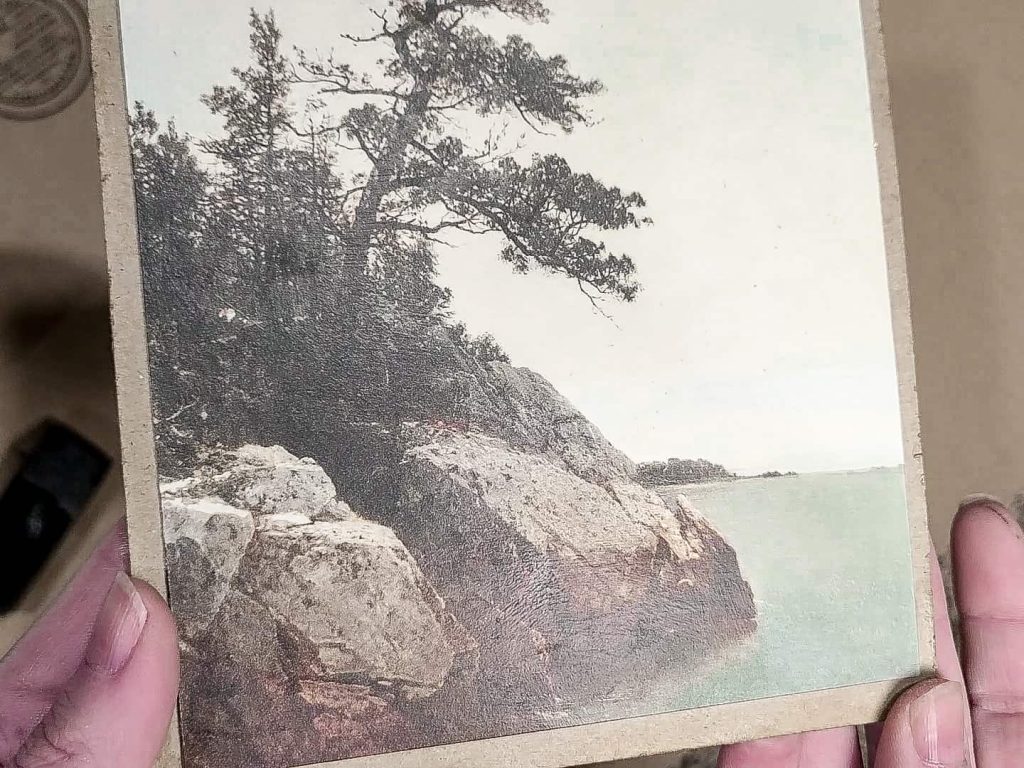
Step 5. Add more texture with Mod Podge to make a look like a painting
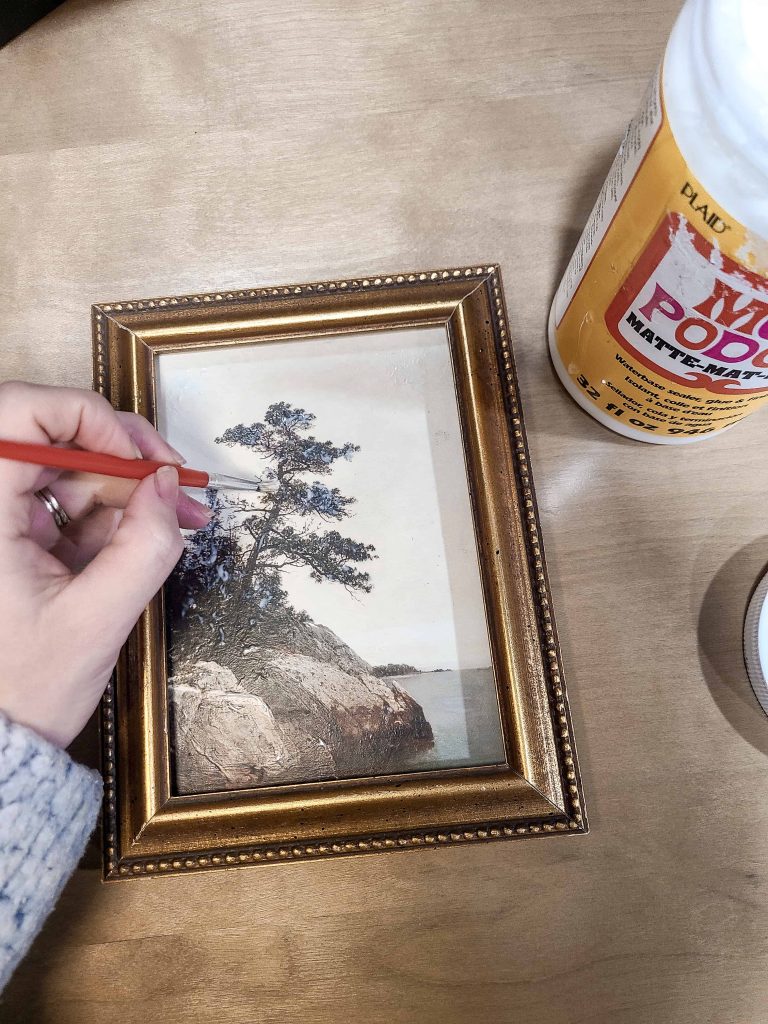
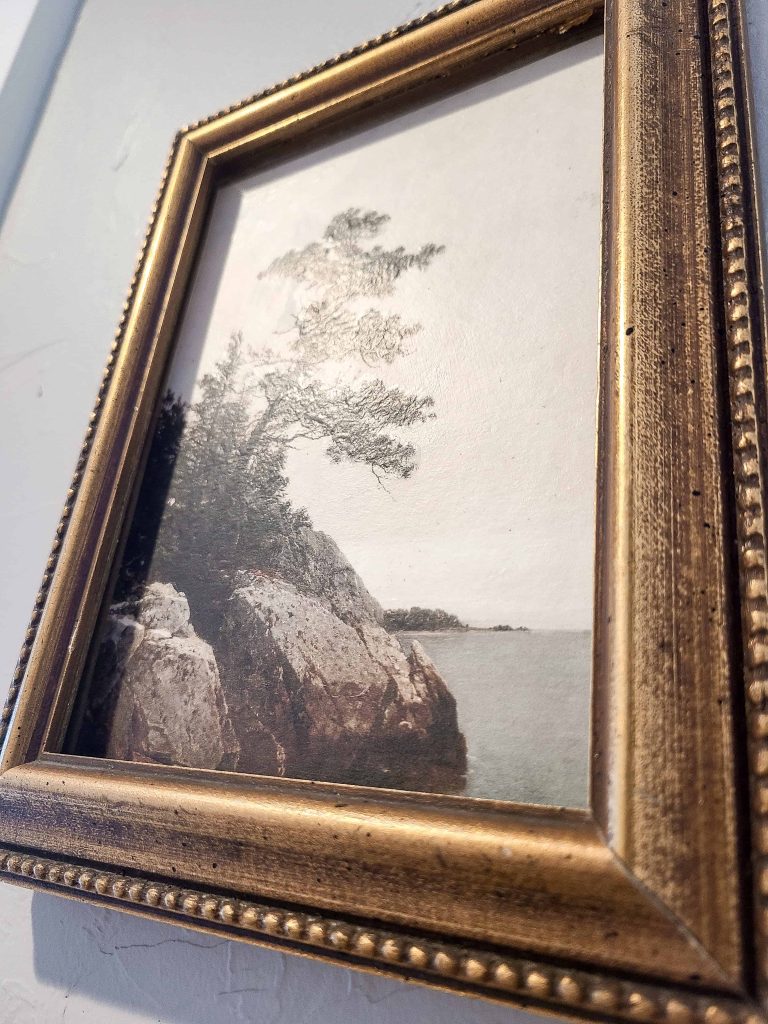
After that the first layer of Mod Podge has dried (about 15 or 20 minutes), you can go back in with a small artist paint brush and add more texture to the spots where the artist really would have. Dot paint brush over the areas of the trees and clouds. Do smooth lines over the surface of the water.
Basically you want to trace over the painting with the Mod Podge. Don’t worry about smoothing it out too much. Remember it will dry clear.
Let it dry for about 15 minutes. If you want even more texture, you can go back and do another round.
Step 6. Put print in your frame and hang on the wall
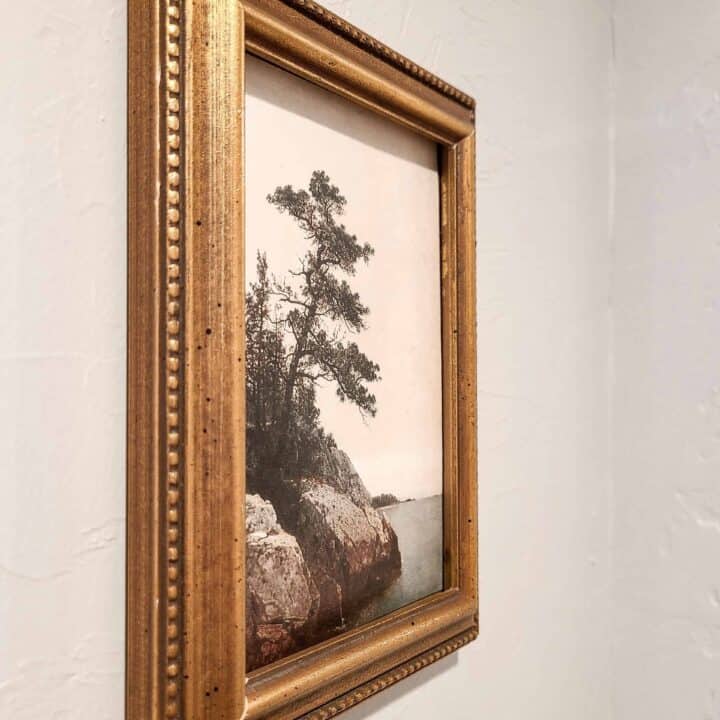
Once dry, put the print back into your frame but NO glass! By removing the glass from the frame, you get rid of that glare that is a dead giveaway that its not authentic. If you really want to learn how to make a print look like a painting, you’ve gotta frame it without glass.
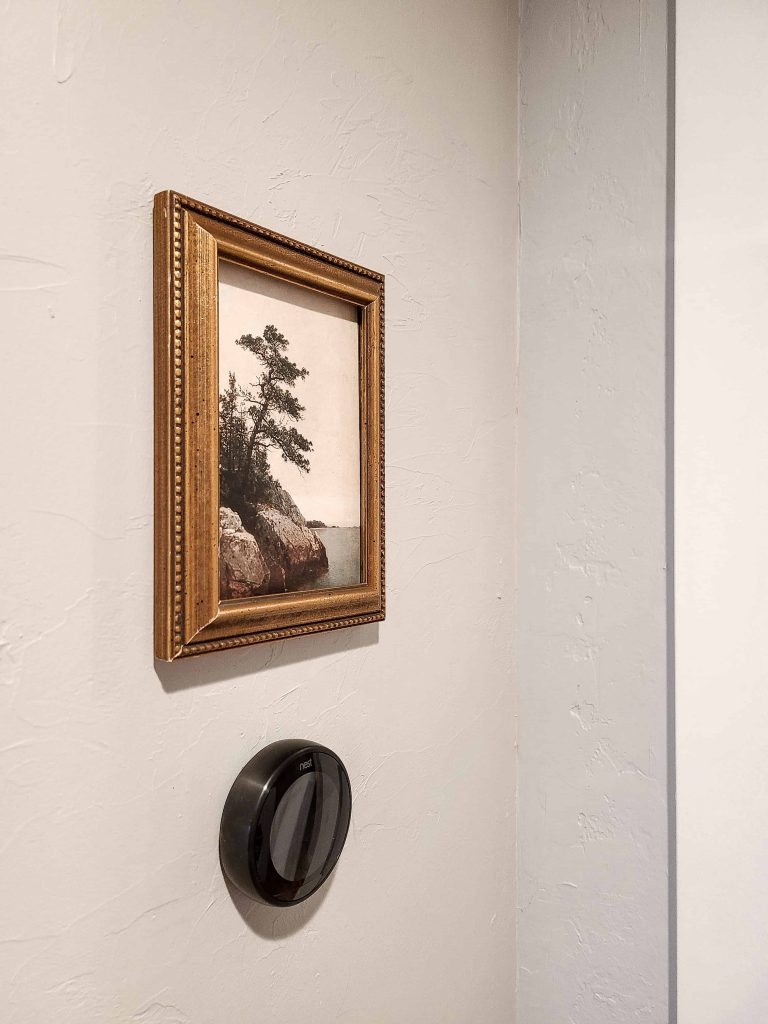
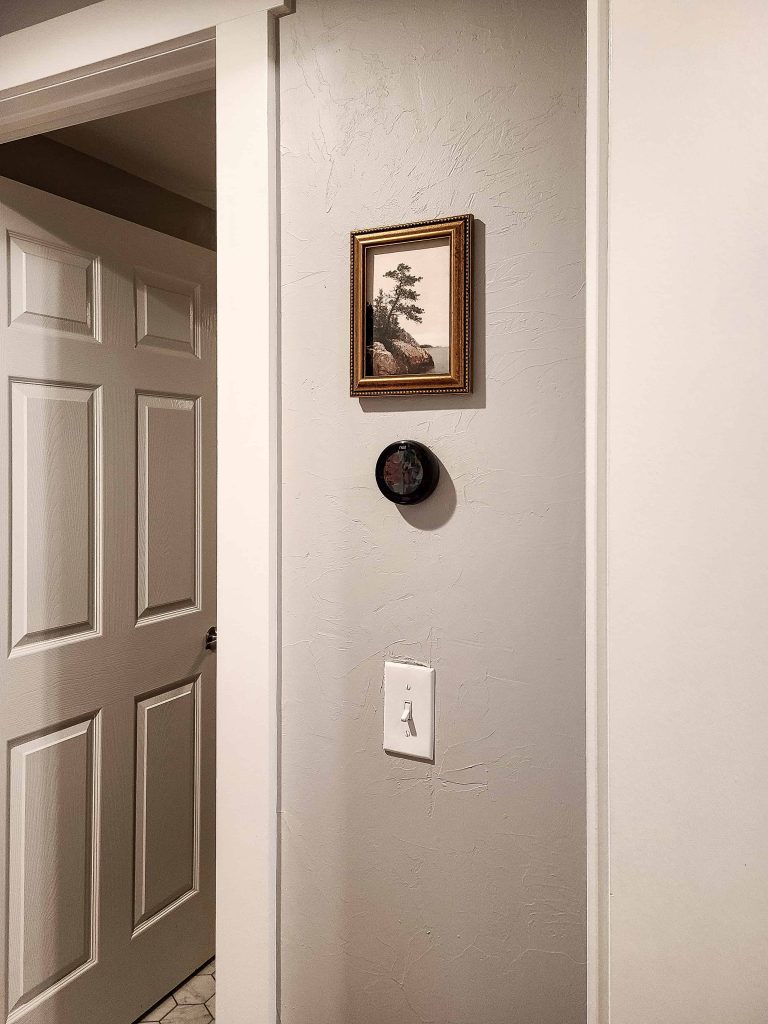
I used a Command picture hanging strip and put it up in our hallway right above our thermostat. It is a small little addition to our hallway, but it makes a huge difference. It really brings in so much character and vintage charm to the otherwise blank space on the wall.
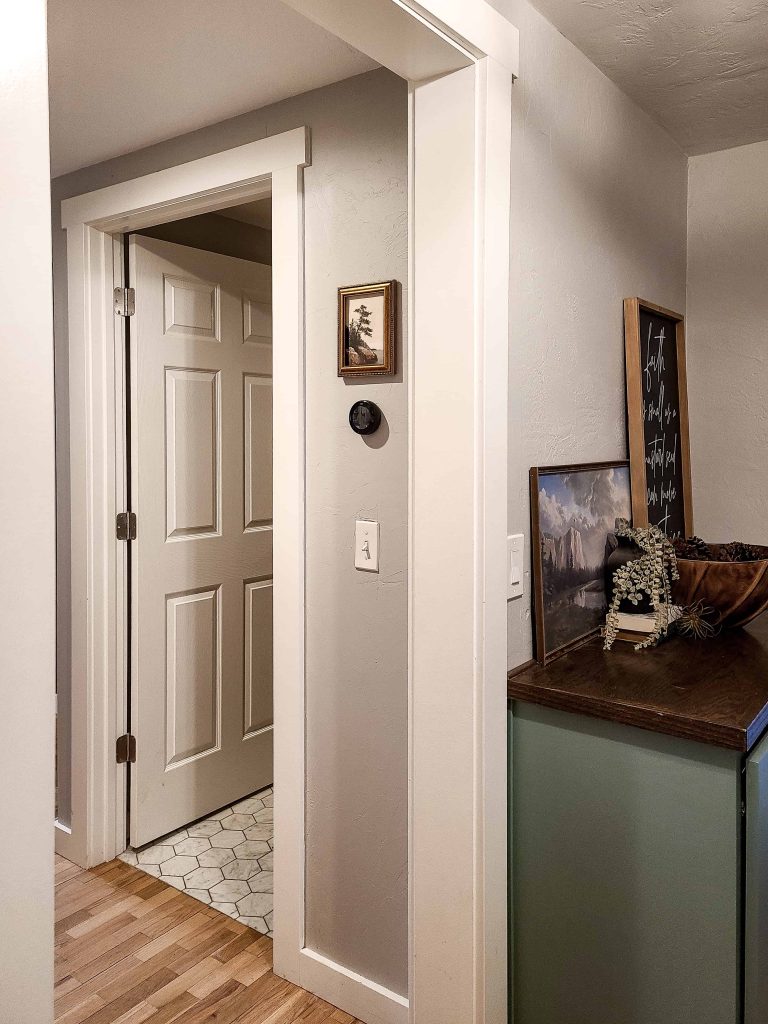
I’m feeling totally inspired after trying this fake oil painting hack with Mod Podge. This concept will totally work for larger prints too!
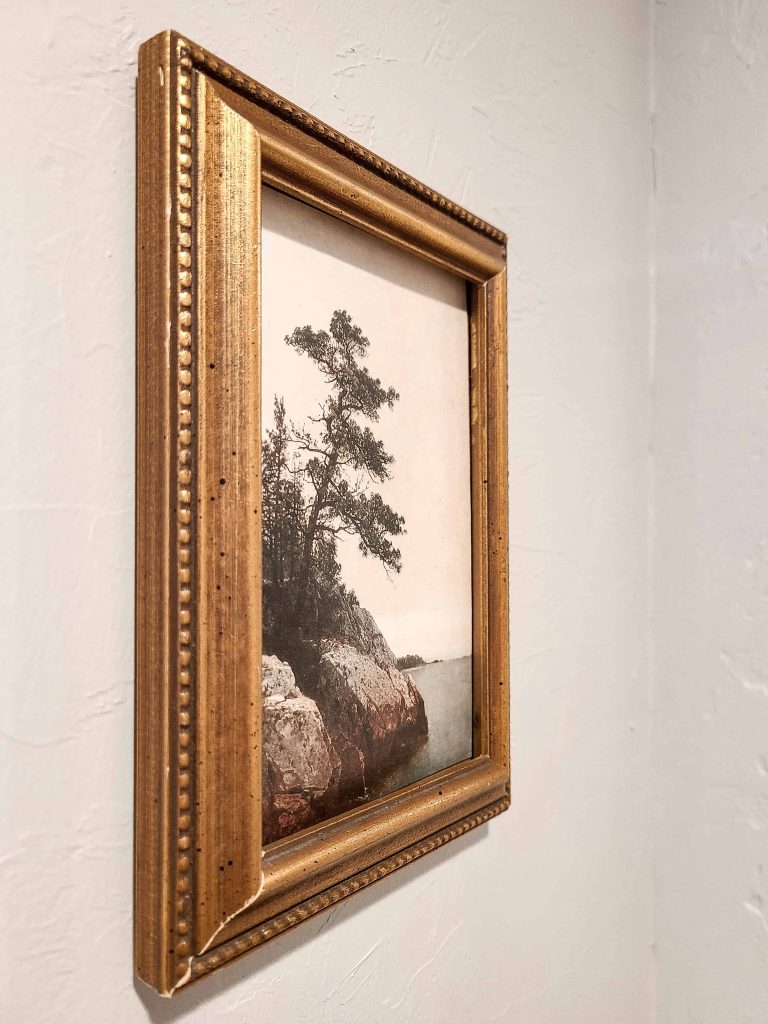
If you want to print something larger than you can using home printer, you can order the print from Amazon or get it printed at Staples, Costco, Walmart or FedEx. They all have good printing services.
Just be sure you select a non-glossy paper option if you’re getting your print professionally printed.
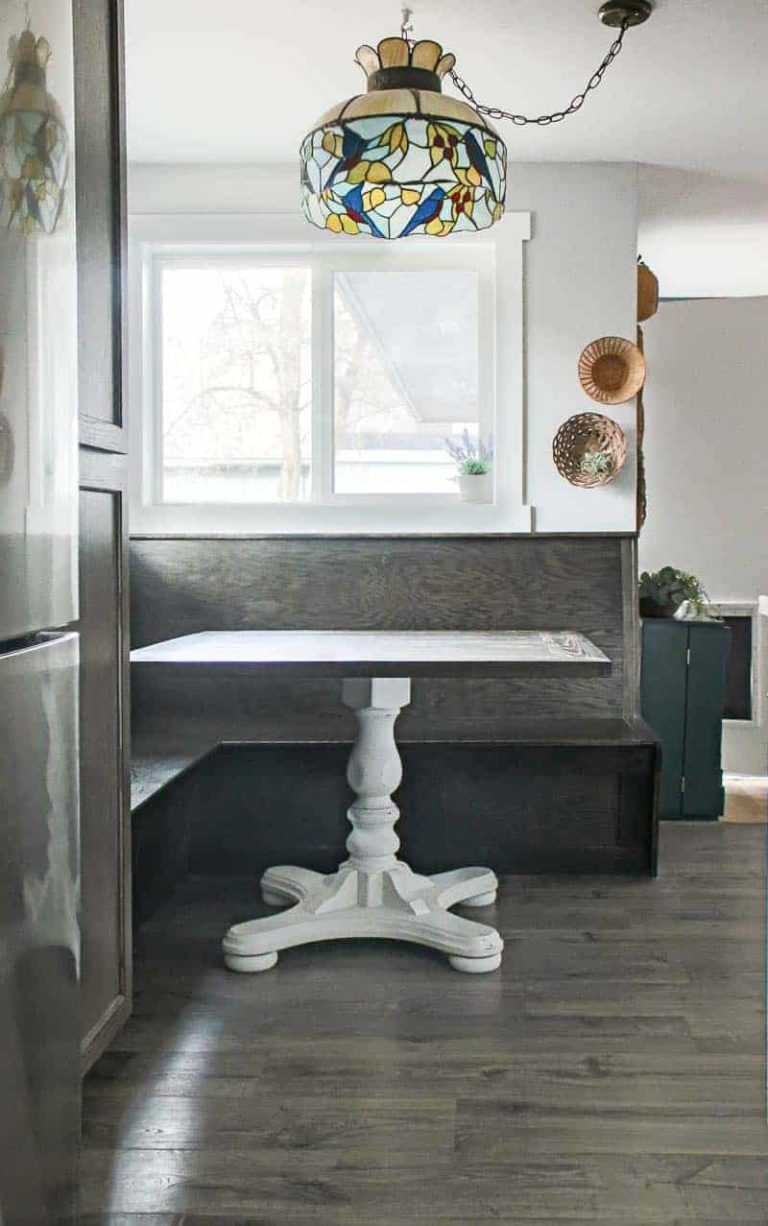
I’m feeling totally inspired by this. I am toying around with creating a little gallery wall of small vintage art like this around the windows in our kitchen where we have the banquette bench seating. What do you think? Should I try it?
Do you have any questions about how to make a print look like a painting? Are you going to try this? Let me know in the comments below!
How To Make A Print Look Like A Painting
Do you love the look of vintage oil paintings, but can't afford them? Use this fake oil painting hack with Mod Podge. Learn how to make a print look like a painting with this simple step-by-step tutorial!
Materials
- Frame, I got my for a couple of bucks at the thrift store
- Printable file (here's the one I'm using)
- Watercolor paper (or high-quality cardstock with a matte finish)
- Mod Podge with a matte finish
Tools
- Paper cutter
- Printer
- Spray adhesive
- Foam paintbrush
- Small artist paint brush
- Command picture hanging strip
Instructions
- Print out your printable art file
- Cut your print with a paper cutter
- Attach print to the cardboard backing of your frame
- Brush Mod Podge over the top of the print
- Add more texture with Mod Podge to make a look like a painting
- Put print in your frame and hang on the wall


Hi,
I’m hoping you see this! But when using the DAP spray to adhere the print to the cardboard —did you spray the cardboard or the print or both? Thank you!
Best,
Ashley
The instructions for the spray mention to spray it on both the surface you’re adhering it to and the back of the print, so that’s what I did.
Super helpful! Thank you for this! I’m going to buy a print on Etsy and do the same thing with some old frames I have sitting around! Excited to make a beautiful eclectic wall collage!
Also, I’d never used the Velcro hangers–what a great idea, so even though you thought everyone watching had heard of those, I hadn’t! I would have just winced and then drilled into the tile, ha! So glad to know there are other (effective!) long-lasting options other than “real” hangers out there!
So glad I was able to bring you into the world of Velcro hangers, they are AMAZING! You’ll never go back! They do work great on tile, we hung our bathroom mirrors with them even!
I saw a large print in a frame and fell in love with it. I didn’t order until I learned this could be done and I am so excited to get the print and transform it. Your steps were more detailed and added more texture. Thanks for the detailed steps!
My print will be 30×60. Will I need to attach a backing if it does not have one?
Because your print is so large, you may notice wrinkling or waving after you apply the Mod Podge. Go easy with light coats on the Mod Podge and if you do encounter this, you can add a backing to help keep it more sturdy. Good luck!