Baby Diaper Cake Tutorial For Diaper Shower
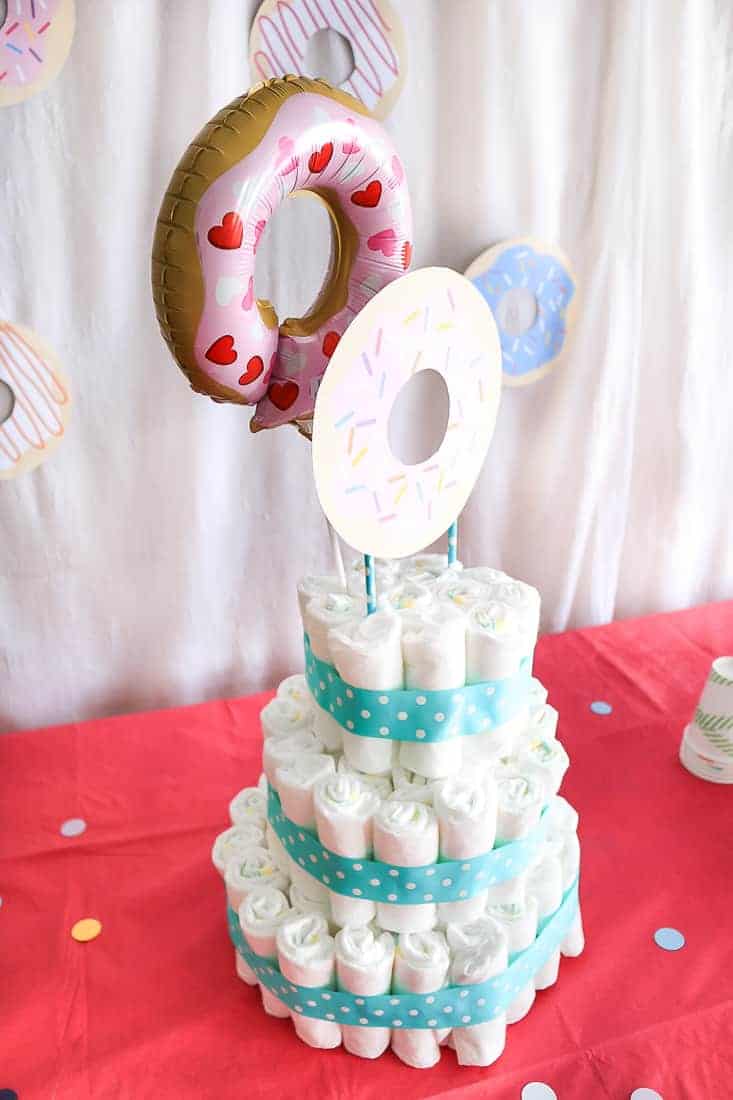
A while ago I shared all about the Donuts & Diapers Baby Sprinkle I threw for my sister. It was so much fun and the decor turned out so cute!! Since it was a diaper baby shower, we definitely needed a diaper cake.
What is a diaper cake?
A diaper cake is a bunch of diapers rolled up and stacked together in the shape of a real cake. It is a very fun way to gift diapers and it makes a great baby shower girl!
I was shocked at how easy it was to DIY a baby diaper cake. I had seen them before at baby showers and my sister had even made me one for my shower a couple of years ago. It was one of the most practical gifts I received at my baby shower and I definitely appreciated it, so I wanted to make one to give to my sister. This DIY diaper cake came together so quickly!
Related – Other Baby Shower Ideas and Inspiration:
Diaper cake for baby shower: video tutorial
If you love videos, be sure to subscribe to my YouTube channel!
This post contains affiliate links, but nothing that I wouldn’t wholeheartedly recommend anyway! Read my full disclosure here.
Supplies for baby diaper cake:
- Large box of diapers – size doesn’t really matter, but I used Size 1
- Rubber bands
- Ribbon, similar
- Scissors
- Straight pins
- 2 decorative straws, similar
- Printable donut (for topper) – get your free printable donuts here!
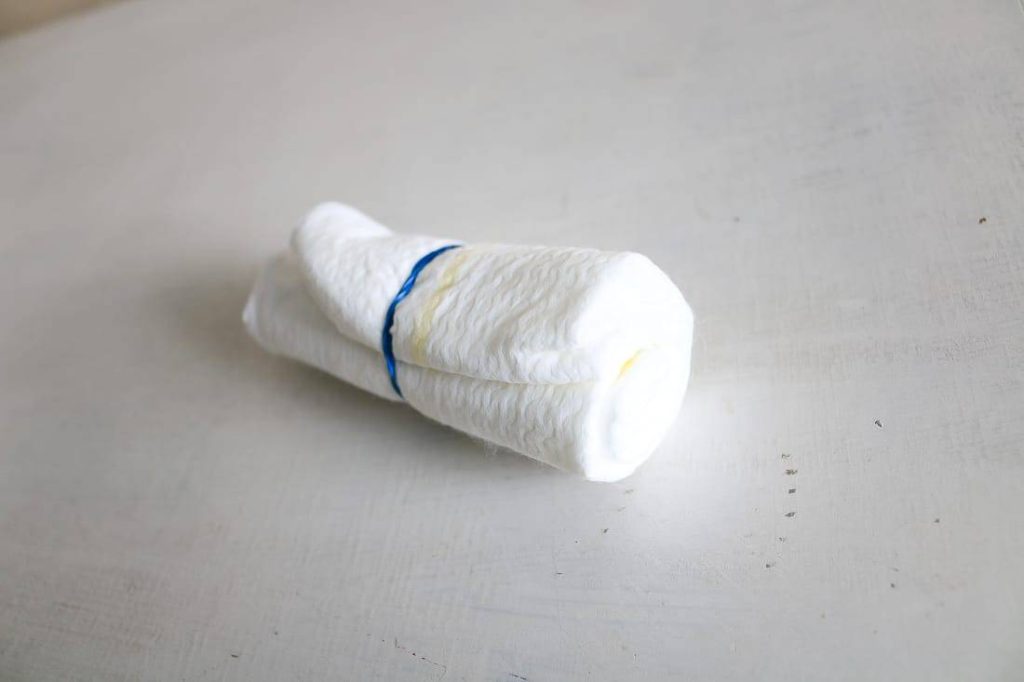
Step 1. Roll diapers.
Roll up each diaper from the top to the bottom and secure it with an elastic band.
The bag of rubber bands I got had three different sizes (color-coded based on size). The blue ones were the smallest rubber bands, so I used those for the rolled up diapers. Each individual diaper only needed one small rubber band.
This is really the most time-consuming part of making the baby diaper cake, but I’d recommend turning on some good TV and grabbing the diapers and rubber bands.
It didn’t end up taking as much time as I thought it would though.
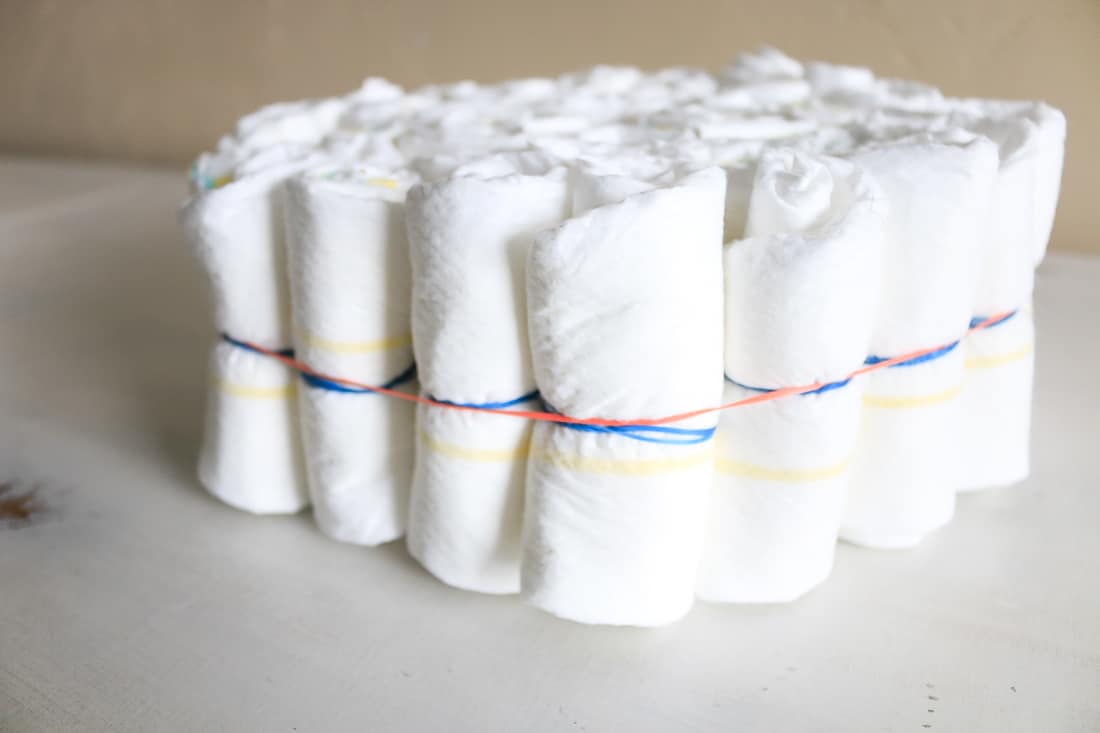
Step 2. Make the bottom layer of diapers.
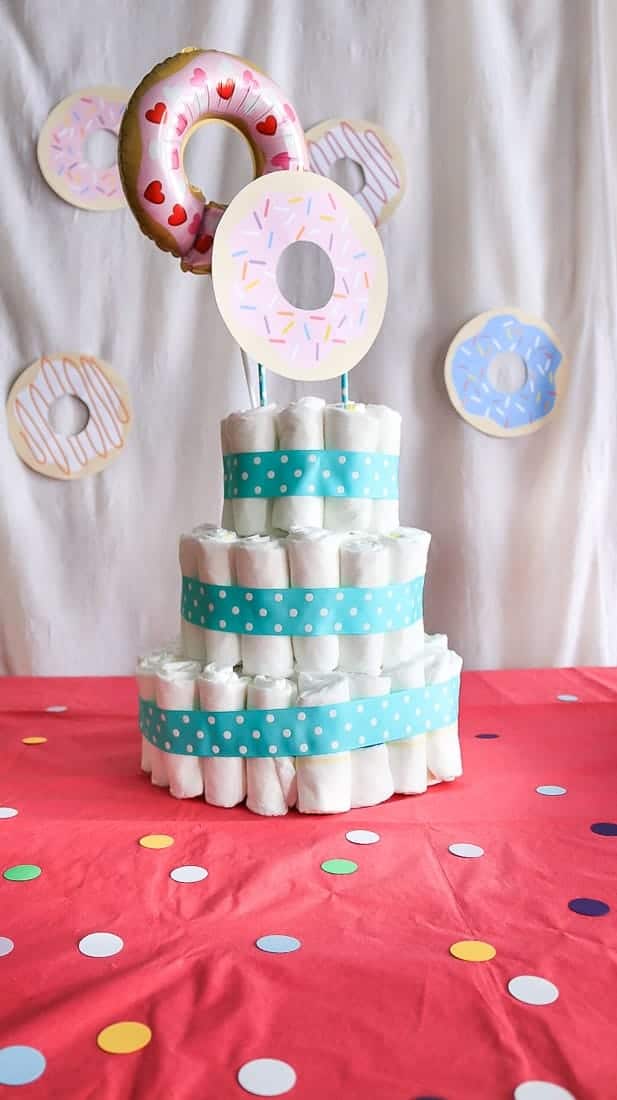
Now the baby diaper cake-making begins! Start combining the diapers together in a large round tier (just like a cake!).
For the bottom tier, I first made the middle section of the circle by putting together groups of three diaper rolls rubber banded and then started making a large circle by pushing them all together.
I put one of the largest rubber bands around the grouping and continued just adding in individual rolled-up diapers until it was a good size. I used approximately 48 diapers on the base layer.
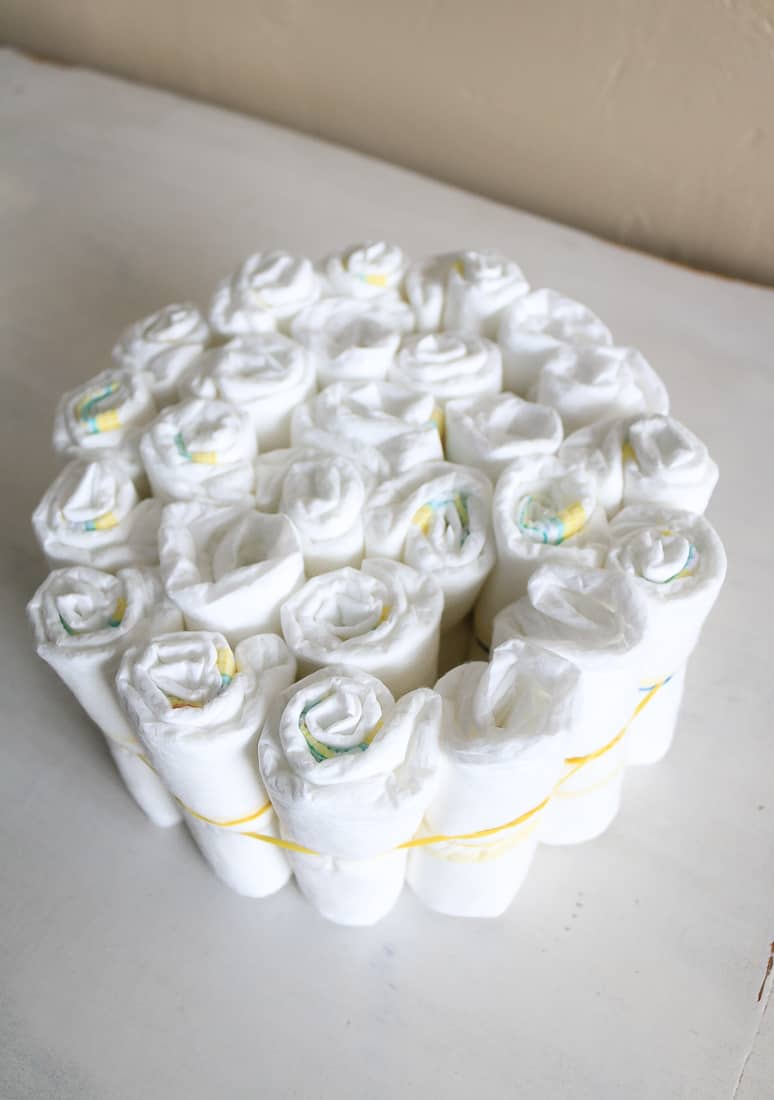
Step 3. Make a middle tier.
The second layer came together much in the same way as the bottom tier. I combined the rolled-up diapers in a round shape and put a large rubber band around them to hold them in place.
There are approximately 26 diapers in the second tier.
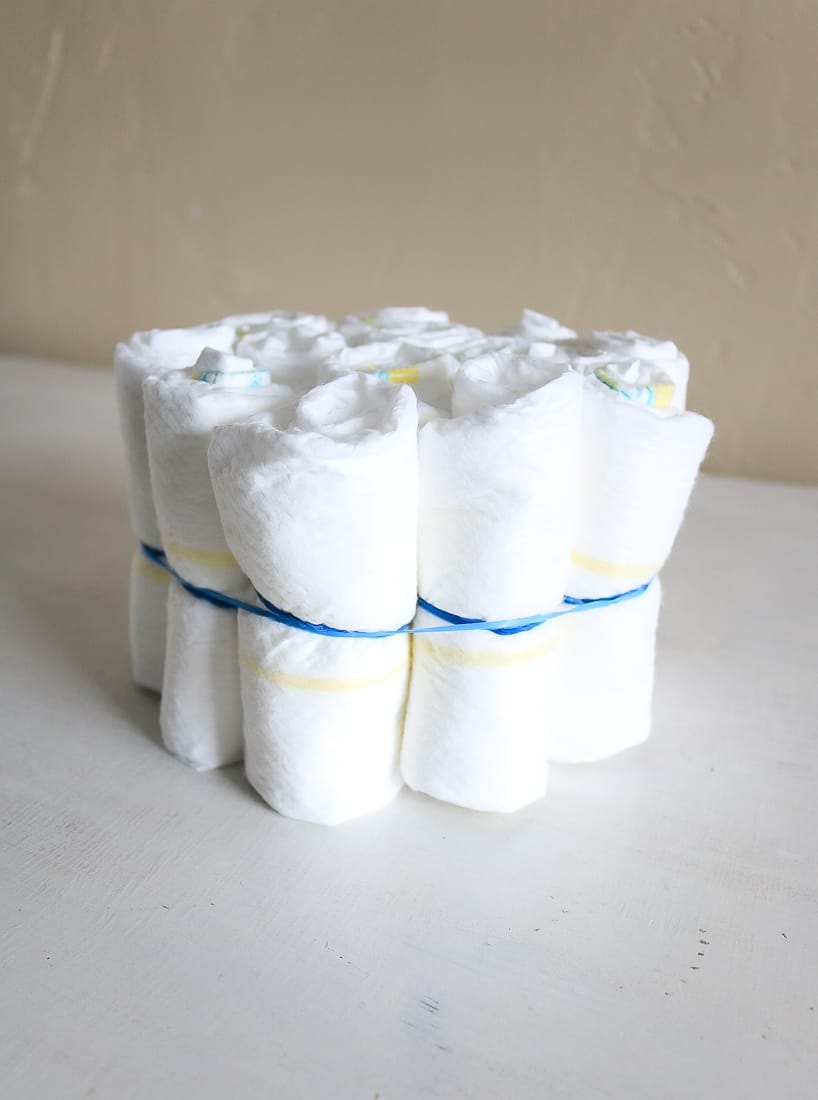
Step 4. Make the top tier of the diaper cake.
You should have the general gist by now. Put the rolled-up diapers in the round shape and rubber band together.
There are about 13 diapers on the top layer.
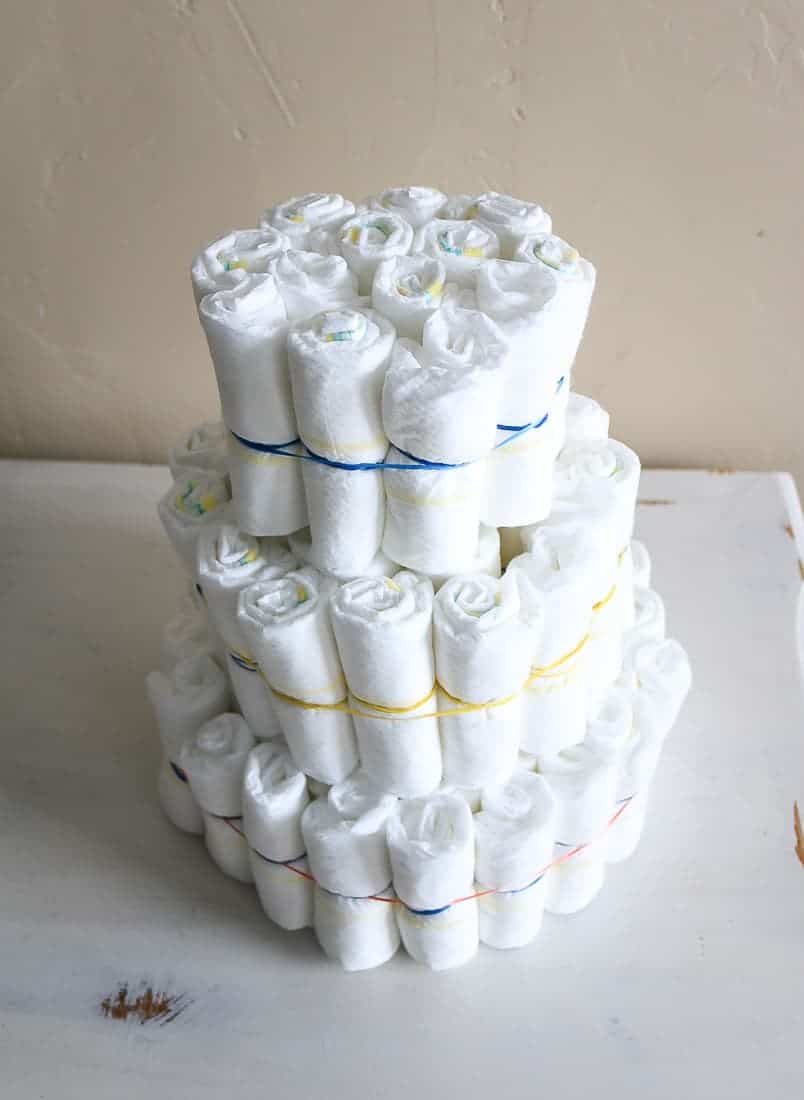
Step 5. Stack three tiers of diapers.
All I did to build the diaper cake up was simply stack the three tiers on top of each other. There wasn’t any other support needed. But I’m sharing some other tips for making it stronger at the end of the post if you need to transport it.
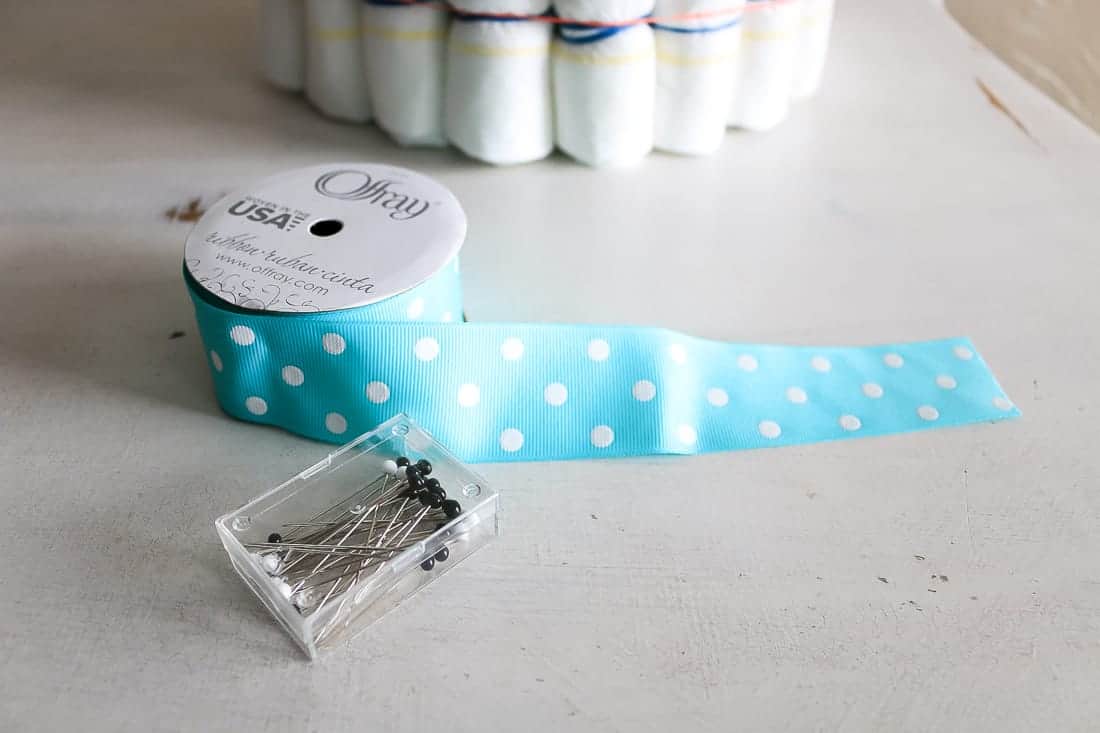
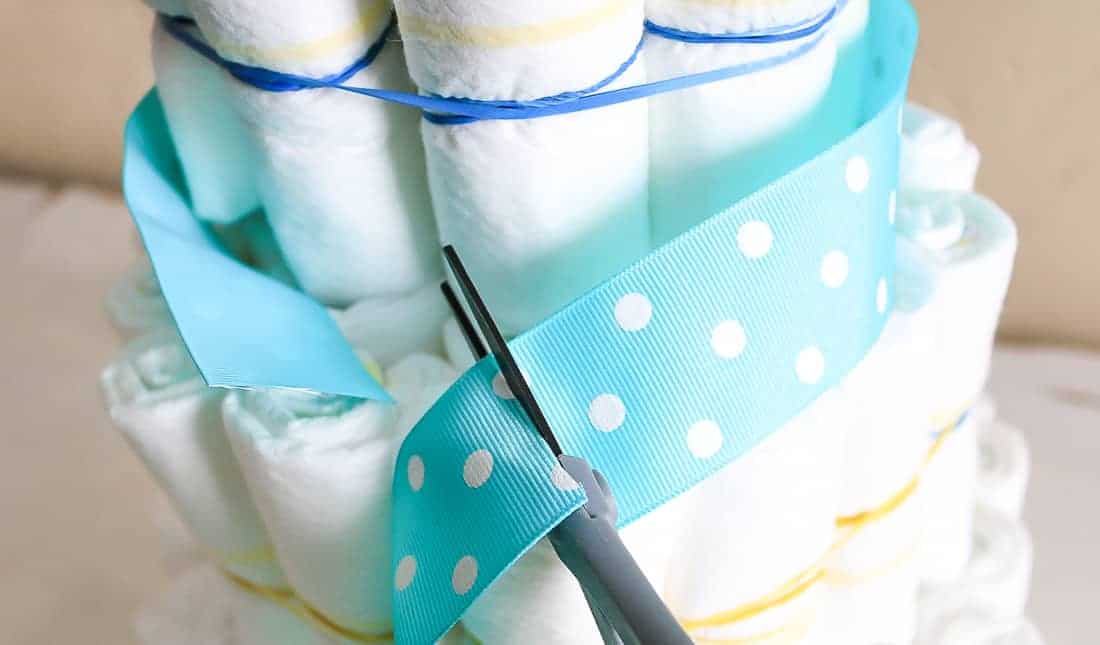
Step 6. Cover rubber bands.
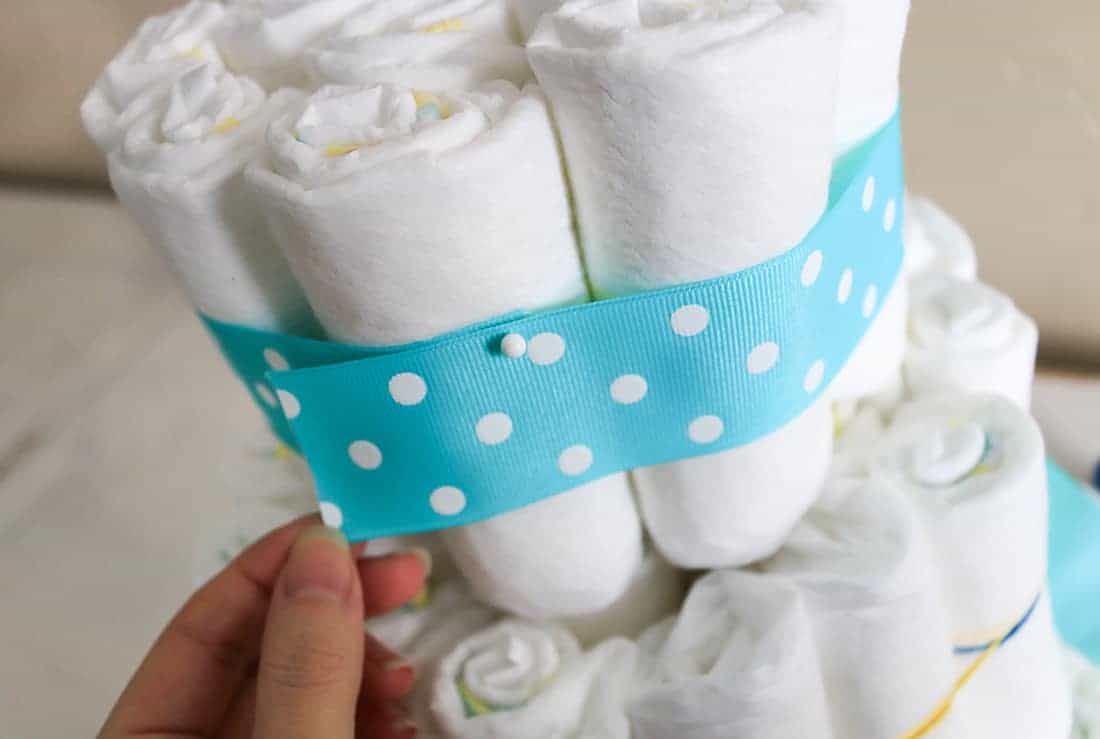
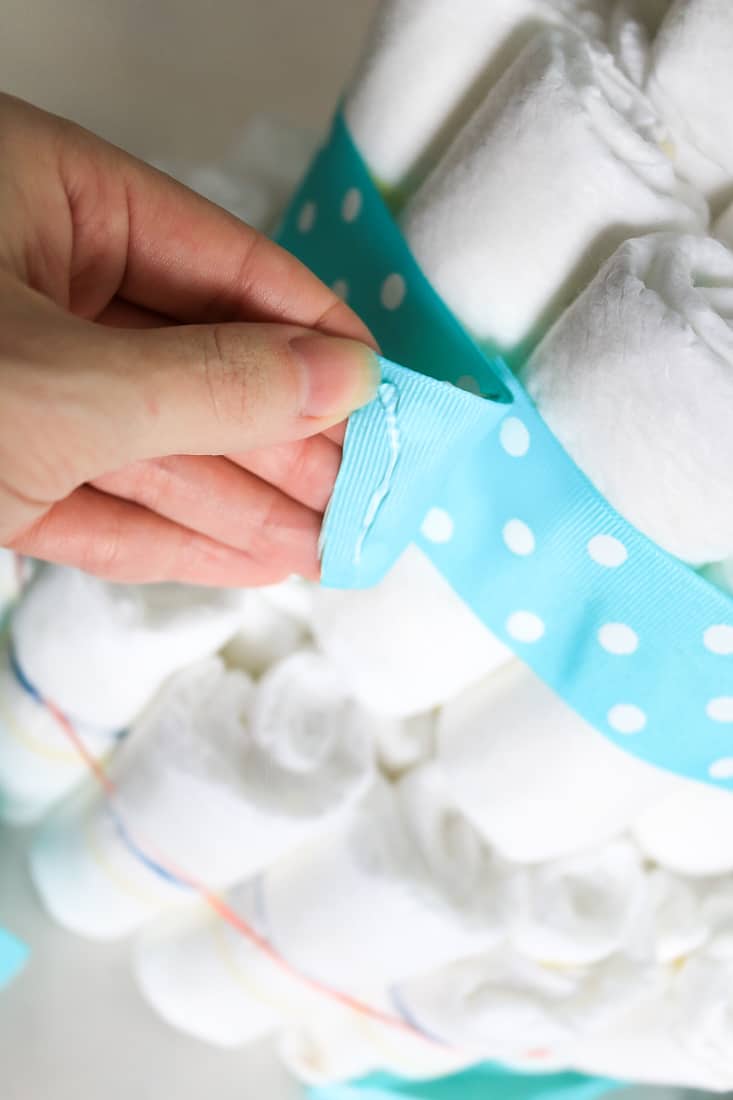
To cover up the rubber bands on the tiers, wrap a piece of ribbon around the rubber bands and attach it with straight pins and a touch of hot glue. Repeat on all three tiers.
You can use any type of ribbon you want here, as long as it is wide enough to cover the rubber bands.
Burlap ribbon would be a good idea if you’re going for more of a rustic look or neutral color scheme.
Step 7. Make a topper for the diaper cake.
This is the fun part! You can design a topper for the top of the cake to fit with the theme of the baby shower.
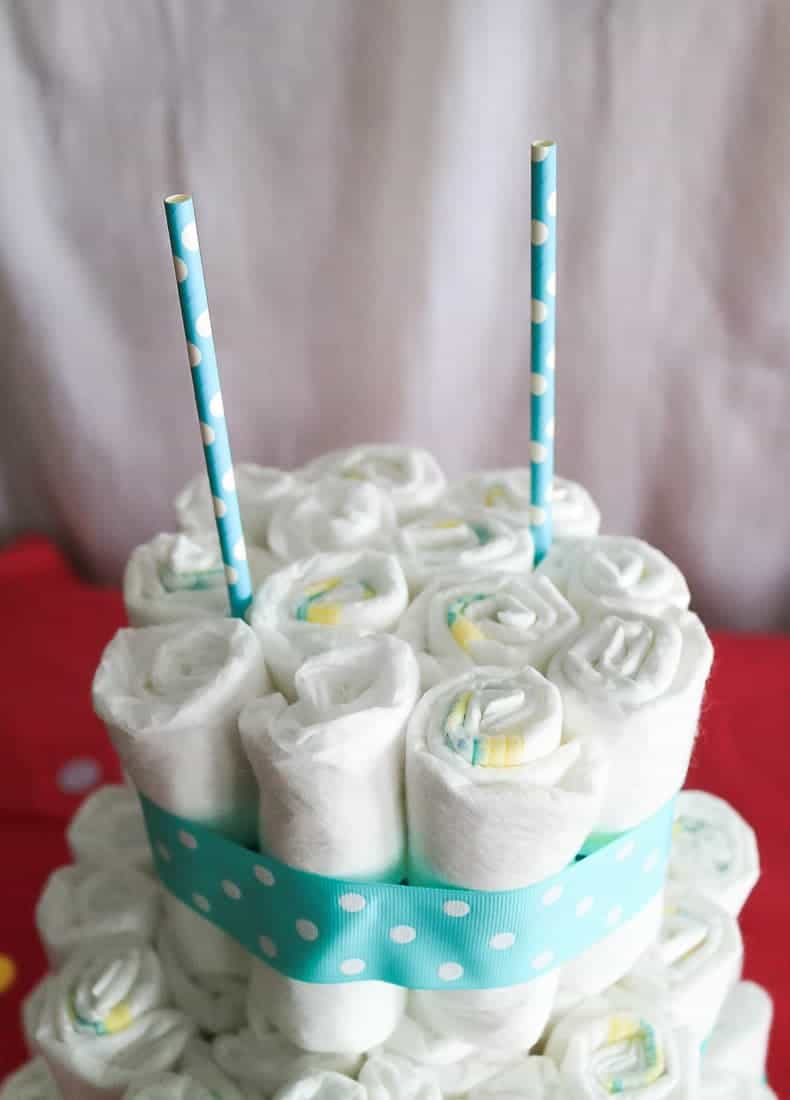
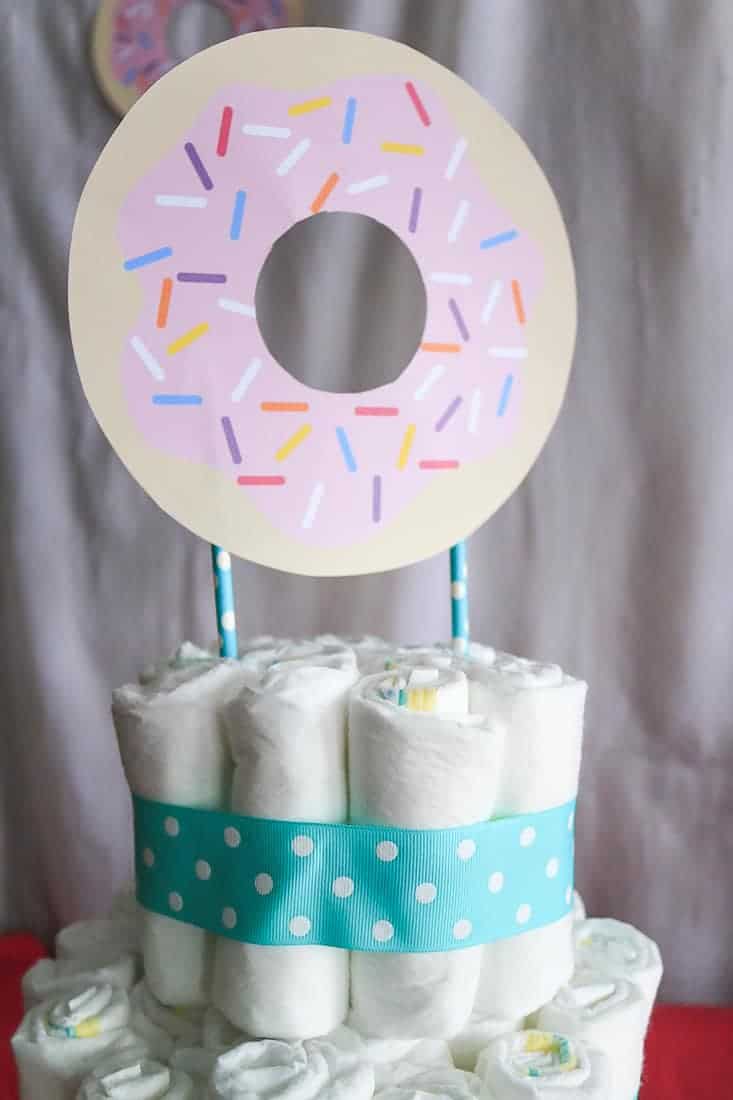
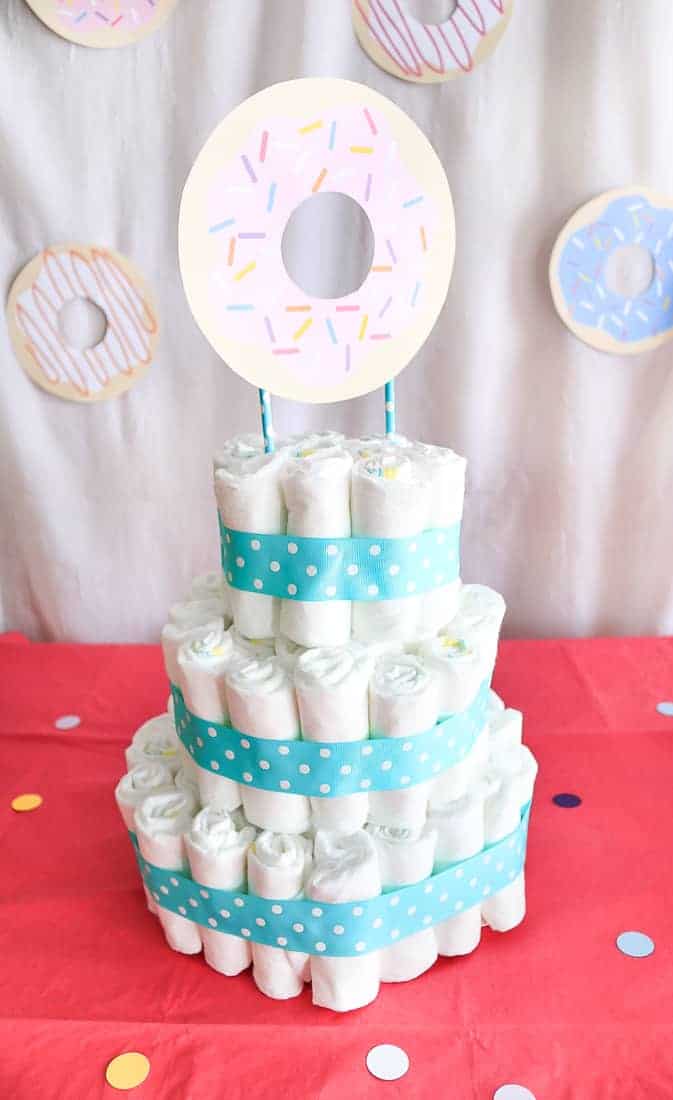
You can print out a design and then just tape it to some decorative straws. The straws just slide into the top tier of the diaper cake.

I, of course, was doing a Donuts & Diapers Baby Sprinkle Shower for a baby shower theme….hence the donut topper.
If you’re looking for something similar, have no fear. I’m giving away those donuts as a free printable. Just hop on over to this post to download them.
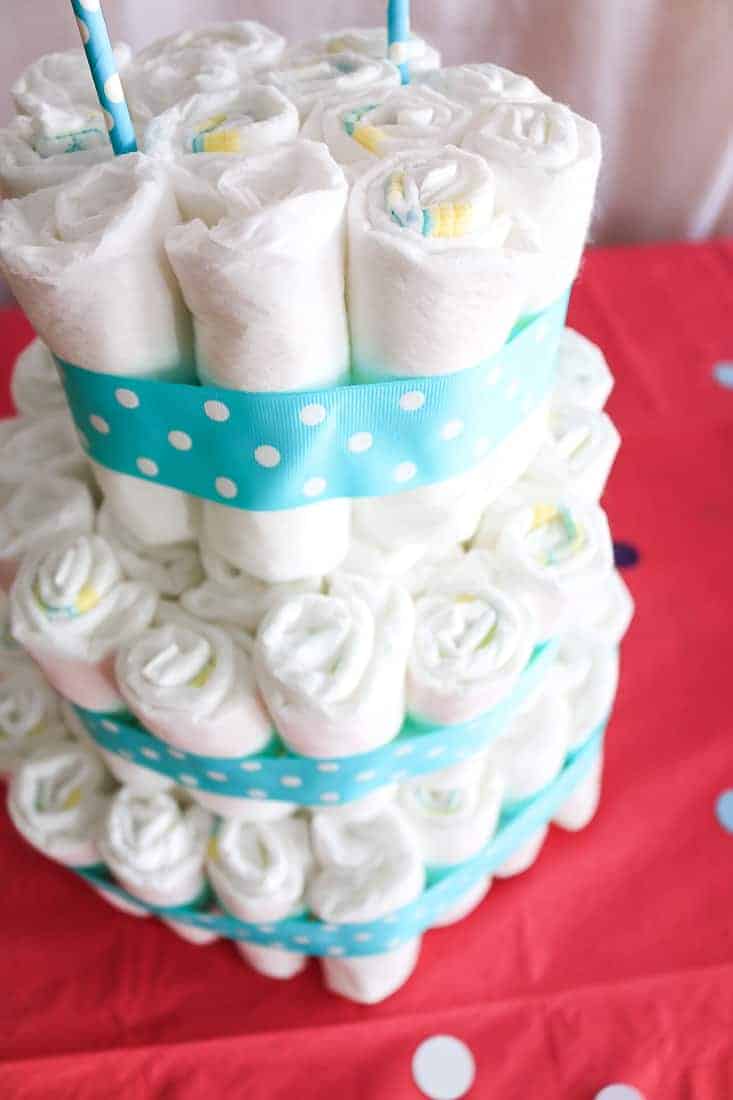
See! I told you guys it was super simple to create a diaper cake! You can easily make your own diaper cake for the next baby shower you host or attend.
The new mom will be thrilled to receive such a cute and PRACTICAL gift because sooner, rather than later, she’ll be flying through the disposable diapers!
Frequently asked questions about diaper cakes
How many diapers do I need for my diaper cake?
One of the most frequently asked I get about this project is about the number of diapers, so I’m so glad that I took note when I made it!
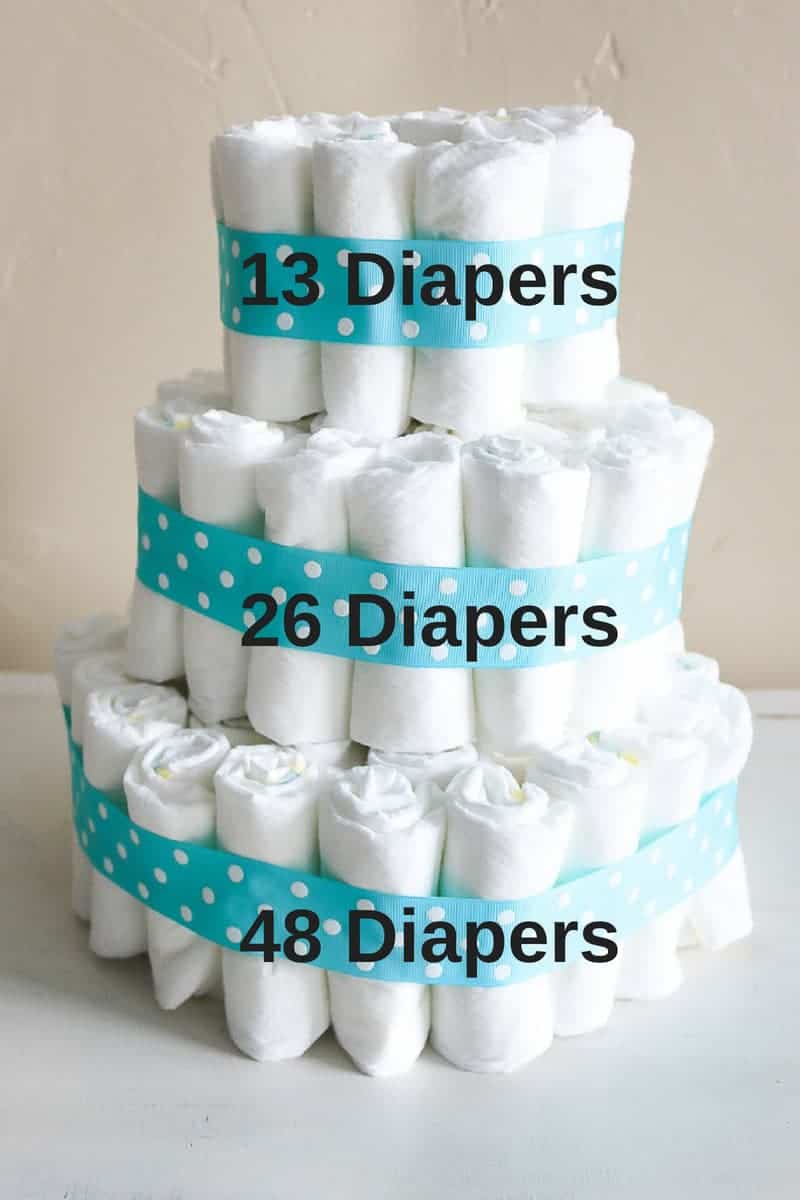
- The base tier has 48 diapers.
- The middle layer has 26 diapers.
- The top part has 13 diapers.
Altogether, that adds up to 87 diapers and I think I purchased a package of 90 or 100 diapers, so there were a few extra diapers if I remember correctly.
What size diapers do you use for a diaper cake?
This is another question that I get a lot when I share this craft! I used Size 1 diapers, but you could use a different size if you wanted.
If you wanted to use a mix of different sizes, that would be fine. However, you need to keep the same size on each level of the cake so it is a nice flat surface. Different size diapers will be different widths when they are rolled up.
How do I make this diaper cake bigger or smaller?
To make a mini diaper cake, you could just use one or two tiers or use fewer diapers on each tier. Smaller diaper cakes would be great baby shower decorations for centerpieces, as one commenter below mentioned.
To make a larger diaper cake, you can simply add more diapers to each layer or add one more layer to the cake. As the diaper cake gets bigger, you may need some more reinforcement…which leads me to the next question.
How do I make a diaper cake stronger?
I simply stacked the layers of rolled-up diapers on top of each other, which worked fine. But I was hosting the baby shower at my house, so I didn’t worry too much about making it strong or needing to transport it.
If you want to make the diaper cake more durable, you can add a paper towel roll into the middle of the cake going through all three layers for some stability. You can also add a cake base or cake board (cardboard round) in between the cake layers as well.
What brand of diapers should I use?
You can use any brand of diapers for the cake, but I used Pampers Swaddlers. You’ll find that these ones don’t have a lot of extra pictures and are mostly white.
I made this diaper cake years ago and at that time the Pampers Swaddlers were completely plain, but I see now that Pampers Swaddlers have some little pictures so those may be shown on the cake after the diapers are rolled up. Let me know if you find a brand that sells plain white diapers!
Can you incorporate other gifts into the diaper cake?
Yes, you can totally incorporate other types of baby essentials into your diaper cake. You can roll up baby socks, baby blankets, burp clothes, or towels and use them in place of rolled diapers.
You can also top it with a stuffed teddy bear or a small basket filled with baby lotion, diaper cream, wipes, baby wash, or other small baby items!
For an extra touch, you could also stuff in some crinkle paper in a color that matches or even a gift card!
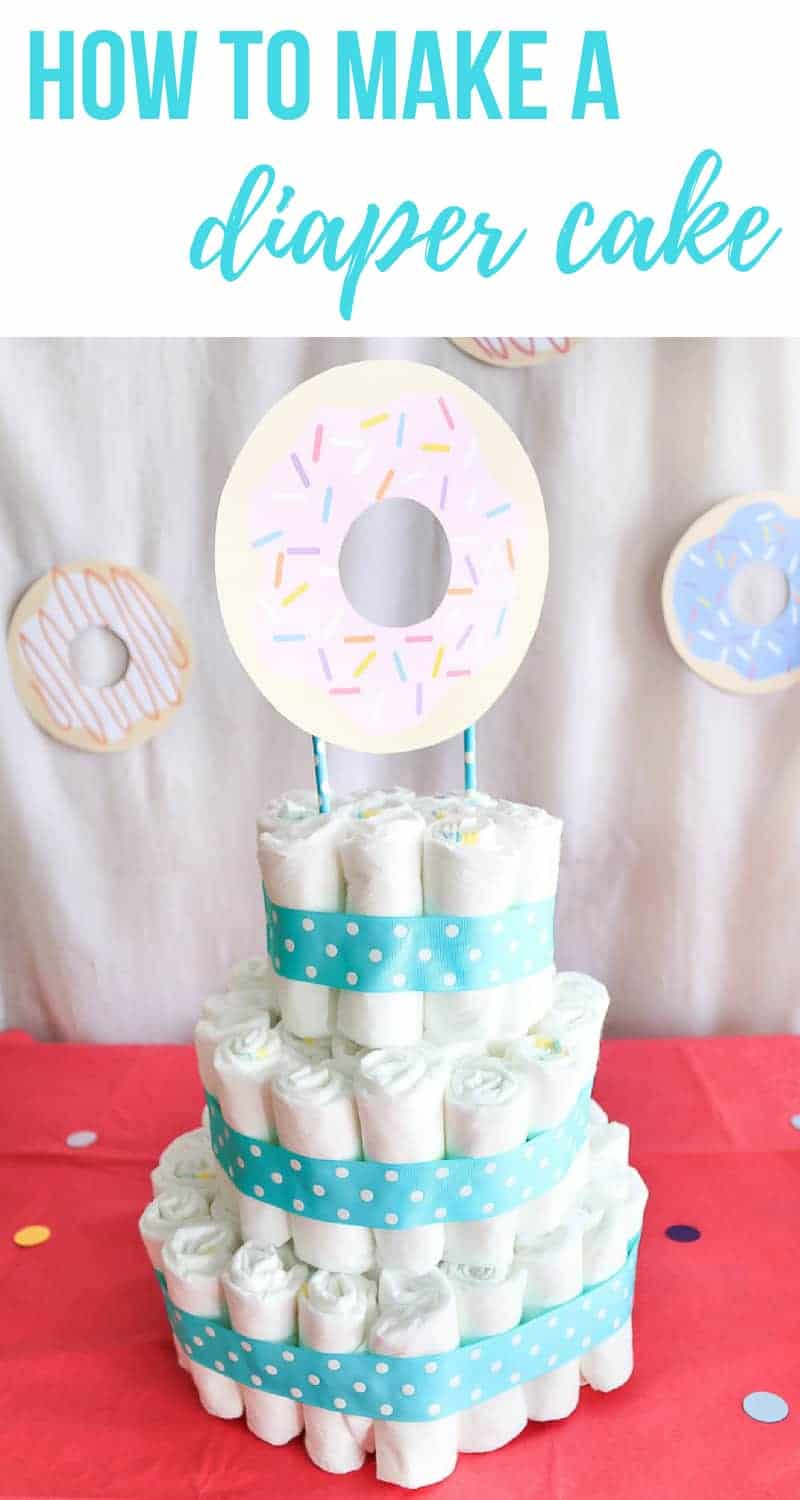
A diaper cake is a great baby shower gift that the mom-to-be will certainly appreciate. You can totally make one yourself for your next themed baby shower by following along with these easy instructions!
What kind of topper would you put on your cake??
Let me know in the comments below!!
How To Make A Baby Diaper Cake
Every baby shower needs a diaper cake! If you're wondering how to make a diaper cake, follow along with this easy step-by-step tutorial.
Materials
Tools
- Scissors
- Straight pins
Instructions
- Roll diapers and secure with rubber band.
- Make bottom tier of diapers and secure with large rubber band (approximately 48 diapers on bottom tier)
- Make middle tier of diaper cake and secure with rubber band (approximately 26 diapers on middle tier)
- Make top tier of diaper cake and secure with rubber band (approximately 13 diapers on top)
- Stack three tiers of diapers.
- Cover rubber bands with ribbon attached with a straight pin.
- Make topper and attach with decorative straws.


What size cake circle did you use??
Christina, I didn’t use a cake circle for this. I just rolled up the diapers individually and then grouped them together with a rubber band! 🙂
Are these cloth or disposable diapers?
They are disposable.
Does it matter what size diapers to use? I have newborn and size 1
No that shouldn’t matter! I would just recommend to keep the same sizes on each level so it is a flat surface because the different sizes will be different widths.
What’s the diameter for the top layer alone? I’m just making one layer cakes for centerpieces. Thanks!
Hi Karen, I don’t have the measurements of the cake written down, but if I had to guess I’d say the top layer was roughly 6-7 inches wide.
Hi Chelsea
I’m making the diaper cake it was very easy. Mine is going to be Winnie the Pooh
Theme cake topper is Winnie the Pooh stuffed animal.
Oh how fun is that! Thanks for sharing.
Hi Chelsea.
Can you tell me what brand of diapers you used? Everything seems to have pictures all over the bottoms instead of just white diapers….
Thanks!
I’m fairly certain I used either Pampers or Huggies.