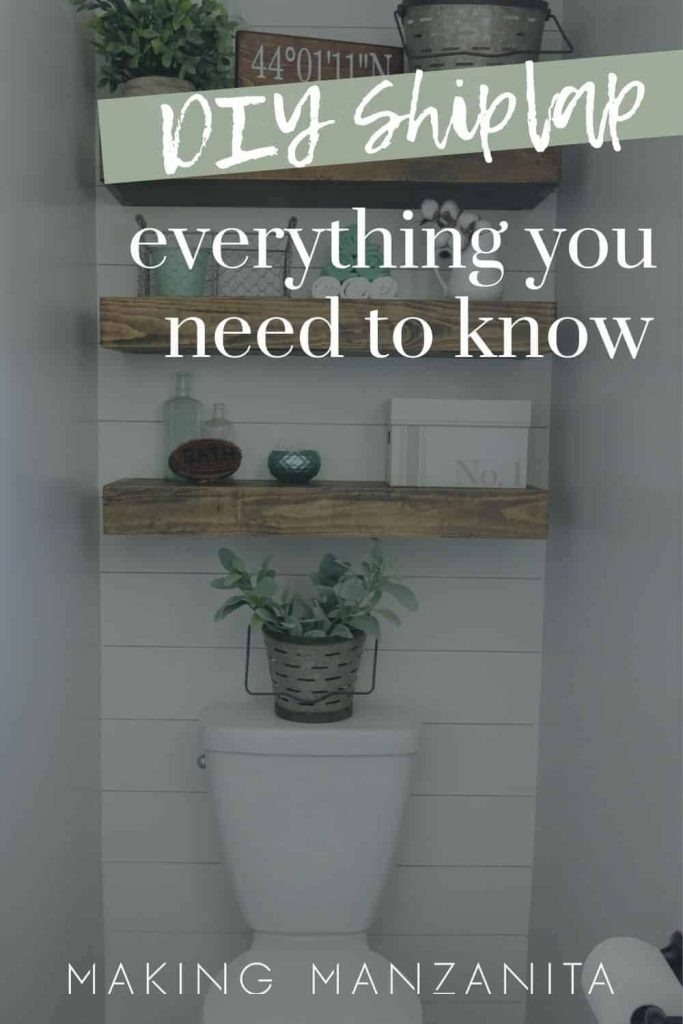
Installing DIY Shiplap – Everything You Need To Know!

Calling all shiplap fans! Shiplap is an affordable and fun way to add interest to your home, but there are a few things you need to know before you install it! Here are the answers to all of your DIY shiplap questions and a summary of the pros and cons of installing shiplap!
Shiplap has been around forever, but thanks to HGTV’s Fixer Upper it blew up and we’ve seen it EVERYWHERE over the last few years.
Now I know you guys LOVE DIY shiplap walls because I’ve done a few other shiplap wall tutorials and turns out they are consistently my top-trafficked blog posts!
Table of Contents
- FAQs about installing shiplap
- What’s the cheapest way to do DIY shiplap?
- Can you install shiplap in a bathroom?
- Can you shiplap a whole room?
- Can shiplap be installed vertically?
- How wide is shiplap?
- What is the spacing between shiplap?
- Do you need to glue shiplap?
- Do you screw or nail shiplap?
- How do you nail shiplap?
- Should you paint the shiplap before installing it?
- Do you paint between shiplap boards?
- Do you fill nail holes in shiplap?
- Do you caulk corners of shiplap?
- How do you cover shiplap edges on an outside corner?
- How much shiplap do I need?
- Pros of DIY shiplap
- Cons of installing shiplap

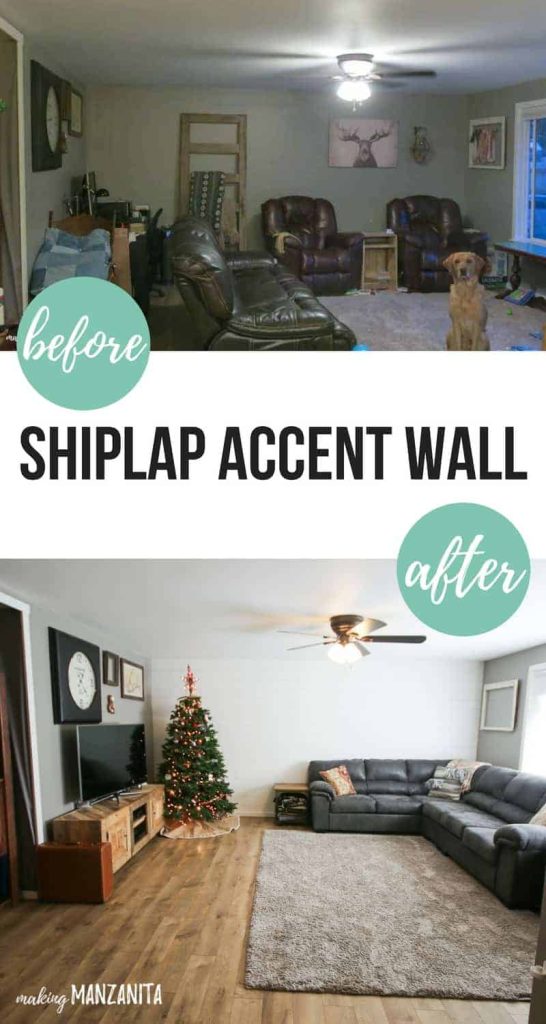
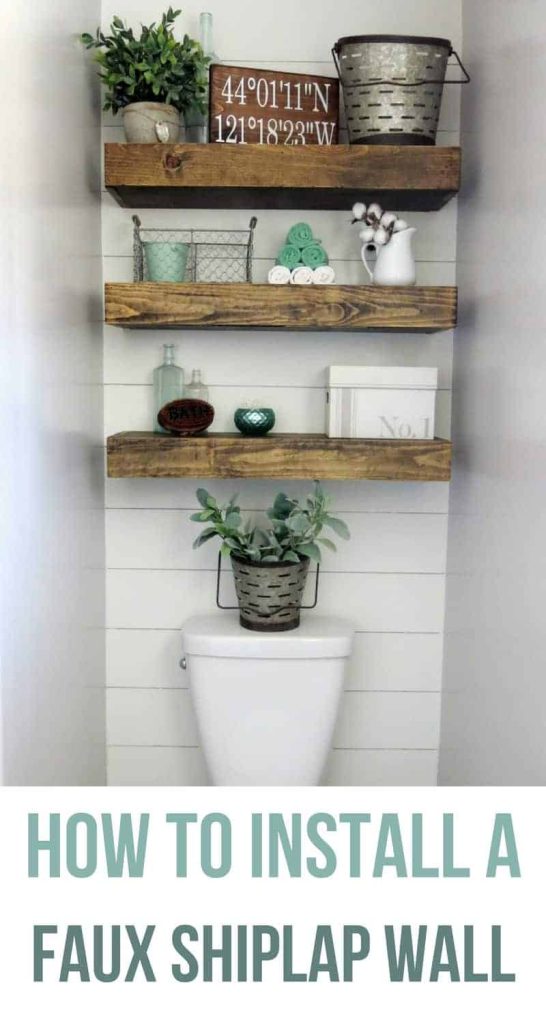
My other popular shiplap tutorials:
(Click photo to see tutorial)
This DIY shiplap guide contains affiliate links, but nothing that I wouldn’t wholeheartedly recommend anyway! Read my full disclosure here.
FAQs about installing shiplap
Since publishing these two popular shiplap tutorials a few years ago, I’ve gotten a lot of questions about DIY shiplap (specifically about the installation process) so I thought I would go super in-depth in today’s post and answer ALL your questions about DIY shiplap with a fun FAQs section.
Before you install your first board, it pays to learn everything you can about shiplap installation. Whether you’re installing shiplap in your dining room or your master bedroom (even if you’re installing shiplap on your ceiling), you’ll learn something from this article.
What’s the cheapest way to do DIY shiplap?
It’s no secret that buying the premade shiplap (true shiplap boards) is pretty expensive, but there are several very affordable ways to do faux shiplap in your home.
- Draw lines to mimic shiplap on your walls with a Sharpie paint marker (like this)
- Install peel & stick shiplap wallpaper (like this one)
- Rip down 1/4″ sheets of plywood into shiplap slats with a table saw (like we did with this faux shiplap wall and this vertical shiplap wall)
- Get creative with the type of wood and use MDF instead of plywood
- You can even route out groves in a sheet of MDF or plywood like this
Can you install shiplap in a bathroom?
Wood treatments are always a little risky to install in a bathroom or area exposed to a lot of moisture or humidity.
I would not recommend putting the shiplap in a place where it will be frequently exposed to water or come in direct contact with water (like behind a sink where water will splash up or above a shower/bath or shower surround in a bathroom that is used regularly). However, there are several steps you can take to protect your shiplap in the bathroom.
Can you shiplap a whole room?
Even though I usually do shiplap as an accent wall, you could totally shiplap an entire room. I love this mudroom that has shiplap installed on all walls.
Can shiplap be installed vertically?
Yes, shiplap can be installed horizontally, vertically, or even diagonally! Horizontal boards have more of a traditional feel and bring your eye around the room.
Vertical shiplap has a more modern look and will make the room feel taller. It’s a great choice if you want a different look!
How wide is shiplap?
The width of your shiplap panels is totally up to you! I’d say a standard size is 6″ – 7″.
What is the spacing between shiplap?
Again the spacing between your shiplap planks is your personal preference, but a popular opinion is between 1/8″ & 1/16″ – which is the same size as a nickel, so it is also called a nickel gap. Nickels work as great spaces between the shiplap pieces, so that’s what we always use.
Alternatively, you can also use tile spacers in between your shiplap during installation.
Do you need to glue shiplap?
Gluing your shiplap is not absolutely necessary. If you are installing shiplap horizontally, you want to find the studs in your walls with a stud finder and add your nails there.
However, if you are installing the shiplap vertically, it can be trickier because not every slat would line up with a stud. For this reason, we recommend using a high-quality construction adhesive for vertical shiplap in addition to nails (or staples, as we used on this vertical shiplap wall).
Do you screw or nail shiplap?
Nails are the preferred method for attaching to shiplap to the wall, rather than screws. With screws, you’ll have a large hole to fill, it takes longer and it is more likely to split the wood.
How do you nail shiplap?
Mark the location of the studs on your wall. You want to line the nails up to that line so they go into the wall studs. Hold a finish nail gun at a 45-degree angle and put the nail into the shiplap into the tongue on the edge. If you aren’t using tongue-and-groove, you can also put the nails into the face of the shiplap.
Should you paint the shiplap before installing it?
I would recommend doing your first coat of paint before installing your shiplap. This will save time. Keep in mind that after you attach the shiplap to the wall and fill the nail holes, you will definitely need to paint the 2nd coat.
Do you paint between shiplap boards?
Even though it is small, you will be able to see the wall behind the shiplap in between the small gaps. Instead of painting in between the shiplap boards (which is very tedious and must be done with a small artist paintbrush), paint the wall before you install the shiplap with the color that you will be painting on the shiplap.
Even if you’re using a paint sprayer for your shiplap, I would recommend painting the wall first because the sprayer may not be able to get in between the small gaps fully.
Do you fill nail holes in shiplap?
This is up to you! For a more rustic look, you can leave the nail holes exposed. We left the visible nail holes from our finish nailer exposed on this plywood shiplap wall in our living room.
For a more modern and finished look, you can fill the nail holes with spackle applied with a putty knife, sand smooth, and paint. Learn how to fill nail holes here.
Do you caulk corners of shiplap?
Yes, you should caulk the corners of shiplap walls and where the shiplap meets the ceiling & baseboards or floors. This will cover any gaps and give you a nice, finished, and professional look.
You can use painter’s tape on each side of the caulk line if you’re worried about it being messy. We always use this high quality paintable caulk. Check out these tips and tricks for caulking to learn the basics.
How do you cover shiplap edges on an outside corner?
If you are installing DIY shiplap on an outside corner, you can miter the edges with a miter saw so they come together at a point and then caulk the edge. Alternatively, you can install a corner trim to cover the corner completely.
How much shiplap do I need?
To calculate how much shiplap you need, start by measuring the height and width of each wall and multiply them together to determine the total square footage needed.
Next, calculate the total square feet that each shiplap plank covers by multiplying the length of the board (in inches) by the width.
Now, divide the SF of your wall by the SF covered by each plank to determine how many planks you need to buy. Lastly, add 10% more or round up to accommodate for waste.
Pros of DIY shiplap
- It’s a simple and relatively cheap way to add texture to a room.
- It is easy to install yourself. You only need basic carpentry skills and a few power tools.
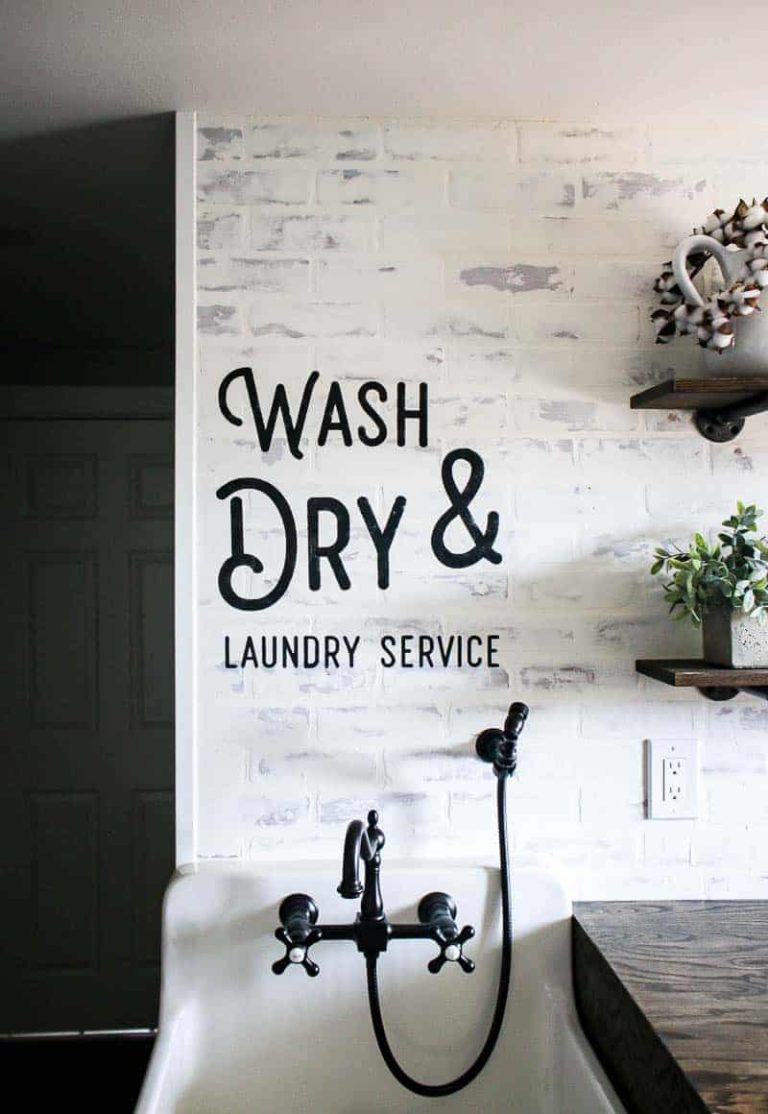
- Shiplap works with a variety of home decor styles – it’s not just for the farmhouse anymore! Check out this modern take on shiplap, which turns out so good!
- It can be customized with different finishes – like simple white paint, which is most common. But shiplap can also be whitewashed, painted a dark and moody color, left in rustic wood tones, or even stained!
Cons of installing shiplap
- Some people warn that shiplap is going out of style, but I beg to differ! I think if you just focus on styling your home with things you genuinely LOVE rather than following trends, it will never out of style! However, if your tastes change, you can always remove the shiplap and try something new, like a DIY slat wall, board and batten, or DIY wainscoting.
- Others have mentioned that the spaces in between shiplap planks and collect dust, but I’ve never noticed this in our home. If you have trouble with dust on your shiplap walls, you can always vacuum or wipe clean.
So what do you say? Are you ready to do a shiplap project in your home?