How To Dry Brush Paint: Easy Technique To Get A Distressed Look

Add a distressed and worn look to your woodworking project with dry brushing. This painting technique gives the wood a rustic and coastal vibe with minimal effort. With easy step-by-step instructions and a video tutorial, you'll learn how to dry brush paint on wood. This quick and easy project is perfect for beginners.
Dry brush painting is a great way to achieve a worn and distressed look without a lot of sanding or elbow grease. This technique makes a piece “pop” without adding too much color. It’s easy, cheap, and I bet you already have the materials on hand!
Table of Contents
I discovered this technique years ago and have used it several times, including this backyard upcycled bench. It works great with chalk paint, but can be used with more traditional paints too!
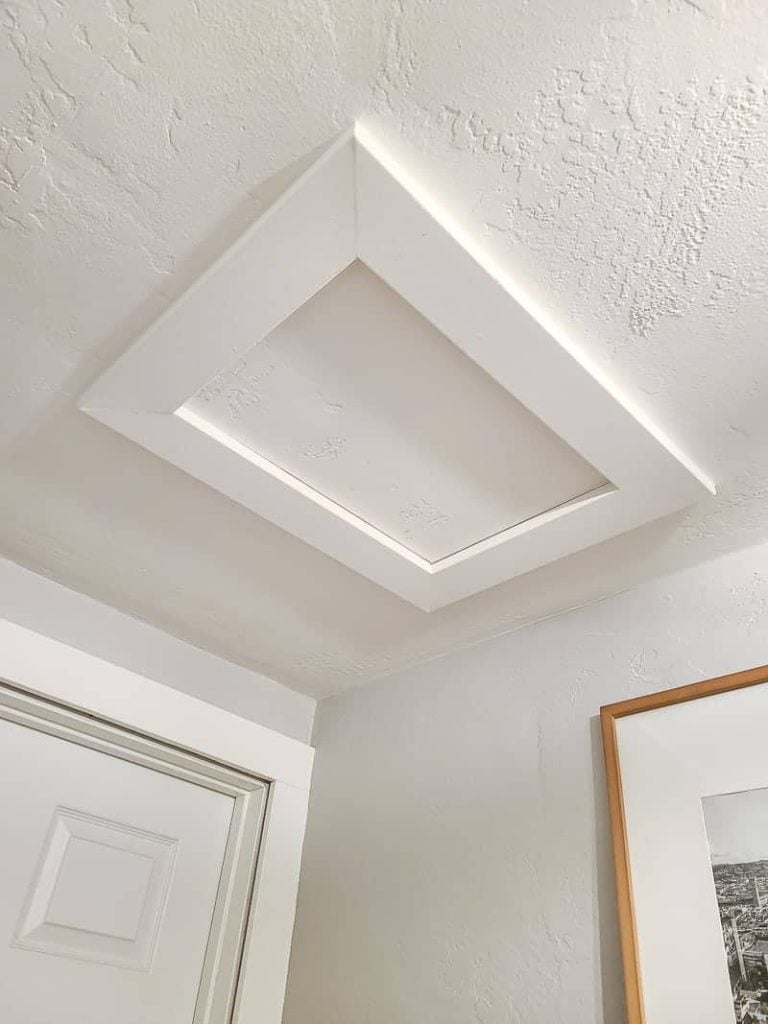
Most recently, we used the dry brush painting technique during our budget bathroom makeover. I needed something to fill the wall space in our bathroom, so I created this piece of wall art from scrap wood and wood shims and used the dry brush technique on the wood frame.
After the project was complete, it still needed a bit of oomph. So, I dry brushed chalk paint onto a few areas to accent the wood shims. I absolutely love how this technique added character and a worn, used vibe.
Using scrap wood pieces is an easy way to decorate your home on a budget and with your own style. I highly recommend it!
You can even dry brush paint on furniture, walls, and so many other home decor items. I love its versatility and how easy it is to do!
What is dry brush painting?
The dry brushing painting technique uses a thin layer of paint that’s roughly brushed over the wood and quickly wiped away before it dries. This gives the wood a “worn” look, allowing the wood grain to peep through the paint while adding character to your work.
This method is simple, uses minimal paint, and doesn’t need expensive tools! In fact, you can use an old, cheap paint brush for this project.
Dry Brush Painting vs. Wet Brush Painting
The main difference between dry brush painting and wet brush painting (or regular painting) is the amount of paint on the brush. This technique uses a minimal amount of paint on the brush and any excess paint is wiped away between layers before bringing the brush to the project.
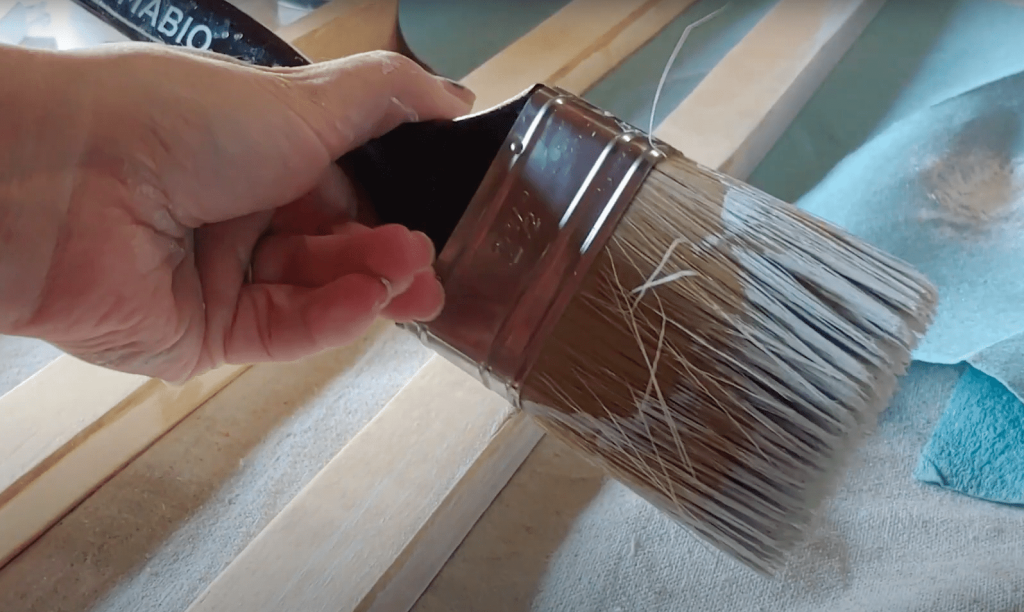
The dry brush painting technique can be done with a stiff bristle brush that’s dipped in paint and blotted dry. You can even use an older brush, as long as the bristles are not shedding.
Wet brush painting (or regular painting) is done with a softer brush and applied in a single layer, sometimes two layers for better coverage. The quality of the brush is very important for regular painting techniques.
Best Paint for Dry Brushing
When you are choosing paint for dry brushing, look for flat paint. Paints with a high sheen will make it difficult to achieve a worn and distressed appearance.
For this project, I used chalk paint for a nice, matte finish which works well when you are trying to create a distressed look. Acrylic craft paint, latex paint in a flat or eggshell sheen, and other types of paints will work too.
Learn why you should use chalk paint vs regular paint or chalk paint vs milk paint for your projects here.
I would advise against using spray paint for this technique as you have less control. Spray paint goes on too heavy and you can’t create those rustic-looking brush strokes as you could with a stiff-bristled brush.
What kind of paintbrush do you use?
You can use any old paint brush for this dry brush technique. Actually, the older the paintbrush the better! Cheap chip paint brushes work great too!
How to Dry Brush Paint: Video Tutorial
If you love DIY videos, be sure to subscribe to our YouTube channel so you don’t miss the next one!
Learn how to create a coastal vibe with this dry brush paint technique. This simple, easy technique gives any woodworking project a distressed, rustic look!
This dry brush painting tutorial also contains affiliate links, but nothing that I wouldn’t recommend wholeheartedly. Read my full disclosure here.
How to Dry Brush Paint: Step-by-step tutorial
Supplies & tools needed
- Paint – you can use anything that is matte, like a chalk paint (we used Rustoleum Chalked in Linen White)
- Sealer – we used Rustoleum Painter’s Touch Matte Clear Sealer
- 2 ½ inch paintbrush (you can use an old paintbrush for this project!)
- Paper towels or disposable shop towels (to wipe off excess paint)
Step 1: Stain the Wood (optional)
The wood does not necessarily have to be stained for this project, but if you are going to stain it, you’ll want to do so before the paint is applied with the dry brush.
I applied the wood stain to the furring strips for our project and allowed everything to dry completely before doing the dry brushing technique. Stain drying time is critical to a beautiful woodworking project, so don’t rush this process!
You can use any type of wood stain you prefer. Because only a thin layer of paint is applied over the stain, the stain will peep through the paint. Keep this in mind as you are selecting stain colors and paint colors.
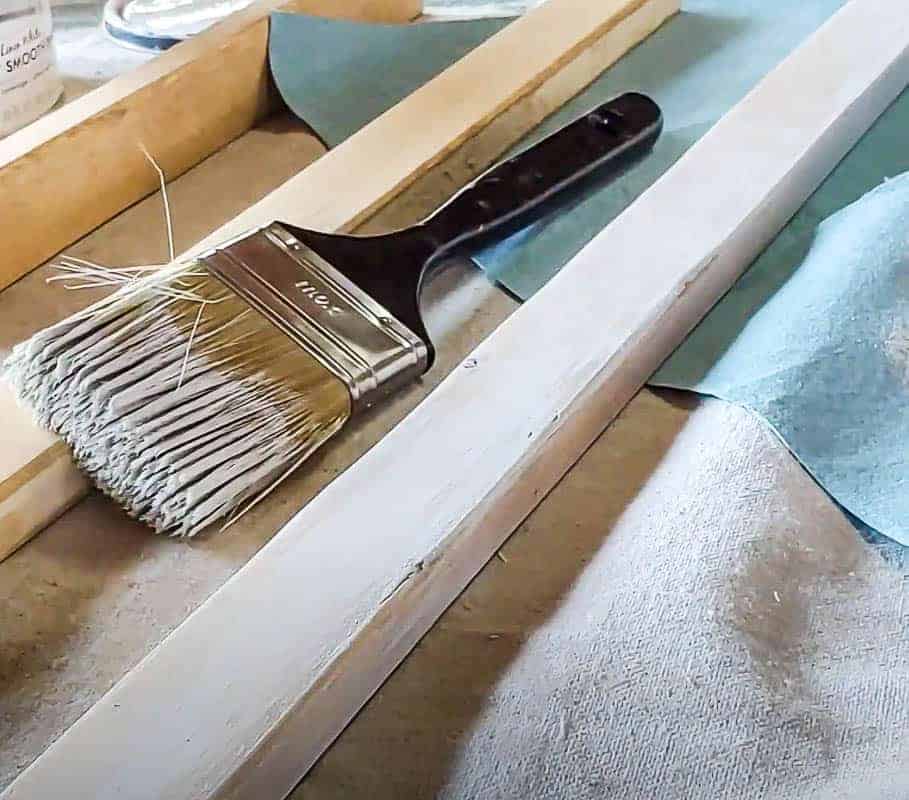
Step 2: Dry Brush the Wood.
After the stain has dried completely, the wood is ready for dry brushing. The process is pretty simple: Paint. Wipe. Repeat.
Using a paintbrush, dab a little bit of paint on your brush. Blot off any excess paint onto the paper towels until the brush has very little paint left on it – almost dry.
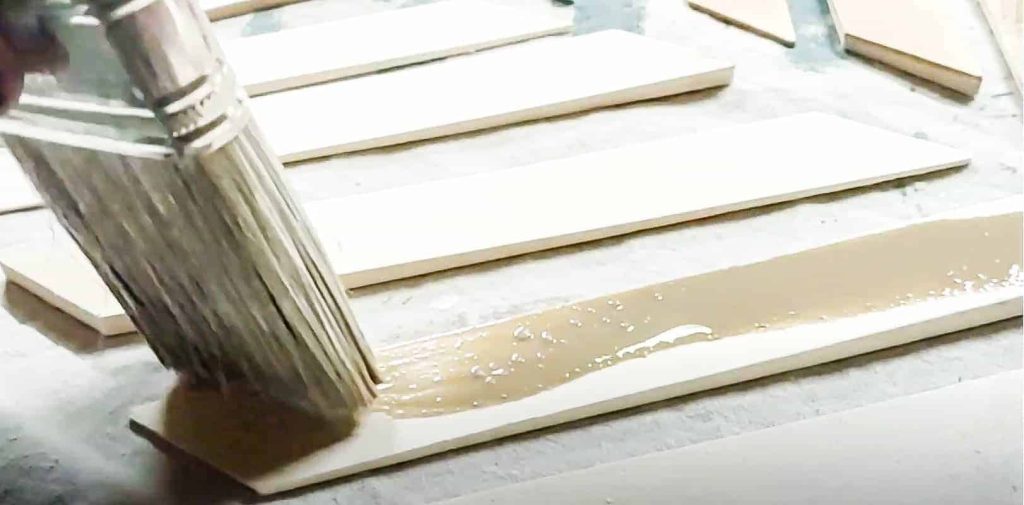
Then, sweep the brush along the boards in the direction of the wood grain.
Be careful not to completely “paint” the boards, but rather roughly brush the surface and allow some of the stained wood tones to show through the paint.
You’ll need to work quickly, so keep those paper towels handy! After each pass with the paintbrush, rub a paper towel over the painted area to remove the excess paint.
It’s best to work in small sections so the paint can easily be wiped away before drying.
You can always layer on more paint later if you choose. I recommend allowing the paint to dry completely between each coat if so.
Step 3: Seal the Project.
After your project is completely dry, apply a sealant to protect your work from moisture, splintering, and general wear and tear.
I used this spray-on Matte Clear sealant. Because we want a distressed look, I’m using a matte sealant over the chalk paint. This keeps the distressed areas from looking too shiny and new.
If you decide to go with a poly product (like polyurethane or polycrylic), be sure you know the difference between the two first.
Lightly spray the sealant on the project, about 6 inches or so away. Make sure to coat the whole project evenly and thoroughly.
After everything dries, you are ready to show off your new project. If you are hanging your work, use my tried and true picture-hanging hacks so you don’t make a million holes in your wall.
What will you use this dry brush paint technique on? I can’t wait to see what you create.

How to Dry Brush Paint
Add a distressed and worn look to your woodworking project with dry brushing. This painting technique gives the wood a rustic and coastal vibe with minimal effort.
Materials
- Matte Paint
- Sealer
- 2 ½ inch paintbrush
- Paper towels or disposable shop towels (to wipe off excess paint)
Instructions
- Stain your wood first if you are going to do it. Allow the stain to dry completely before beginning to dry brush.
- Using a paintbrush, dab a little bit of paint on your brush. Blot off any excess paint onto the paper towels until the brush has very little paint left on it - almost dry.
- Then, sweep the brush along the boards in the direction of the wood grain. Be careful not to completely “paint” the boards, but rather roughly brush the surface and allow some of the stained wood tones to show through the paint.
- After your project is completely dry, apply a sealant to protect your work from moisture, splintering, and general wear and tear.

Nice Intro.
Can I apply technique to sheet rock if I paint with a base coat of semi gloss paint.
Thanks for your time.
Yes, I don’t see why that wouldn’t work. Just make sure you are layering the paints correctly – meaning using the same type of paints (both water-based paints or oil-based paints).