What To Do With Leftover Tiles | DIY Tray With Leftover Cement Tile
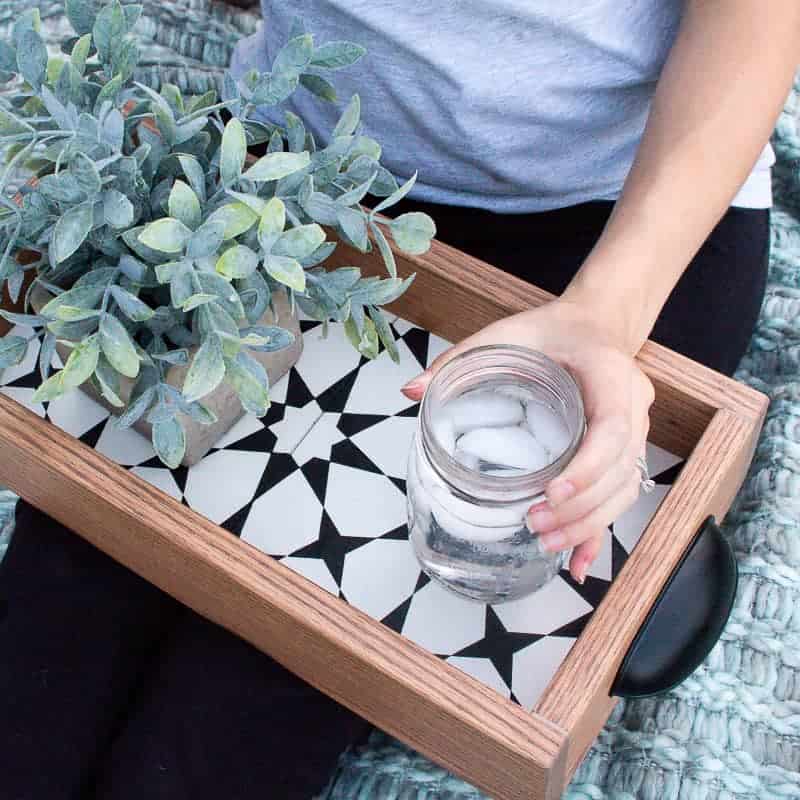
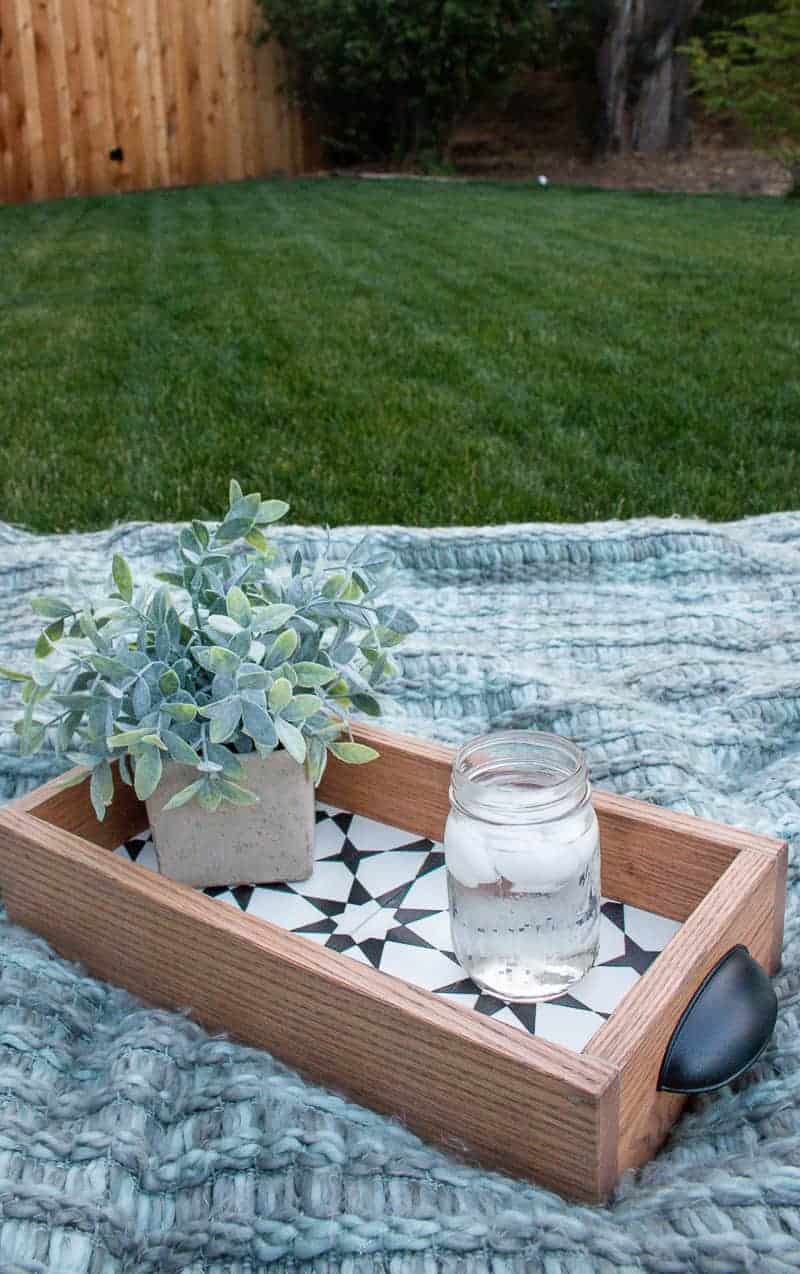
Wondering what to do with leftover tiles? We had some leftover cement tile from our bathroom renovation, so we made a DIY tray with wood! Spoiler alert - it turns out SO cute!
Thank you to DAP for sponsoring this DIY tray tutorial! All opinions are entirely my own. This post also contains affiliate links, but nothing that I wouldn’t recommend wholeheartedly. Read my full disclosure here.
I don’t think you’ll blame me when I say that I was a little excited when we had some of this amazing cement tile left over after our boho farmhouse bathroom renovation last year.
Maybe you were installing a subway tile backsplash, installing subway tile in shower, or handling your bathroom floor tile installation and had some cool modern farmhouse tile leftover.
Whatever the reason is…leftover tile is sort of an inevitable part of any tiling project. My mind is always racing with what to do with leftover tiles. There are SO many creative ways to use leftover tiles so they don’t go to waste.
Table of Contents
The leftover cement tiles have been sitting in the garage…just sitting there and begging me to make them into something pretty, so that’s what we’re going to do today!
What to do with leftover tiles – 6 creative ideas
Before jumping into today’s tutorial, let’s get inspired with even more ideas for what to do with leftover tiles! Keep in mind there are a lot of different types of tile, so be sure you know what you’re working with before you start. Some types may require sealing or other treatments!
- Last year I made these DIY marble coasters out of our leftover floor tile. They made great Christmas gifts!
- This DIY wood laundry hamper we made had a very similar pattern tile inlaid, so cool right!?!
- You could make your own modern tiled planters like this with mosaic tile sheets.
- How about a DIY tile doormat! She used a large dog crate liner as the base and used a strong adhesive. So creative, don’t you think?
- You could even smash up your leftover tiles and make your own cool mosaic DIY tile tray like this.
- What about adding the leftover tiles to a table top from the thrift store?
Are you ready to see how to build this DIY serving tray?!
I remember seeing this adorable DIY concrete tray with tiles on Shades of Blue Interiors a couple of years ago and it’s always stayed in the back of my mind! So when I was staring at these leftover tiles, I thought of this tray and thought it would be so fun to build a DIY wood tray with the cement tile as the bottom.
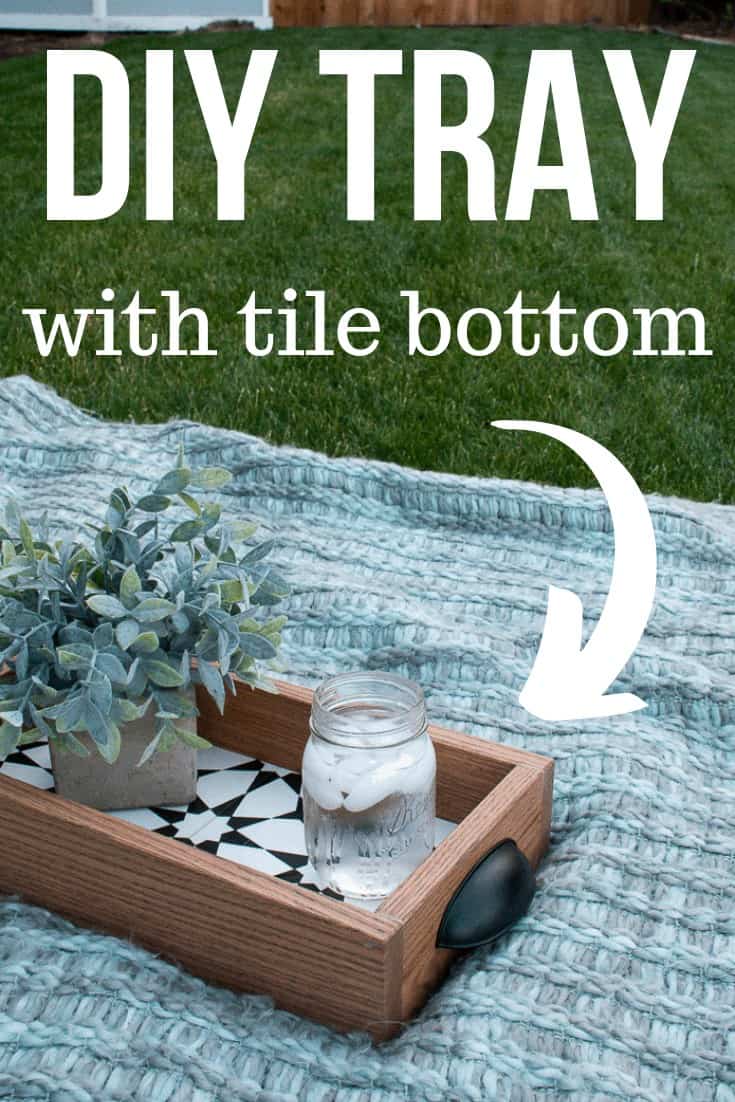
This DIY tray that really shows off the cement tiles turned out SO cute! And is the perfect summer weekend project. It makes a great drink tray for all your summer parties and dinners out on the cozy patio.
Related: If you loved this tray project, you’ll probably like this super easy DIY footed tray!
Supplies for DIY tray with leftover tiles:
- DAP Weldwood Wood Glue
- DAP Plastic Wood X Wood Filler
- 3.5 inch Oak trim (about 48 inches)
- Miter saw
- Table saw
- Finish nail gun with 1.5 inch nails
- Wood stain
- Polyurethane
- Tile sealer
- Foam paint brushes (for tile sealer and stain)
- 2 Handles
Step 1. Seal cement tile.
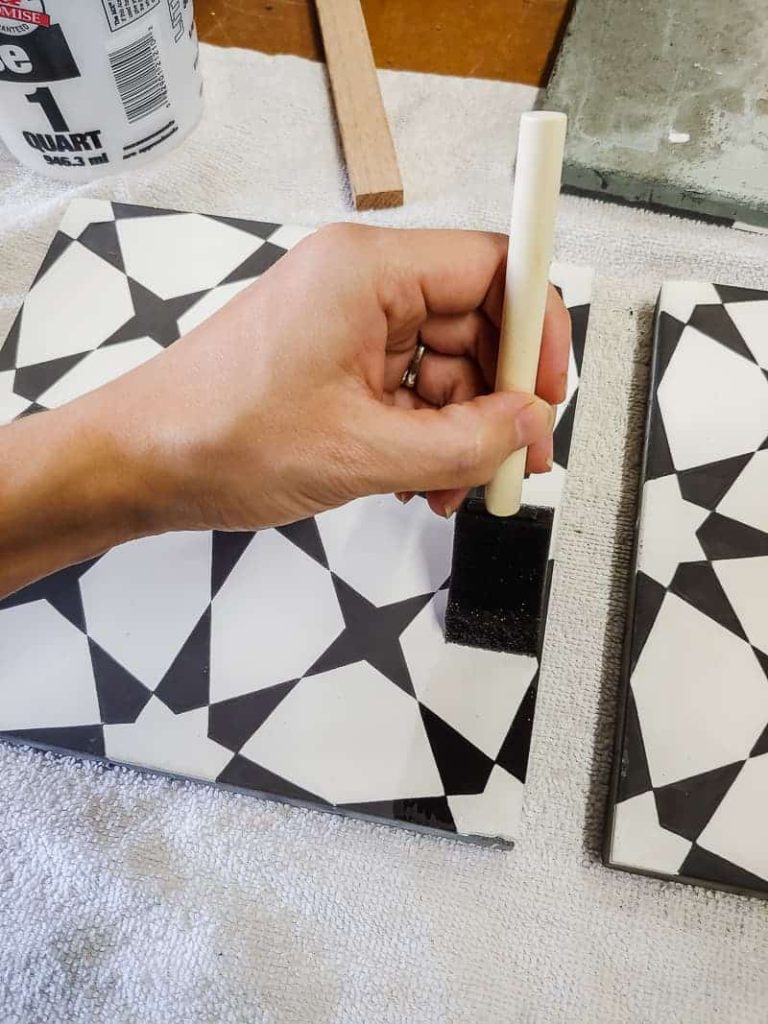
Before you even get started on the wood tray part, start the process of sealing your tile. This needs about 1-2 hours in between coats and we did 4 or 5 coats – so you can just keep this process going of sealing the tile as you work on the rest of the tray.
You simply just brush it on with the foam paint brush, wait 3-5 minutes and wipe off what doesn’t soak into the tile.
Step 2. Cut top & bottom wood pieces.
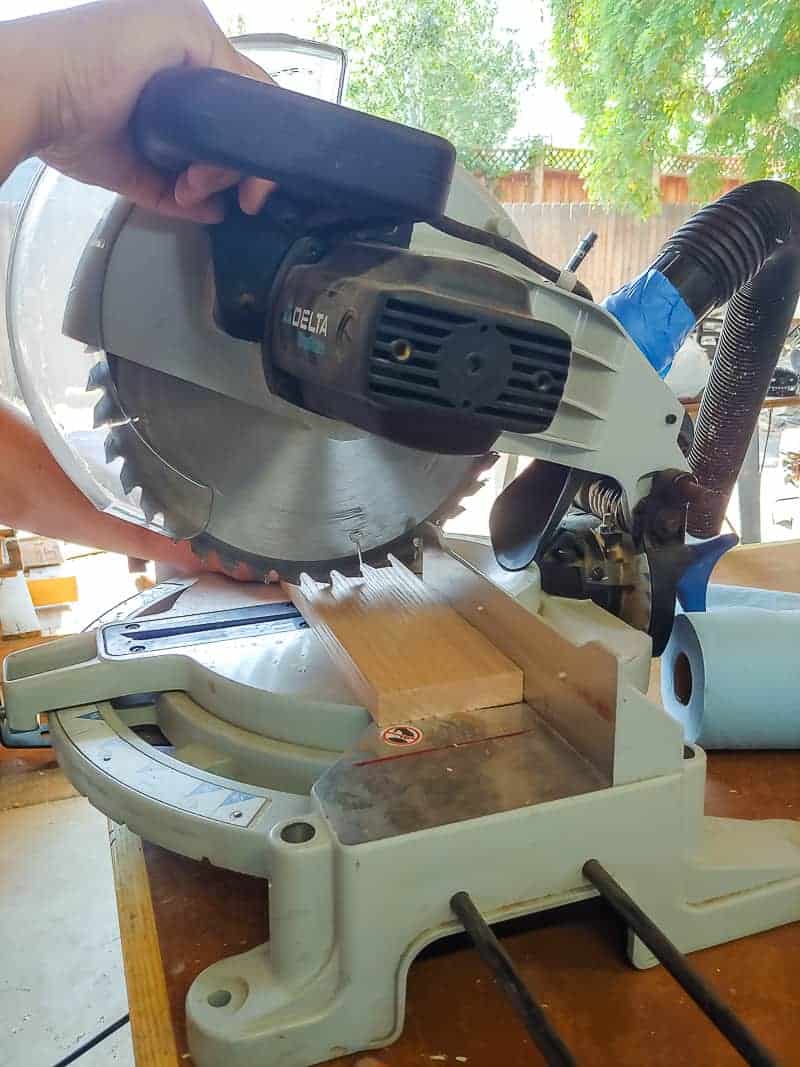
With the grooves and inlaid tile…the measurements were kind of tricky on this so, we actually cut the top and bottom wood pieces first and then the size pieces. We didn’t want to mess up a measurement and #MathIsHard.
You’ll need to adjust the measurements to fit your tile obviously, but our tile was 8×8. We cut the top and bottom pieces at roughly 16.5 inches with the miter saw (read this article to learn why the miter saw is the best type of saw for this job).
This length covers both side-by-side tiles and then overhang on each side for the side pieces of wood (we’re doing butt joints on the corners).
Step 3. Cut grooves for tile to inlay.
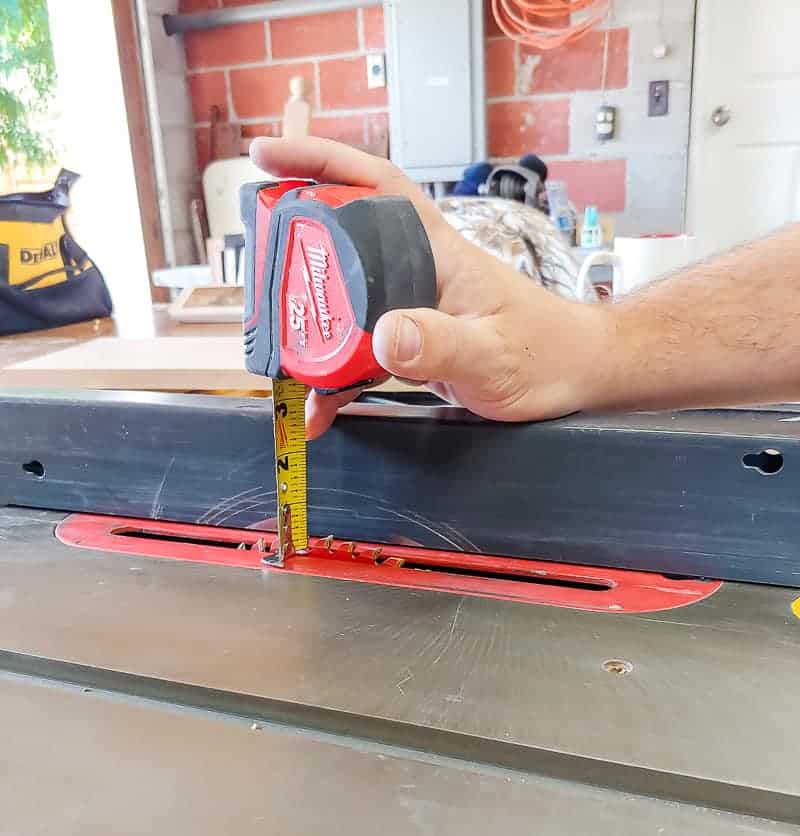
Using the table saw with the blade raised up only 3/8″, we cut in a groove that fits the tile perfectly. To cut the groove, you just run the piece of wood through the table saw multiple times, slightly moving the guide over each time.
Step 4. Cut side wood pieces to length and cut grooves for tile.
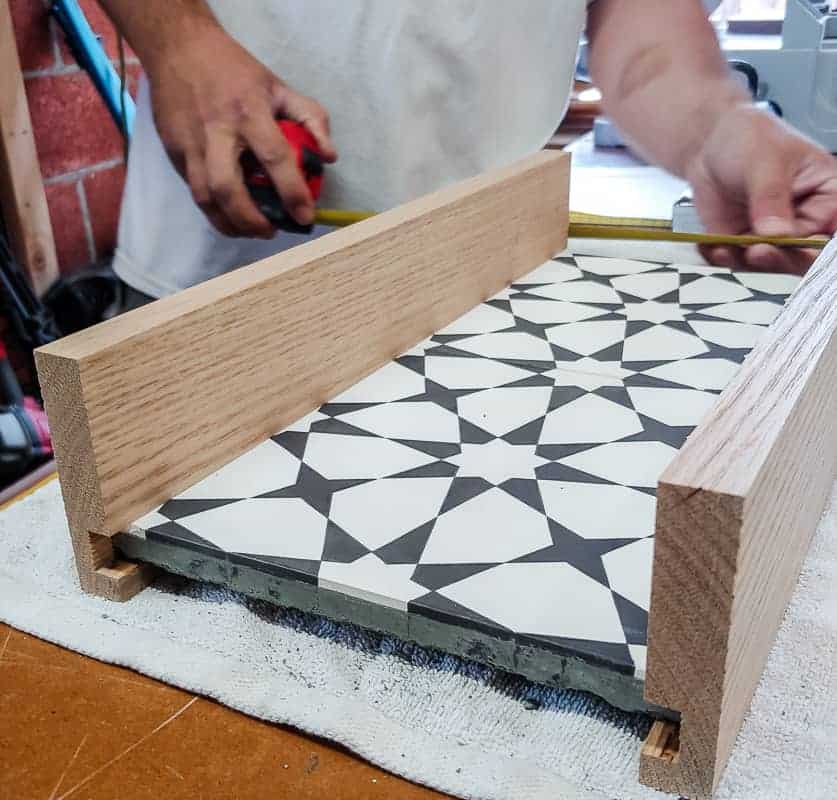
Put the tile into the grooves of the top and bottom wood pieces to get your perfect measurement of the sides. Then cut the wood down to the right length on the miter saw and cut the grooves the exact same way you did on the other pieces of wood.
Step 5. Chamfer edges and sand wood.
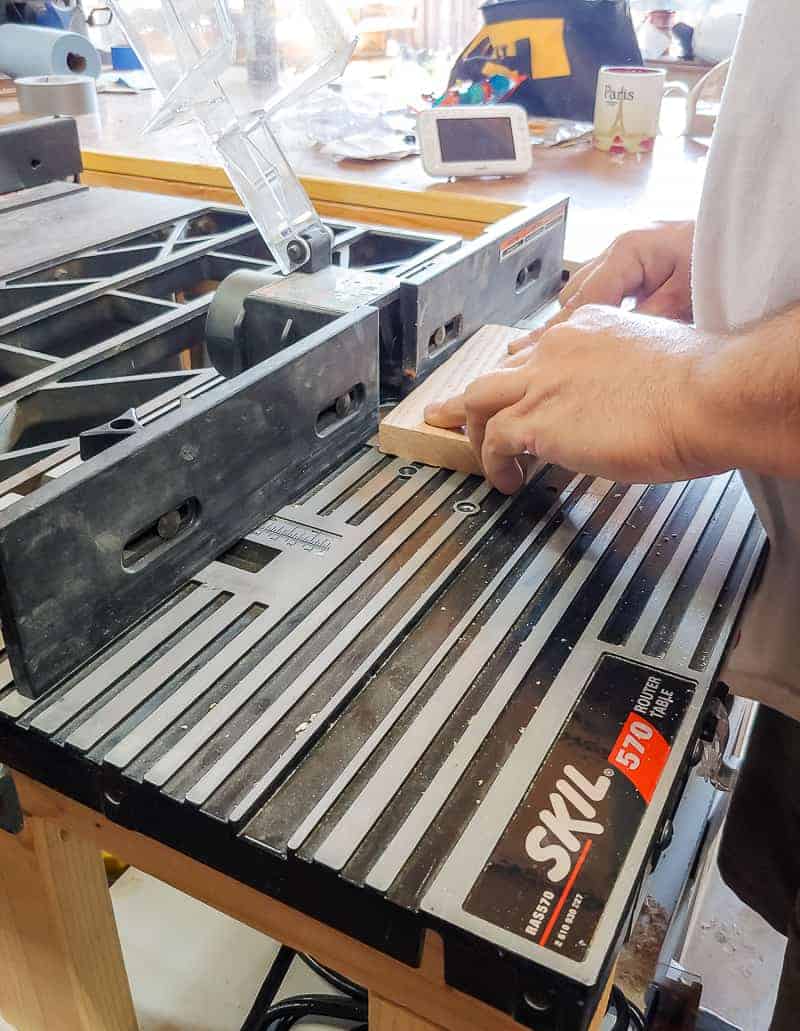
For the edges of the wood, we chamfered them with a chamfer bit on the router table.
If don’t have a router, no worries. You can achieve the pretty much same thing by simply sanding the edges by hand. The goal here is to just make the corners not as harsh.
Using the orbital sander, lightly sand everything with 150-grit sandpaper.
Step 6. Stain wood (inside of tray only).
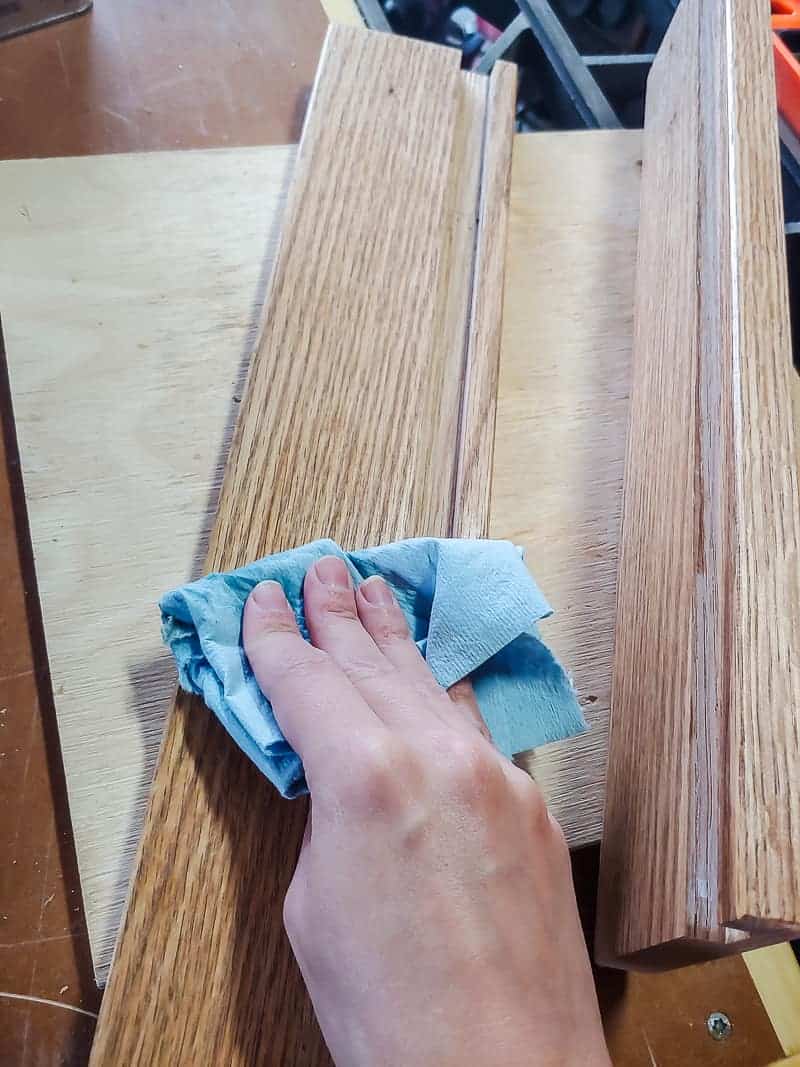
You’ll see in the photos that I stained all the wood before putting the tray together. I did this because I didn’t want to risk getting stain on the tile once it was assembled.
However, we ended up needing to sand the entire outside of the tray after we assembled it because of the glue and nail holes….so if I were to build this tray again (and what I would recommend that you do) is to stain the inside of the wood only. The pieces that come in contact with the tile. Hindsight is 20/20, right?
We used this stain.
Step 7. Assemble DIY serving tray.
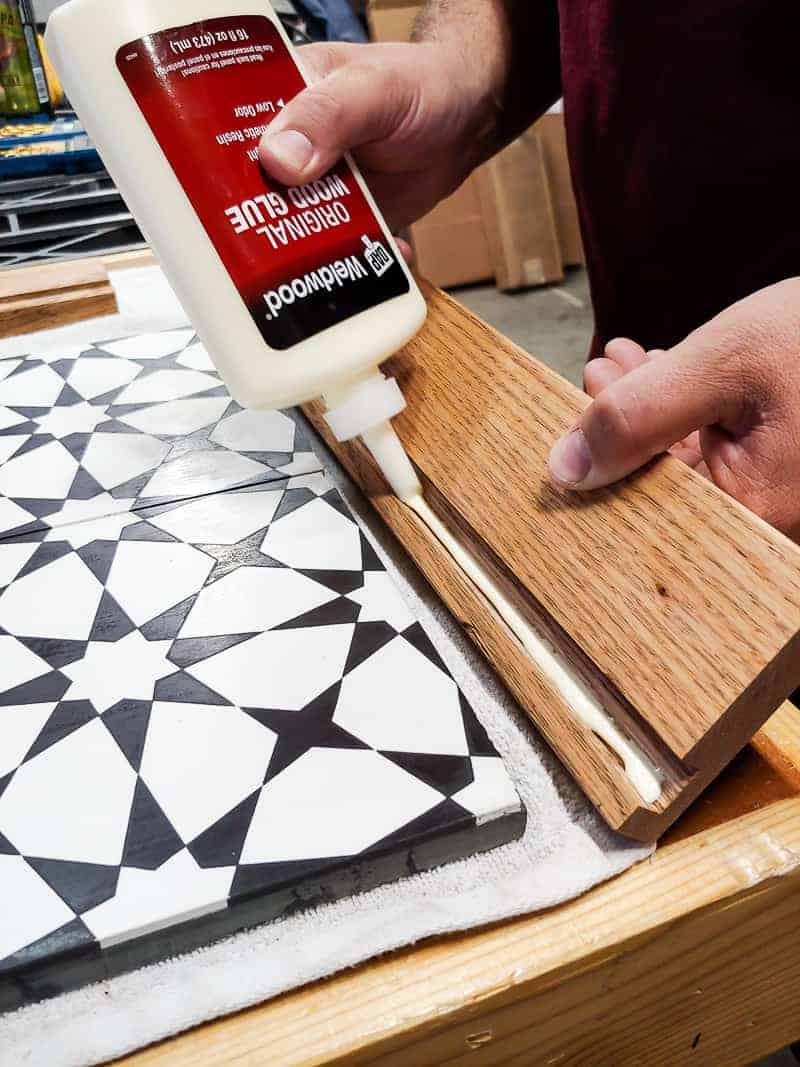
Using DAP’s Welwood Wood Glue and clamps, you can assemble the tray now!
We added wood glue on the inside of the grooves on the wood where the tile was going. This wasn’t actually to glue the tile in place (because it’s wood glue, it doesn’t really bond with tile all that well), but it was more to fill in any gaps so that the tiles didn’t rattle inside the tray.
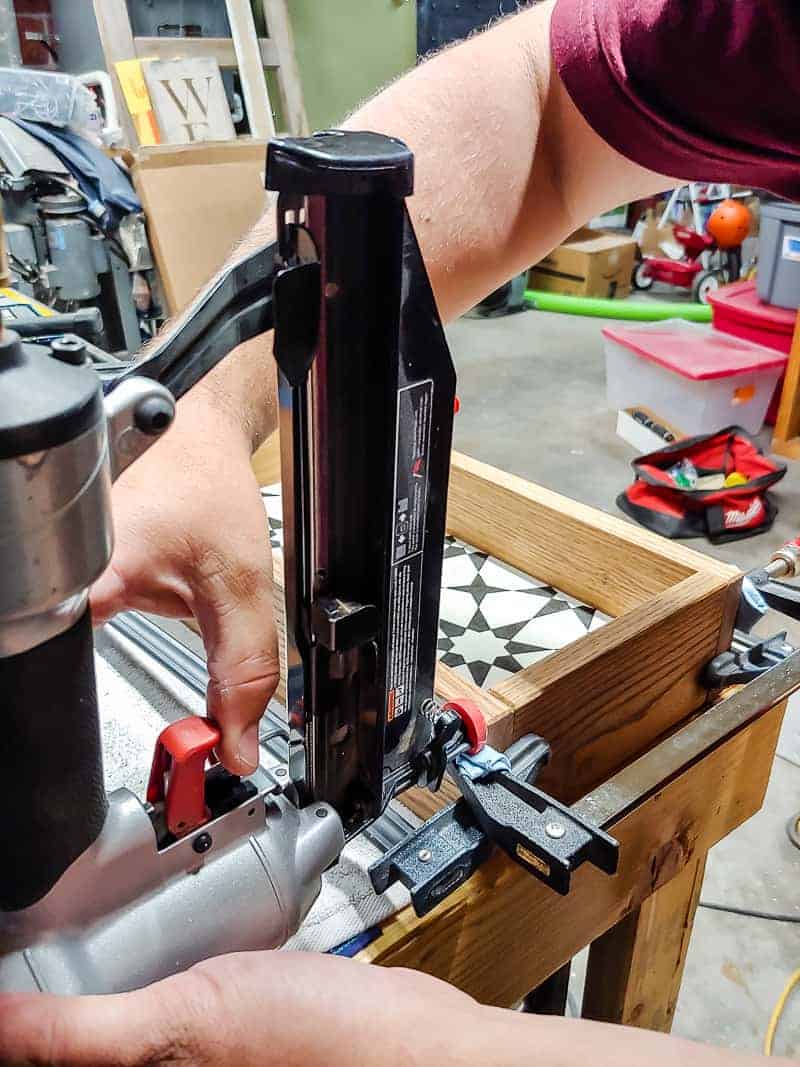
Then add wood glue to the edges that we joining together and clamp everything in place. Once clamped and square, finish off with a finish nail gun on the corners (Not sure what type of nail gun to use? Learn the difference between brad nailer and finish nailer here).
We waited overnight to remove the clamps to get the glue a chance to dry.
Step 8. Create plug for end of groove.
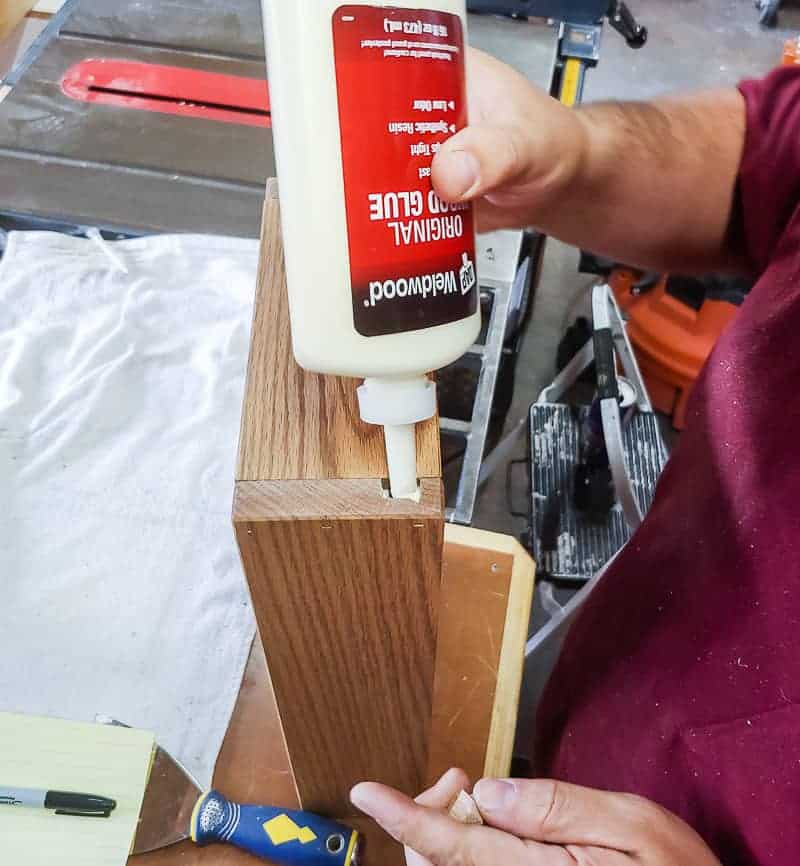
Since we used the table saw to cut the grooves and joined it with a butt joint, there’s a small hole on each end of the tray where the groove is shown.
To fill this, Logan just cut down a very small piece of scrap wood and added it into the hole with wood glue, and then filled the rest in with DAP’s Plastic Wood X Wood Filler.
Step 9. Fill nail holes.
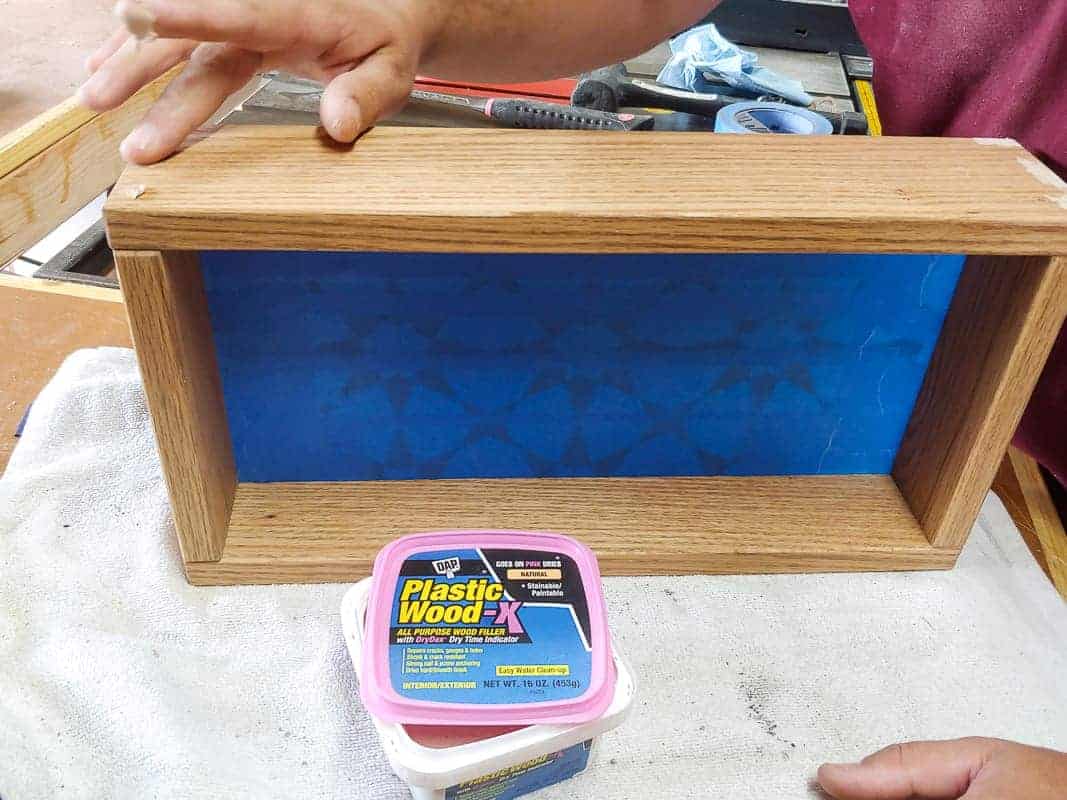
The next day, you can come back in and remove the clamps and fill all nail holes and any other gaps with DAP’s Plastic Wood X Wood Filler.
Step 10. Sand, stain, and seal wood.
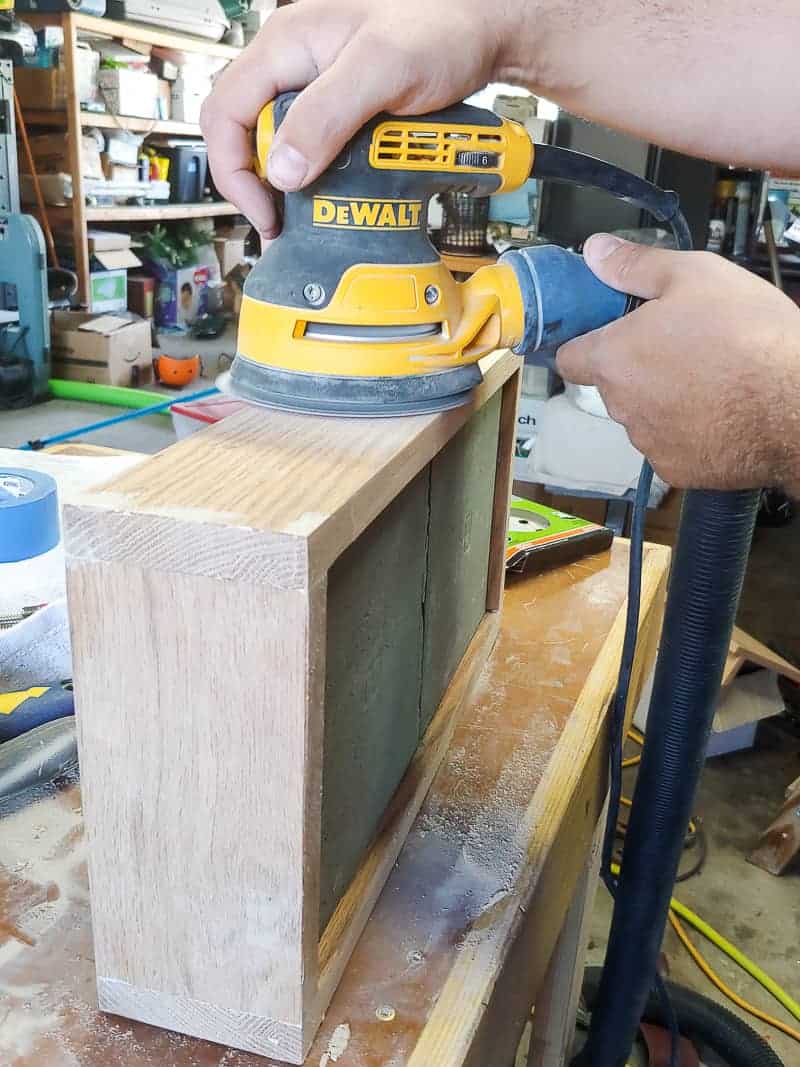
Now, here’s the thing….if you follow my advice and only stain the inside of the wood on the tray, the only sanding you’ll need to do right now is sanding the wood filler down, which can be done with an orbital sander. But, we had to sand the entire outside of the tray to get rid of the stain, so we used the belt sander and then finished with the orbital.
At this point, I’d also tape down the tile fully with painter’s tape so it doesn’t get anything on it!
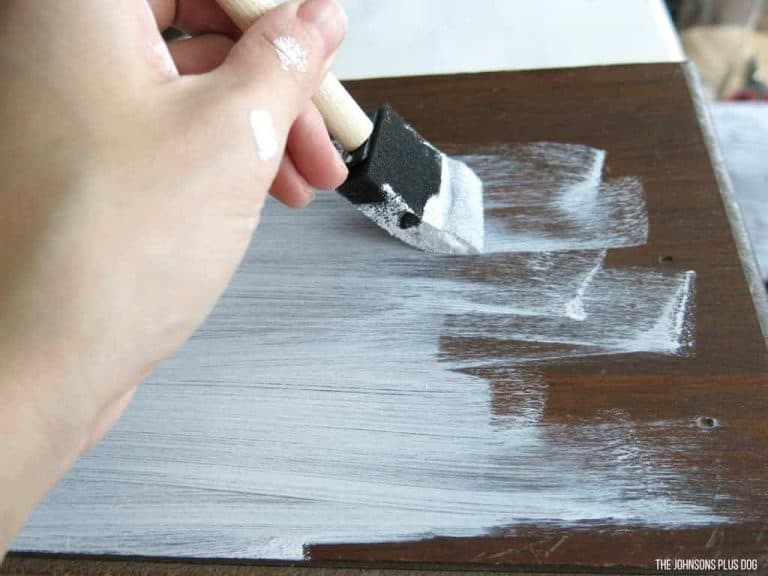
Next, be sure to wipe everything down well before staining after you sanded. Then you can just apply the wood stain with a foam brush and wipe off any excess. I did 2 coats of stain.
After the stain was fully dried (check your packaging, ours said 8 hours), you can seal everything. We used this sealer.
If you’re trying to decide whether to use polyurethane vs polycrylic for your project, check out this article with an overview of each.
Step 11. Add handles.
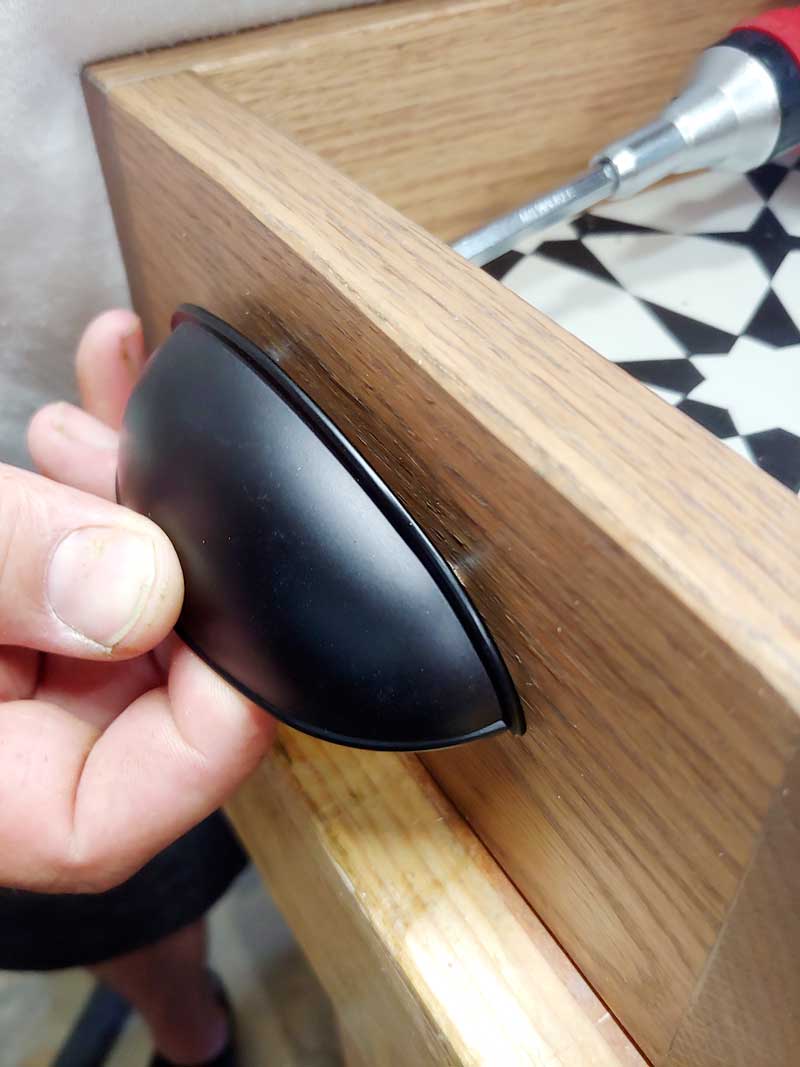
The last step is to add some handles! I love these classic black cup pulls!
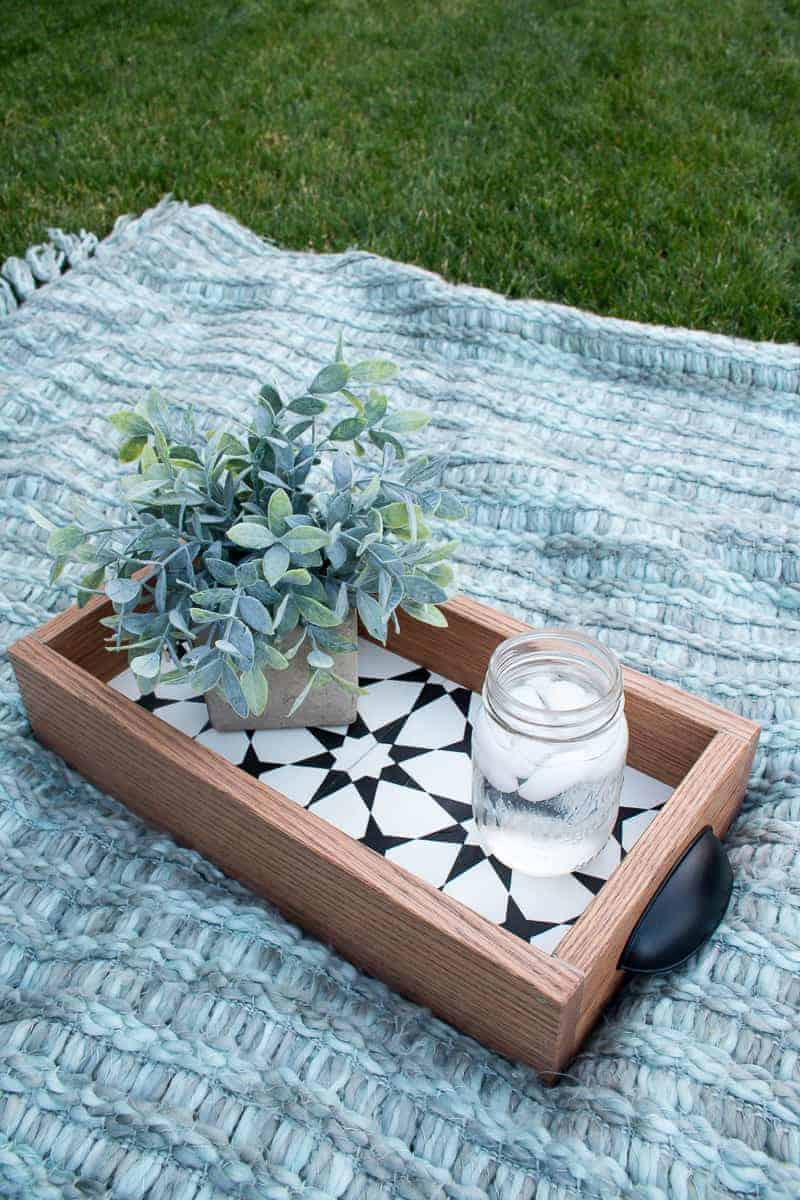
That’s it, folks! We were able to take that leftover tile and turn it into something functional and SO cute!

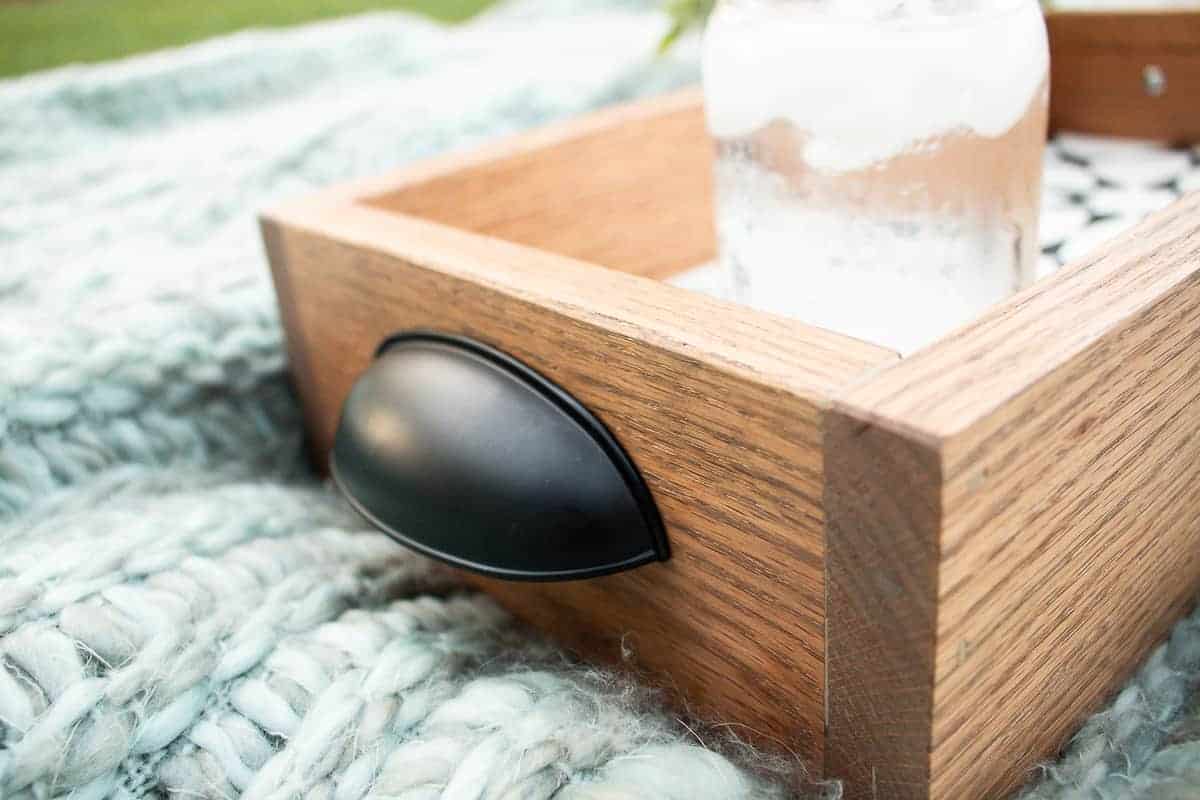
It makes the perfect drink tray!
Are you still wondering what to do with leftover tiles?
Let us know in the comments below!

How To Make A DIY Tray With Leftover Tiles
We had some leftover cement tile from our bathroom renovation, so we made a DIY tray with wood! Spoiler alert – it turns out SO cute!
Materials
- DAP Weldwood Wood Glue
- DAP Plastic Wood X Wood Filler
- 3.5 inch Oak trim (about 48 inches)
- Wood stain
- Polyurethane
- Tile sealer
- 2 Handles
Tools
- Miter saw
- Table saw
- Finish nail gun with 1.5 inch nails
- Foam paint brushes
Instructions
- Seal cement tile.
- Cut top & bottom wood pieces.
- Cut grooves for tile to inlay.
- Cut side wood pieces to length and cut grooves for tile.
- Chamfer edges and sand wood.
- Stain wood (inside of tray only).
- Assemble DIY serving tray.
- Create plug for end of groove.
- Fill nail holes.
- Sand, stain and seal wood.
- Add handles.





Cute tray!