How To Clean A Coffee Maker with Baking Soda and Vinegar
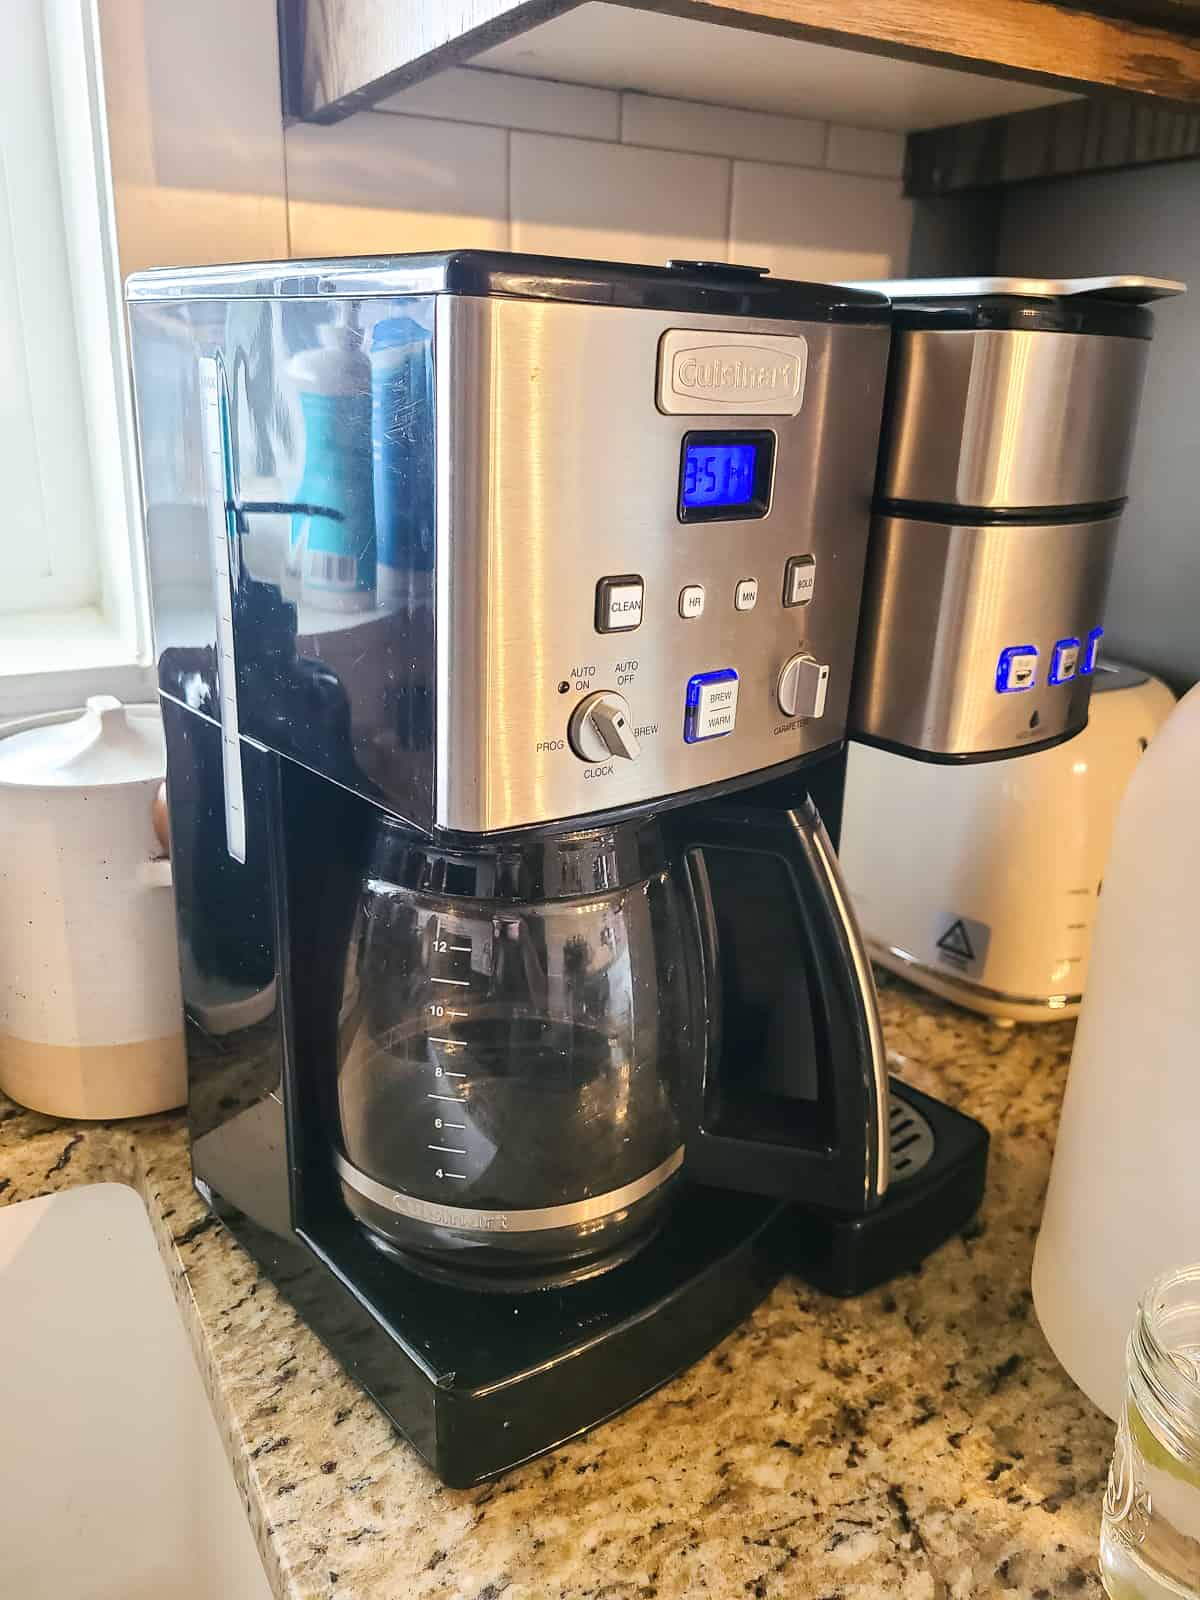
Learn how to effectively clean your coffee maker using baking soda and vinegar with our easy-to-follow guide. Say goodbye to stale coffee tastes and hello to a fresh, clean brew every morning.
When was the last time you gave your drip coffee maker a deep cleaning? Be honest.
For me, it had been a while.
So I spent 30 minutes or so giving my coffee maker a deep cleaning using natural eco-friendly cleaning supplies like vinegar, water, and baking soda. I’m going to walk you through the entire process that I take every time I clean my coffee maker.
In many homes, the coffee maker is one of the most used appliances. I, for one, use mine every single day (if not two times)!
It may also be an appliance that you forget to clean regularly and thoroughly. An important element in brewing good coffee is a clean coffee pot and coffee maker.
For your morning coffee to taste its best, you need to clean the coffee maker should aim to clean your coffee maker at least once a month.
There’s no need to invest in any special cleansers to do this. All you need is white vinegar, baking soda, and water to keep your coffee maker clean and your coffee tasting as delicious as you expect it to.
This deep cleaning guide for how to clean a coffee maker with baking soda and vinegar contains affiliate links, but nothing that I wouldn’t recommend wholeheartedly. Read my full disclosure here.
Why worry about a clean coffee maker?
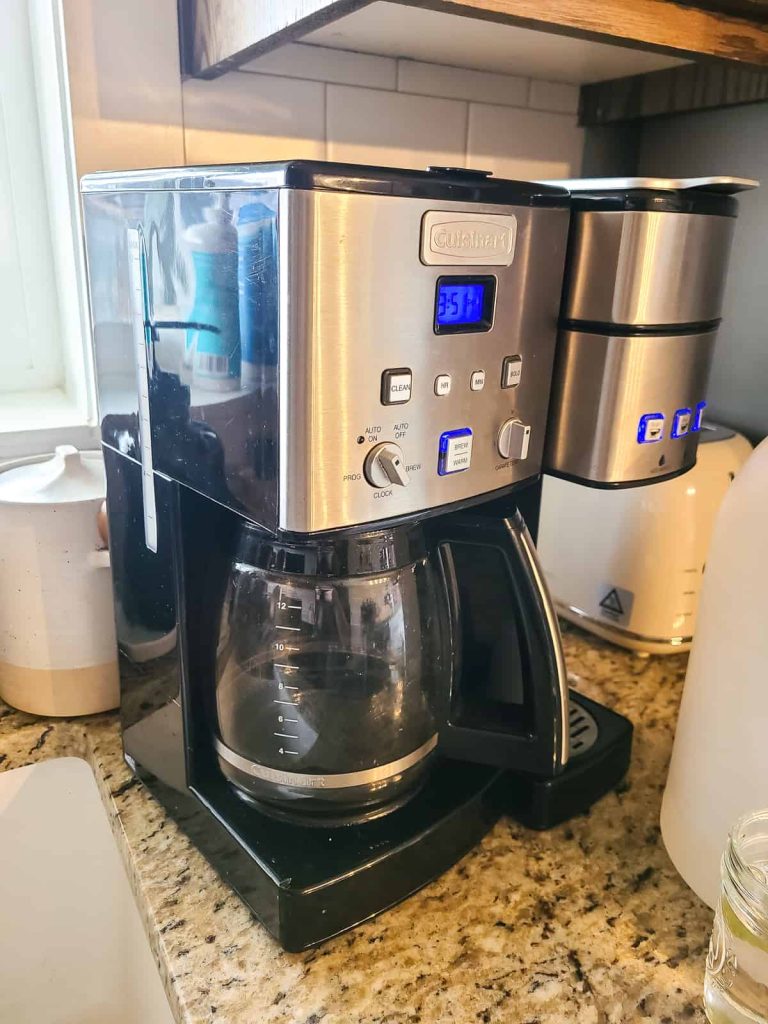
Coffee lovers all agree that the first step in making a perfect cup of coffee is to start with clean equipment.
If you’ve ever worked in an office that made pot after pot of bitter caffeinated swill on a regular basis, you know just how bad coffee can be. That horrible taste in the office coffee maker is the result of oily residue left behind from the coffee beans.
You didn’t know coffee contained oil? It does, and if that left-behind oil isn’t removed, it will leave your coffee tasting foul.
Mineral deposits also build up over time, and while you won’t always taste the result in the maker itself (that dratted oil covers up the taste), you’ll taste it from the deposits left in your actual coffee carafe.
The glass pot itself tends to be rinsed out from time to time, if not daily, so oils are less of a problem; but the mineral deposits from your tap water will still build up over time, even with rinsing.
A good, regular deep cleaning method is essential to stripping out the minerals and their resulting yucky taste from your pot of coffee.
Why we aren’t mixing vinegar and baking soda
Contrary to popular belief, mixing together vinegar and baking soda doesn’t actually clean! Baking soda and vinegar are both household items that can be used as eco-friendly cleaning agents, but they work in different ways.
Mixing baking soda and vinegar can create a chemical reaction that produces carbon dioxide gas, causing a fizzing action.
While this reaction may seem like it is doing the work of cleaning for you, the only thing that is happening is the vinegar dissolving the baking soda. The fizzing does not necessarily mean that the mixture is an effective cleaner on its own.
Baking soda, also known as sodium bicarbonate, is a mildly abrasive substance that can help to scrub away dirt and grime. It also has natural deodorizing properties that can help to eliminate odors.
Vinegar, on the other hand, is acidic and can be used to dissolve mineral buildup and grease. It also has antimicrobial properties that can help to kill bacteria and other germs.
You’ll see here that we are definitely using both vinegar and baking soda during the cleaning process for our coffee maker, but we’re not mixing them together and that is why!
How to clean the coffee maker itself for a better taste of your coffee
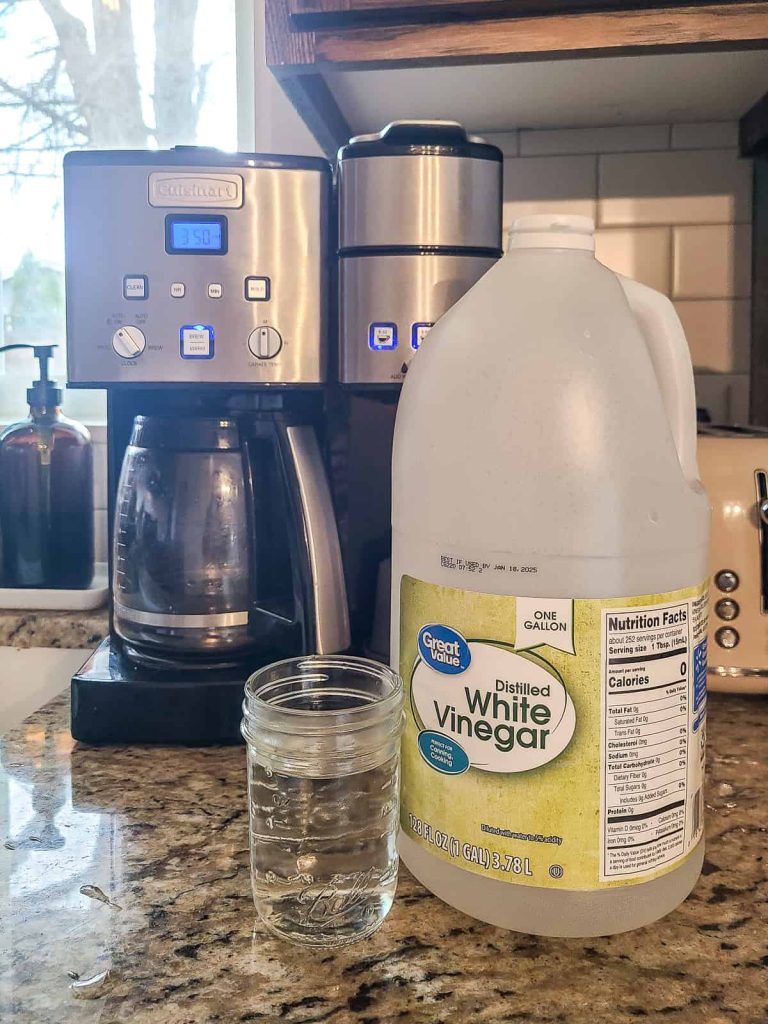
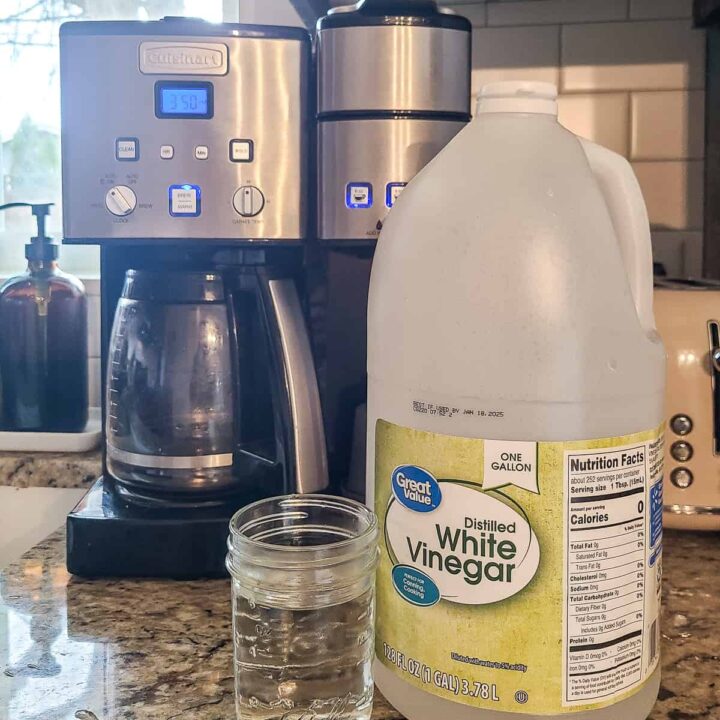
The best way to clean the coffee maker is the tried-and-true vinegar and water method and it doesn’t take a genius to master it. All you need is water and white distilled vinegar. Vinegar and water are such great cleaning solutions for SO many things around your home!
Empty the coffee pot itself. Remove the basket and old coffee grounds. Fill your water tank on the back of your coffee maker about 1/2 of the way with vinegar.
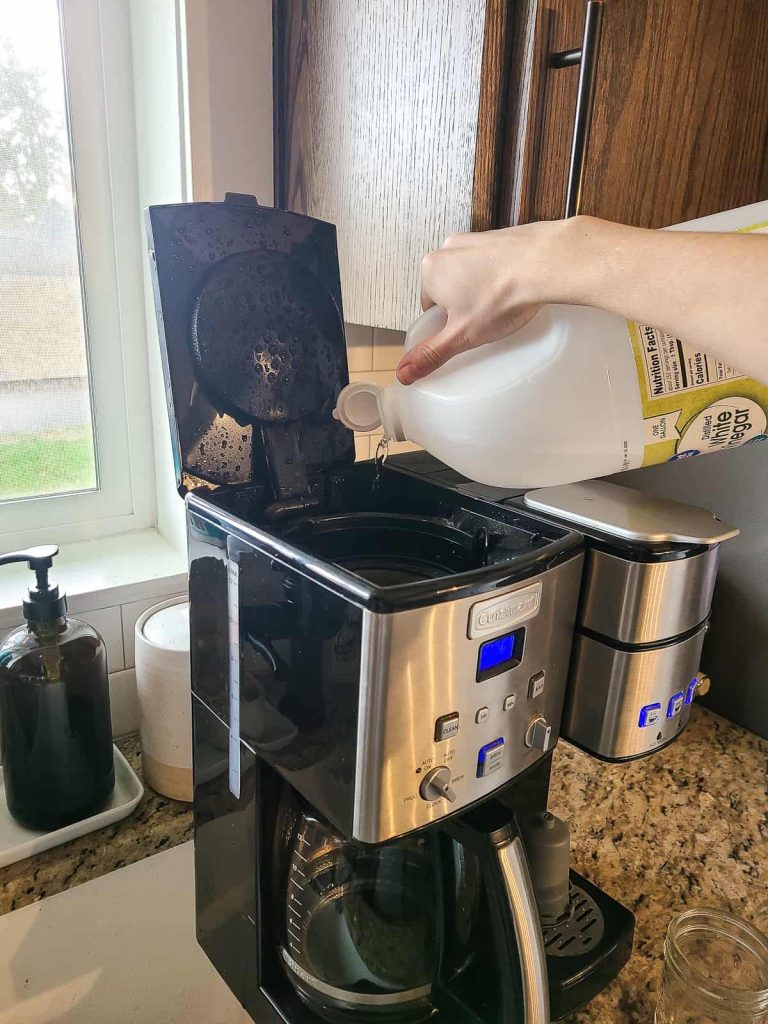
That’s right: pour it directly into the holder. Fill the water reservoir the rest of the way to the top with clean and cold water.
If you live in a city with not-so-great tap water, you can use filtered water to ensure that you’re not just adding more mineral deposits into the mix and cleaning cycle.
If your maker hasn’t been cleaned in a very long time, let this cocktail of vinegar solution sit for about fifteen minutes to help clean the reservoir interior.
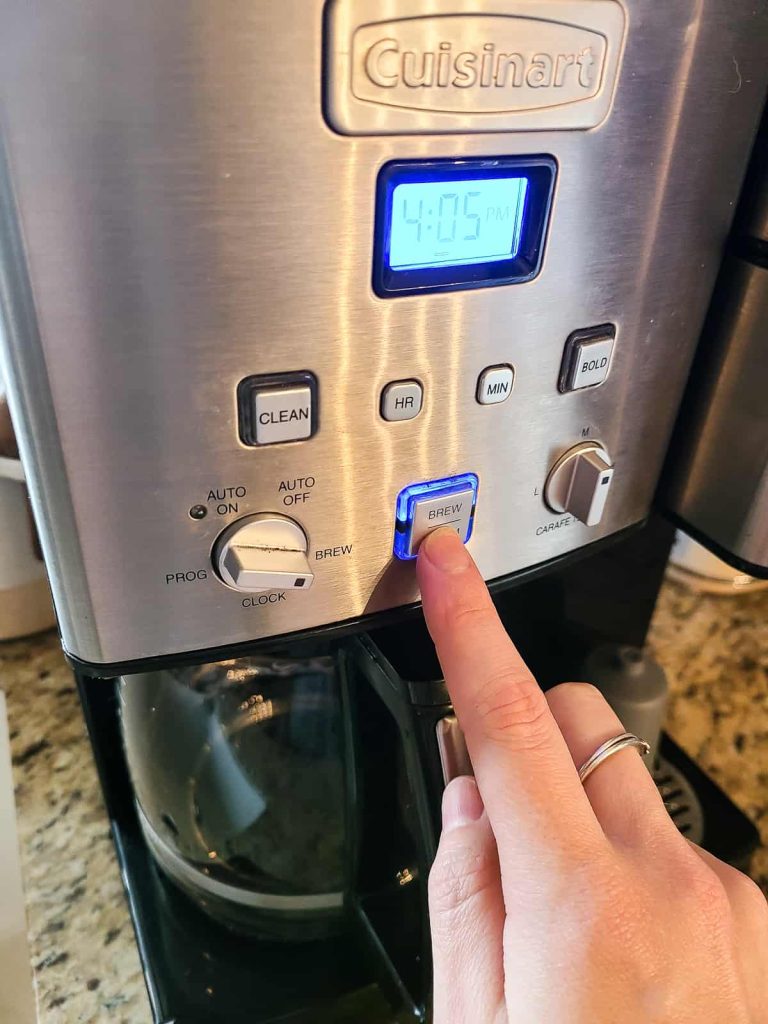
Next, turn on the coffee maker as if you were brewing a pot of coffee to let the vinegar/water run through the maker. Once the maker has completed the cycle, switch the maker off and let the vinegar and water sit in the carafe for about ten minutes while the unit cools down.
If you feel that the inside of your coffee maker needs extra cleaning, repeat the vinegar process.
After your equal parts vinegar/water brew cycle has been completed (however many you feel are necessary), fill the reservoir with water only and run one more cycle through your maker to ensure that the vinegar smell and taste have rinsed out after the brewing process.
After it has cooled, you can follow up by wiping down the outside of the coffee maker with a mixture of water and vinegar in a spray bottle with a rag.
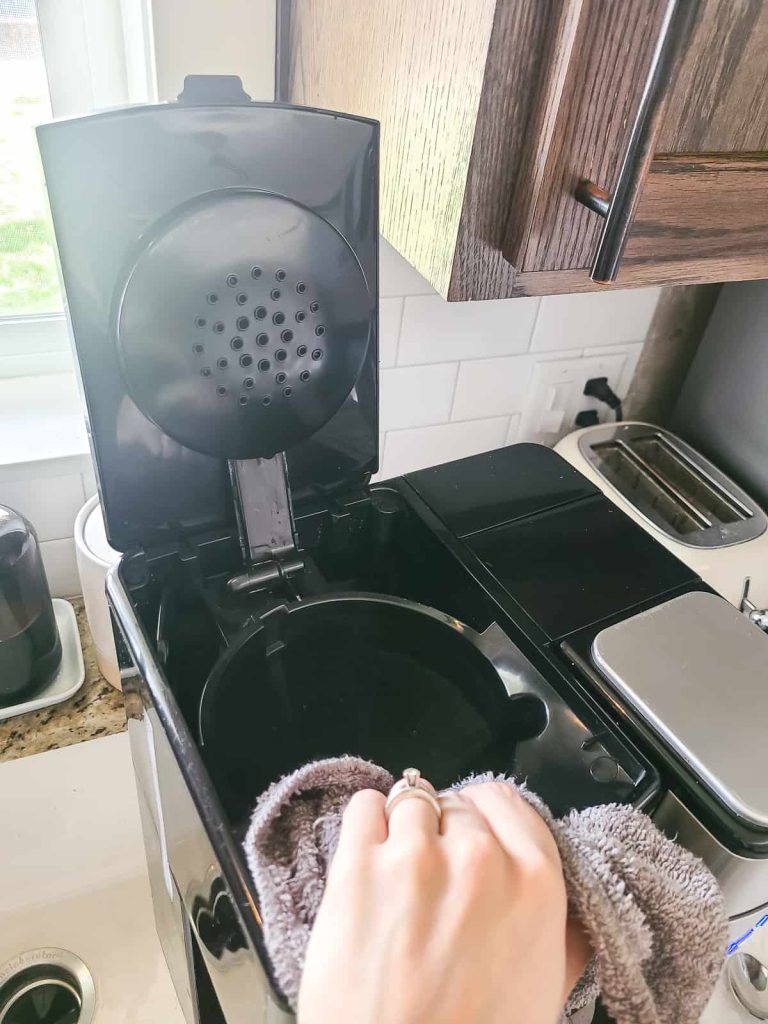
You can also wipe down the inside of the coffee maker with the same vinegar and water solution.
Yes, you may get the slightly unpleasant smell of vinegar in your home after brewing the water and vinegar solution, but it usually dissipates after 30 minutes to an hour, so no big deal. Simply turn on the fan or open a window if it really bothers you.
How to clean the burner of the coffee maker with baking soda
I don’t know about you but the burner (or heating plate) of my coffee maker is usually the thing that needs to most cleaning when I’m deep cleaning my coffee maker.
There’s always some burned-on coffee residue on the burner and behind it that really needs some elbow grease to remove. Here are the simple steps I take to clean it using a baking soda solution.
- Turn off and unplug your coffee maker: Before cleaning the burner of your coffee maker, make sure it is turned off and unplugged to avoid any electrical hazards.
- Wait for the burner to cool down: Allow the burner of your coffee maker to cool down completely before attempting to clean it.
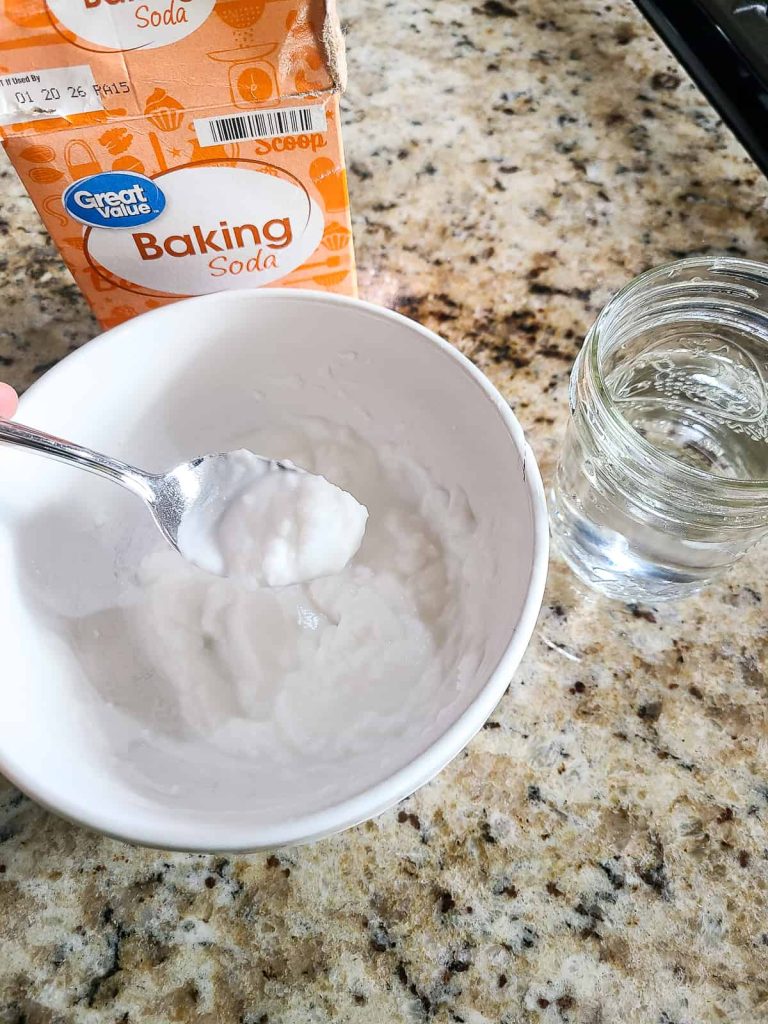
- Mix a baking soda paste: In a small bowl, mix together 2 tablespoons of baking soda and 1 tablespoon of water to create a paste.
- Apply the paste to the burner: Use your fingers or a cloth to apply the baking soda paste to the burner of your coffee maker. Make sure to cover any stains or buildup.
- Let the paste sit: Allow the baking soda paste to sit on the burner for 10-15 minutes. This will help break down any stubborn stains or buildup.
- Scrub with a sponge: Use a sponge or scrub brush to gently scrub the burner, focusing on any areas with stubborn stains or buildup.
- Rinse with water: After scrubbing the burner, rinse it thoroughly with a cloth and water to remove any remaining baking soda paste.
- Dry the burner: Wipe the burner dry with a clean, dry cloth.
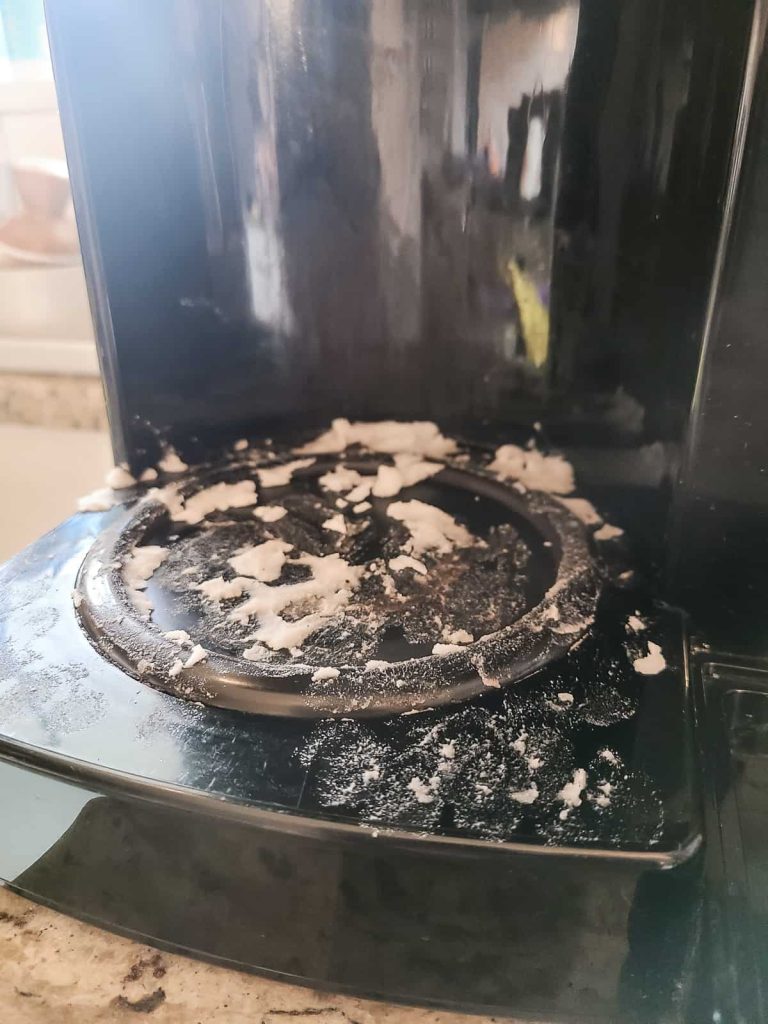
By using a baking soda paste to clean the burner of your coffee maker, you can effectively remove any stains or buildup and keep your coffee maker in good working condition.
How to clean the coffee carafe: the effective way
The glass pot your coffee drips into needs care too. The daily splash of water you rinse it with is not enough to remove the mineral build-up from the water that sits in it every day and the stubborn stains because your coffee is 98% water.
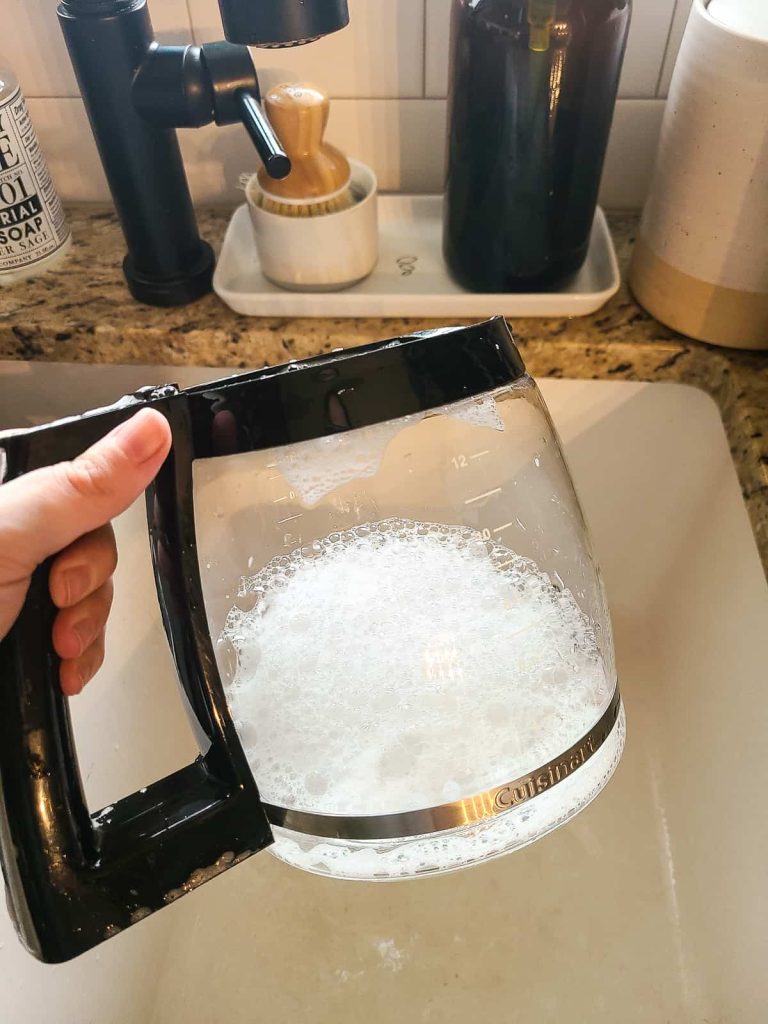
Rinse the pot well with very hot water. Scrub with dish soap and water.
If you still have stains on the coffee carafe, you can make a paste of baking soda mixture and water in a bowl. Mix together about a half cup of baking soda with a tablespoon of water until you get a paste-like consistency.
Use a non-abrasive sponge to apply the baking soda paste to the inside of the carafe. Let it sit for 20 minutes and then give the carafe a good scrubbing. A bottle brush can be helpful for this. Afterward, rinse the pot again with hot water.
Be careful never to use abrasive sponges or scouring pads on your coffee pot or coffee maker. A scouring pad or sponge with an abrasive surface can undo all the work you’ve just done. Whenever a harsh cleansing pad is used on your glass carafe, tiny scratches can mar the surface.
Once your coffee pot is scratched, even if the marring seems invisible, those scratches trap the unwanted oil and mineral deposits like magnets. Metal coffee containers are even more susceptible to scratches than glass.
Treat your pot with the utmost care when cleaning it or pay the price with a bitter brew.
How to clean your coffee basket
In addition to keeping the coffee maker itself clean, coffee drinkers need to invest some time in cleaning the filter basket and the area where the basket sits in the appliance.
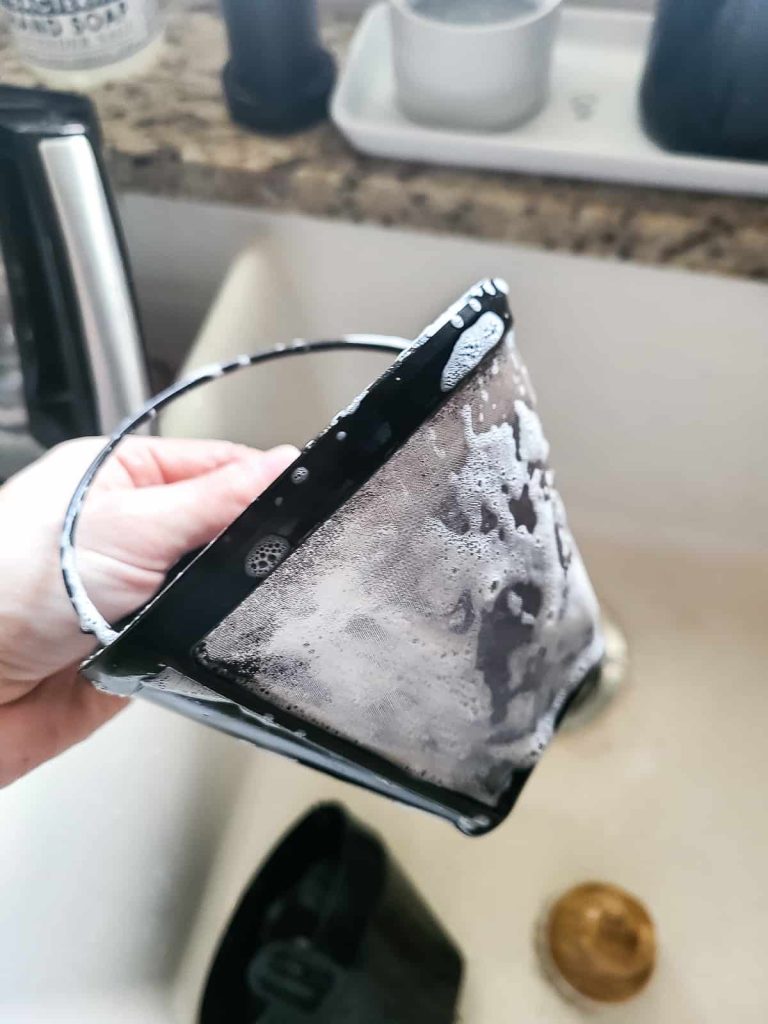
Coffee grounds and coffee stains tend to accumulate around the brew basket area of the coffee brewer.
You can soak the basket in soapy water with dish detergent to ensure that your entire system is as clean as possible. If needed, you can run the basket through the dishwasher as well.
How often should you clean your coffee maker?
Everyone disagrees on the frequency of cleaning and that may be because everyone drinks a different amount of coffee. The frequency with which you clean the coffee maker should be gauged by how often you brew coffee in it.
For most households, who brew a pot each morning, once a month should be plenty. If multiple pots are brewed daily, once a week may be in order.
Clean your coffee carafe as often as possible, and give it a thorough rinse and scrubbing daily, if you can. If in doubt, you can never clean your coffee maker too often. Err on the side of clean.
You may not realize how much the cleanliness of your coffee maker impacts the flavor of your coffee. That first cup of coffee you have following a serious coffee maker cleaning project will make you put “clean coffee maker” on your list of cleaning routines.
Clean your coffee maker well, and you can take the break you deserve and need with a clean-tasting, perfectly brewed, and the best coffee taste.
How To Clean A Coffee Maker with Baking Soda and Vinegar
Learn how to effectively clean your coffee maker using baking soda and vinegar with our easy-to-follow guide. Say goodbye to stale coffee tastes and hello to a fresh, clean brew every morning.
Materials
- Distilled White Vinegar
- Water
- Baking Soda
Tools
- Rag
Instructions
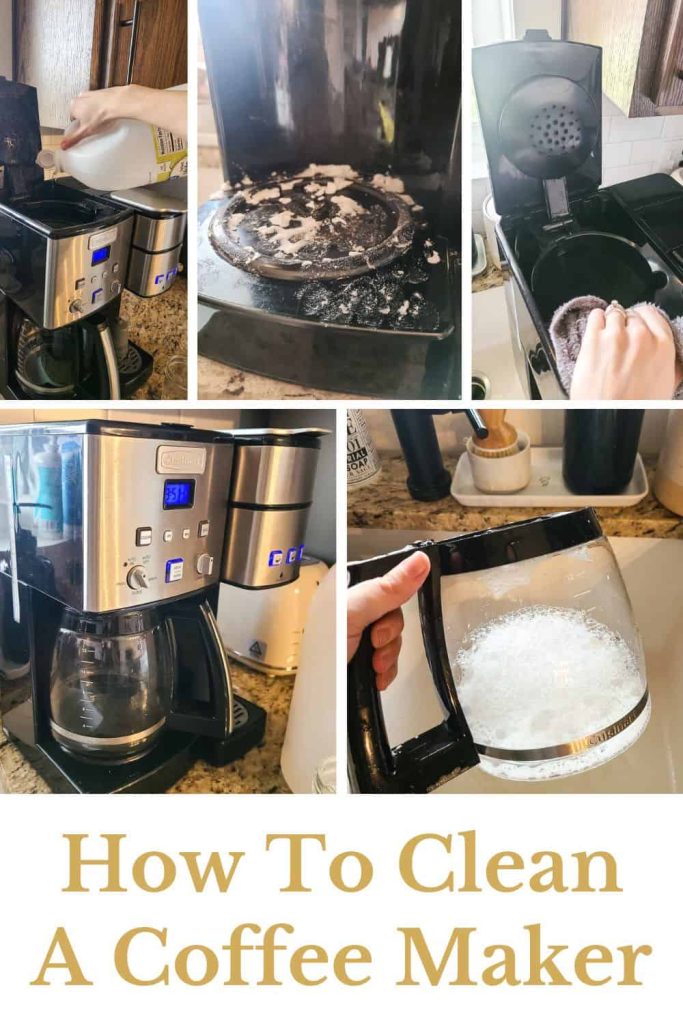
- Pour distilled white vinegar and water into the coffee maker
- Brew the solution to clean the interior of the coffee maker
- Wipe out the coffee maker while the burner cools
- Clean the cooled burner with baking soda paste
- Wash out the coffee filter with soap and rinse
Want to see more organizing and cleaning ideas?
- DIY Closet Organizer Ideas to Keep Your Small Space Tidy
- Dollar Tree Organization Hacks
- How to Make a Baking Soda Paste for Cleaning
- How to Store Scarves in Your Closet: 26 Space-Saving Techniques
- Spring Cleaning Checklist Printable By Room For Your Home
- How To Clean A Gas Oven: Deep Cleaning Guide
- How To Clean A Coffee Maker with Baking Soda and Vinegar
- How To Clean Wood Cabinets In Your Kitchen
- 25+ Genius Small Bathroom Organization Ideas
- Decluttering Your Bathroom: Tips and Tricks
- Storage Ideas for Small Bedrooms on a Budget
- 15 Genius Small Entryway Shoe Storage Ideas
- Under Cabinet Spice Rack Ideas | 11 Quick & Gorgeous Solutions
- How To Organize Cleaning Supplies | 15+ Clever Ideas
- DIY Mail Organizer Ideas To Conquer The Paper Clutter
- 25+ Bathroom Storage Jars and Canisters
- Home Command Center for Busy Family That’s Customizable and Gorgeous
- 40 Ideas For Organizing Craft Supplies
- Upcycled Entertainment Center into a Kitchen Pantry
- Baby Changing Table Organization
- Brilliant Spice Cabinet Organization (+ Free Printable Spice Jar Sticker Labels!)







Any suggestions on a natural way to clean a Keurig coffee machine?
Hi there! You can also clean a Keurig coffee machine with vinegar! Here’s a good YouTube video that walks you through the process: https://www.youtube.com/watch?v=fIqDONn2mCw