Upcycled Entertainment Center into a Kitchen Pantry

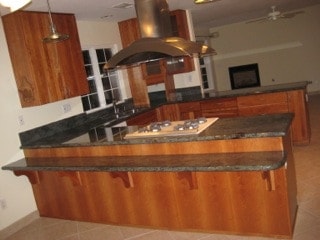
In our previous homes, we were lucky enough to have massive, amazing kitchens with tons of cabinet space. That simply wasn’t the case with our current fixer-upper.
For this project, you could easily use any piece of furniture to upcycle. An armoire, bookshelf, China cabinet, or a dresser would work well, too. The thing I love about this project is that there’s no “wrong” way to do this. Using your own style will breathe new life into an older piece of furniture!
Here’s our small kitchen at the new house
We down-sized quite a bit from our previous homes and I knew the pantry space was going to be a challenge.
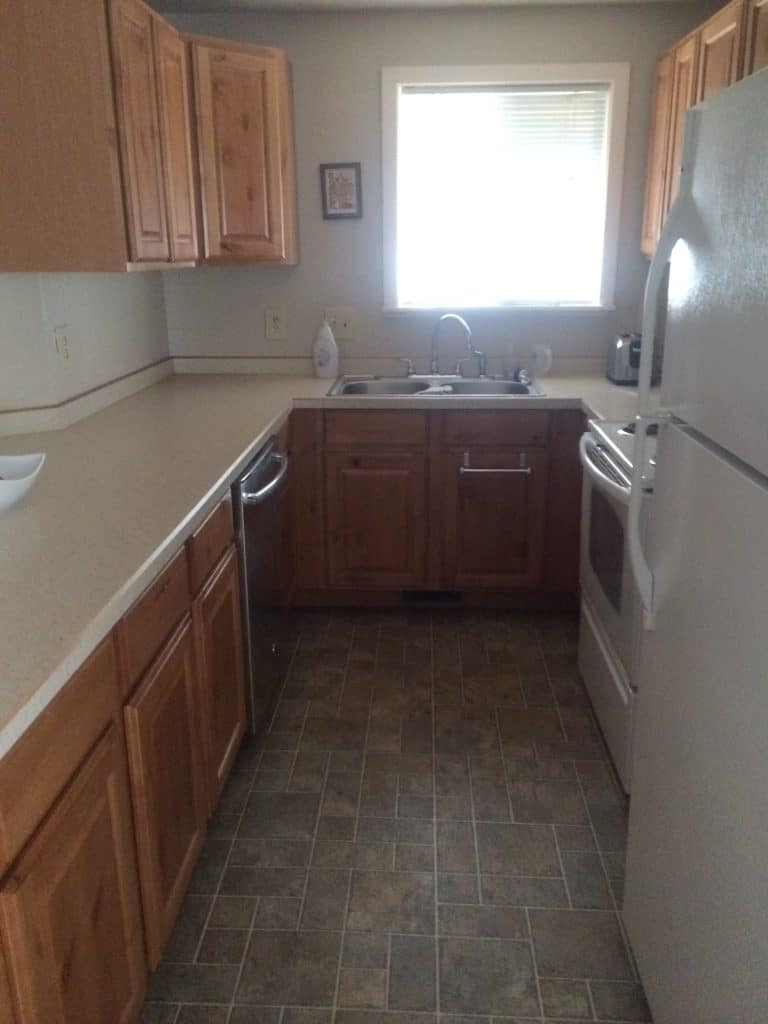
The most frustrating part of all was the pantry space… or lack thereof. I was expected to fit ALL of our food in this narrow cabinet. It was just not happening.
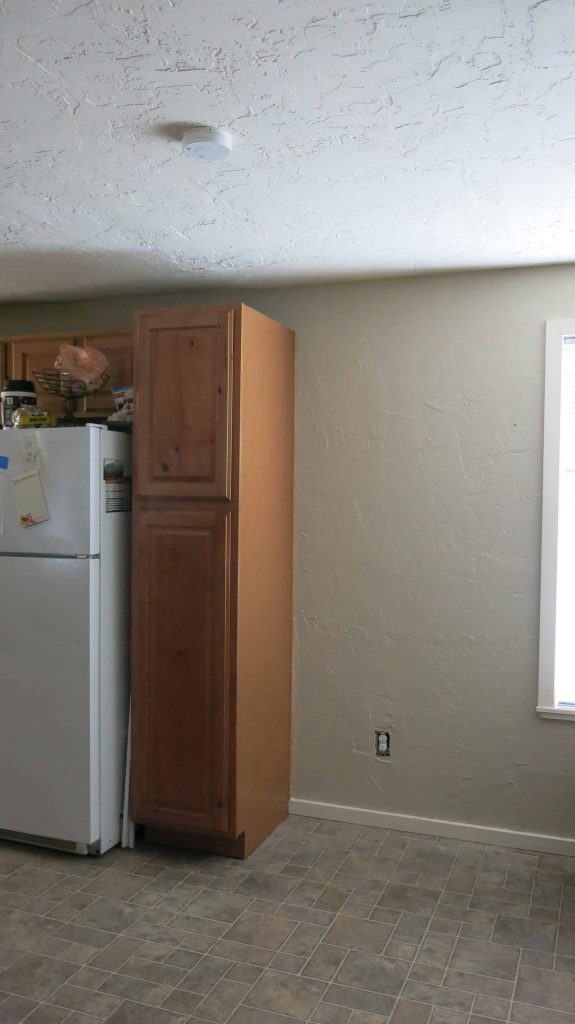
We considered converting a closet into a pantry, but we needed that space, too. The blank space next to this “pantry cabinet” caught my eye and I knew I could make it work with the right piece!
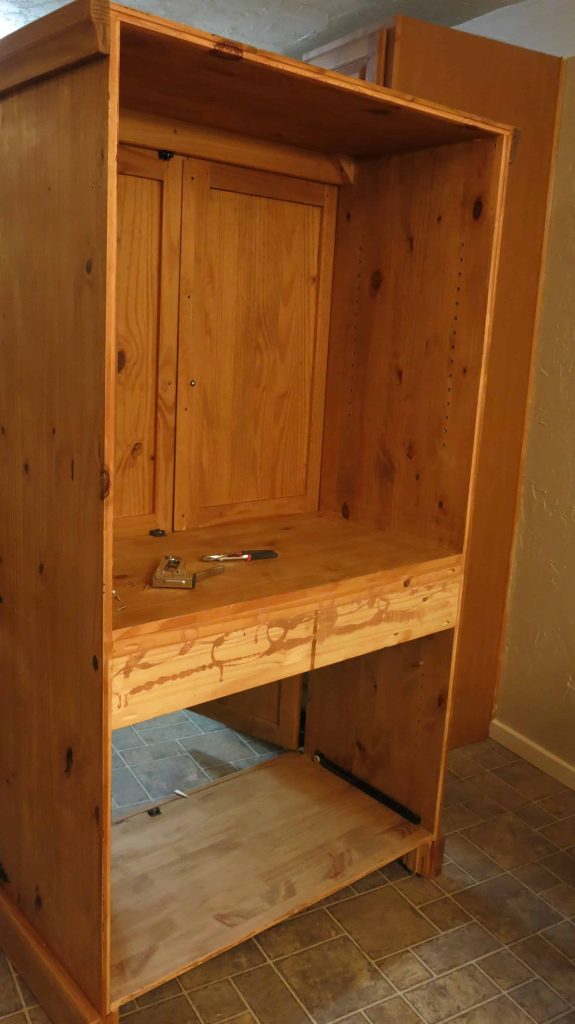
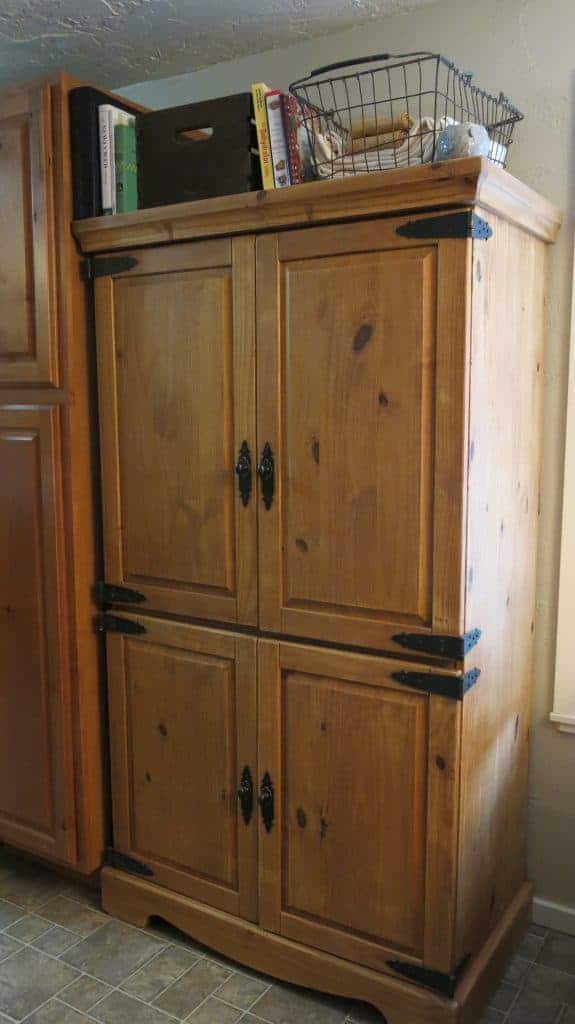
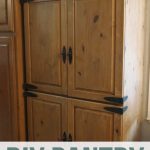
A few weeks later, I came across this entertainment center at the thrift store.
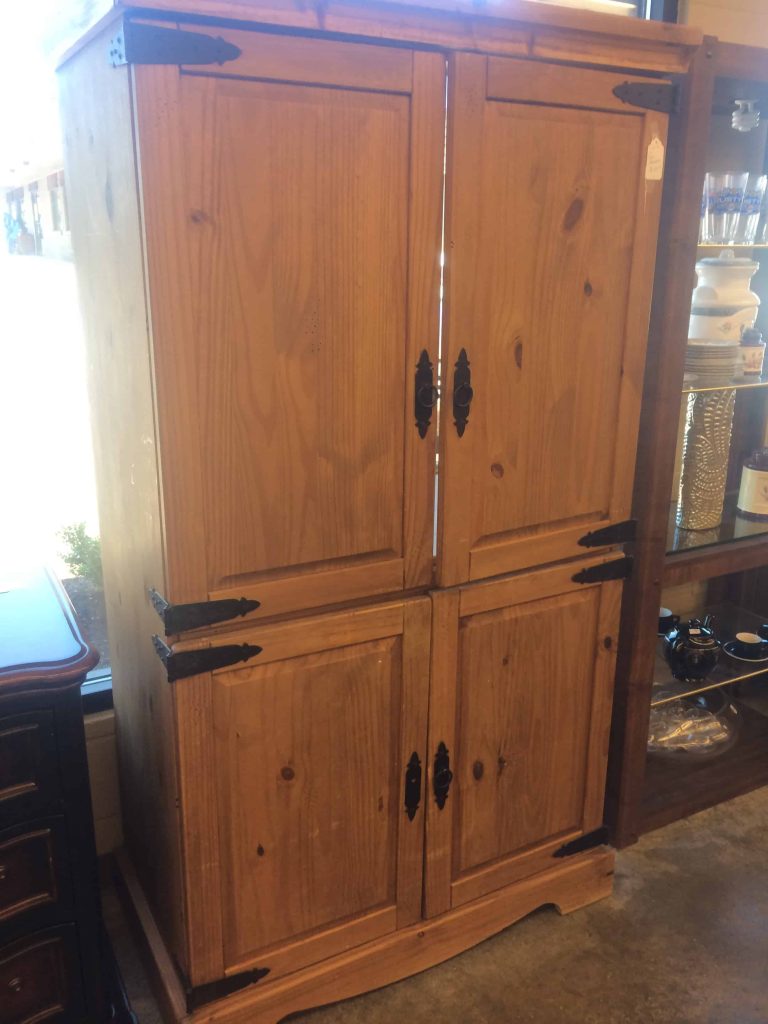
I was immediately drawn to it because of the rustic style. Yes, it was a little beat up here and there and needed some TLC. But… when I measured it, it was the PERFECT size for a DIY pantry, so I knew it was meant to be.
We took it home and got to work.
Converting an Entertainment Center into a Kitchen Pantry
This DIY pantry post contains affiliate links, but nothing that I wouldn’t wholeheartedly recommend anyway! Read my full disclosure here.
Supplies & tools needed for a DIY kitchen pantry
- Old armoire or entertainment center
- Replacement knobs
- Sandpaper
- Paint color
- Finishing wax
- Plywood
- Storage baskets
- Spice cabinet labels
- Wire Shelving
- Wire baskets
- Plastic Bag Storage
Here are some ideas to make this pantry project your own:
- replace glass panes with chicken wire
- paint it a bright color
- For dressers, you could remove the drawers and add shelving without cabinet doors
Step 1. Clean and remove hardware and shelves.
Since we purchased this piece of furniture as used, I knew it needed a good cleaning after collecting dust in the store.
It was definitely well-loved in it’s time. The top was warped, it was missing a shelf, the finish was beat up…basically, it was a dream for a DIY job!
We gave the cabinet a good wipe down, then removed all of the shelving and hardware, including the hinges. If you feel the need to really deep clean the piece, make sure you are using a material-friendly cleaner, like Murphy’s Wood Oil, furniture polish, or something similar that won’t damage the structure.
Step 2. Sand & Repair, if necessary.
Since the finish had seen better days, I did some light sanding on everything, focusing more on the problem areas, and added a fresh layer of finishing coat.
I wasn’t super wild about the way the sanding turned out. There are a few places where you can see the sanding marks, so be gentle unless you are willing to sand down the entire finish. The finishing wax did help even everything out and freshen things up a bit.
Next, the top of the cabinet was slightly warped and wasn’t entirely attached to the cabinet anymore.
Here, we removed the top, glued it down in place, and added some nails for extra security.
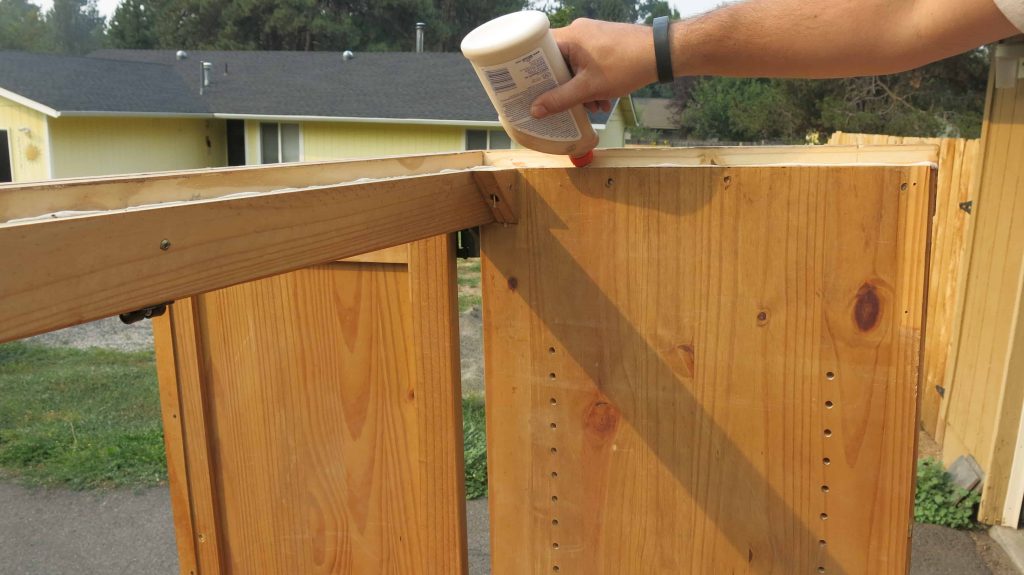
Lastly, the cabinet back had been removed from the top portion, so we added new backing using 1/4” underlayment plywood. We glued it in place then secured with nails.
Step 3. Paint, Wax, Finish, or Stain.
Now, this next step is optional. You can choose to paint, wax, finish or stain your furniture. It’s completely up to you.
If your piece of furniture doesn’t have any major imperfections and you are happy with the appearance, then feel free to continue on to the next steps. If you just want to encourage a little shine to the wood, lemon oil polish does wonders to replenish the natural oils to the wood.
For our piece, there weren’t any major issues and I didn’t want paint or stain, so I just added to the rustic look with some finishing wax.
Finishing wax gives furniture that distressed, antiqued appearance. It’s easy to go overboard, so do a little at a time, take a breather, then add more if necessary. It’s way easier to add more wax than remove it – trust me!
If you are waxing your furniture, make sure you follow these steps before getting started:
- Clean the surface, making sure it’s free of any dust or particles
- Apply wax in thin layers with a clean cloth or wax brush
- Allow to dry, then buff to smooth with another clean cloth.
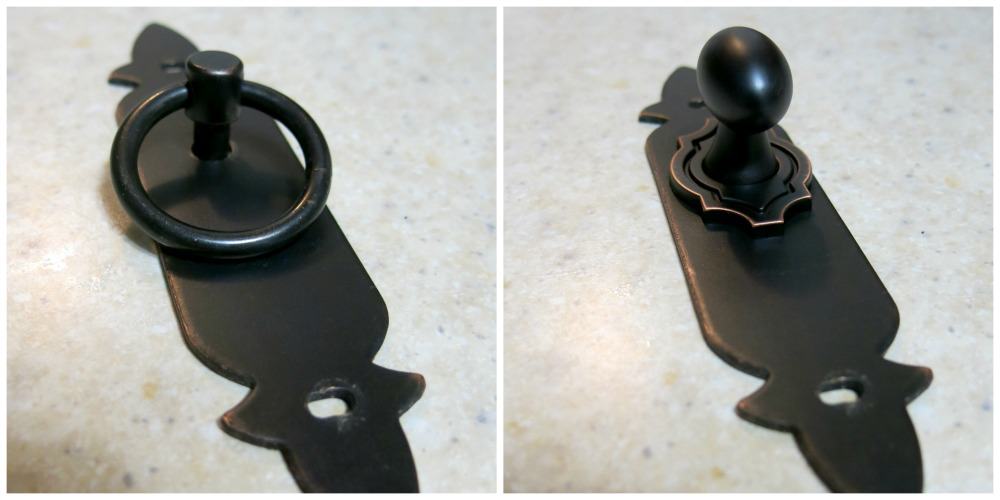
Step 4. Add hardware and shelving.
After your application has dried, add your hardware and shelving. Since one of the original pulls was missing, I replaced all four with something different.
Personally, I think picking out hardware is more fun than choosing a paint color! There are so many different options and designs out there, so choose something that fits your personality and style. Because this isn’t as permanent as paint colors or stains, going with something out of the ordinary is totally ok here. Just switch them out when you are ready for something new!
Hobby Lobby, Home Depot, and Amazon are my favorite places to shop for these kinds of items, because they are relatively inexpensive and replacements can easily be found.
Step 5. Organize the pantry.
After we were all done fixin’ er up, it was time to get to organizing. Obviously, your pantry should be organized to be the most functional to your needs, but hopefully these ideas will give you some inspiration…
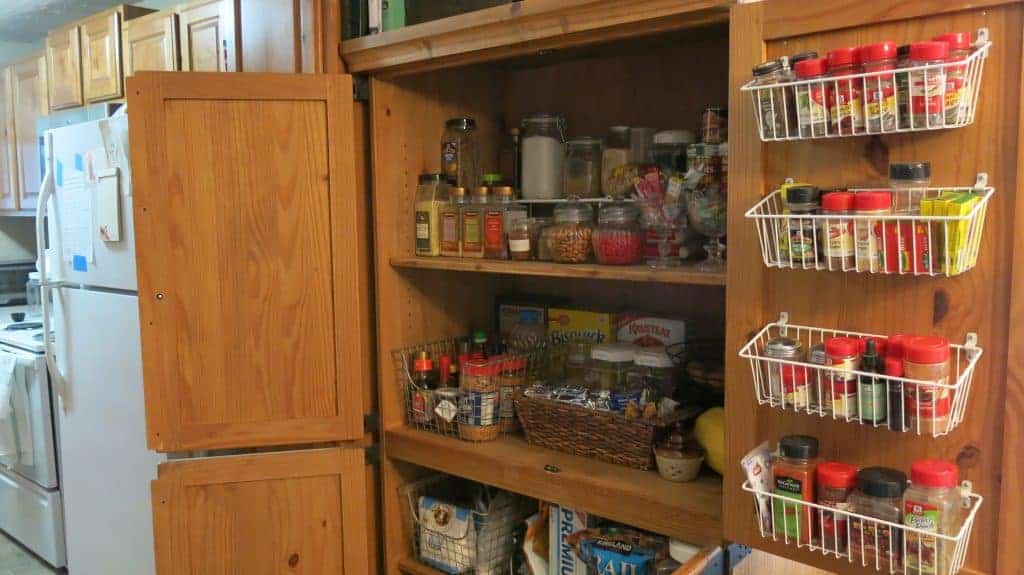
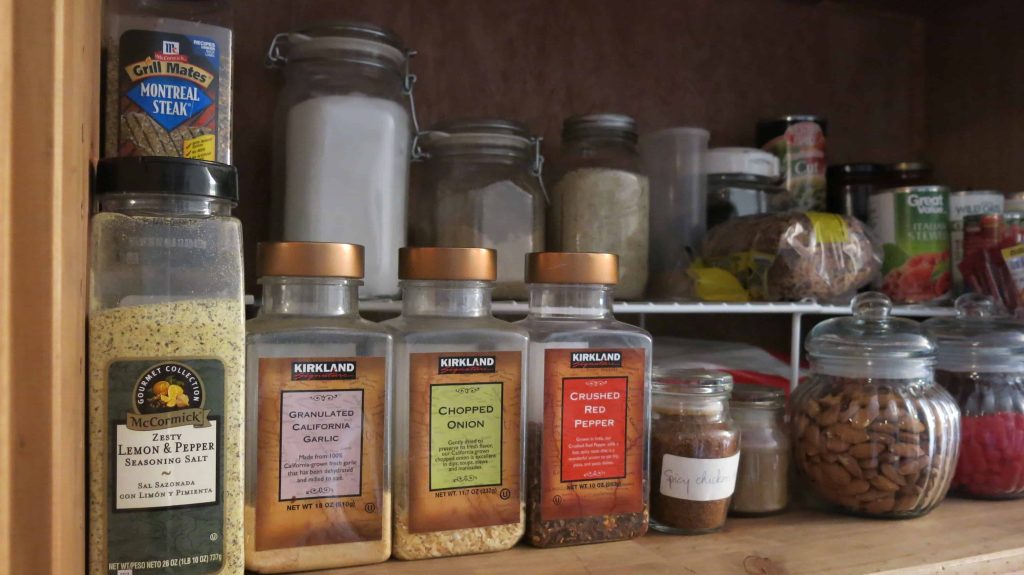
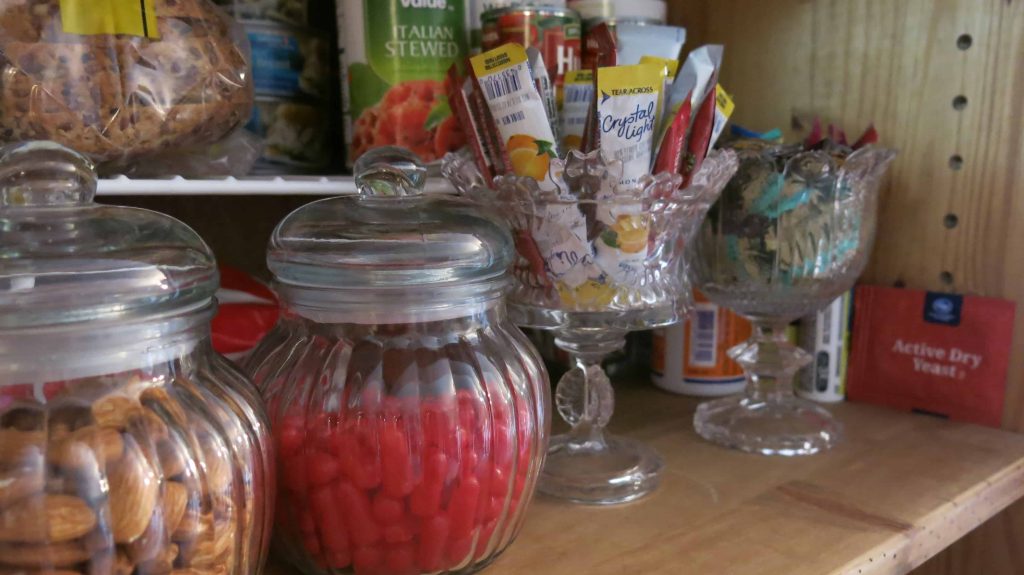
I loved how everything ended up working out and how open and easy it is to see everything in the pantry. You can use a variety of different boxes and baskets to hold chips, spices, and other pantry items.
To organize our spices, I found these awesome baskets on Amazon, and they ended up working out just perfectly. These are great for storing packets of spice mixes and oddly shaped spice containers.

If you prefer more visual appeal, a spice rack and printable labels are a great option for getting your spice cabinet in order.
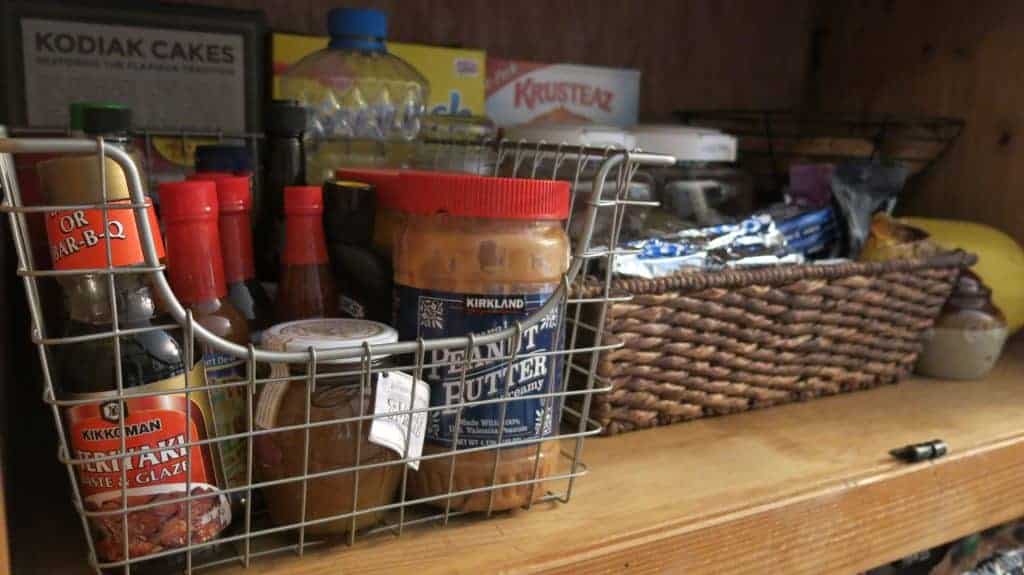
In the back of the pantry, we added extra shelving so we can store more items and utilize the vertical space for stacking!
I found the wire baskets at TJ Maxx, but here’s something similar from Amazon.
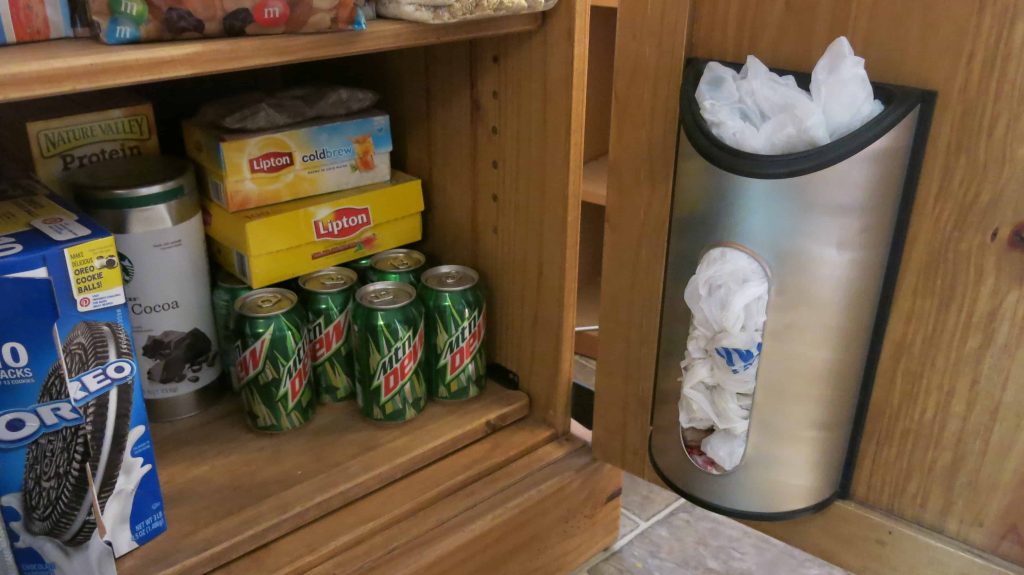
I was getting tired of grocery bags taking up valuable drawer space, so I found this bag holder.
I absolutely fell in love with this vintage basket I found at one of my favorite thrift stores. It’s holding tablecloths and linen napkins.
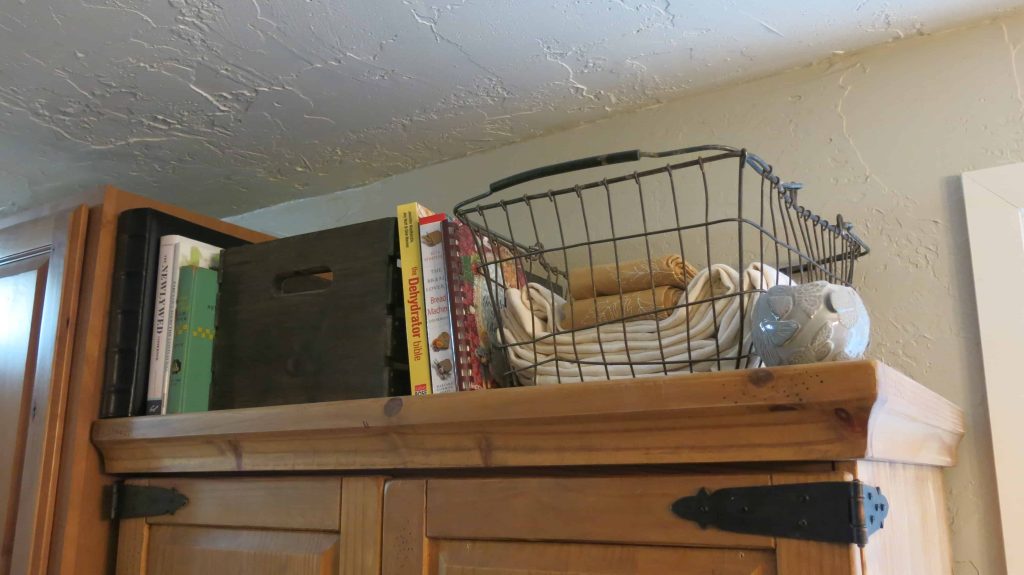
Now, I can easily put together a pretty table for a nice meal without rummaging through a towering linen closet.
Have you ever tried making a DIY pantry? Have you done any fun upcycled projects lately?
I’d love to hear all about them in the comments below!
Want to see more organizing and cleaning ideas?
- DIY Closet Organizer Ideas to Keep Your Small Space Tidy
- Dollar Tree Organization Hacks
- How to Make a Baking Soda Paste for Cleaning
- How to Store Scarves in Your Closet: 26 Space-Saving Techniques
- Spring Cleaning Checklist Printable By Room For Your Home
- How To Clean A Gas Oven: Deep Cleaning Guide
- How To Clean A Coffee Maker with Baking Soda and Vinegar
- How To Clean Wood Cabinets In Your Kitchen
- 25+ Genius Small Bathroom Organization Ideas
- Decluttering Your Bathroom: Tips and Tricks
- Storage Ideas for Small Bedrooms on a Budget
- 15 Genius Small Entryway Shoe Storage Ideas
- Under Cabinet Spice Rack Ideas | 11 Quick & Gorgeous Solutions
- How To Organize Cleaning Supplies | 15+ Clever Ideas
- DIY Mail Organizer Ideas To Conquer The Paper Clutter
- 25+ Bathroom Storage Jars and Canisters
- Home Command Center for Busy Family That’s Customizable and Gorgeous
- 40 Ideas For Organizing Craft Supplies
- Upcycled Entertainment Center into a Kitchen Pantry
- Baby Changing Table Organization
- Brilliant Spice Cabinet Organization (+ Free Printable Spice Jar Sticker Labels!)


Now THIS is clever! I love that you scored it at the thrift store too. And I love the tamales in the jar : ) Girl after my own heart!!
xo
Turned out so cute Chelsea!!! I so love the spice organizers on the doors.. And it fits perfect there!!!????
That looks like an awesome fix for a HUGE issue of not enough storage. It turned out great. If you don’t like the sanding problem it would look great painted vintage with Annie Sloan? chalk paint. I like seeing what’s inside…those hot tamales better be there when we come and visit.
Thrift stores are always amazing !! you never know what you can find there. Such a great idea. Thank you for sharing with us at #HomeMattersParty. We wish you a very Merry Christmas and Happy Holidays !!. We would love to have you again when we are back on Jan 8, 2016.
What a great idea! I got the opportunity to plan our “dream kitchen” but with no budget I ended up building all of our cabinets, but, still, being able to plan it all out made all the building worth it. I knew I wanted a tall rolling pantry and I’m so glad I did! I had never lived in a house with a real pantry before and I would never go back and have no idea how I lived without one before! Yours looks incredible, what a great idea!
A tall rolling pantry is a great idea. Thanks for stopping by!
Love the kitchen pantry with a lot of space. I recenty did a kitchen island a prep center out of a dresser. Came out beautiful.
That’s a great idea!!
So glad I ran across this post. I h already had an TV cabinet similar to one you have. I had already decided to turn it into a pantry. How do I add extra wooden shelves. The shell of cabinet isn’t really thick so I dont know how to add additional wooden shelves. You did an awesome job!
Our cabinet came with the shelves in place. But if your shelf was thick enough, you could drill new holes for shelf pins? Here’s a jig that would help with that! https://amzn.to/2wOOeCC Alternatively, you could screw them in from the outside of the cabinet, but then you’d have screw holes showing. Lastly, you could add pocket holes to the bottom of the shelf and that would screw into from the bottom of the shelf. Here’s a simple pocket hole system that would work well: https://amzn.to/2T6vffy This jig has material-thickness stops at 1/2″, 3/4″ and 1 1/2″
Ha! I have this very same armoire! Have been wondering how to repurpose it.
haha, no way! Good luck with your project Carla.
I just finished my 4 rd DYI pantry. I know excessive. my first one which i still use was an antique pie safe I stripped and painted the inside in 1980 because my old house didn’t have enough storage in the kitchen. My second was a Huge wardrobe that I bought at an auction for $30.00 I couldn’t stand for it be so it was cleaned up and a added and sold (Because it was too big for our space ) and went to a family that needed that much pantry space. My third was from a Antique Oak that we preserved the integrity of, adding all the structural support and shelving so you can’t see it. and #4 which was last month was a gift from my oldest son. I needed more storage. I asked for something real wood, and under $50.00 We challenged ourselves not to spend anything on the upcycle. And we didn’t. Our first repaint with stain over the top. a salvaged shelf and replacement hardware and it looks wonderful. Since it was a gift the total cost was $.00 . Looks great in my laundry room.
Those are so sound great!
What a brilliant idea to transform an old entertainment center into a kitchen pantry! I absolutely love the way you’ve styled it. The added storage space is fantastic, and it looks so charming in your kitchen. Can’t wait to try this DIY project myself!