DIY Joy Sign With Wreath On Vintage Window

If you're looking for an easy to make Christmas DIY, you're in luck. This DIY joy Christmas sign with wreath on vintage window couldn't be more simple! Learn how to make this farmhouse Christmas sign to decorate your home for the Holidays.
I love making Christmas crafts. But here’s the thing, they’ve gotta be simple! The holidays are a crazy time of year for everyone and this year our life is crazier than normal.
Since I put the vintage window and farmhouse style wreath up, I’ve had this Christmas project in mind. I couldn’t wait to make it and I’m so in love with it now!
This joy sign with wreath tutorial contains affiliate links, but nothing that I wouldn’t wholeheartedly recommend anyway! Read my full disclosure here.
How to Make a DIY Joy Christmas Sign Step-By-Step
Supplies needed:
Step 1. Cut letters.
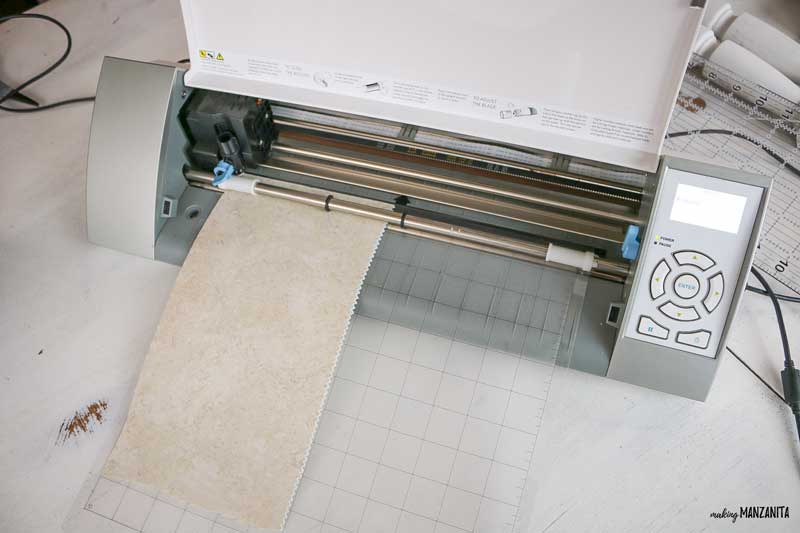
First, measure your window and determine how much space you have for the letters and wreath. You’ll only need to cut out letters for the J and Y because the O will be the wreath 🙂 ! I’m using a Silhouette Cameo cutter and adhesive shelf liner, cut the large J and Y.
Here are the settings that I used for mine:
- Font: Baskerville Old Face
- Size: Between 750-800 (I made the Y a little bigger because the J on this font was a little longer and I wanted them to be roughly the same height)
- Cameo Cut Settings: Vinyl (no other changes were made)
Step 2. Hang wreath.
Attach a Command hook in the top middle of the window and hang your wreath.
You can buy a wreath (check out my favorite farmhouse wreaths from Etsy) or make your own (learn how I made my farmhouse-style wreath).
Step 3. Attach letters.
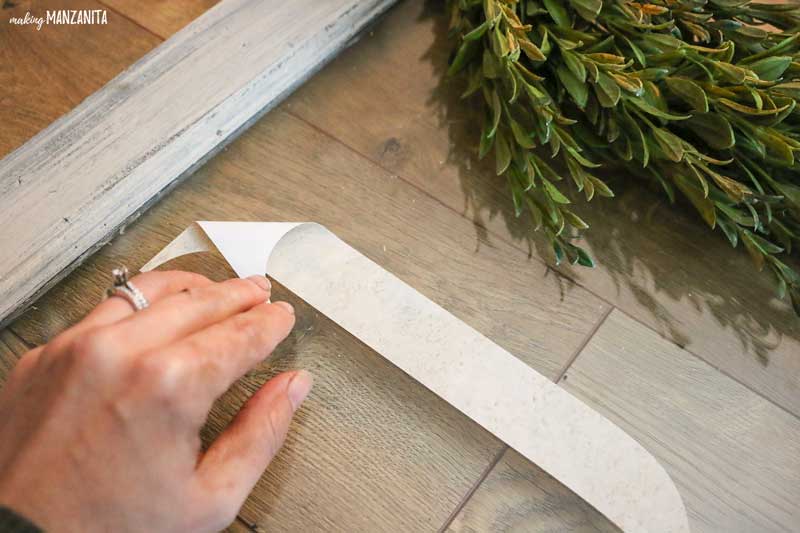
Peel and stick the J on the left side of the wreath and Y on the right side of the wreath.

Seriously, guys…this Christmas DIY is just THAT simple. All you have to do is cut the letters, hang the wreath and attach the letters!
Can you believe that I found this window and a few others just like it in an alleyway by someone’s trash?!? I used to love going “alley cating” when I lived in San Diego years ago. The alleyways of beautiful Central Oregon just don’t compare, haha.
If you don’t have a vintage window like this laying around, you could make a simple wood sign (or buy one like this, which is a little smaller than the window but the same general shape).
Get more ideas of what to do with old windows here!

This DIY joy sign with a wreath on a vintage window is the perfect addition to your farmhouse Christmas decorations. Since it’s so simple to make, there’s no reason why you shouldn’t make it this year, right?!

How To Make Joy Christmas Sign With Wreath
If you’re looking for an easy to make Christmas DIY, you’re in luck. This DIY joy Christmas sign with wreath on vintage window couldn’t be more simple! Learn how to make this farmhouse Christmas sign to decorate your home for the Holidays.
Materials
- Adhesive Shelf Liner/Contact Paper
- Vintage Window
- Farmhouse Style Wreath
- Small Command Hook
Tools
Instructions
- Cut letters with Cameo.
- Hang wreath with small Command hook.
- Attach letters to window.
Related: Want to see more Christmas decor??
- Our Boho Christmas Tree In The Bedroom
- How To Decorate Your Bedroom for Christmas
- 37+ Cozy Christmas Bedding Ideas from Amazon For Your Bedroom
- Mini Wreaths On Kitchen Cabinets for Easy Christmas Decor
- 18 Christmas Stocking Display Ideas
- 10 Things You Need From the Studio McGee Christmas Collection at Target
- DIY Boho Advent Calendar with Yarn Tassel Wall Hanging
- 100+ Gorgeous Boho Christmas Decor & DIY Ideas
- Farmhouse Christmas Tree & Living Room Christmas Decor
- DIY Christmas Village Makeover For Less Than $10
- 10 Things You Need From Hearth and Hand Christmas Collection
- Mini Fabric Christmas Tree
- DIY Wrapping Paper For Christmas Gift Wrap
- Farmhouse Christmas Decor On A Budget
- Believe Christmas Sign with Farmhouse Style
- Farmhouse Advent Calendar
- Farmhouse Winter Tablescape