How To Make A Fabric Christmas Tree

This small fabric Christmas tree is the perfect rustic Christmas decor for the mantel, shelf or tablescapes. They are the perfect simple DIY Christmas craft...so easy, even the kids can make them.
I love making Christmas decorations…like I really love Christmas DIYs. When I think about Christmas decorations, I can’t help to think of all the fun I will have making Christmas crafts. If you love making Christmas DIYs too, you’ll love all of these ideas too!
Related: Want to see more Christmas decor??
- Our Boho Christmas Tree In The Bedroom
- How To Decorate Your Bedroom for Christmas
- 37+ Cozy Christmas Bedding Ideas from Amazon For Your Bedroom
- Mini Wreaths On Kitchen Cabinets for Easy Christmas Decor
- 18 Christmas Stocking Display Ideas
- 10 Things You Need From the Studio McGee Christmas Collection at Target
- DIY Boho Advent Calendar with Yarn Tassel Wall Hanging
- 100+ Gorgeous Boho Christmas Decor & DIY Ideas
- Farmhouse Christmas Tree & Living Room Christmas Decor
- DIY Christmas Village Makeover For Less Than $10
- 10 Things You Need From Hearth and Hand Christmas Collection
- Mini Fabric Christmas Tree
- DIY Wrapping Paper For Christmas Gift Wrap
- Farmhouse Christmas Decor On A Budget
- Believe Christmas Sign with Farmhouse Style
- Farmhouse Advent Calendar
- Farmhouse Winter Tablescape
These mini fabric Christmas trees are so easy & inexpensive to make. Even though I used plaid homespun fabric, you could really use any fabric you have on hand, fabric scraps or even rip up some old clothes that are stained or damaged!
The best part is that since they are so simple, this is a great Christmas craft that you can make with your kids too! There’s nothing better than working on some crafts with your little ones around the holidays. Just turn on the Christmas music, pop some cookies in the oven and get to crafting your own mini Christmas tree with fabric!
This fabric Christmas tree tutorial contains affiliate links, but nothing that I wouldn’t wholeheartedly recommend anyway! Read my full disclosure here.
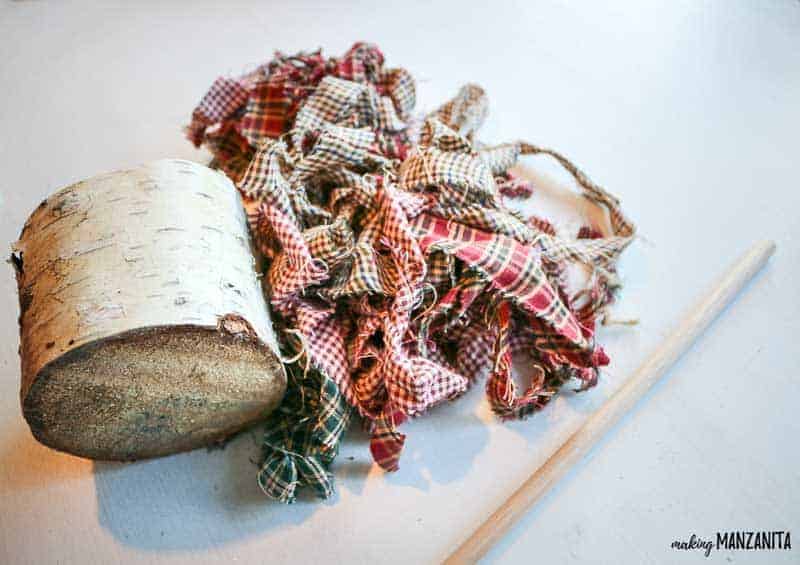
Supplies for fabric Christmas tree:
- Strips of various patterns of homespun fabric ripped to 1” – 1.5” wide
- Wooden dowel
- Mitre box and saw
- Birch wood log base about 3 inches tall
- Metal star (2 or 3 inches)
- 3-in-1 glue
- Wood glue
- Drill

Step 1. Drill hole in wood pillar base.
First of all, I got this birch wood log base from some spare birch logs we have laying around in our backyard…convenient, I know. I doubt you have a similar situation…so don’t worry…you can buy them!
Also if you have another type of wood log that you could use, feel free! The ideal width of the log base is anywhere between 3-5 inches.
Start by marking the middle of your wood pillar base. Then, using a drill bit just a hair larger than your wooden dowel, drill a hole in the middle of the wooden pillar base about 1-2 inches deep.
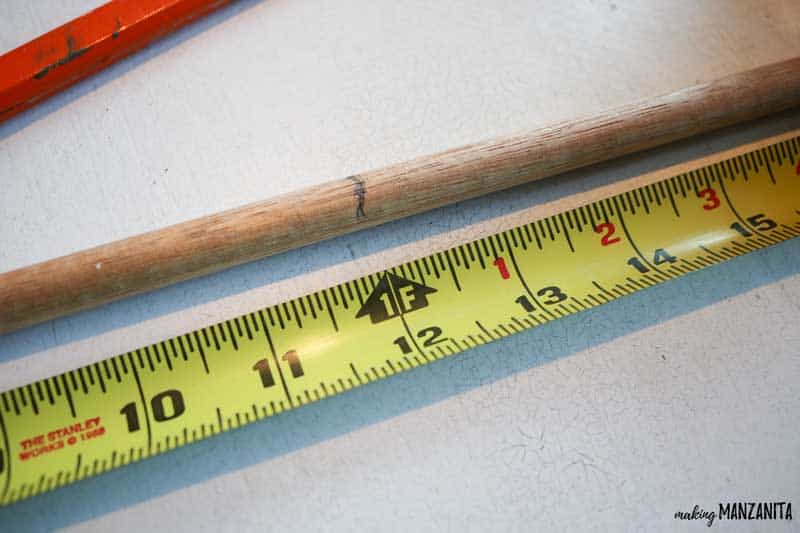
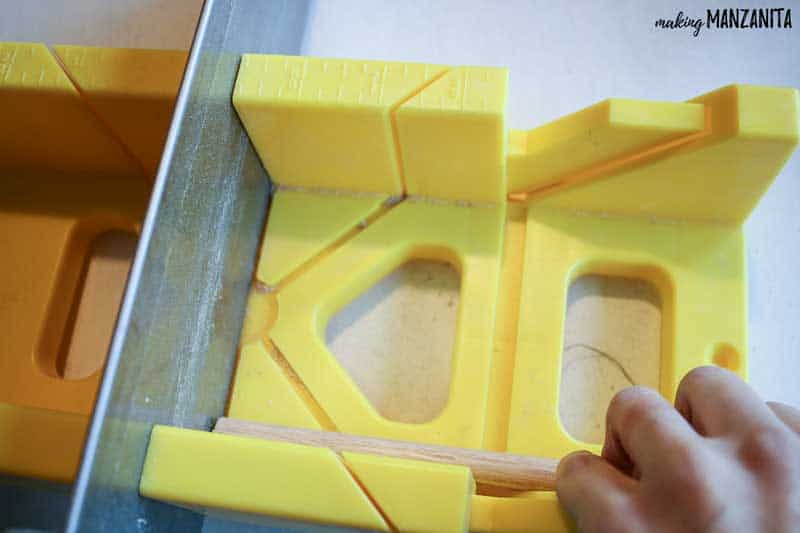
Step 2. Cut wooden dowel.
I used a mitre box and saw to easily cut the dowel down to about 12 inches tall.
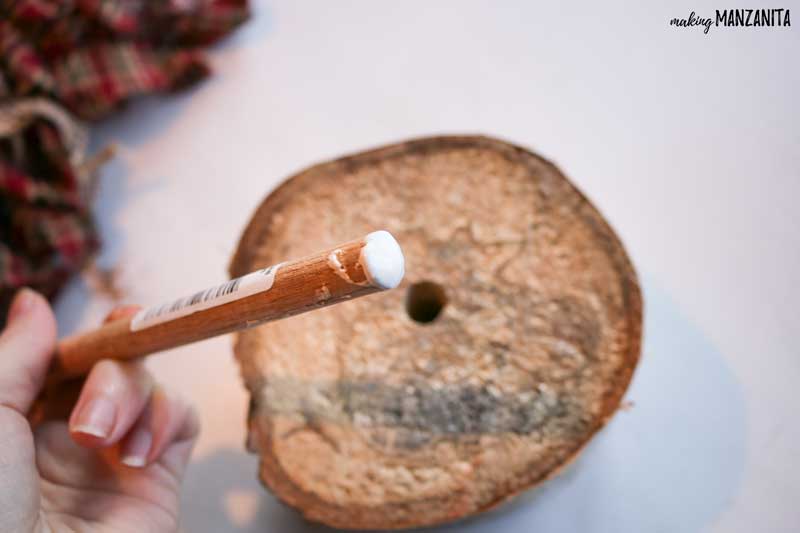
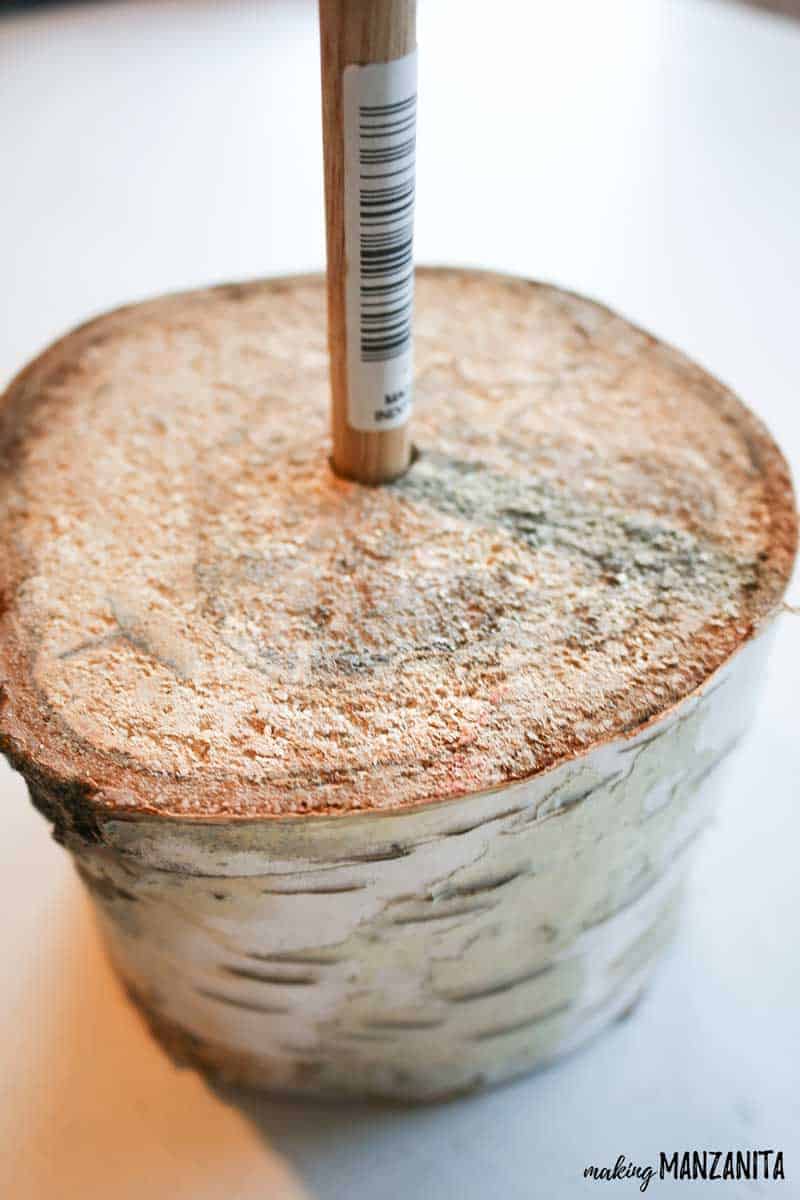
Step 3. Attach wooden dowel.
Add a little bit of wood glue to the bottom of the wooden dowel and place it upright in the drilled hole on the wood pillar.
Make sure it’s straight and then let it be until it is fully dried. I waited overnight.
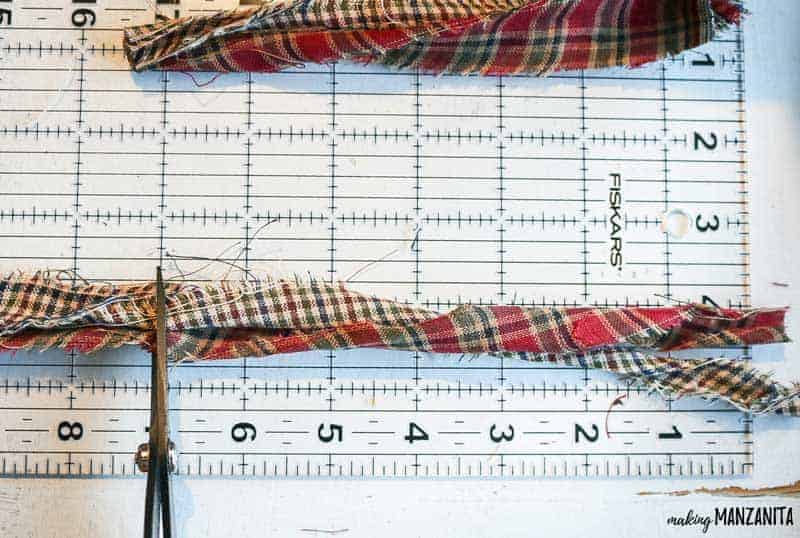
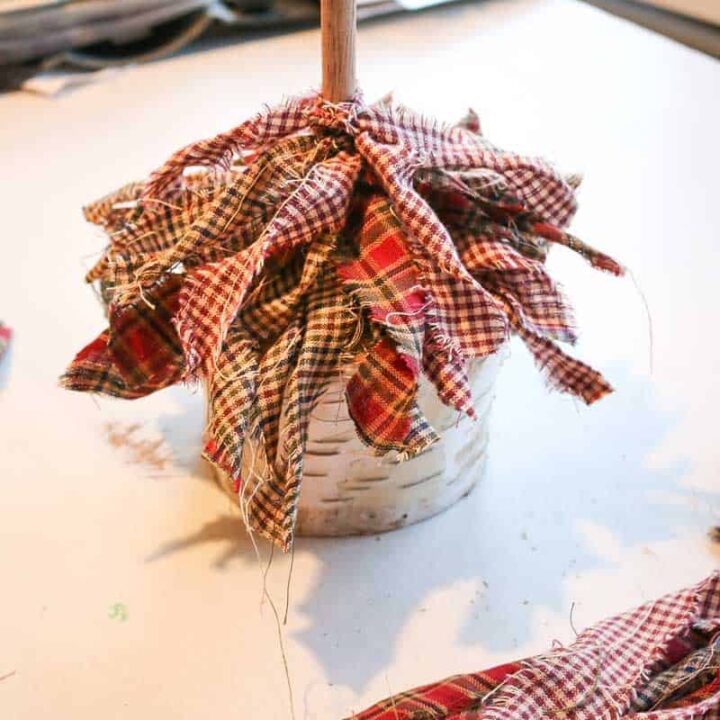
Step 4. Cut fabric strips.
For the fabric strips, they are all about 1”- 1.5” inches wide and I ripped them rather than cutting them. I love the rustic, stringy ends the ripping creates and it saves a ton of time.
As you can imagine, the fabric pieces get shorter as you make your way up the fabric Christmas tree. I started at the bottom using 11-inch pieces and at the top, I was using 5-inch pieces. I went down in increments up 1 inch….so I made a handful of 11-inch, 10-inch, 9-inch, 8-inch…and so on…all the way to 5-inch.
It wasn’t an exact science, but I would estimate there are about 10 pieces of fabric tied on at every increment. Use your judgment to add more or less fabric to your liking! Yours may vary slightly, but here are the estimates of what you’ll need:
- 10 pieces cut at 11 inches
- 10 pieces cut at 10 inches
- 10 pieces cut at 9 inches
- 10 pieces cut at 8 inches
- 10 pieces cut at 7 inches
- 10 pieces cut at 6 inches
- 10 pieces cut at 5 inches
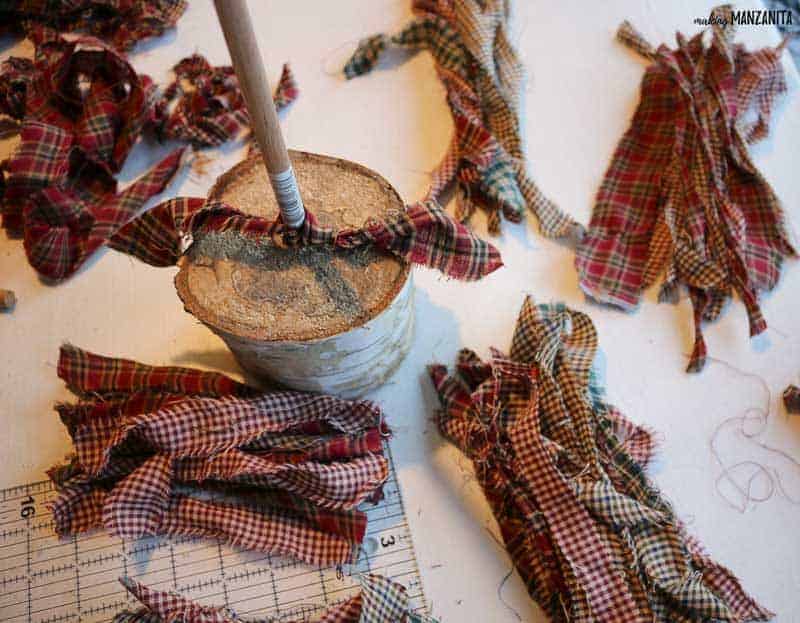
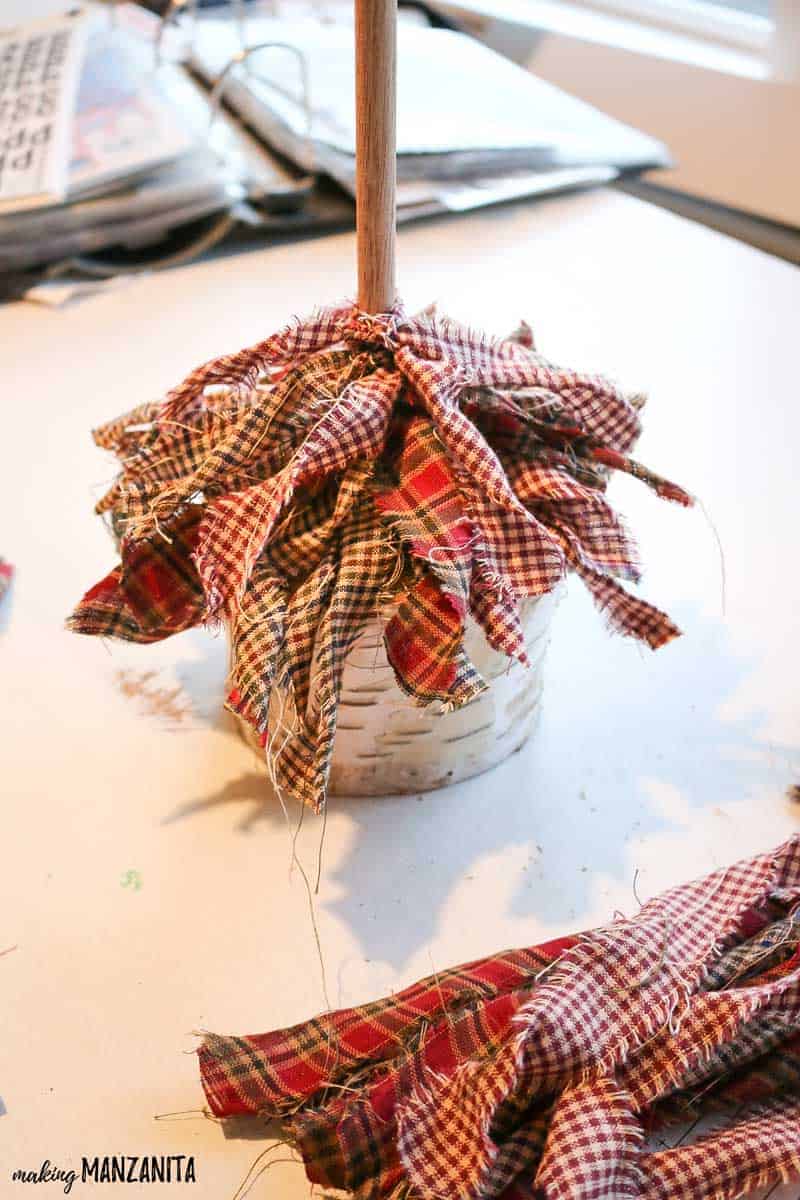
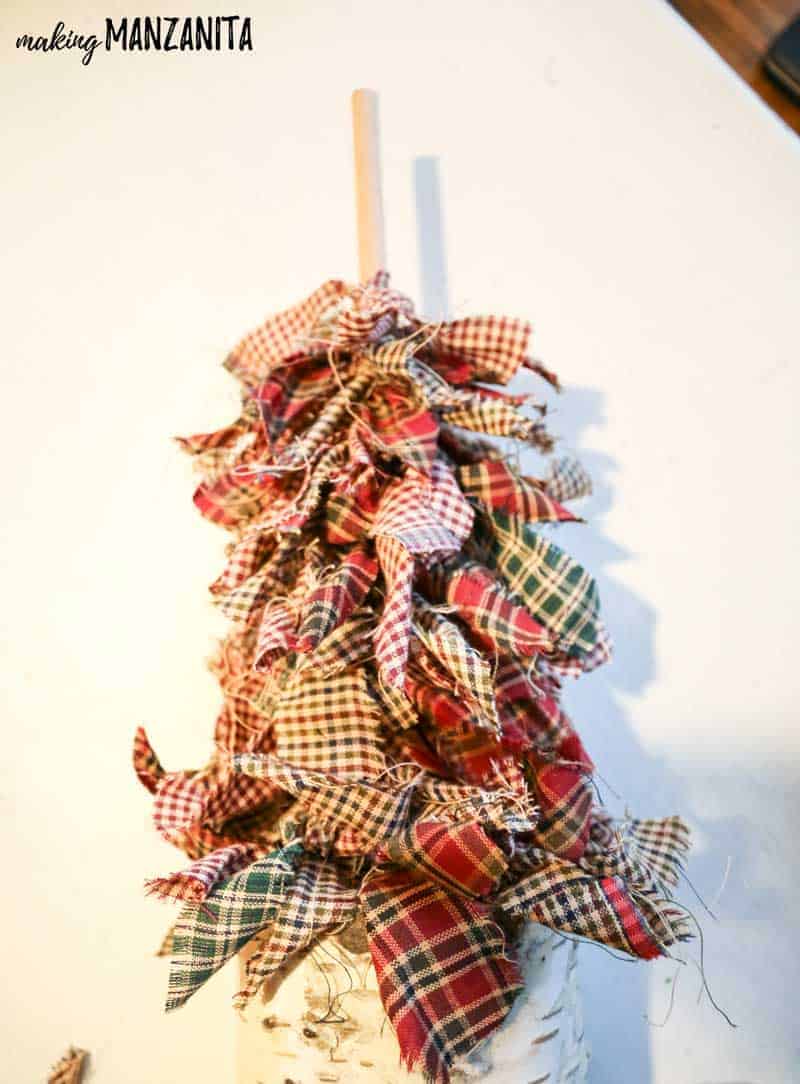
Step 5. Tie fabric on dowel.
This part is the easy…but kind of time-consuming part! Turn on a fun Christmas movie (this is one of my faves) and start tying the fabric onto the wooden dowel to create the fabric Christmas tree.
Just a simple knot will do. Start with the longest pieces (11 inches) at the bottom and work your way up.
Step 6. Attach metal star.
Once you have filled the entire wooden dowel with tied fabric pieces, now is time to add the star, of course!!
I used this adorable metal star and I think it works perfectly for these fabric Christmas trees.
To attach, I added a large dot of my favorite 3-in-1 glue to the back of the star and pressed it onto the top of the dowel. Hold in place until the glue is set, about 30-45 seconds should do.
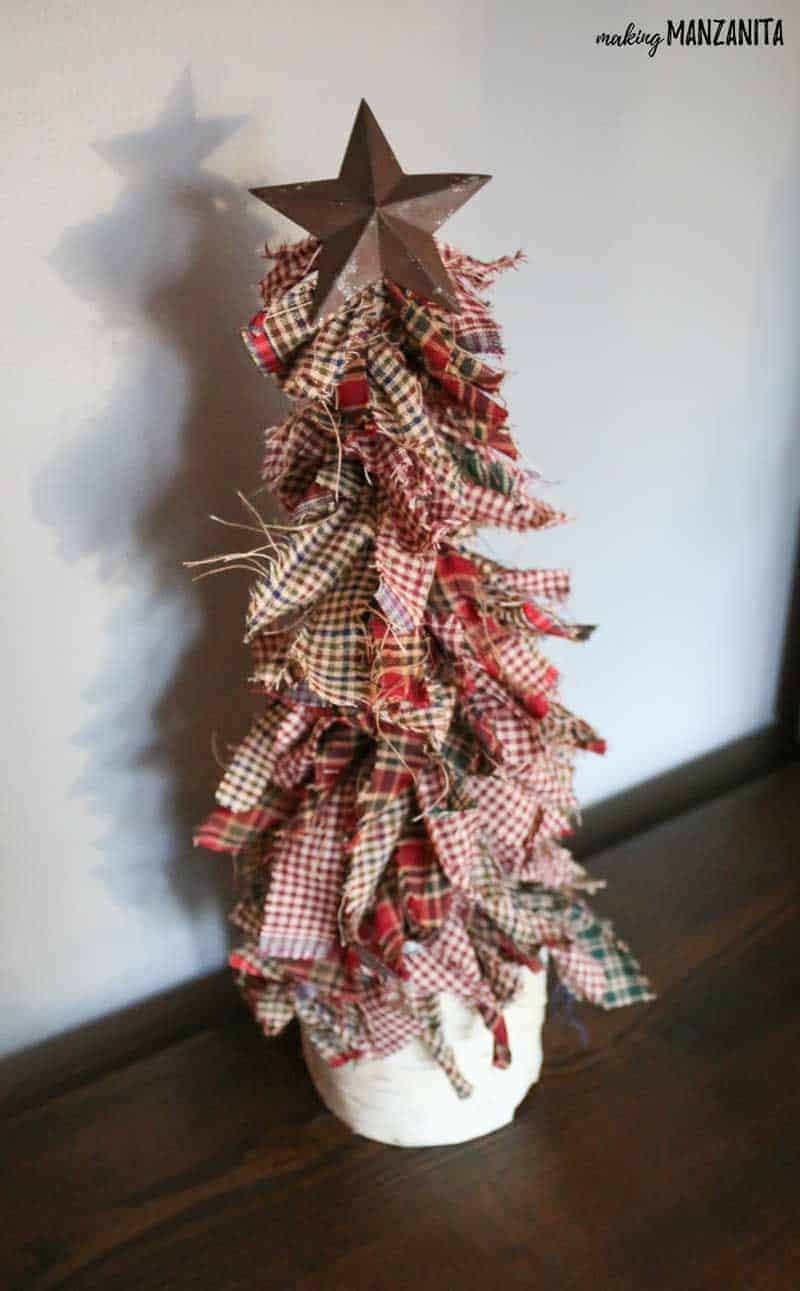
Super simple, right?! I wasn’t lying! This fabric Christmas tree is so much fun to make! They look adorable up on a shelf or on your mantel. And can you just imagine a few of these worked into a rustic Christmas tablescape?
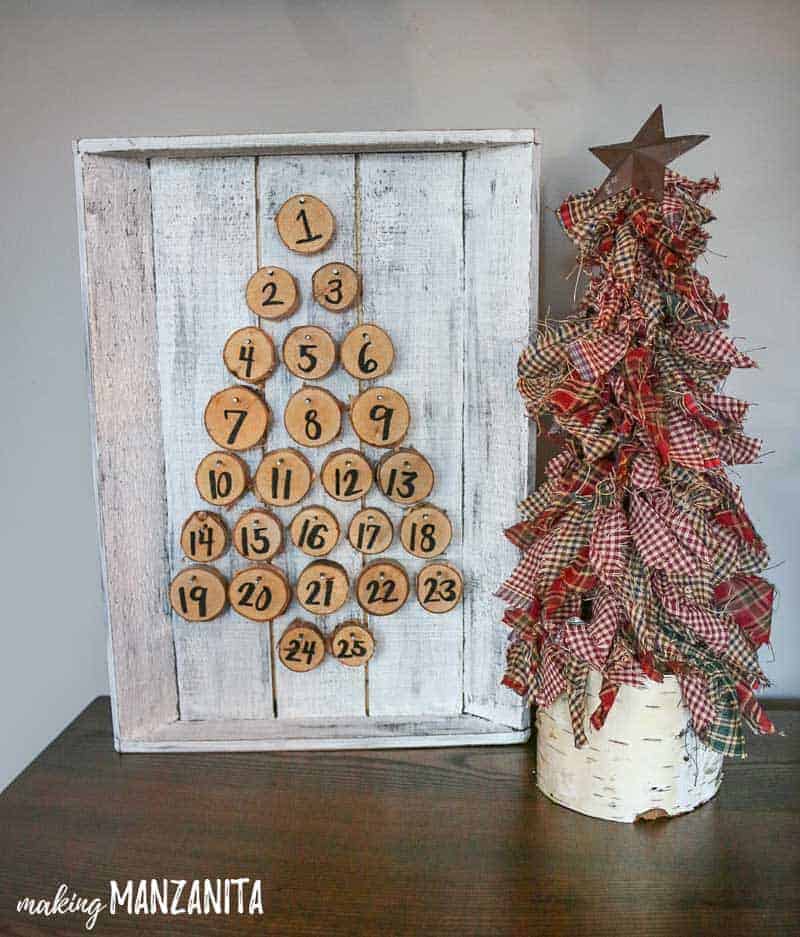
It’s a perfect complement to my Christmas advent calendar, don’t you think? It’s almost like they belong together! I’ll have to be sure they end up near each other when I finish getting all of my Christmas decorations up.

Where would you put this fabric Christmas tree in your home??
Let me know in the comments below!
Here’s a replay of my live video demonstrating how to make these fabric Christmas trees on Facebook.
If you love DIY videos, don’t forget to subscribe to our YouTube channel!
How To Make A Mini Fabric Christmas Tree
This small fabric Christmas tree is perfect rustic Christmas decor for the mantel, shelf or tablescapes. They are the perfect simple DIY Christmas craft - so easy, even the kids can make them!
Materials
Tools
- Drill
- Mitre box & saw
Instructions
- Drill hole in the middle of wood pillar base 1-2" deep.
- Cut wooden dowel approximately 12" tall.
- Attach wooden dowel with wood glue. Let dry.
- Cut fabric strips.
- Tie fabric on dowel.
- Attach metal star to top with 3-in-1 glue.
Notes
It wasn’t an exact science, but I would estimate there is about 10 pieces of fabric tied on at every increment. Use your judgement to add more or less fabric to your liking! Yours may vary slightly, but here are the estimates of what you’ll need:
- 10 pieces cut at 11 inches
- 10 pieces cut at 10 inches
- 10 pieces cut at 9 inches
- 10 pieces cut at 8 inches
- 10 pieces cut at 7 inches
- 10 pieces cut at 6 inches
- 10 pieces cut at 5 inches


Very cute project. Thank you for sharing!! Can we use any type of fabric or does it have to be Homespun brand?
You can really use any fabric. I just found that I love the thin nature of the homespun fabric, how easily it rips, and the patterns they offer. Homespun is not a “brand” per se, it’s more of a style of fabric – like “flannel” or “cotton”. You should be able to find it at any fabric or craft store too.
My sister & I made these in 2014 for a craft bazaar & 2015 for our work Christmas party for dinner table centerpieces & 2016…we made them again just to sell. Ours were 12 inches in height. We also used tuelle by itsself & by mixing it with cotton fabrics. We also tore our fabric in strips instead of cutting…What alot of stripping we did…LOL..The more fabric strips that you use the fuller the tree & it makes it look alot nicer.
That’s awesome Bobbi! Tuelle would be fun!
What price did you sell your trees? Also, what did you use for a base. Very cute project.
Can you post pics?
I just found your tree on pinterest. I will look for fabric after the holidays, and make them for next year. Thank you!
Great idea to snag the fabric now and work on them for next year!
A friend made me some bases..some are only 7-8 in high..should I still start out with 11 in, but use less and still end up with 5 in on top?? Or, start with a smaller base…like 9 in??? Your video was good…my hearing is bad so I didn’t hear how tall your dowel was when you started. Thanks for the good directions.?
My bases were 3-5 inches tall + the 12 inch dowel, so 15-17 inches total. If your entire base + dowel is only 8 inches tall, I’d definitely recommend cutting the fabric a bit shorter, but you probably don’t want to do anything less than 3″ or so on the top because any shorter and you won’t be able to make a tie. Hope that helps!
Very cute. I’m getting ready to make several. What size dowel (diameter) did you use? Thank you.
I believe this was roughly 1/2″ dowel. Good luck and have fun!
Thank you love the trees!
Thanks!
Before putting the star on, would it be possible to drill a very small hole for an LED light?
Yes, you could totally do this. Just be sure you have a drill bit for metal. I’d also be careful that the light doesn’t touch the fabric so it’s not a fire hazard.
Love this. What a great project for inside during COVID. Thanks for sharing.
You’re welcome! Have so much fun with this!
I showed my hubby your Christmas tree…it wasn’t even 10 minutes later and he was back in the house with my tree base and dowel! Now I just need to get to JoAnn’s to purchase the homespun fabric! Approximately how much of each pattern fabric would I need to purchase for one tree? I can’t wait to go shopping!
What a great hubby ! 🙂 You don’t need much fabric at all. I’d start with 1/2 yard of each pattern and I used 4 different patterns. That should be more than enough for one tree. If you have leftover fabric, you can make these cute ornaments too: https://www.makingmanzanita.com/diy-homespun-fabric-christmas-ornament/
Farmhouse is popular so I think the buffalo check will be awesome!
Yes, I agree that buffalo check would be perfect!
I made two trees today. They turned out really cute. Your instructions are so precise and easy to follow and thank you for that.
So glad you enjoyed this tutorial and were able to make some trees of your own! How fun! 🙂
I love this idea. But, I am going to make it to be up all year…..maybe have Red White and Blue material……etc.
Great idea!
Love this tree…so cute! But could you please give cut fabric sizes for a 5 ft tree. I would like to use this for my Christmas tree in my home. And any other suggestions for measurements or materials you might have.
P.s. I was originally thinking of using a tomatoe cage turned upside down.
Thank you so much
A new follower
Beverly Smotherman
[email protected]
Hi there! I’ve never made one any bigger, but a tomato cage is a great idea. I think you may need some additional wires added to it, so may you could even wrap the tomato cage with chicken wire to give you additional places to tie fabric to. The measurements just come with trial and error so sorry I can’t give you specific details on your modifications to this project. But please do come back if you try it and let us know how it went!
I made this tree w checked country colored fabric, torn, not cut for the frayed edges. I included strips of burlap as well. There’s so many variations for these trees, and everyone is beautiful!
Awesome, I bet that looked awesome with burlap included 🙂
I want to make this tree two feet tall do think I should double each of the10 pieces to 20 of each size width and start with 21 inches and go one inch in length and maybe use a 6 inch wood base
Yes, those estimates sound about right! Good luck with your tree!
Could you use ribbon instead of fabric?
Yes you totally could!
I will make one for our camper cause we won’t be home for Christmas but this will do in our tiny camper. I love the red and white will go with everything else
Great idea Sally!
How do you keep the ties to not roll up like a tootsie roll after they are knitted in the dowel? Anyone else have this problem?
Hi Deb! Sorry about your issue with the fabric rolling up, I didn’t run into that. Maybe it is the type of fabric you’re using? Maybe you could try washing it before using it? I’m not totally sure and just throwing out some ideas. Maybe someone else will chime in here in the comments too!